
Have you ever stared at a tape measure with all those tiny lines and numbers, feeling lost? You’re not alone. Many people find tape measures confusing, especially if math isn’t your strong suit.
This guide is made for beginners who want to measure things correctly without the confusion. If you’ve ever felt frustrated by those tiny markings or mixed up inches and centimeters, this article is for you.
By the end of this guide, you’ll know how to read all the markings on a standard tape measure. You’ll understand the difference between fractions and decimals. You’ll be able to make precise measurements for your home projects.
I’ve been teaching basic measurement skills for over 10 years, and I’ve broken down this process into simple steps that anyone can follow. No complex math or fancy terms—just clear instructions that work.
Get to Know Your Tape Measure
The blade is the long, bendy metal strip with numbers on it. I use this part daily. It shows inches, half-inches, and smaller markings for precise work.
The hook (or tang) sits at the end of the blade. It grabs edges when you measure. This small piece moves slightly—and that’s not a flaw.
The wiggle is by design.
The hook moves in when measuring outside edges and pulls out for inside measurements. This movement equals the hook’s thickness (about 1/16 inch), making all your measurements accurate.
The housing is what you hold. It stores the blade and often has a lock button to keep the tape extended while you work.
Try this: Pull out your tape and watch the hook move. This small detail makes a big difference in your measuring results.
Understanding the Marks and Numbers
The largest numbers on your tape measure show inches. Each inch has the longest line with a number beside it.
Between these big marks are smaller lines that show fractions:
Half-inch marks are the second longest lines. I use these constantly. At 5 and a half inches, you’ll see the line after 5 that’s longer than the rest.
Quarter-inch marks are medium-length lines. They show 1/4, 2/4 (same as 1/2), and 3/4 of an inch.
Line length is your clue.
Eighth-inch marks are shorter still. They divide each inch into eight equal parts from 1/8 to 7/8.
Sixteenth-inch marks are the tiniest lines for precision work. These are those barely-there marks showing 1/16, 3/16, 5/16, and so on.
My quick-read trick: the length tells you what fraction you’re at.
- Longest = Inch marks
- Second longest = 1/2 inch
- Medium = 1/4 inch
- Short = 1/8 inch
- Shortest = 1/16 inch
Try finding 3-5/16 inches. Start at 3, find the tiny fifth line after it. That’s it! With practice, you’ll read this without counting.
How to Read a Tape Measure Step-by-Step
Step 1: Find the Closest Whole Inch
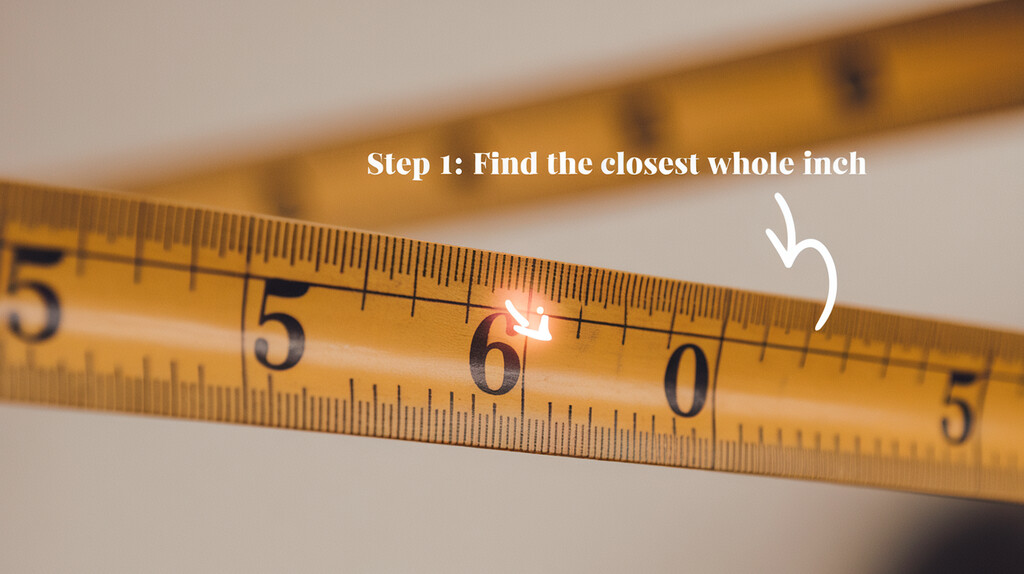
Start with the biggest number to the left of your measurement. I always look for this first. This is your whole inch number – the foundation of your measurement.
For example, if your measurement falls between 5 and 6, your base number is 5 inches.
Step 2: Count the Fractional Line
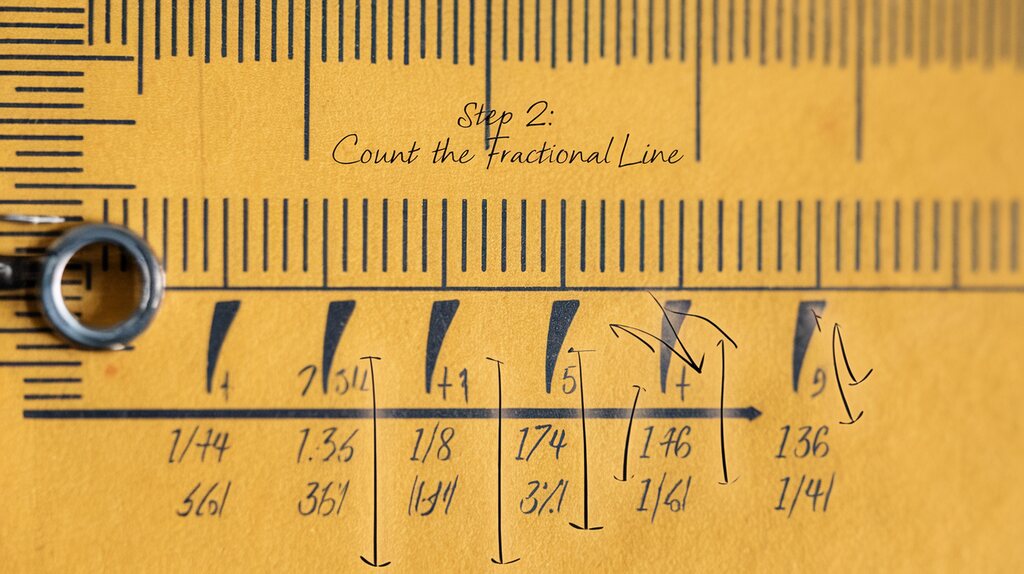
Now, look at which small line your measurement reaches after that whole number.
For 1/2 inch: Is your measurement at the longest line between numbers? That’s 1/2 inch.
For 1/4 inch: Count the medium-sized lines. The first one is 1/4, second is 2/4 (or 1/2), third is 3/4.
For 1/8 inch: Count the shorter lines. These represent eighths: 1/8, 3/8, 5/8, 7/8 (the even numbers 2/8, 4/8, 6/8 are the same as 1/4, 1/2, and 3/4).
For 1/16 inch: Count those tiny lines for precise work. Each one adds another 1/16 to your measurement.
Here’s a trick I use every day:
If you’re at the third tiny mark after the 5-inch line, you’re at 5 and 3/16 inches.
Step 3: Combine for the Final Measurement
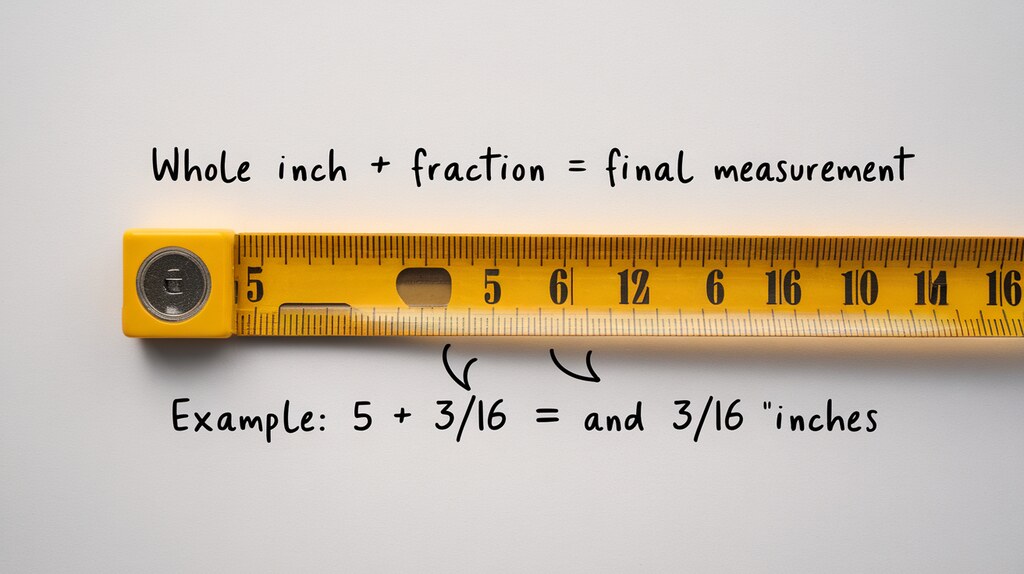
Add your whole inch number and the fraction together. That’s your complete measurement.
Whole inch + fraction = final measurement
So if you’ve counted to the 5-inch mark, and then 3 tiny lines more, your measurement is 5 and 3/16 inches.
Real-Life Example Breakdown
Let me walk you through measuring the width of a board:
- Extend the tape across the board width
- The measurement falls between the 4 and 5 inch marks
- Looking closer, it’s past the half-inch mark (4-1/2)
- It’s also past the next quarter-inch mark (4-3/4)
- It stops at the next short line after 4-3/4
- This is 4-7/8 inches
When I measure something at 4-7/8 inches, I know it’s:
- 4 whole inches, plus
- 7 of the 8 equal parts of an inch
I’ve been measuring things for years. The secret isn’t memorizing fractions—it’s practice. Try measuring five different household items right now. Say the measurements out loud as you read them. This helps your brain connect what you see with what you know.
Tips and Tools to Make It Easier
Print a fraction chart and keep it in your toolbox. I did this when starting out. Find one showing line marks with their fraction values side by side. This gives you a quick reference when you’re unsure.
Measure everyday items around your home. The width of your phone, height of a book, length of your table.
Say each measurement out loud as you read it.
I found speaking measurements helped them stick in my mind. This simple practice builds muscle memory for reading fractions quickly.
Try a beginner-friendly tape measure with fractions labeled directly on the blade. These show “1/4” or “5/16” right next to each mark. Most hardware stores carry these “easy read” tapes at regular prices.
Use this memory trick for line lengths:
- Inch marks: parents (tallest)
- Half-inch marks: teenagers (almost as tall)
- Quarter-inch marks: children (medium)
- Eighth-inch marks: toddlers (short)
- Sixteenth-inch marks: babies (smallest)
When looking at a mark, just ask: “Which family member is this line as tall as?”
Avoiding Common Measuring Mistakes
Misreading fractions happens to everyone, even me. The lines for 1/8″ and 1/16″ look similar, especially in poor light.
To avoid this: Count from the nearest inch mark. Remember that every fourth tiny line is an 1/8″ mark. When unsure, count the total lines between inch marks – there are 16 in total.
Forgetting hook movement is a basic error. The metal hook moves by design.
This small detail can ruin your measurement.
For outside measurements, the hook pulls outward. For inside measurements (like inside a window), it pushes inward. This movement equals the hook’s thickness – about 1/16″.
Measuring with a bent tape creates curved measurements longer than the actual distance. Keep your tape straight and tight. Use the lock button to maintain tension. For long spans, ask for help or try a laser measure.
Rushing without double-checking wastes materials. I follow this simple method:
- Take your measurement
- Pull the tape back
- Measure again fresh
- Compare both readings
This extra 10 seconds saves hours of work. Remember: “Measure twice, cut once” became famous for good reason.
Conclusion
Reading a tape measure comes down to two things: understanding line lengths and getting practice. The long lines show inches, and the shorter lines show fractions of an inch. With time, you’ll spot these differences instantly.
You don’t need to be good at math to master this skill. I’ve taught hundreds of people who claimed to be “bad with numbers,” and they all got the hang of it.
Now it’s your turn! Grab your tape measure and find 5 objects to measure right now. Say each measurement out loud. This simple practice will build your confidence faster than just reading about it.
Remember, everyone starts somewhere. Soon you’ll wonder why tape measures ever seemed confusing.
FAQs
What is the easiest way to read a tape measure?
The easiest way is to start by identifying the large numbered marks (inches), then look at the smaller lines in between to determine fractions like 1/2″, 1/4″, 1/8″, and 1/16″. Focus on the length of the lines—longer lines represent larger fractions.
How do you teach a beginner to read a tape measure?
Use a visual and hands-on approach. Explain each line incrementally, starting with whole inches and working down to smaller fractions. Have them practice measuring real-world objects and using a printable reference chart to memorize line lengths.
What do the tiny lines on a tape measure mean?
The tiny lines represent fractions of an inch. The shortest lines typically indicate 1/16 of an inch. Each progressively longer line represents a larger fraction (1/8″, 1/4″, 1/2″, etc.). Once you know the pattern, it becomes much easier to read.
Why does the metal end of the tape measure move?
The metal hook (called the tang) is designed to move slightly to account for its own thickness. This ensures accurate measurements whether you’re measuring from the outside of an object or the inside of a space.
Is there a tape measure specifically made for beginners?
Yes! Some tape measures have clearly labeled fractions (like 1/8″, 1/4″, etc.) and color-coded lines to make it easier for beginners. These are great tools for anyone just learning or for those who don’t want to do mental math.
How many 1/16 inches are in one inch?
There are 16 sixteenths (1/16″) in one inch. These are the shortest lines on a standard imperial tape measure and help provide precise measurements.
What if I only need rough measurements?
If you’re doing rough work like cutting wood or hanging pictures, it’s often enough to round to the nearest 1/4″ or 1/2″. You don’t always need to use 1/16″ precision unless your project requires it.