
Have you ever walked into a home and noticed how a beautifully painted staircase can instantly draw your eye and create a stunning focal point?
Learning how to paint stairs is a game-changer for your home makeover projects, allowing you to convert worn-out steps into an eye-catching feature without spending a fortune.
Whether you’re looking:
- brighten up a dark stairwell
- add a pop of color to your entryway
- or simply refresh tired-looking stairs.
Painting your stairs gives you creative control while saving money compared to replacing them or installing new carpet.
In this guide, you’ll discover how different paint techniques create various looks, from classic solid colors to bold patterns that make a statement.
By the end, you’ll have the knowledge to confidently tackle your stair painting project and add that extra touch of personality to your home.
Understanding Stair Painting
Painting stairs transforms worn-out steps into beautiful features in your home.
Unlike regular floor painting, how to paint stairs involves special preparation and techniques that ensure durability in a high-traffic area.
This simple project can hide worn wood, brighten dark stairwells, or add personality to your home’s interior.
Many people think painting stairs is only for professionals, but you can easily do it yourself! By using the right paint and proper preparation, you can create a staircase that stands up to daily use while looking fantastic.
Stair painting works well for wooden staircases, concrete steps, or even updating previously painted stairs.
Whether you want a traditional look or bold design, learning how to paint stairs gives you endless creative options for your home improvement projects.
Step-by-Step Guide: How to Paint Stairs for Your Projects
Want to refresh your staircase with a new look? Learning how to paint stairs is easier than you might think.
Follow these simple steps to transform your staircase into a beautiful feature in your home.
Step 1: Gather Your Materials
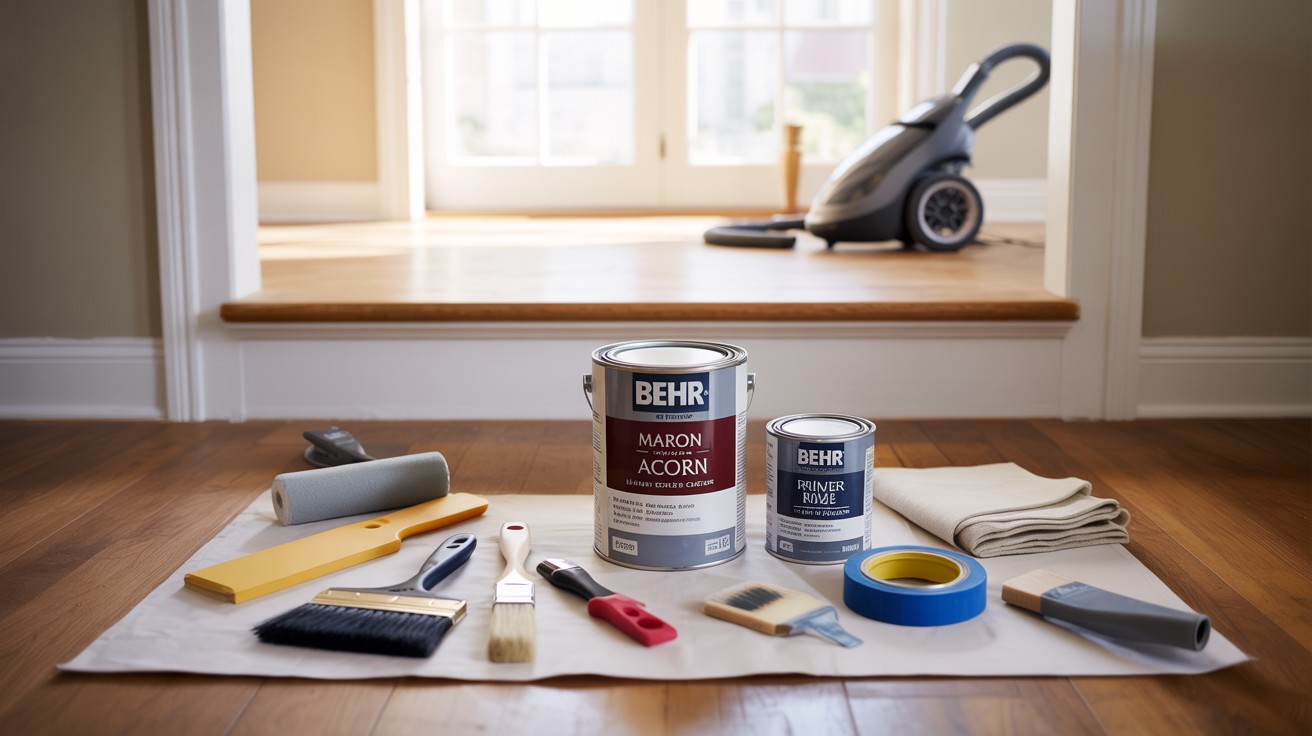
- Choose a floor paint – specially formulated floor or porch paint works best for stairs
- Select primer designed for high-traffic areas
- Get sandpaper (medium and fine grit)
- Have paintbrushes and small rollers ready
- Painter’s tape for clean edges
- Cleaning supplies (vacuum, cleaner, rags)
- Don’t forget protective gear like gloves and a mask
Step 2: Prepare Your Stairs
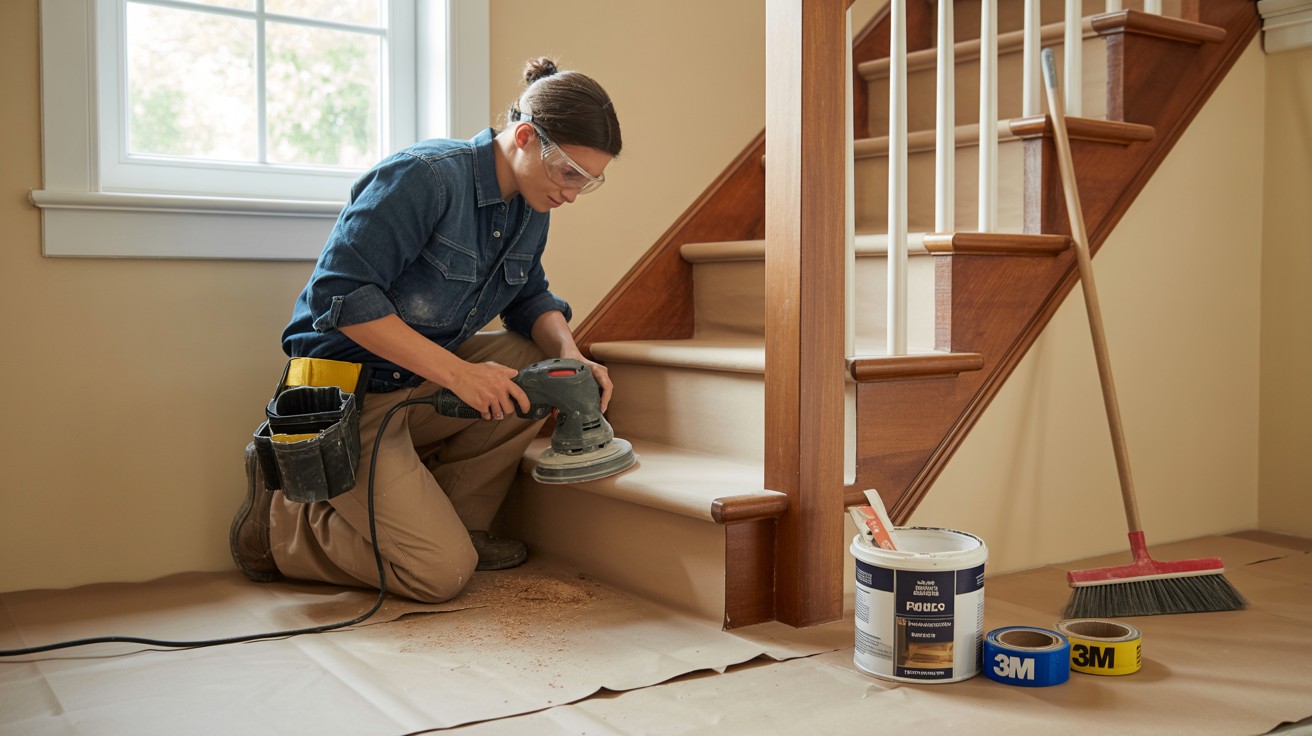
- Remove any carpet, tacks, or staples from the stairs
- Clean the stairs thoroughly to remove all dirt and dust
- Sand the entire surface to help the paint stick better
- Fill any holes or cracks with wood filler and let dry
- Sand the filled areas until smooth
- Vacuum and wipe down to remove all dust before painting
Step 3: Prime Your Stairs

- Apply painter’s tape to areas you don’t want painted (like walls or railings)
- Start at the top stair and work your way down
- Apply an even coat of primer to each stair, including risers
- Let the primer dry completely according to the product instructions
- For best results, lightly sand the surface after priming
- Clean up any dust before applying paint
Step 4: Paint Your Stairs

- Start painting from the top stair down to avoid stepping on wet paint
- Apply the first coat in thin, even layers
- Paint risers first, then stair treads (the part you step on)
- Use a brush for edges and corners, and a small roller for flat surfaces
- Let the first coat dry completely before applying a second coat
- Apply at least two coats for durability in this high-traffic area
Remember, when learning how to paint stairs, patience is key! Allow proper drying time between coats to ensure a long-lasting finish.
Which Paint is Best for Stairs
Paint Type |
Best For |
Key Features |
Notes |
Specialist Floor Paint |
Stair treads (high-traffic areas) |
Durable, non-slip, designed for floors |
Ideal for safety and longevity on treads |
Semi-Gloss Paint |
Risers and sometimes treads |
Easy to clean, moisture resistant, shiny finish |
Can be slippery on treads; add non-slip coating if used on steps |
Oil-Based Paint |
Hardwood stair treads |
Hard, durable finish, resists wear and tear |
Longer drying time, strong odor, excellent adhesion |
Water-Based Acrylic |
Risers and light-traffic stairs |
Fast drying, wide color range, environmentally friendly |
Less durable than oil-based but good for risers |
Epoxy Coatings |
Stairs requiring extreme durability |
Chemical resistant, very durable, slip-resistant |
Requires more prep and careful application |
Tips and Tricks for Best Results
When working on how to paint stairs, these simple tips will help you get professional-looking results.
Learning how to paint stairs is easy, but these pointers will take your project to the next level:
- Consider painting alternate stairs so you can still use your staircase during the project
- Use porch or floor paint for stair treads – it’s made to handle foot traffic
- Add a little sand to your paint for better grip on stairs
- For wood stairs, always paint in the direction of the wood grain
- Apply thin coats rather than one thick coat for better durability
- Let paint cure fully (usually 24-48 hours) before using the stairs
- Consider using stencils or painter’s tape to create patterns
- Seal your painted stairs with a clear polyurethane for extra protection
- Don’t rush – proper drying time between steps is crucial for a lasting finish
Conclusion
Now that you know how to paint stairs, you’re ready to transform one of the most used but often overlooked areas in your home.
We’ve covered everything from basic materials and preparation techniques to creative design ideas and professional tips for success.
By painting your stairs yourself, you’ll save money while gaining complete creative control over your home improvement project.
Whether you’re going for a clean, fresh look, a bold color statement, or an artistic pattern, painted stairs add that special touch that makes your home uniquely yours. Don’t be afraid to experiment with different colors or techniques to discover your favorite look!
Have you tried painting stairs at home?
Share your projects and questions in the comments below, or subscribe for more DIY home improvement tutorials delivered straight to your inbox!
Frequently Asked Questions
Do I Need to Remove all the Old Paint Before Painting Stairs?
Not necessarily! If the old paint is in good condition (not peeling or chipping), you can sand it lightly and paint right over it. Just make sure to clean thoroughly and use primer first.
How Long Until I Can Walk on My Newly Painted Stairs?
Most stair paint needs 24-48 hours to dry enough for light foot traffic. For full hardness and durability, wait 3-7 days before placing furniture or heavy items on the stairs.
Can I Paint Over Stained Wood Stairs?
Absolutely! Just make sure to sand the surface first to remove the glossy finish, then apply a good primer before painting. This helps the new paint stick properly to the previously stained wood.
What’s the Best Paint Finish to Use for Stairs?
Semi-gloss or satin finishes work best for stairs. These finishes are easier to clean than flat paint and provide some shine without being too slippery. They also hide scuffs and dirt better than matte finishes, making them perfect for high-traffic stairways.
Is It Better to Use a Brush or Roller When Painting Stairs?
Use both! A small roller helps you cover the flat surfaces quickly and evenly, while a quality paintbrush is essential for corners, edges, and detailed areas. For the best results when learning how to paint stairs, use a brush for the edges and hard-to-reach spots, then a roller for the larger flat areas.