
Is your kitchen constantly cluttered with food items scattered across countertops and in random cabinets? You’re definitely not alone!
Many homeowners struggle with kitchen organization, especially when it comes to food storage. But building your own diy pantry shelves is an affordable solution that doesn’t require professional carpentry skills.
With just a few basic tools, some everyday materials, and a single afternoon, you can create custom storage that perfectly fits your space and needs.
In this guide, you will get how to build custom pantry shelving that cost less than $80 and completely revolutionized my kitchen workflow.
Whether you’re working with a tiny apartment kitchen, want to transform a closet into a pantry, or need to maximize an existing pantry space.
These budget-friendly diy pantry shelves will help you create organized, accessible storage that makes cooking a joy rather than a frustrating scavenger hunt.
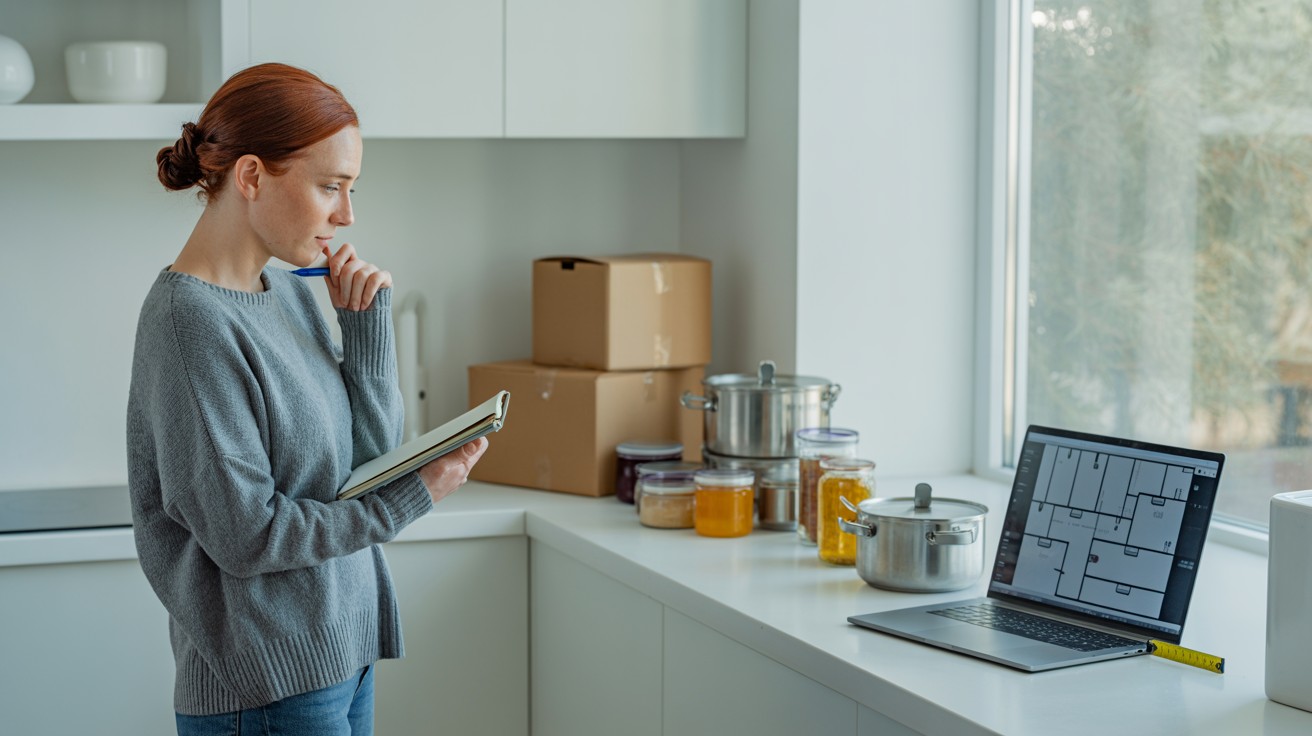
Understanding Your Storage Needs
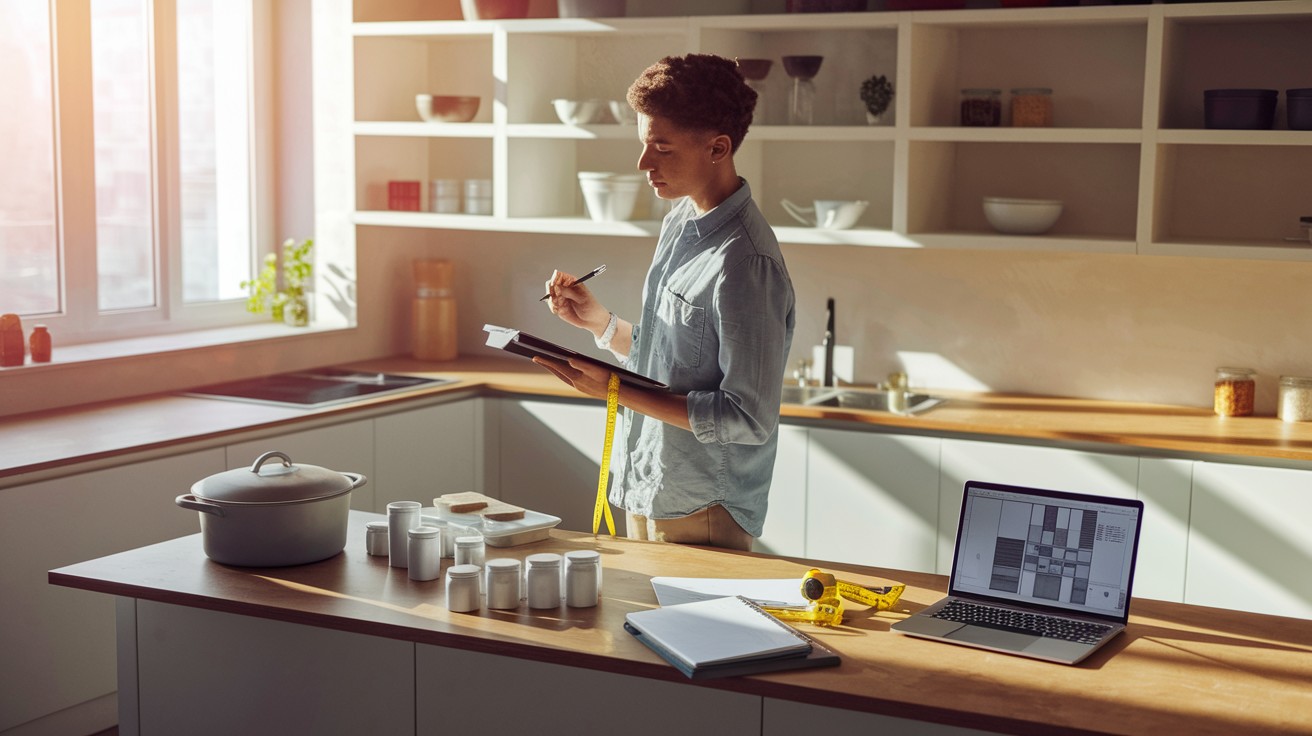
Before rushing to the hardware store, take time to evaluate your specific pantry requirements.
- What items do you need to store
- How much space do you actually have
- What’s your cooking style
Answering these questions helps design diy pantry shelves that truly work for your lifestyle.
Take detailed measurements of your intended pantry space, width, height, and depth.
Don’t forget to note any obstacles like light switches, outlets, or vents that might affect your shelf placement.
This planning stage will guide your material choices and shelf configuration, helping you create diy pantry shelves that maximize every inch of available space.
With thoughtful planning, your diy pantry shelves will be both beautiful and perfectly functional for your specific needs.
Materials and Tools You’ll Need
Essential Tools:
- Tape measure
- Level
- Drill/driver
- Saw
- Stud finder
- Screwdriver
- Safety glasses
Basic Materials:
- Wood boards (pine or plywood)
- Wood screws
- Wall anchors
- Shelf brackets
- Wood glue
- Sandpaper
- Paint or stain
- Sealer
Optional Items:
- Shelf liner
- Storage baskets
- Labels
- Trim pieces
Building Your DIY Pantry Shelves: Step-by-Step
Step 1: Prepare Your Space
- First, clear out the area completely
- Remove any existing shelving or hardware
- Repair any wall damage and clean thoroughly
- A fresh coat of paint can brighten the space before you begin installation
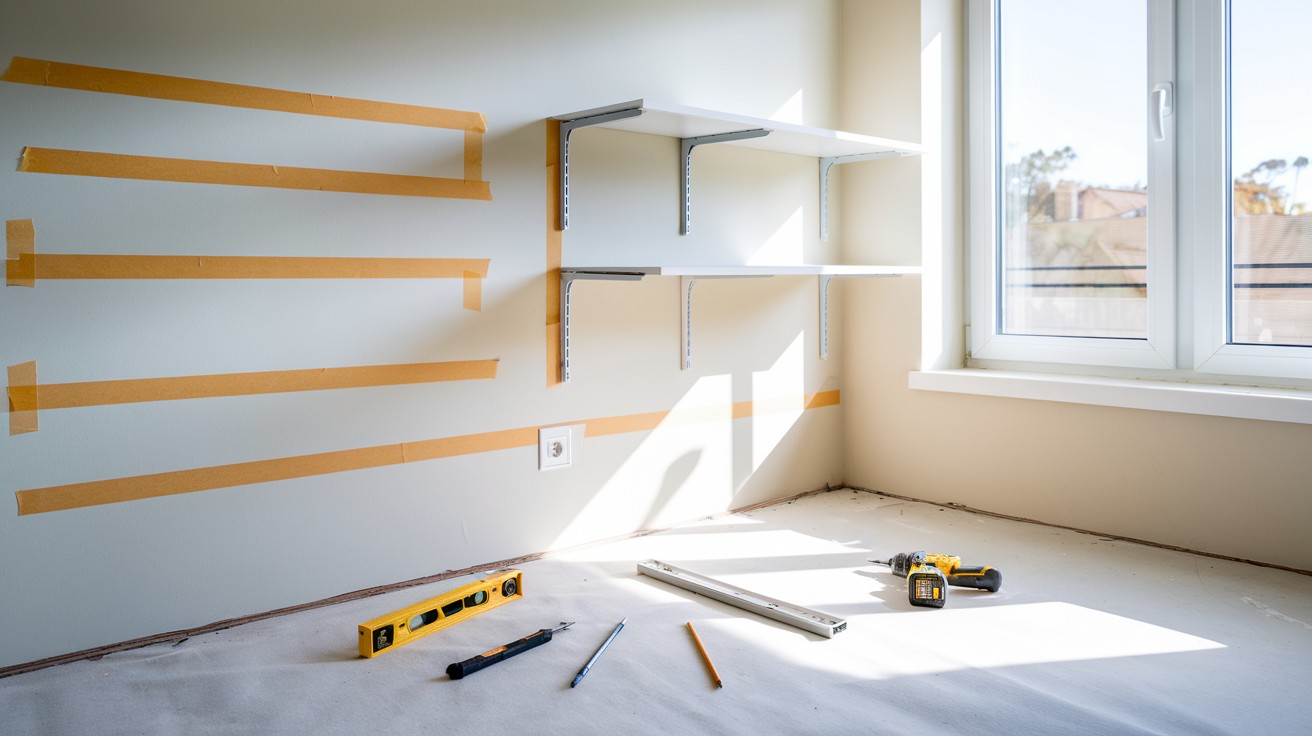
Step 2: Mark Your Layout
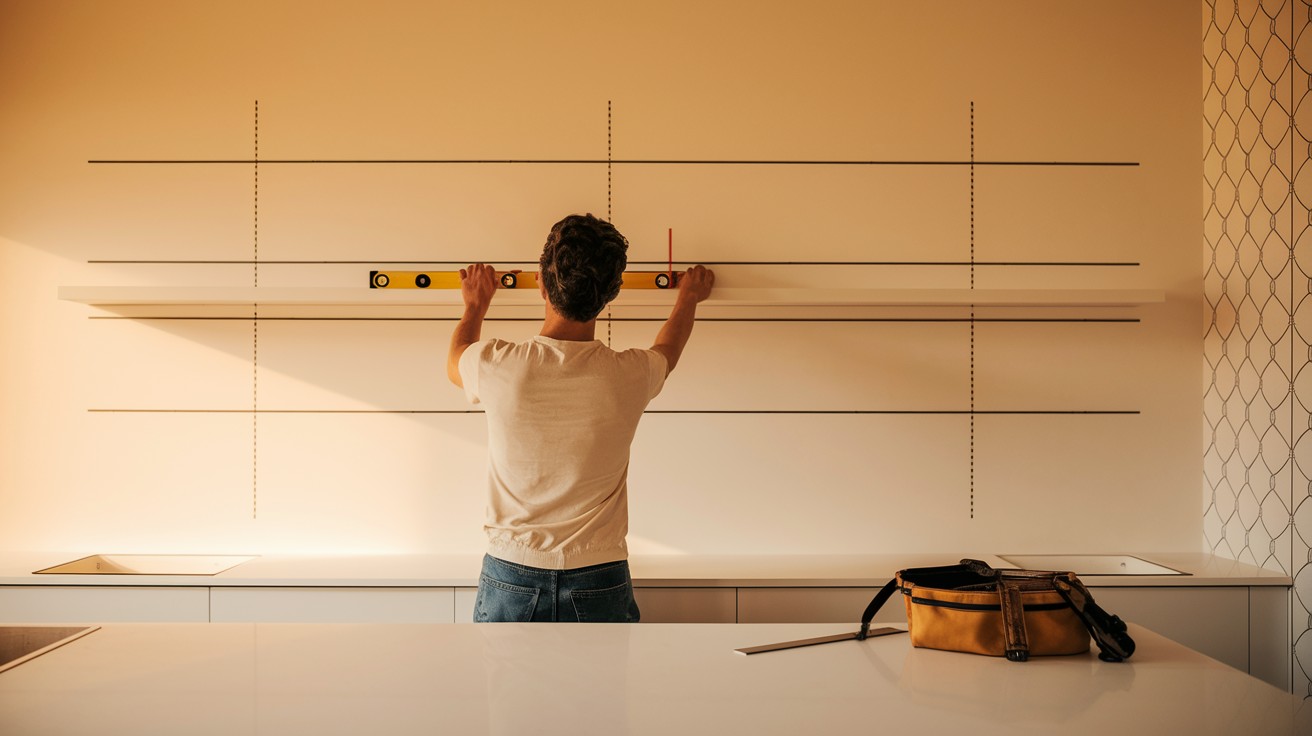 Install Support Systems
Using your measurements from the planning stage:
- Draw level lines on the wall where each shelf will sit
- Mark stud locations with your stud finder
- Consider varying shelf heights based on what you’ll store
- Leave at least 12-18″ between shelves for standard items
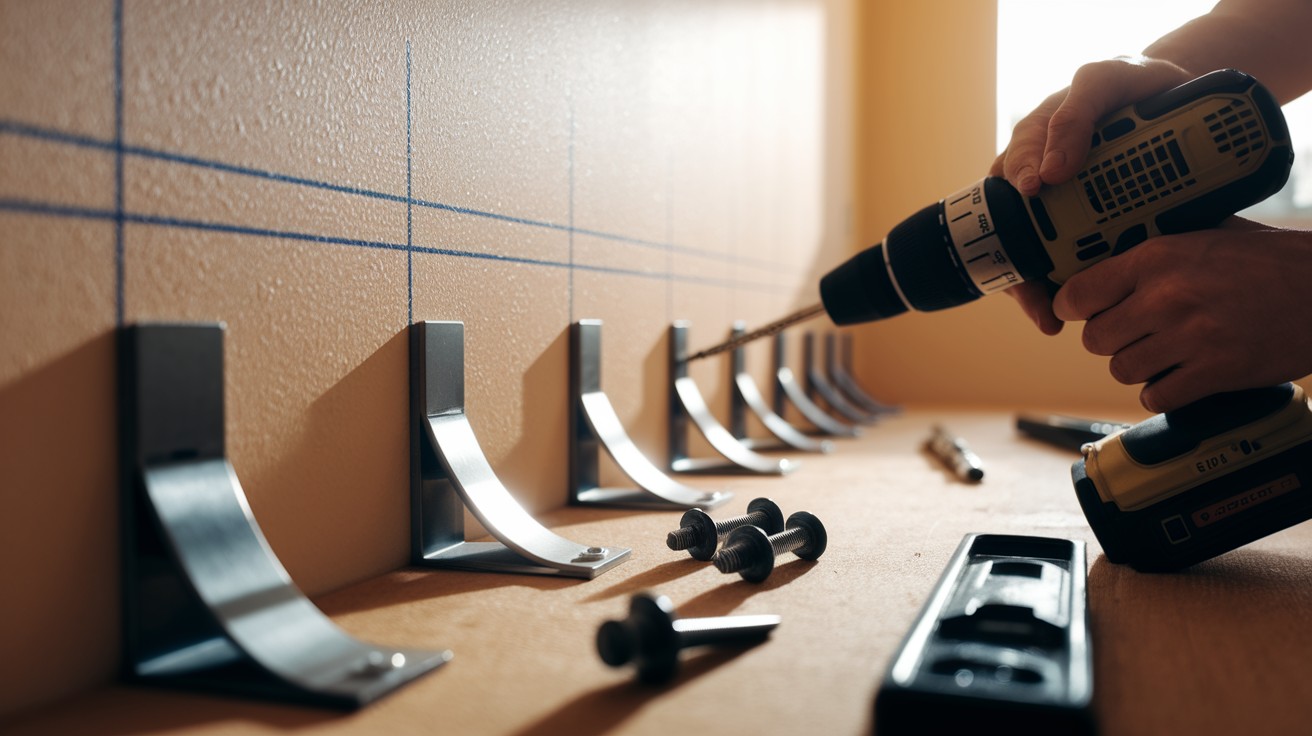
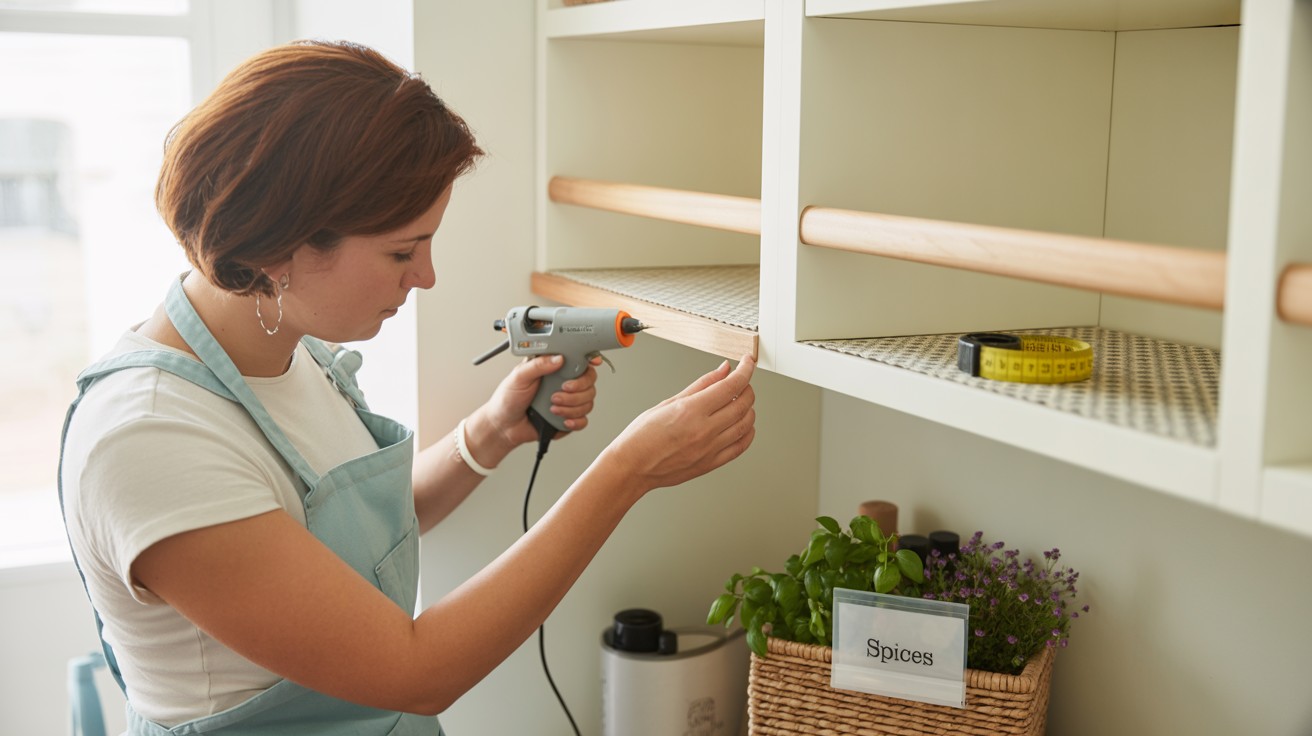
Step 3: Install Support Systems
You have several options for supporting your diy pantry shelves:
Bracket Method:
- Attach brackets to studs whenever possible for maximum strength
- Use appropriate wall anchors when studs aren’t available
- Ensure brackets are level and securely fastened
- Space brackets no more than 24″ apart
Cleat Method:
- Cut 1×2″ wood strips (cleats) to run along the back and side walls
- Attach cleats to the wall at your marked heights, screwing into studs
- These will form an “L” shape support under your shelves
Step 4: Cut Your Shelf Boards
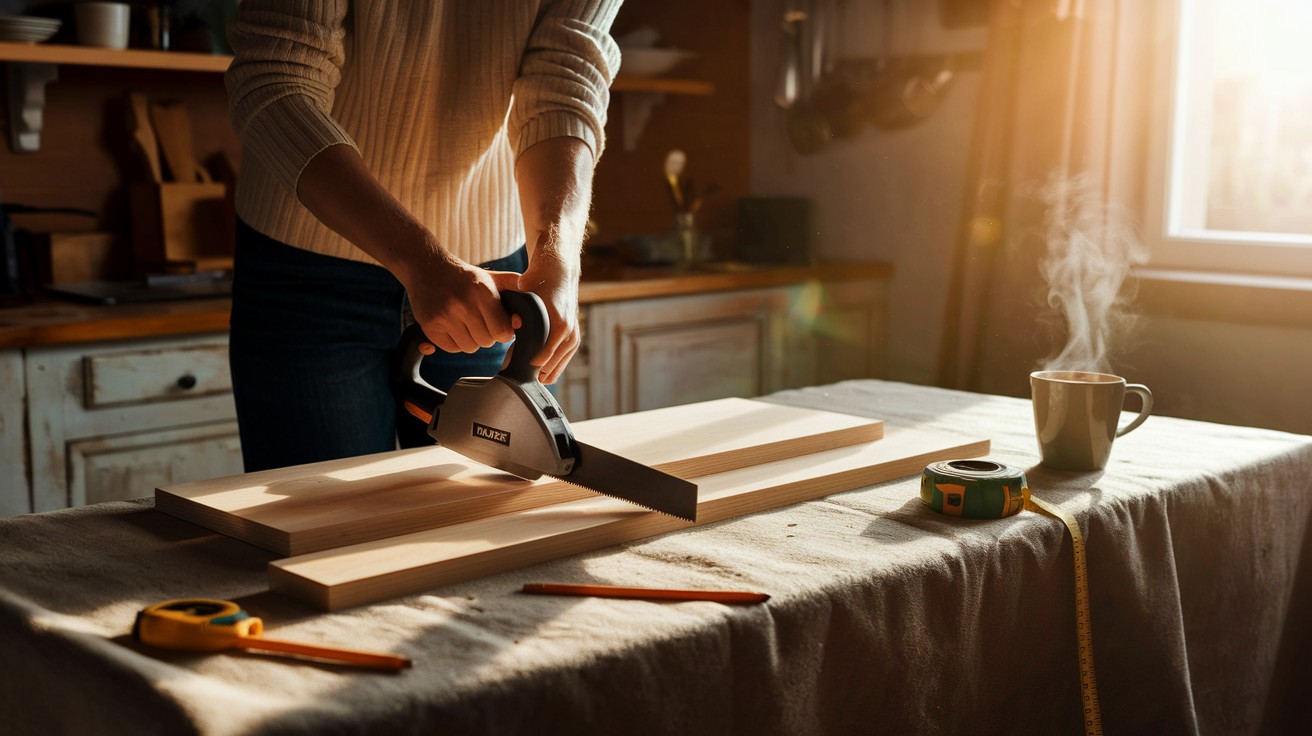
- Measure the space between supports precisely
- Cut your boards to size, allowing for a slight gap at walls (¼”)
- For deeper shelves, you may need to join boards together
- Sand all edges smooth to prevent splinters
Step 5: Finish Your Shelves
Before installation:
- Sand shelves thoroughly
- Apply wood filler to any gaps or imperfections
- Sand again once filler is dry
- Apply primer if you’re painting
- Paint or stain according to your kitchen’s color scheme
- Finish with 2-3 coats of polyurethane for durability
- Allow to dry completely between coats
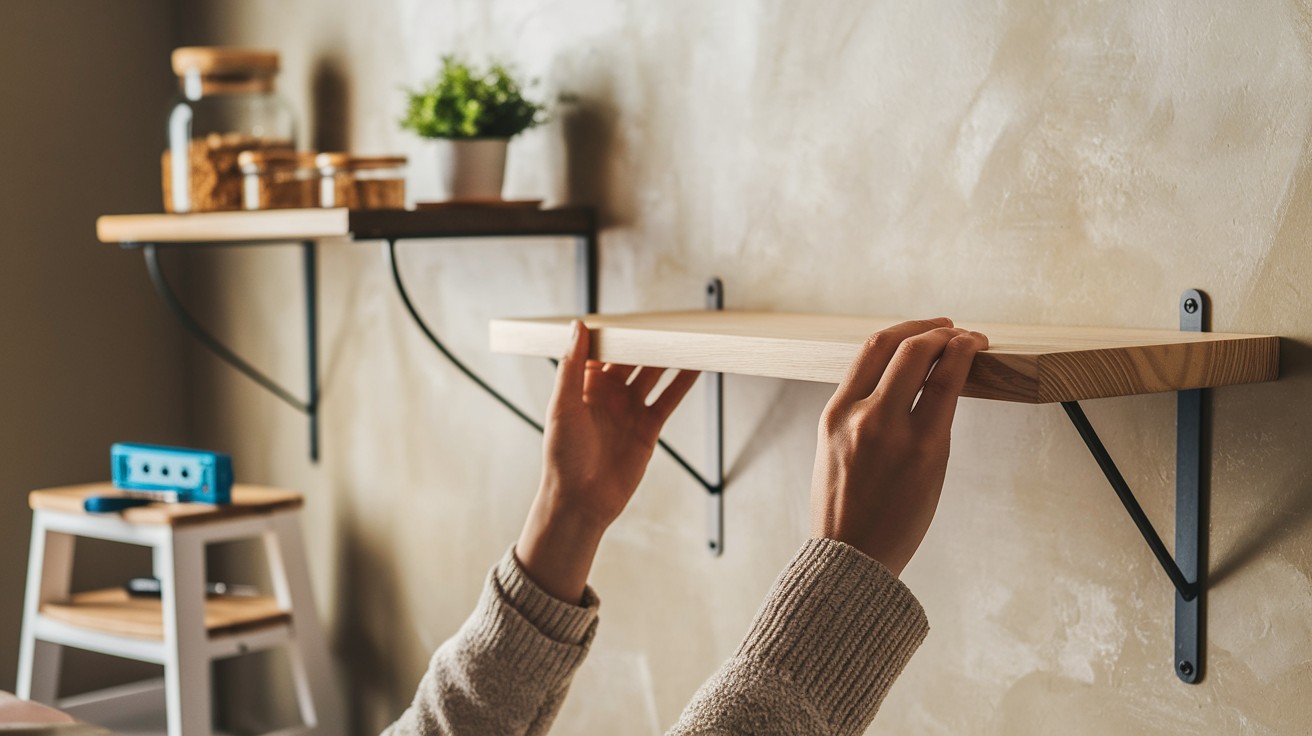
Step 6: Install Your Shelves
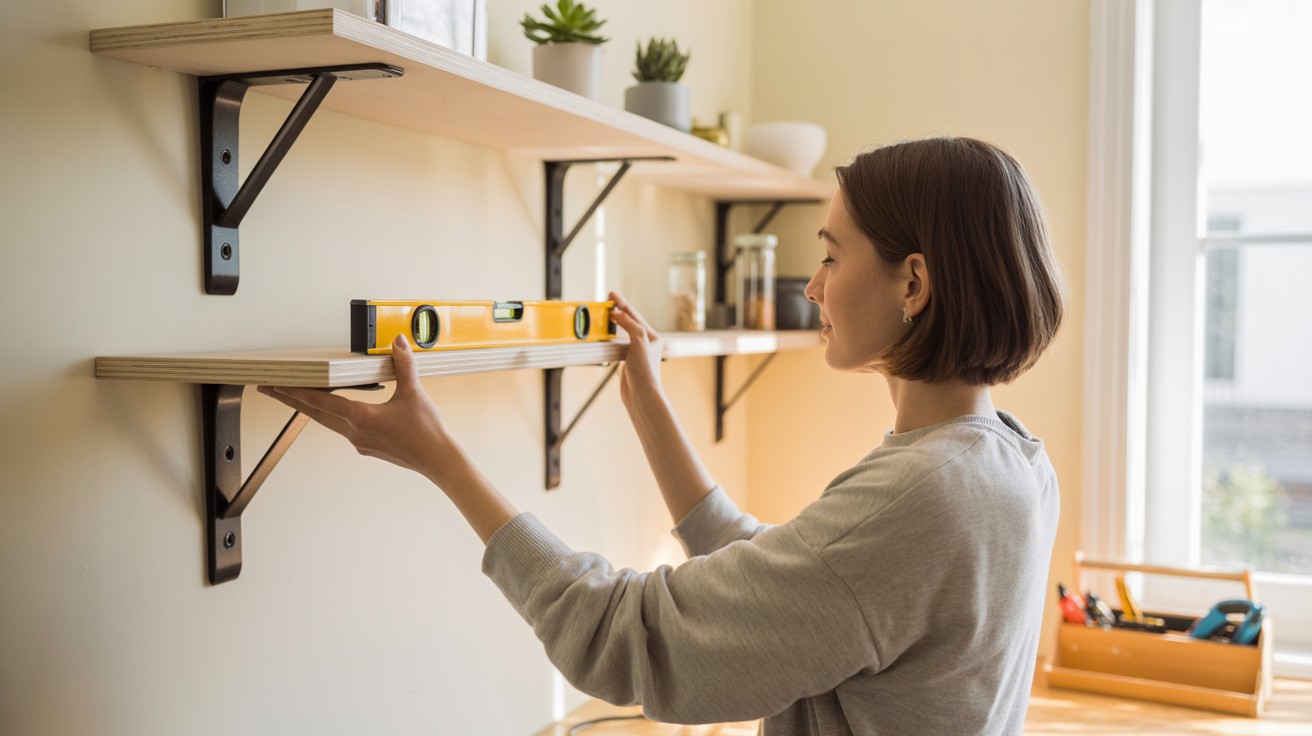
- Place shelves on their supports
- Check that each shelf is level
- Secure shelves to brackets or cleats with screws
- For fixed shelves, you can add screws through the back cleat into the shelf
- For adjustable shelves, use shelf pins or track systems instead
Step 7: Add Finishing Touches
- Install trim pieces on visible shelf edges for a polished look
- Add shelf liner to prevent items from sliding
- Consider small guardrails for top shelves to prevent items from falling
- Label sections for easy family organization
Cost Comparison of Pantry Shelves
|
Project Type |
DIY Cost |
Professional Cost |
Savings |
|
Basic fixed shelving (5 shelves) |
$60-80 |
$200-300 |
$120-240 |
|
Adjustable system |
$70-120 |
$250-400 |
$130-330 |
|
Custom pantry build-out |
$100-200 |
$500-1,200 |
$300-1,100 |
|
Door storage system |
$25-40 |
$75-150 |
$35-125 |
|
Rolling pantry cart |
$50-80 |
$150-250 |
$70-200 |
Smart Pantry Organization Systems
Transform your diy pantry shelves into an efficient storage system with these simple organization strategies.
Zone Your Pantry
Create designated areas for different food categories like baking supplies, breakfast items, and canned goods. This simple zoning makes finding ingredients quick and helps maintain order, even with multiple family members using the pantry.
Use Clear Containers
Store dry goods in transparent, airtight containers that show contents at a glance. These stackable solutions maximize space, keep food fresher longer, and create a clean, uniform look that makes your pantry instantly more appealing.
Implement a Rotation System
Place new purchases behind older items and label with dates. This “first in, first out” approach prevents food waste and ensures you’re always using ingredients at peak freshness.
Common DIY Pantry Shelves Mistakes to Avoid
- Not using enough support for heavy items
- Making shelves too deep (over 16″)
- Placing shelves too close together or too far apart
- Wasting corner spaces
- Using weak materials like particle board
- Forgetting to seal wood surfaces
- Attaching shelves to drywall instead of studs
- Building without measuring or planning
- Making shelves too narrow for your items
- Poor ventilation causing moisture buildup
Enhancing Your DIY Pantry Shelves
Take your project to the next level with these optional upgrades:
Lighting Solutions
- Install battery-operated LED strip lights under shelves
- Add motion-sensor lighting that activates when you open the door
- Use puck lights in dark corners
Smart Labeling
- Create a consistent labeling system for containers
- Use chalkboard paint on shelf edges for changeable labels
- Print category labels for zones and bins
Specialized Storage
- Add wine rack inserts for bottle storage
- Install pull-out baskets for fruits and vegetables
- Incorporate divided drawers for small package organization
Maintaining Your Pantry System
Keep your diy pantry shelves functioning beautifully with these maintenance tips:
- Wipe shelves clean monthly to prevent crumbs and dust buildup
- Check for loose brackets or supports every six months
- Reorganize seasonally, moving current cooking items to eye level
- Re-evaluate your system yearly, adjusting to changing family needs
- Refresh shelf liners as needed to maintain a clean appearance
Conclusion
Creating diy pantry shelves is an achievable weekend project that delivers immediate benefits to your daily life.
No more hunting for ingredients, no more forgotten items expiring at the back of cabinets, and no more cluttered countertops.
With some basic tools, affordable materials, and the step-by-step guidance from this article, you can build custom pantry storage that perfectly fits your space and cooking style.
The best part? Your diy pantry shelves can evolve as your needs change. Start simple, then add organizers, dividers, or specialized storage over time to create a continuously improving kitchen system.
Ready to transform your kitchen storage? Start planning your diy pantry shelves this weekend and enjoy a more organized, efficient cooking space for years to come!
Frequently Asked Questions
How Much Weight can DIY Pantry Shelves Hold?
Properly constructed diy pantry shelves using ¾” plywood or solid wood with supports every 24″ can hold 35-50 pounds per linear foot. For heavier loads, decrease the span between supports and use thicker materials.
What’s the Best Shelf Depth for a Pantry?
The ideal depth for pantry shelves is 12-16″. This allows you to see all items without having to move things aside. For canned goods, 10″ is sufficient, while cereal boxes and small appliances need 14-16″ depth.
Should Pantry Shelves be Fixed or Adjustable?
Adjustable shelving offers more flexibility to change your storage configuration as needs evolve. Fixed shelving provides maximum strength for heavy items. A combination works best—fixed shelves for heavy staples and adjustable shelves for varied items.
Can I Build Pantry Shelves if I’m Renting?
Yes! Create free-standing shelf units that sit against the wall without permanent installation. Alternatively, use tension rod systems or over-the-door organizers. These solutions add storage without damaging walls.
How can I Maximize a Very Small Pantry Space?
Use every vertical inch with shelves spaced for your specific items. Install narrow shelves on doors. Use stackable containers. Consider pull-out drawer systems that bring back-of-shelf items forward. Label everything so items have a designated “home.”