
An organized laundry room can transform your cleaning routine, but custom cabinetry often comes with a hefty price tag. After struggling with clutter, constantly knocking over detergent bottles, and lacking counter space for folding clothes, I decided to take matters into my own hands.
Inspired by an expensive cabinet set I couldn’t afford, I embarked on building my custom storage solution. This project allowed me to create exactly what I needed while staying within my budget.
If you’re looking to maximize storage and give your laundry area a functional upgrade, this step-by-step guide will walk you through the entire process, from planning to completion.
Step 1: Planning and Designing the Cabinets
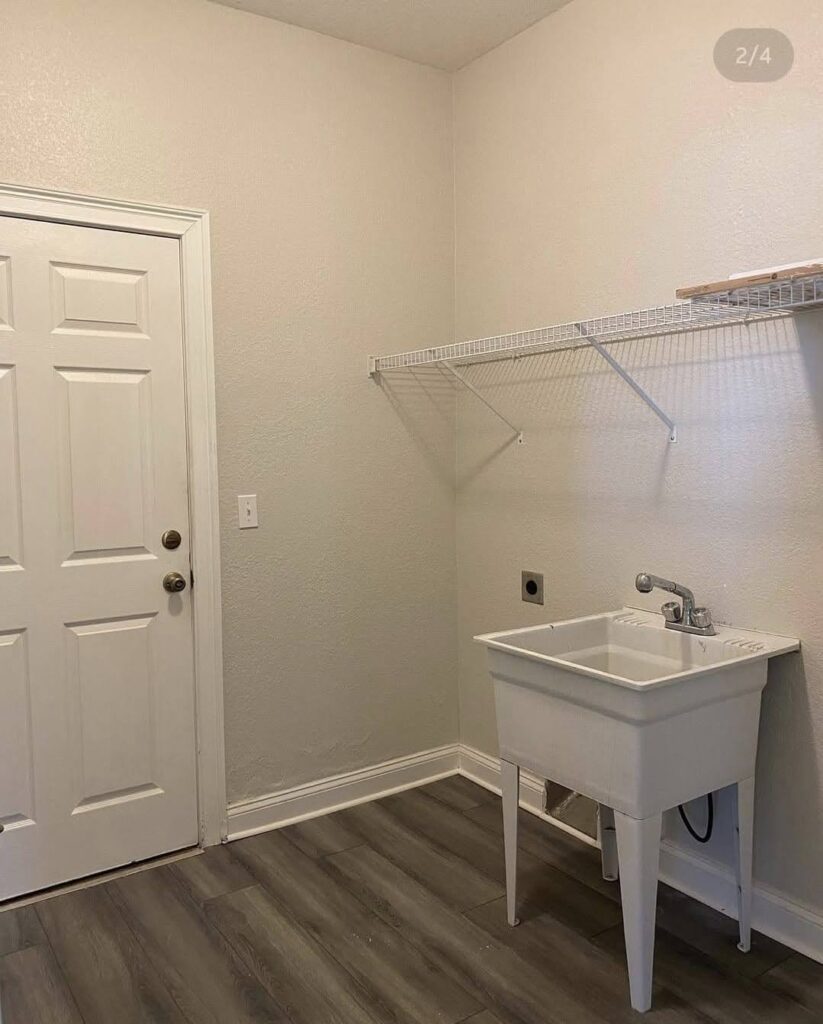
The first order of business for me was surveying my laundry area. So easy homemade cabinets for keeping supplies, a hanging area for folded extra towels or any other clutter-inducing accoutrements, and a gleam of finish where everything belonged not one step out of the room.
After laying out just some basic structure for the purpose with measurements up to the scale in the intended place, end. I looked up several styles of cabinets and found that simple shaker-style doors would be the easiest to make and look elegant.
With little floor space, I decided on wall-mounted cabinets ,freeing up the floor space for a folding station underneath. If you’re working in a small space, consider tall, narrow cabinets that take advantage of vertical storage.
A little planning goes a long way, so be sure to think about your daily laundry routine when designing your layout.
Step 2: Gathering Materials and Tools
Before starting, I make a checklist of materials and tools. Here’s what I used:
Materials:
- Plywood
- Cabinet hinges
- Screws
- Wood glue
- Sandpaper
- Primer
- Paint
- Handles
Tools:
- Circular saw
- Drill
- Measuring tape
- Level
- Clamps
- Stud finder
- Paintbrush
Saving money is always the main priority, so checking for local discounts at home improvement stores did not hurt.
I even found some repurposed wood from an old bookshelf I no longer needed ,even knowing that it was sturdy enough by sight inspection for cracks and warping, and previous damage.
The surface was sound, but it had to be sanded down, and cuts in a few places got it to work out. It took much effort to adapt the bookshelf panels into the cabinet pieces ,as accurate measurements and trim were taken of it them nicely into the design.
I also learned that using high-quality wood glue made a huge difference in the strength of the DIY laundry room cabinets.
If youre on a tight budget, consider checking salvage yards or asking around for leftover materials from other DIYers. Buying secondhand cabinet handles and hinges also helped me save money without compromising on quality.
Step 3: Building the Cabinets
I began by cutting my plywood into panels for the sides, top, and bottom of the cabinets. I marked all my cuts carefully using a measuring tape and a straight edge to avoid mistakes.
Using a circular saw, I made precise cuts, then sanded down any rough edges for a clean finish. I then started assembling the main frame.
On the edges of the panels, I applied some wood glue ,and then i led them together to ensure a stable build. When I first attempted this, I did not use clamps sufficiently, which left the pieces not perfectly aligned.
Lesson learned here: patience is a virtue, and precision is king! Corner clamps helped ensure everything was square while the glue dried.
Once the frame was stable, I added shelves inside with pocket hole screws for further stability. Before screwing, pre-drilled holes were made to avoid wood splitting.
The doors were the most difficult ,requiring precise fitting to avoid awkward gaps. I finally completed it by installing hinges and adding the doors with secure screws. I would love soft-close hinges ,but for now, I’ll keep it simple.
Step 4: Painting and Finishing Touches
Now that the cabinet structure is done, it’s the fun part painting! A crisp white paint will add a beautiful ,bright touch to your laundry room. If you want something farmhouse or rustic, consider using natural wood stain.
I sanded everything down again to have a smooth finish. I then applied primer ,which would ensure the paint would stick well and not cause moisture damage.
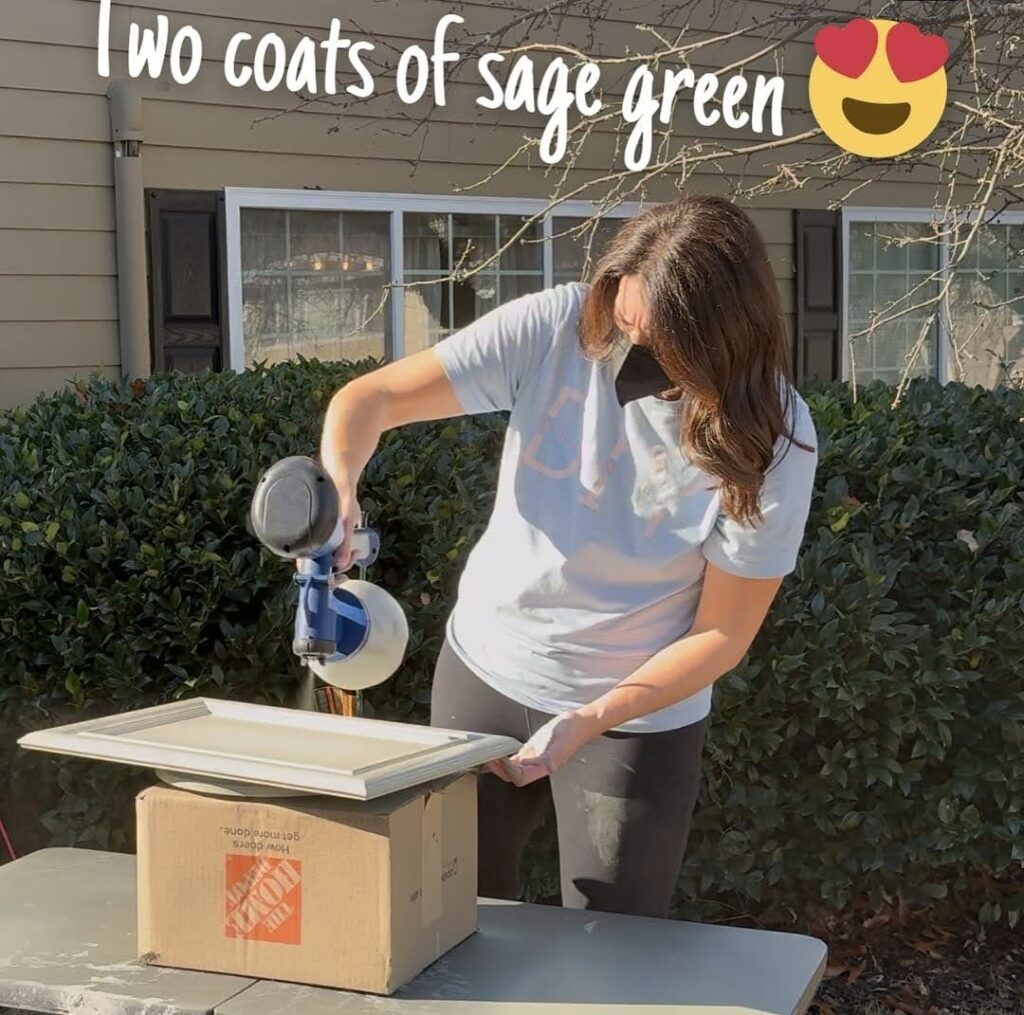
After that, I applied two coats of paint, allowing proper drying time between each layer. I used a small foam roller for an even finish and a brush to reach corners.
Finally, I added sleek black handles for a modern look. Those little details made those DIY laundry room cabinets look professionally done, though!
I also applied a clear polyurethane sealant to protect the paint from moisture and daily wear and tear.
Step 5: Mount and Organize
It was relatively easier to hang the cabinets on the wall than I had expected. Using a stud finder ensured that the screws would go through the wall studs for solid anchoring.
Using a friend as a ‘second pair of hands’, we leveled the cabinets for proper straight placement, then proceeded to screw directly through the back of the cabinets into the wall studs for substantial support.
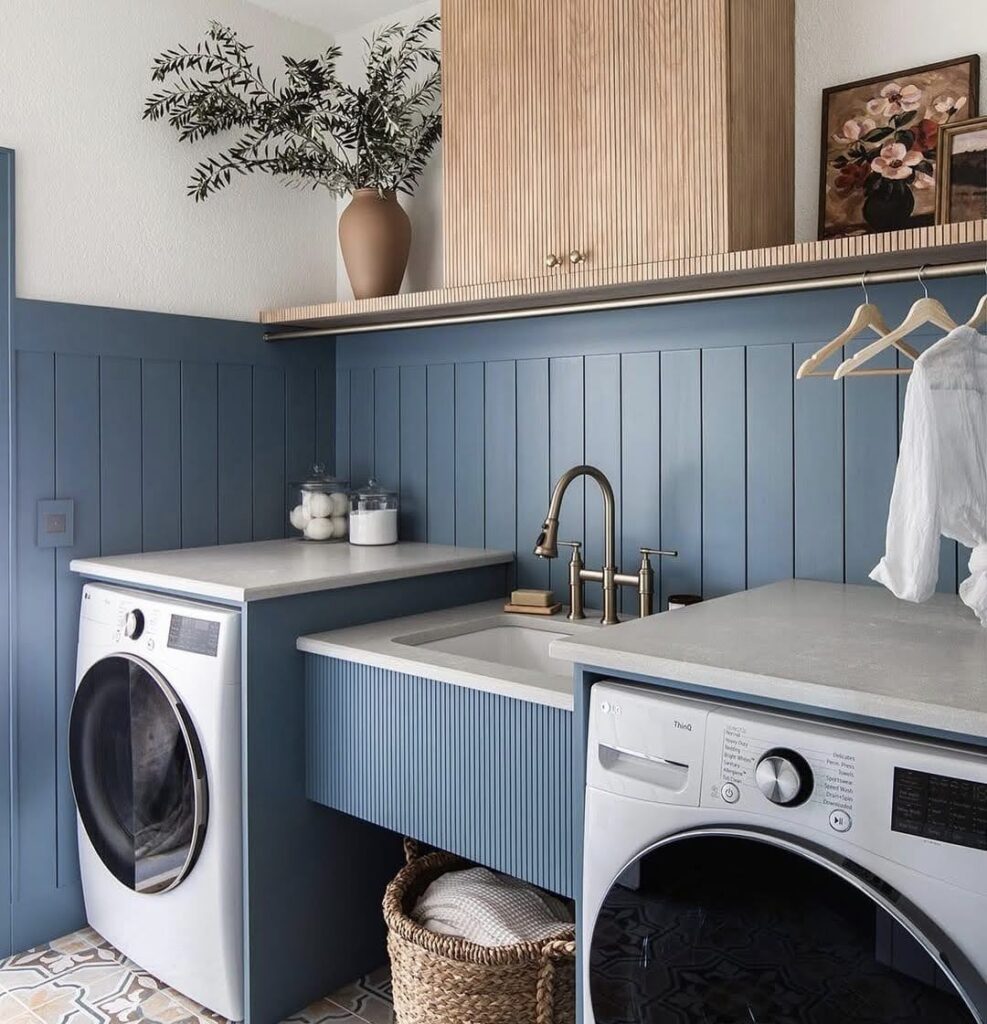
Once up, I organized my laundry supplies: detergents and stain removers in one section, extra towels in another, and small baskets for socks and lost items.
I even added hooks on the side to hang reusable bags and a pull-out drying rack underneath for convenience. If you have open shelving, using matching storage bins can keep things tidy and visually appealing.
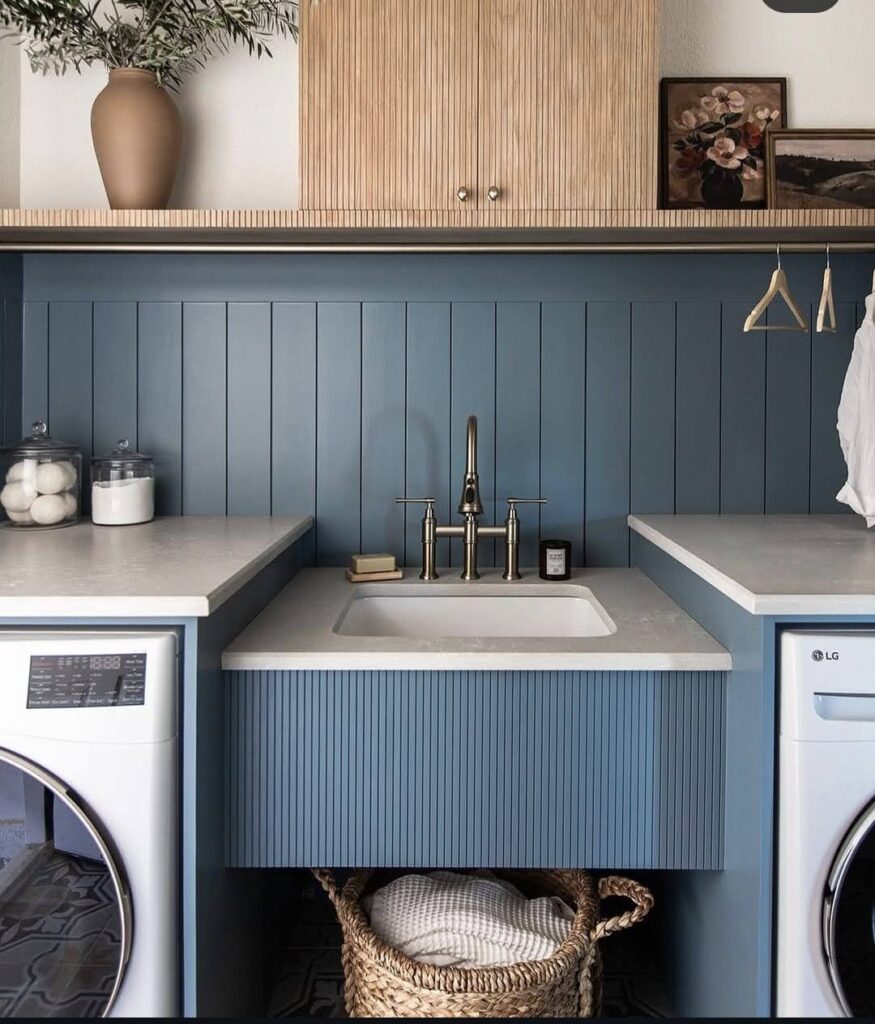
The Final Look My Take away
The transformation is remarkable, more cluttered countertops or missing socks! These DIY laundry room cabinets not only provide the storage I desperately needed but also give the space a polished, put-together appearance.
If I were to do this project again, I’d invest in soft-close hinges to prevent door slamming, but overall, I’m thrilled with the results. The greatest reward is the sense of accomplishment I feel every time I use the space. What was once a source of frustration is now a point of pride, something I built with my own two hands. If you’ve been hesitating to tackle this project, I encourage you to give it a try. The satisfaction of creating a custom solution for your home is worth the effort.
FAQs
1. How much did this DIY project cost?
I spent around $150, but costs vary based on the materials and tools you already have. If you use repurposed wood or find second-hand hardware, you can save even more.
2. Do I need advanced woodworking skills to make DIY laundry room cabinets?
Nope! If you measure right and don’t rush, it’s a very beginner-friendly project. A few video tutorials do wonders for confidence, too.
3. What is the best material for making DIY laundry room cabinets?
Plywood is cheap and holds up well. MDF is smoother for painting. Solid wood is a good option if you don’t have a budget concern.
4. How do I make sure my DIY laundry room cabinets will hold up in a humid laundry room?
Use moisture-resistant paint, seal the wood properly, and think about ventilation to prevent warping. Adding a dehumidifier can also help.
5. What if I don’t have space for big cabinets?
Use floating shelves, wall-mounted baskets, or a narrow pull-out cabinet for small spaces. Vertical storage is key for maximizing space in a compact laundry area.
Discover creative DIY laundry room cabinet ideas to maximize storage and style. Build custom cabinets with budget-friendly materials and easy step-by-step guides. Upgrade your laundry space today!”
Conclusion
Building DIY laundry room cabinets has been one of my most rewarding home improvement projects. It allowed me to save money while creating custom storage that perfectly fits my space and needs. Though it required time and patience, the results far exceeded my expectations.
This budget-friendly upgrade has completely transformed my laundry routine by adding both functionality and style to a previously chaotic space. With some planning, basic tools, and the right materials, you can achieve similar results in your own home. Don’t be intimidated by the process; take it step by step, and you’ll soon enjoy the benefits of a well-organized laundry room tailored to your specific requirements.