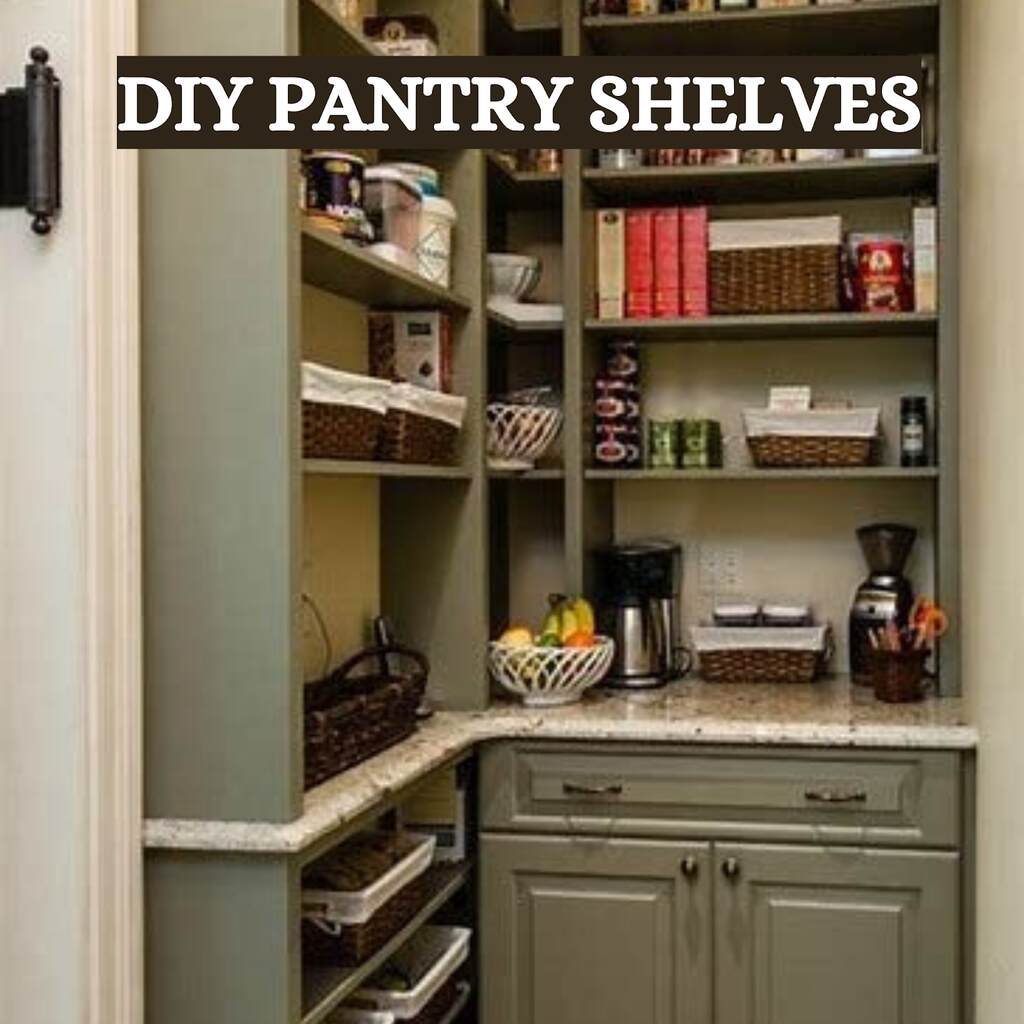
In this blog, I’ll share how I transformed my cluttered pantry with DIY shelves—and why you should too.
Store-bought options were either too pricey or didn’t fit my space, so I built my own. The result? Affordable, custom storage made a huge difference. If you’re struggling with a messy pantry, I’ve got you covered! I’ll walk you through the simple steps to create sturdy, budget-friendly shelves that perfectly suit your needs.
Let’s get started.
Tools and Materials You’ll Need
Before we dive in, let’s talk about what you’ll need to make this happen:
Tools:
- Miter saw or circular saw
- Table saw
- Brad’s nailer + Brad’s nails
- Cordless drill or impact driver
- Tape measure & level
- Utility knife & pry bar
- Wood filler, paintable caulk & caulk gun
- Sandpaper (80, 120, 220 grit) & sanding block
- Painter’s tape
- Wall texture spray
- Stud finder
- Pocket hole jig & screws
Lumber List (For My Pantry Size):
- (2) 4′ x 8′ x ¾″ plywood sheets (for shelf tops)
- (2) 4′ x 8′ x ⅛″ hardboard (to finish the bottom of shelves)
- (2) 1″ x 6″ x 8′ select pine boards (for front shelf trim)
- (12) 2″ x 2″ x 8′ strips (for shelf framing)
- (3) 2″ x 4″ x 8′ treated lumber (for cabinet base)
Other Materials:
- Paint for walls (Sherwin-Williams Agreeable Gray)
- Paint for shelves (Behr Swiss Coffee)
- Stain (Varathane Early American)
- Polyurethane finish
Step by Step for DIY Pantry Shelves
Step 1: Clear Out the Pantry
First things first—take everything out! I mean everything. This is the perfect chance to declutter and get rid of expired or unused items.
Step 2: Remove Old Shelving & Baseboard
If you have wire shelves, grab your drill or screwdriver and remove them. I also took off the baseboards so my shelves would sit flush against the wall.
Use a utility knife to cut through the caulk where the baseboard meets the wall before prying it off. This helps prevent unnecessary wall damage.
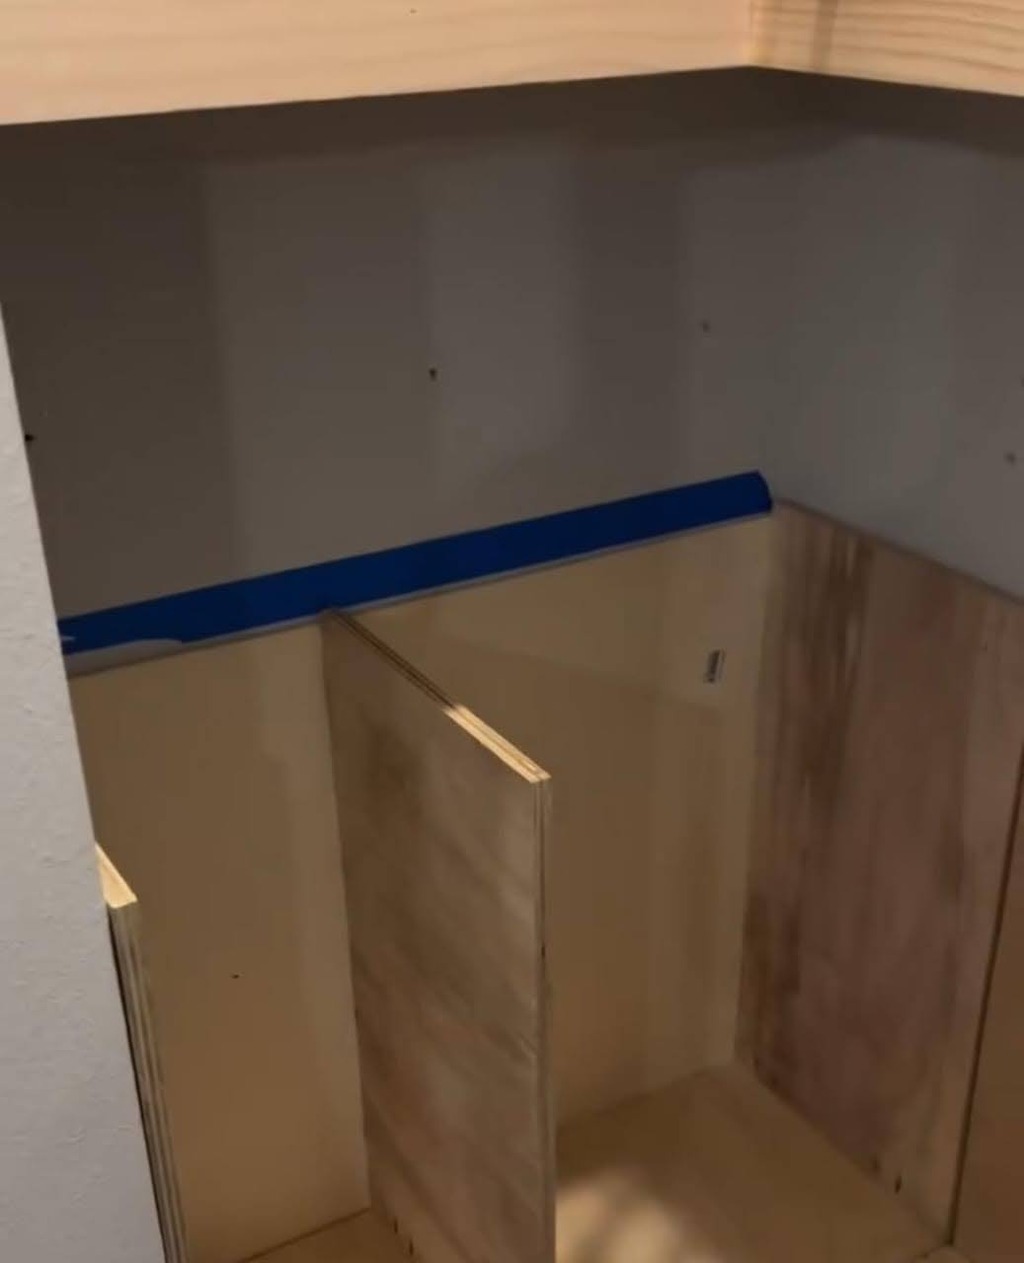
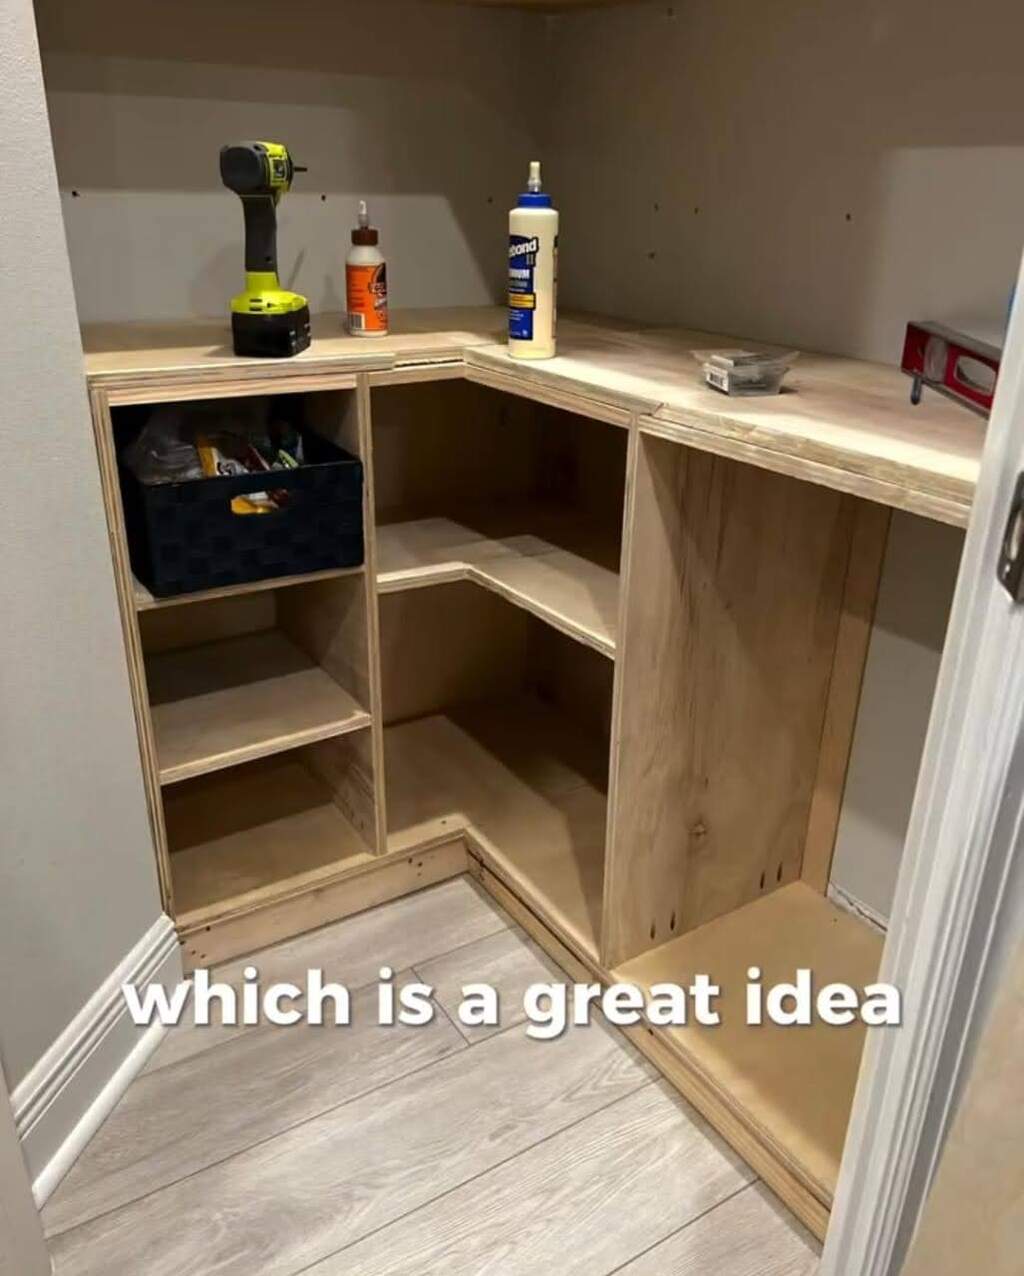
Step 3: Build the Base for the Lower Cabinets
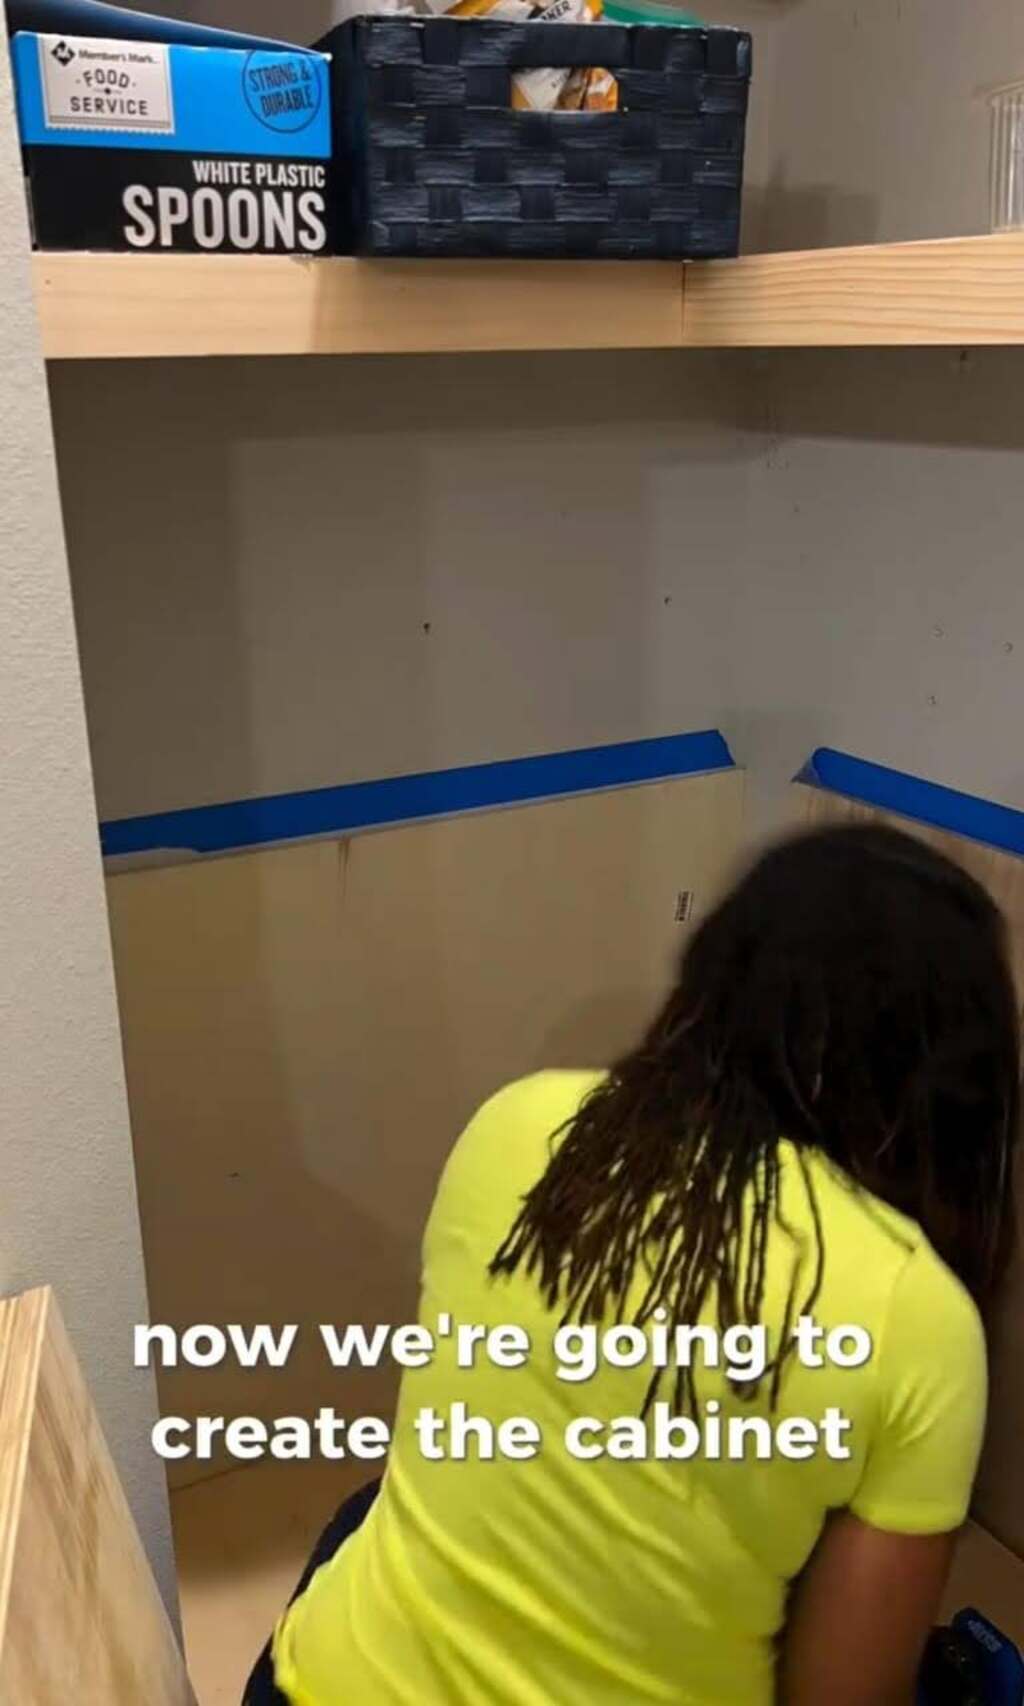
I installed two 30″ wide, 30″ tall, and 12″ deep cabinets to create a built-in storage section. But since I wanted a 15″ deep countertop, I built a 2×4 base (30″ wide × 15″ deep) and secured it to the wall studs using 3½″ construction screws.
Once leveled, I attached the cabinets to the base and secured them to the wall with 2½″ screws.
If your pantry doesn’t need cabinets, you can skip this step and move straight to the shelf framing.
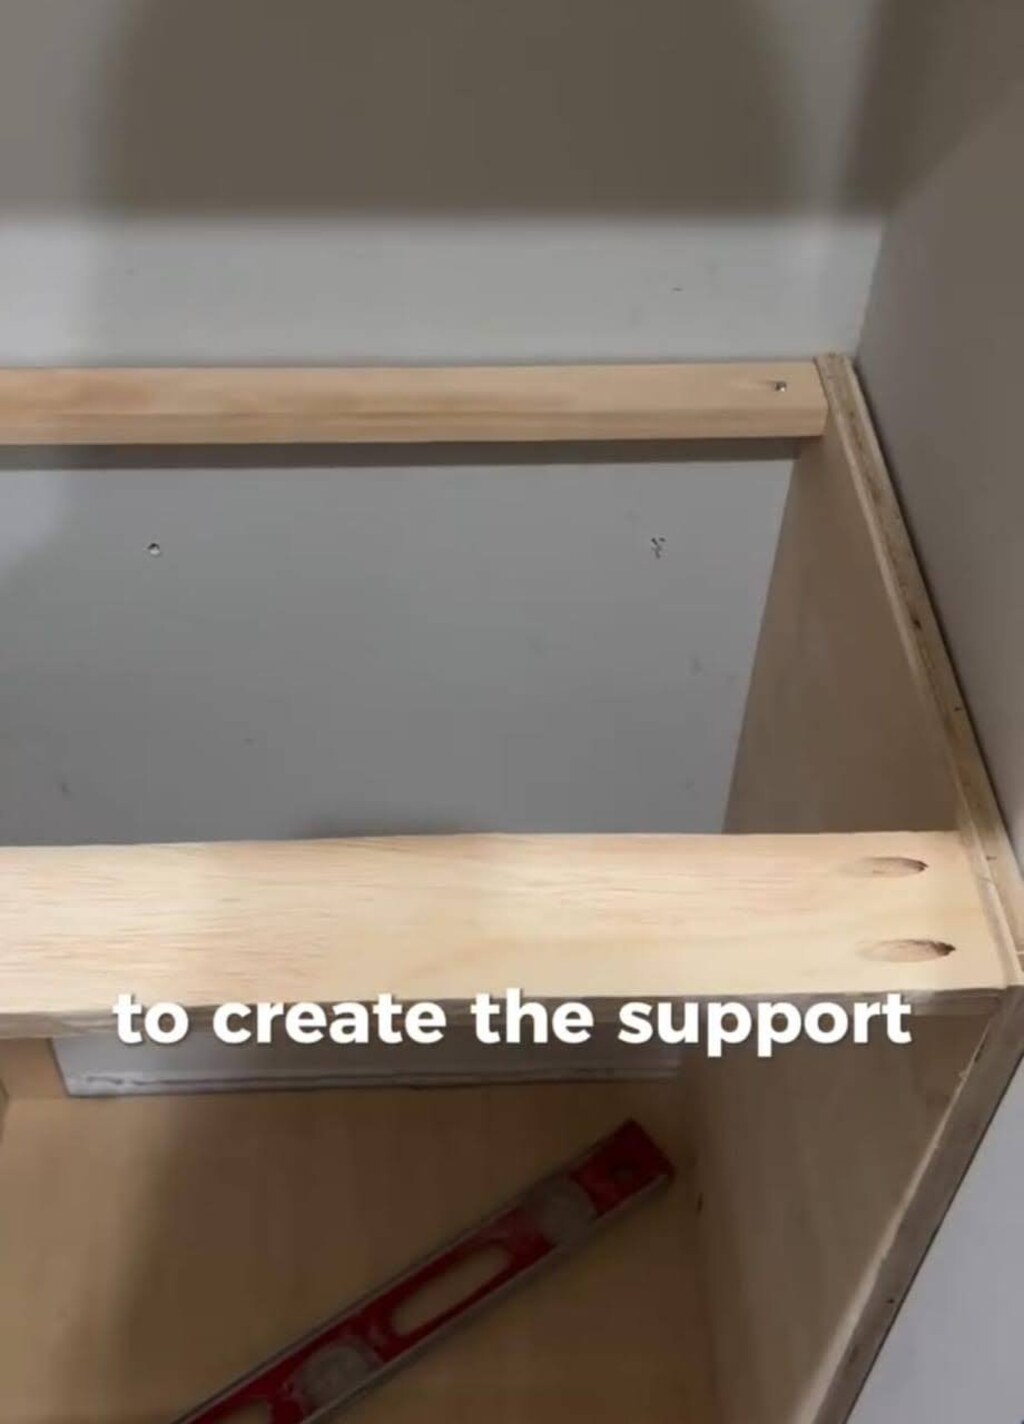
Step 4: Install 2×2 Shelf Framing
The shelf depth and spacing will depend on what you want to store, but here’s what worked for me:
- Bottom shelf depth: 15″
- Upper shelves depth: 12″
- Shelf spacing: 16″ apart
To create sturdy support, I secured 2×2 strips along the back and side walls at the shelf heights, using 3½″ screws into the studs. Then, I added front and middle supports to prevent sagging.
Use a level to ensure your framing is straight before screwing it into the wall!
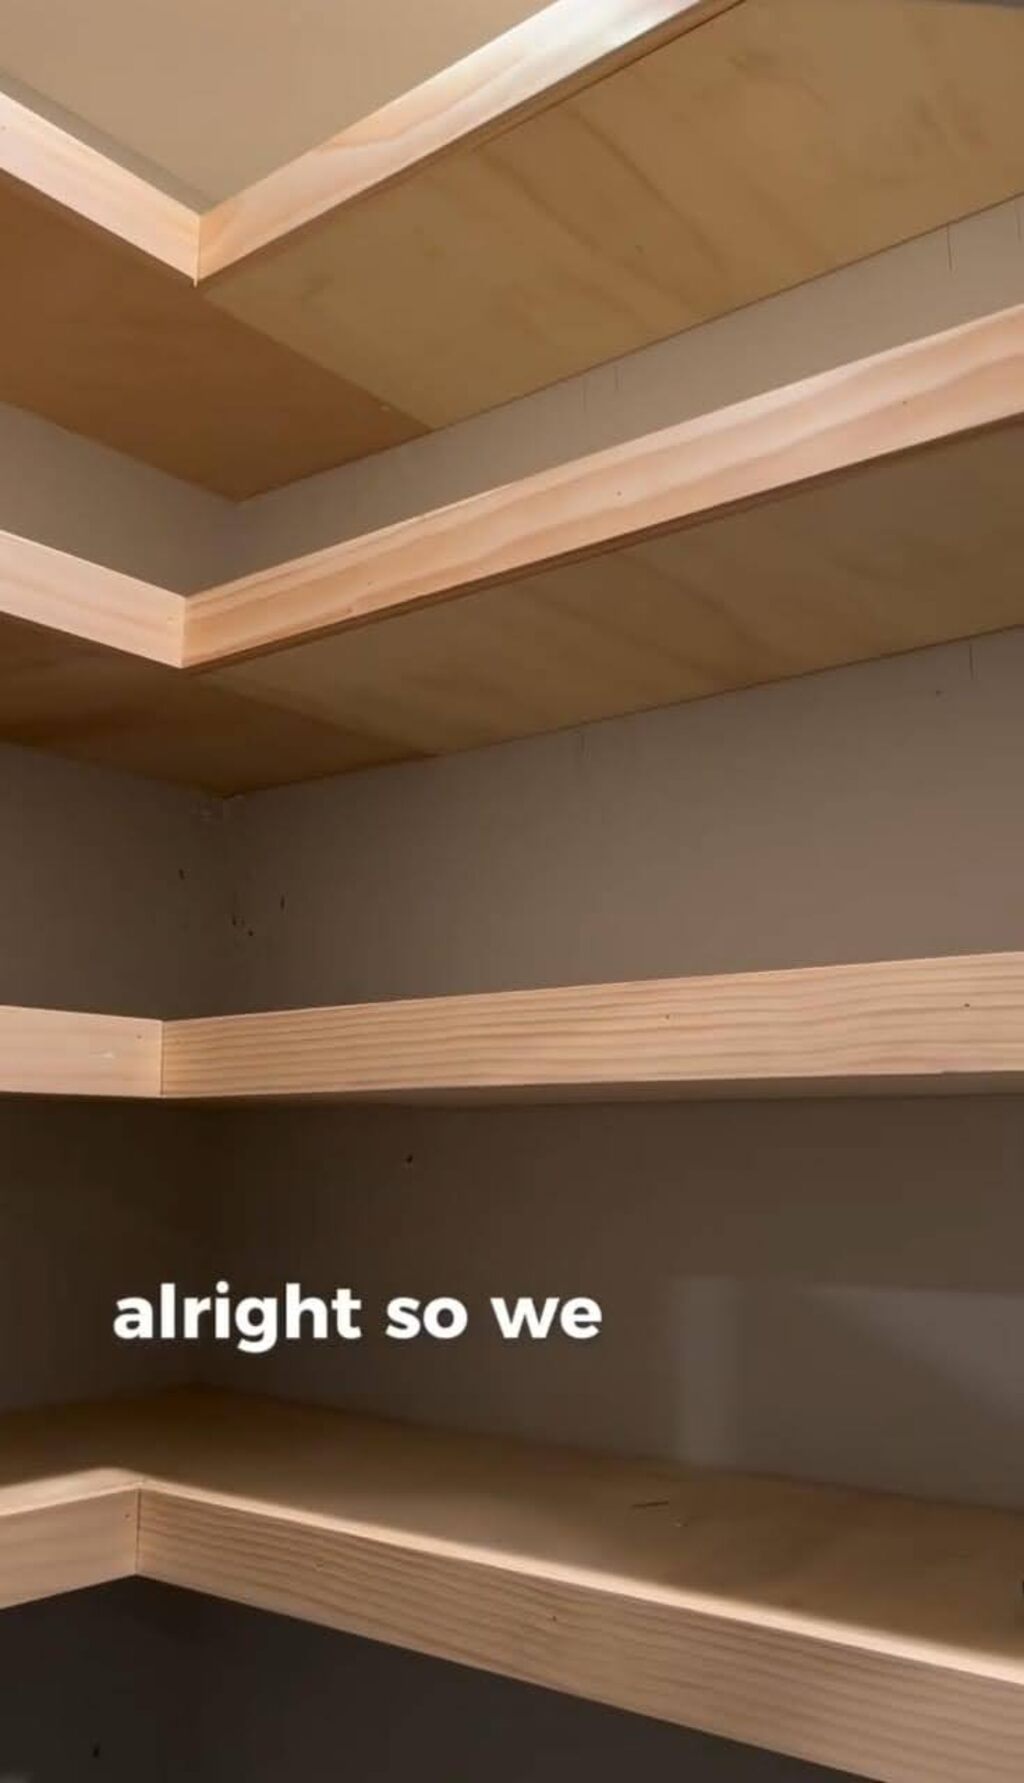
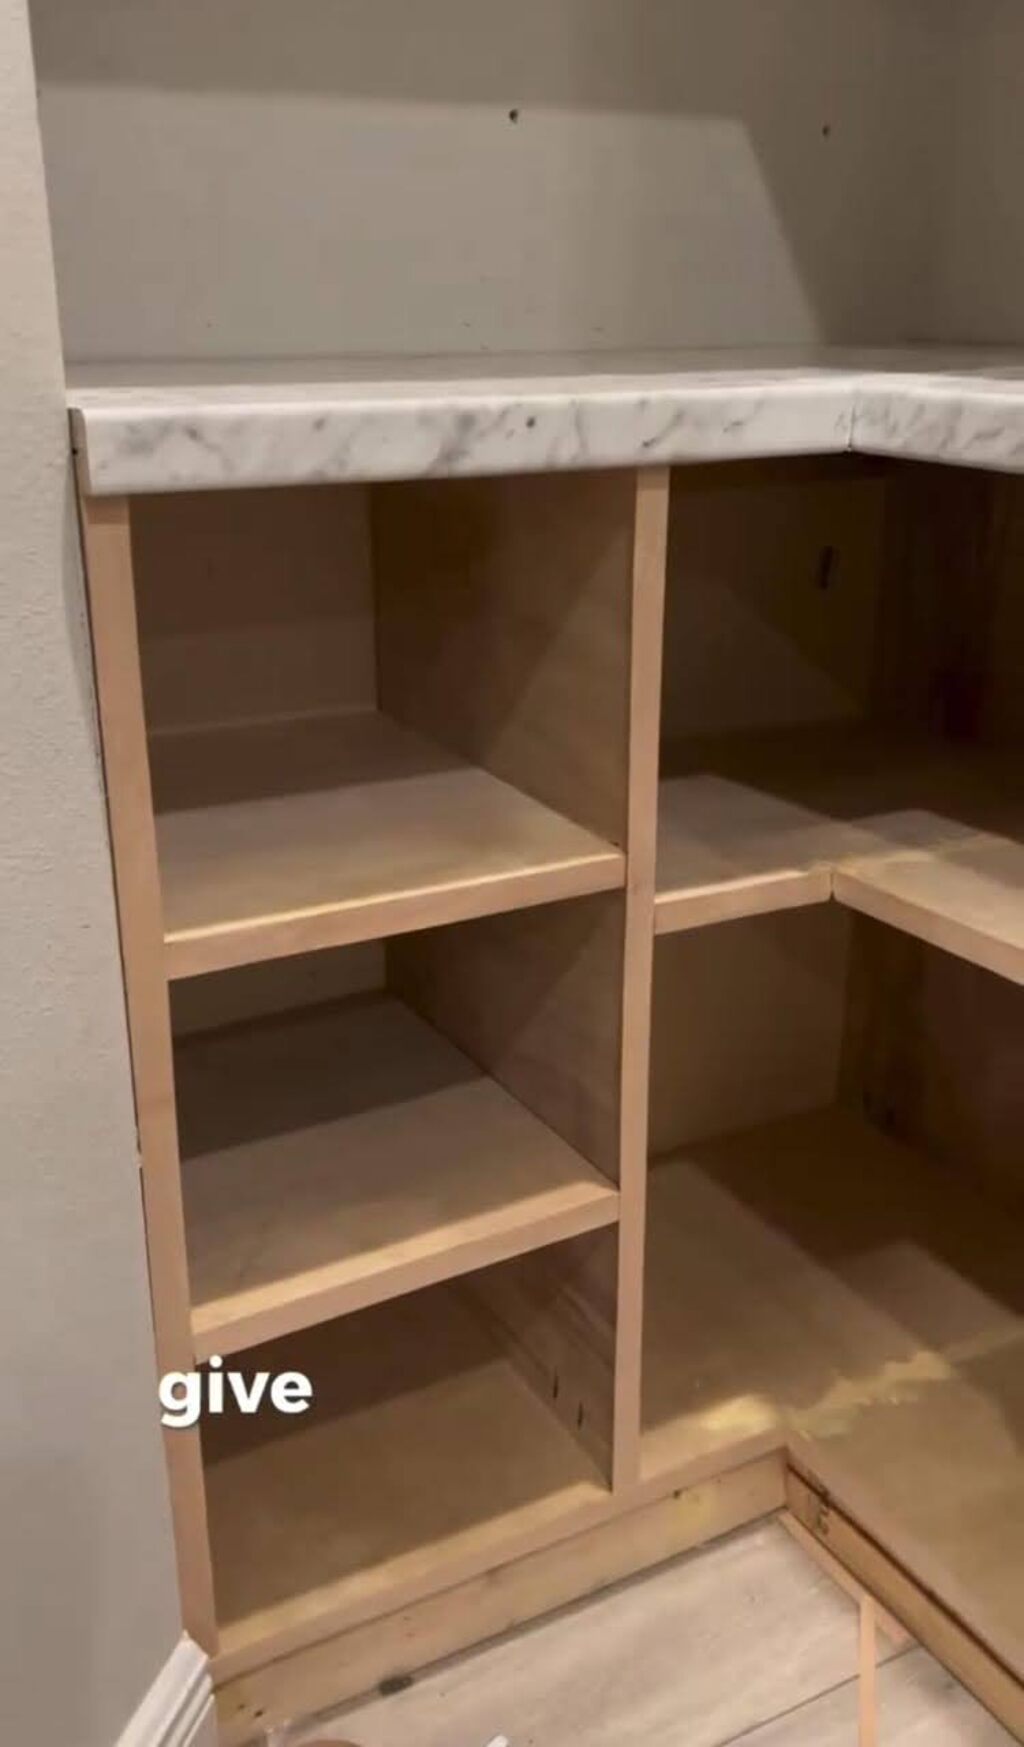
Step 5: Cut and Dry Fit ¾″ Plywood for Shelves
Now that the frames are up, it’s time to cut the ¾″ plywood for the shelves. I made:
- (1) 45-degree miter cut for the bottom shelf (for a seamless corner)
- (3) straight-cut shelves for the top
I dry-fitted each piece first to make sure they fit perfectly.
Step 6: Install ⅛″ Hardboard to Underside of Shelves
To give my shelves a finished look, I added ⅛″ hardboard underneath. I secured it with wood glue and 1″ brad nails.
If your pantry has visible cabinet sides, use this hardboard to cover any gaps between cabinets and walls.
Step 7: Cut and Install Trim Pieces
For a built-in look, I cut 1×6 select pine boards down to 2⅛″ width and mitered the corners at 45°.
After dry-fitting, I nailed them into place using 1½″ brad nails and wood glue.
Step 8: Sand Everything Smooth
To get that professional finish, I sanded:
- The plywood (starting at 80 grit, then 120, and finally 220 grit)
- The trim pieces, soften the edges for a smooth feel
Don’t skip this step! Sanding is what makes your DIY shelves look like a high-end custom build.
Step 9: Fill Nail Holes and Caulk Seams
To get seamless-looking shelves, I used wood filler on nail holes and seams. Once dry, sand the filler smooth and apply paintable caulk where the shelves meet the walls.
Step 10: Prime & Paint
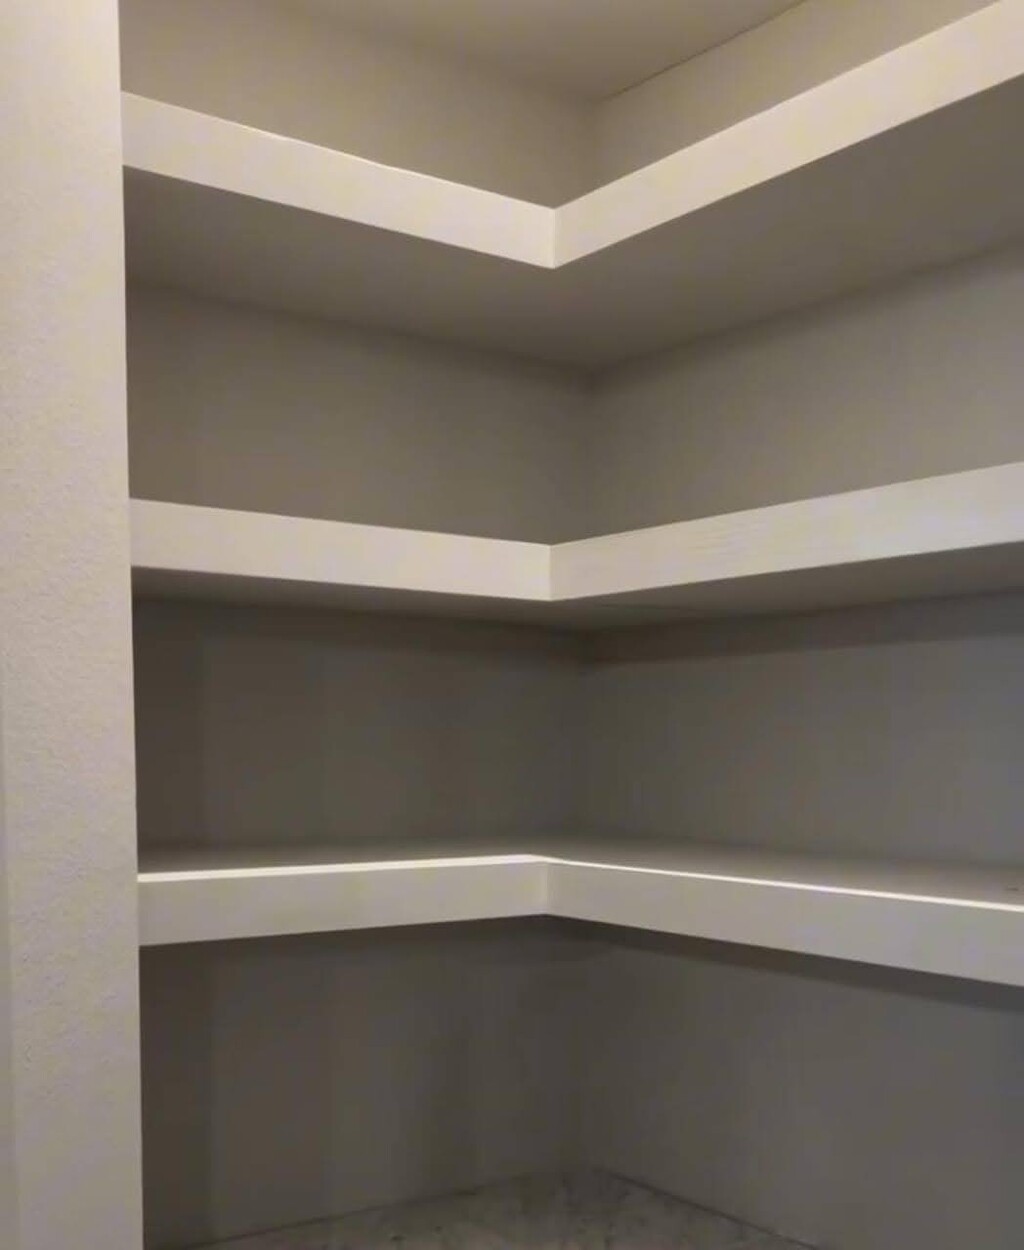
Since I wanted a clean, light look, I painted:
- Walls: Sherwin-Williams Agreeable Gray
- Shelves & Trim: Behr Swiss Coffee.
Use a roller for large areas and a brush for edges. Let each coat fully dry before adding the next.
Step 11: Seal with Polyurethane
For extra durability, I applied two coats of polyurethane over the stained trim and shelves. This protects against scratches and makes cleaning easier.
DIY Pantry Shelves Cost Breakdown
- Plywood & Lumber – $200 (Use MDF or plywood instead of solid wood)
- Brackets & Screws – $50 (Opt for basic L-brackets)
- Paint or Stain – $50 (Use leftover paint or budget-friendly brands)
- Basic Tools (if needed) – $100 (Borrow or rent to save)
- Miscellaneous (Caulk, Sandpaper, etc.) – $50
Conclusion
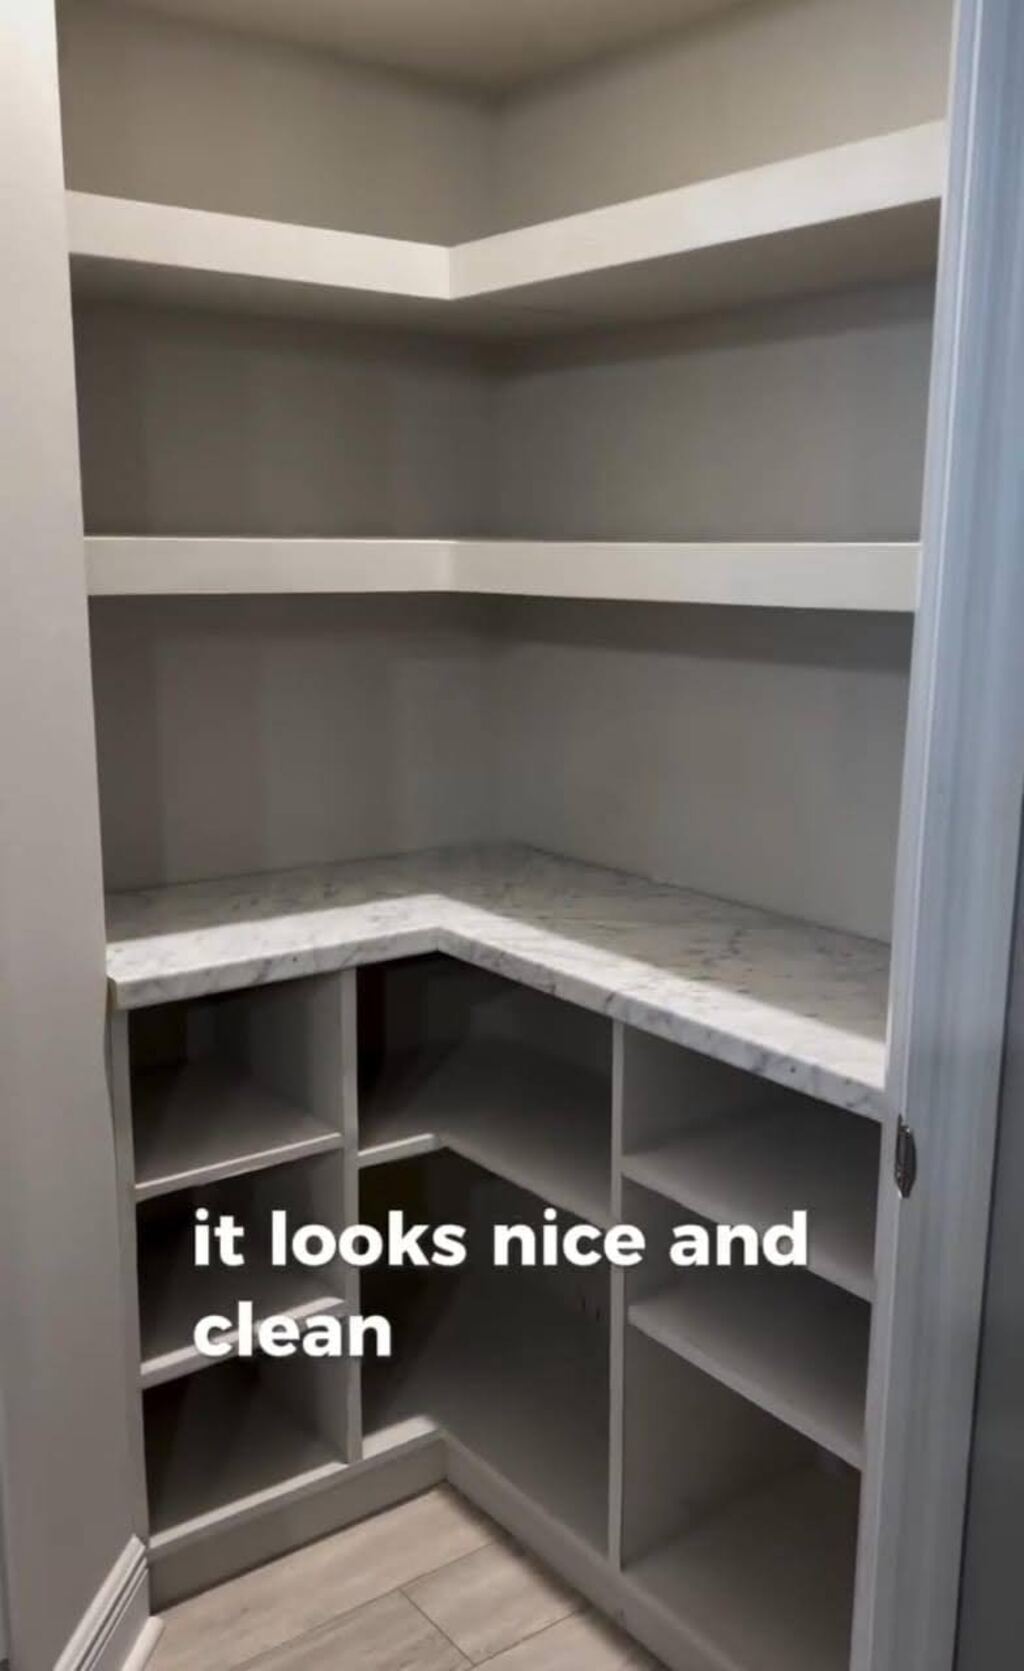
After drying and curing, I reinstalled my pantry items using clear food storage bins and baskets for better organization. And let me tell you—it’s a game-changer!
Now, I have sturdy shelves that hold everything without tipping over. The best part? This entire project cost me under $500, and it completely transformed my pantry.
FAQs
Do I need power tools to build DIY pantry shelves?
Not necessarily! A basic handsaw, drill, and screwdriver can get the job done. But if you have a power saw, it’ll save you time.
What’s the best wood for budget-friendly pantry shelves?
Plywood and MDF are cost-effective and sturdy. If you want a natural wood look, pine is an affordable option.
How do I make sure my shelves don’t sag over time?
Use thick plywood (at least ¾ inch), add sturdy brackets, and keep shelf spans under 36 inches for extra support.
Can I install floating pantry shelves without brackets?
Yes! Use hidden metal shelf brackets or cleats attached to the wall for a clean, floating look.
What’s the easiest way to paint or stain pantry shelves?
For a smooth finish, sand lightly, use a primer, and apply two thin coats of paint or stain. Let them dry completely before use!
How much weight can DIY pantry shelves hold?
It depends on the materials and support. Properly installed shelves with sturdy brackets can easily hold 50+ lbs per shelf.
How can I make my DIY pantry shelves look high-end?
Add trim to the front edge, use decorative brackets, or paint them in a bold color to elevate the look.


