
Knowing where to nail shingles architecturally makes the difference between a roof that lasts 50 years and one that fails in the first storm.
I’ve seen too many homeowners lose money because of wrong nail placement. One misplaced nail voids your warranty and lets water in.
This guide shows you the exact spots to nail each shingle. I’ll cover the reinforced nailing zones, proper spacing, and valley techniques.
You’ll learn how to fix mistakes and avoid common errors. I’ll also share the nail types that work best. By the end, you’ll have the confidence to get it right the first time.
Understanding Architectural Shingles
Architectural shingles are laminated, multi-layer shingles that outperform traditional three-tab options. Their thicker design adds depth and texture to your roof while providing better weather protection. Most last 30 to 50 years with proper installation.
But here’s the catch. Wrong nail placement ruins everything. Nails that miss the reinforced zones allow shingles to blow off during storms. Water seeps through gaps from improper fastening. The shingles lift and shift, causing premature wear.
Your manufacturer warranty depends on correct installation. Most companies will not honor claims if nails were placed incorrectly.
Following the proper nailing pattern protects your investment and keeps your roof secure for years.
Roofing Nails for Architectural Shingles
Choosing the right nails matters just as much as placement. Quality materials ensure long-term performance.
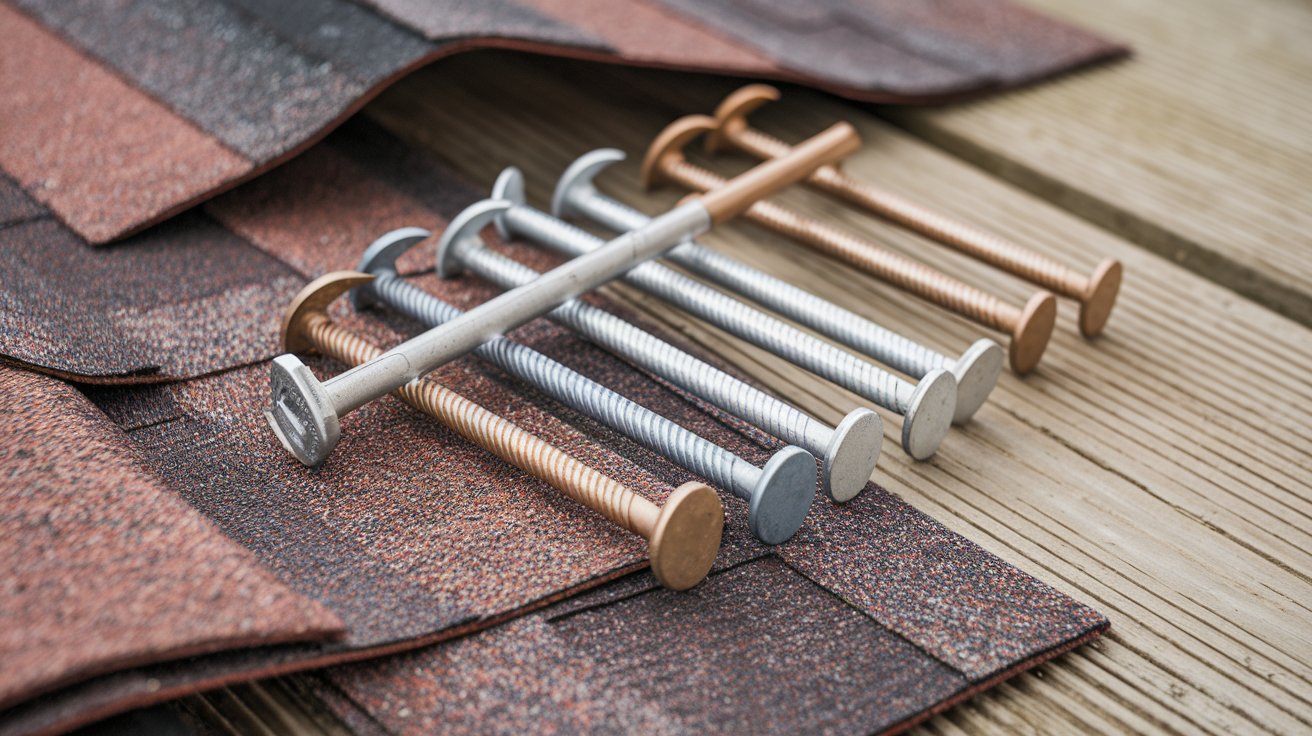
Nail Materials:
Galvanized steel nails work well for most climates. The zinc coating resists rust and corrosion. These are the most common choices for residential roofing.
Aluminum nails weigh less and resist corrosion even better. They work great in coastal areas with salt air. However, they bend more easily than steel.
Stainless steel nails offer the best corrosion resistance. Use these in harsh environments with heavy rain or snow. They cost more but last the longest. Coastal and humid regions benefit most from stainless steel fasteners.
Nail Size and Specifications:
Use nails with at least a 12-gauge shank. The head should measure 3/8 inch in diameter. These dimensions provide enough holding power for heavy architectural shingles.
Penetration depth is critical. Nails must go at least 3/4 inch into wood decking. If you have a different deck material, nails should penetrate 1/8 inch through it.
Too short and nails pull out easily. Too long and they might poke through into your attic. Check your local building codes for specific requirements in your area.
Step-by-Step Guide: Where to Nail Architectural Shingles
Follow these steps carefully to nail your shingles correctly. Each step builds on the previous one.
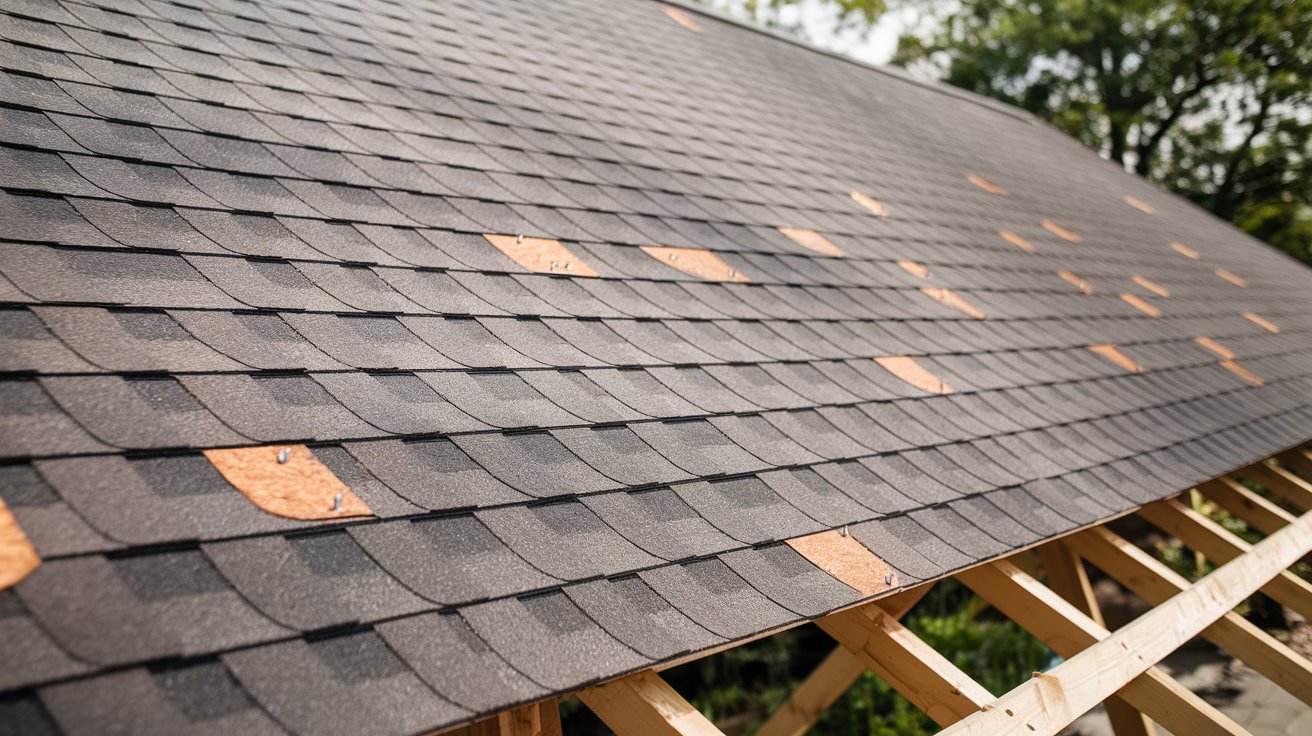
Step 1: Identify the Reinforced Nailing Zone
Look for the nailing strip on each shingle. Manufacturers mark this area specifically for nail placement. Owens Corning calls theirs SureNail®. Other brands use similar systems.
This reinforced zone provides maximum holding power. The extra material in this area grips nails tighter. Always place your nails within this strip.
Feel for the thicker section if you cannot see the marking. The nailing zone usually sits about 5 to 6 inches from the bottom edge. Never nail above or below this area unless the manufacturer says otherwise.
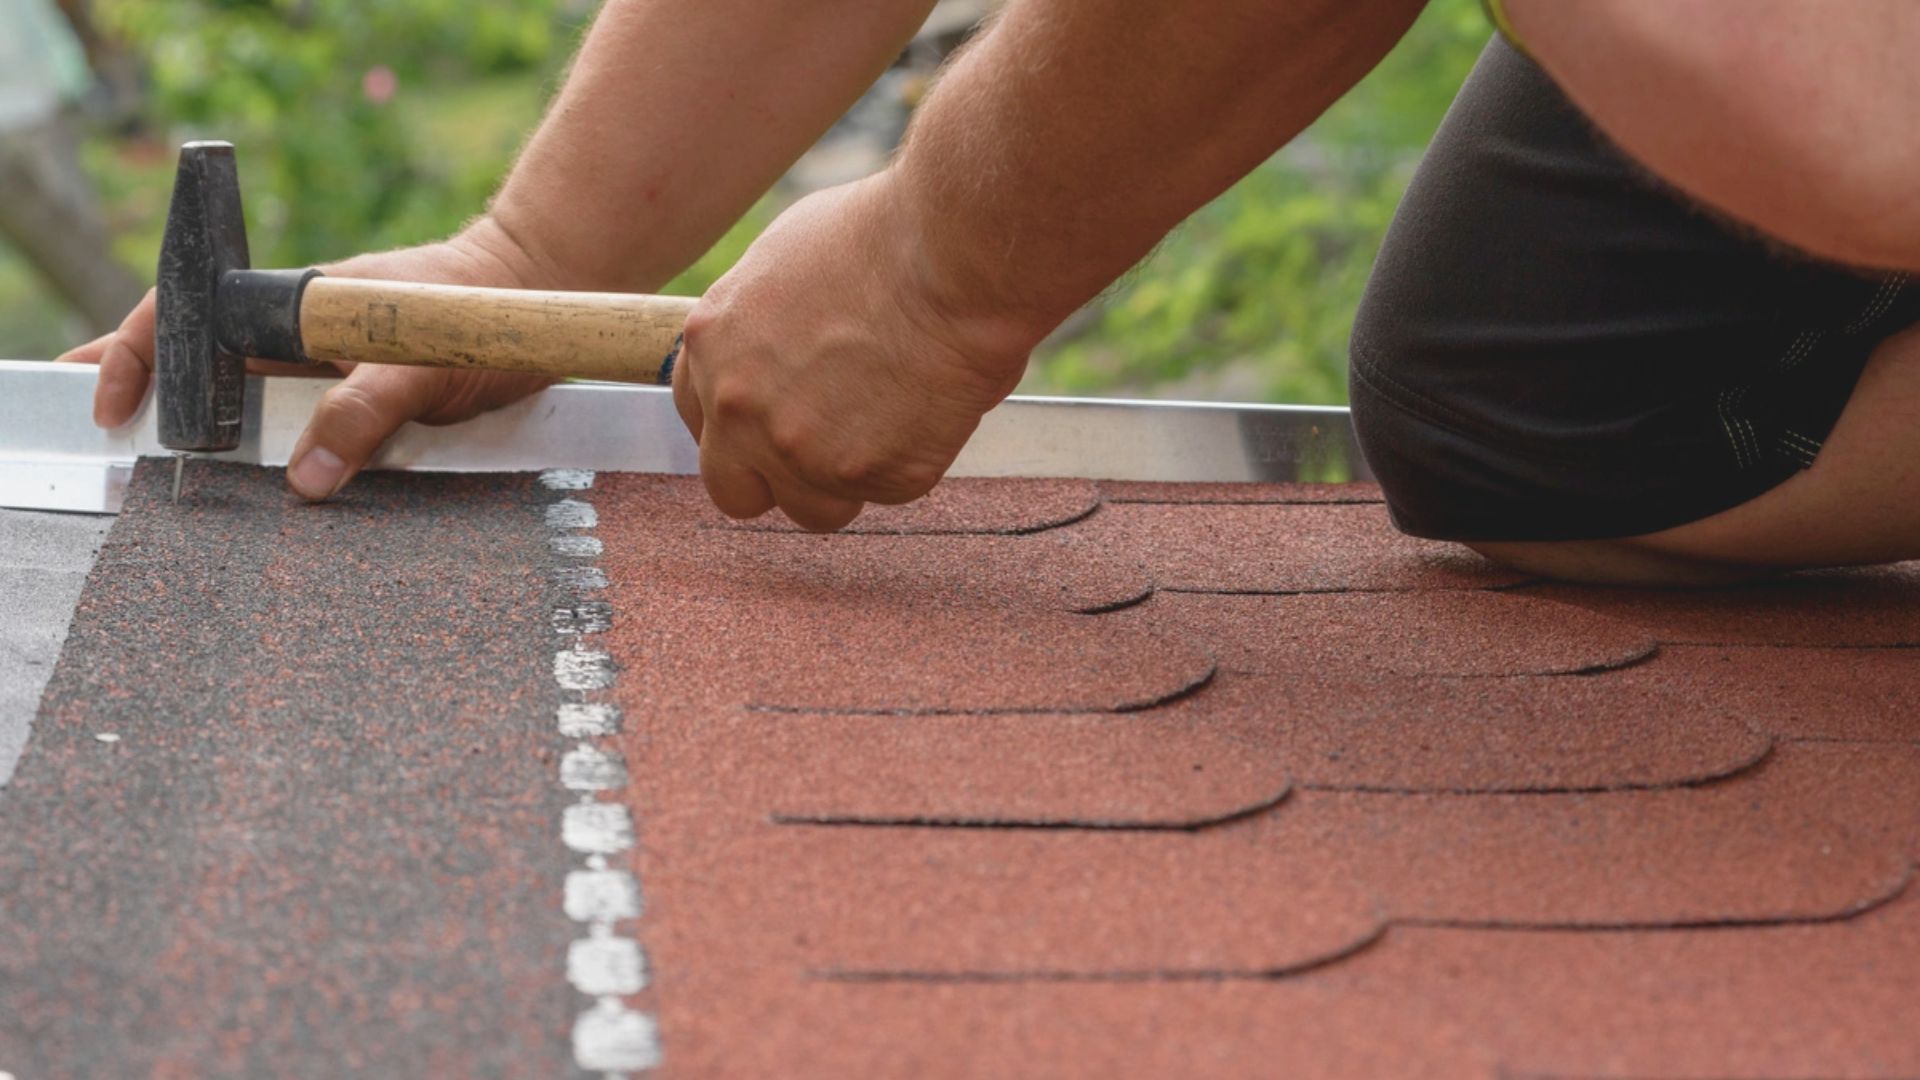
Step 2: Position the First Row Properly
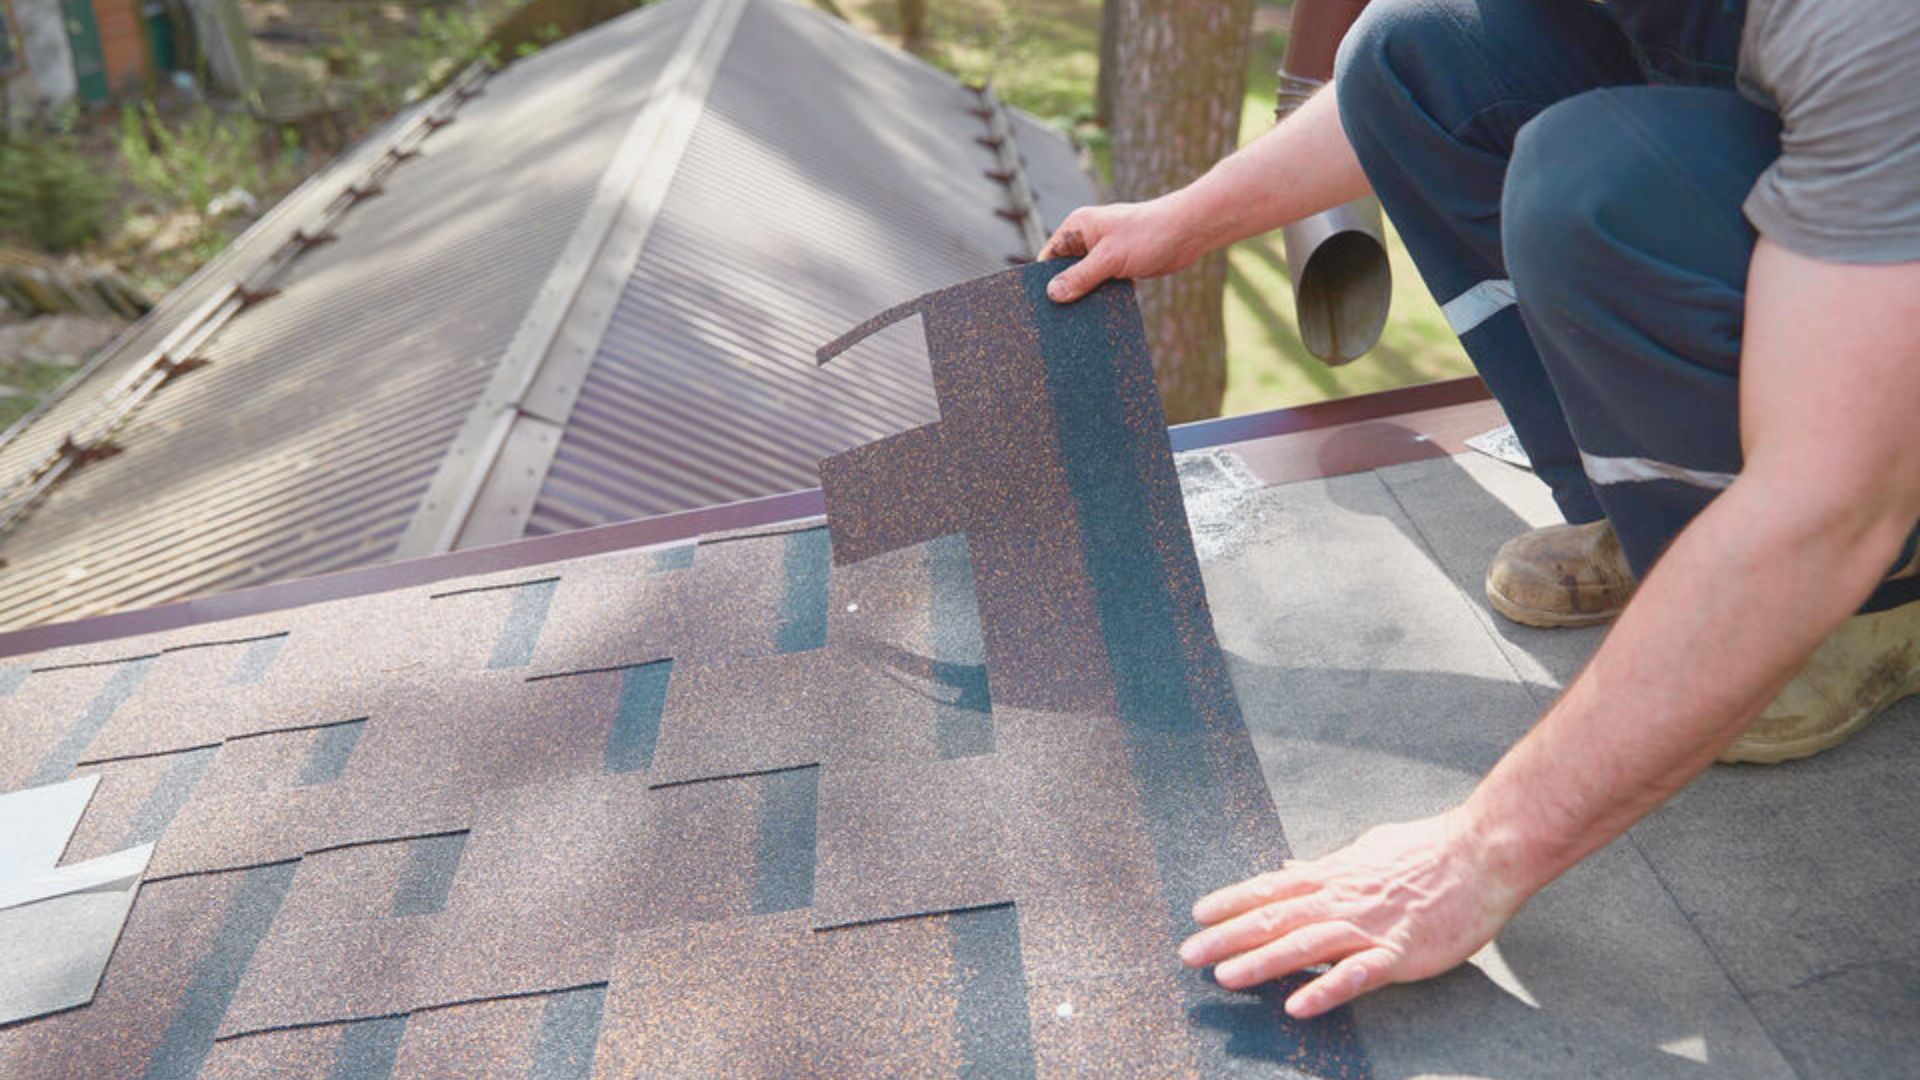
Start at the bottom edge of your roof. This first row sets the foundation for all other shingles. Align each shingle carefully along the edge.
Allow the correct overhang. Most installations need 1/2 to 3/4 inch of overhang past the drip edge. This prevents water from running back under the shingles.
Check your alignment before nailing. Use a chalk line to keep rows straight. A crooked first row causes problems throughout the entire roof.
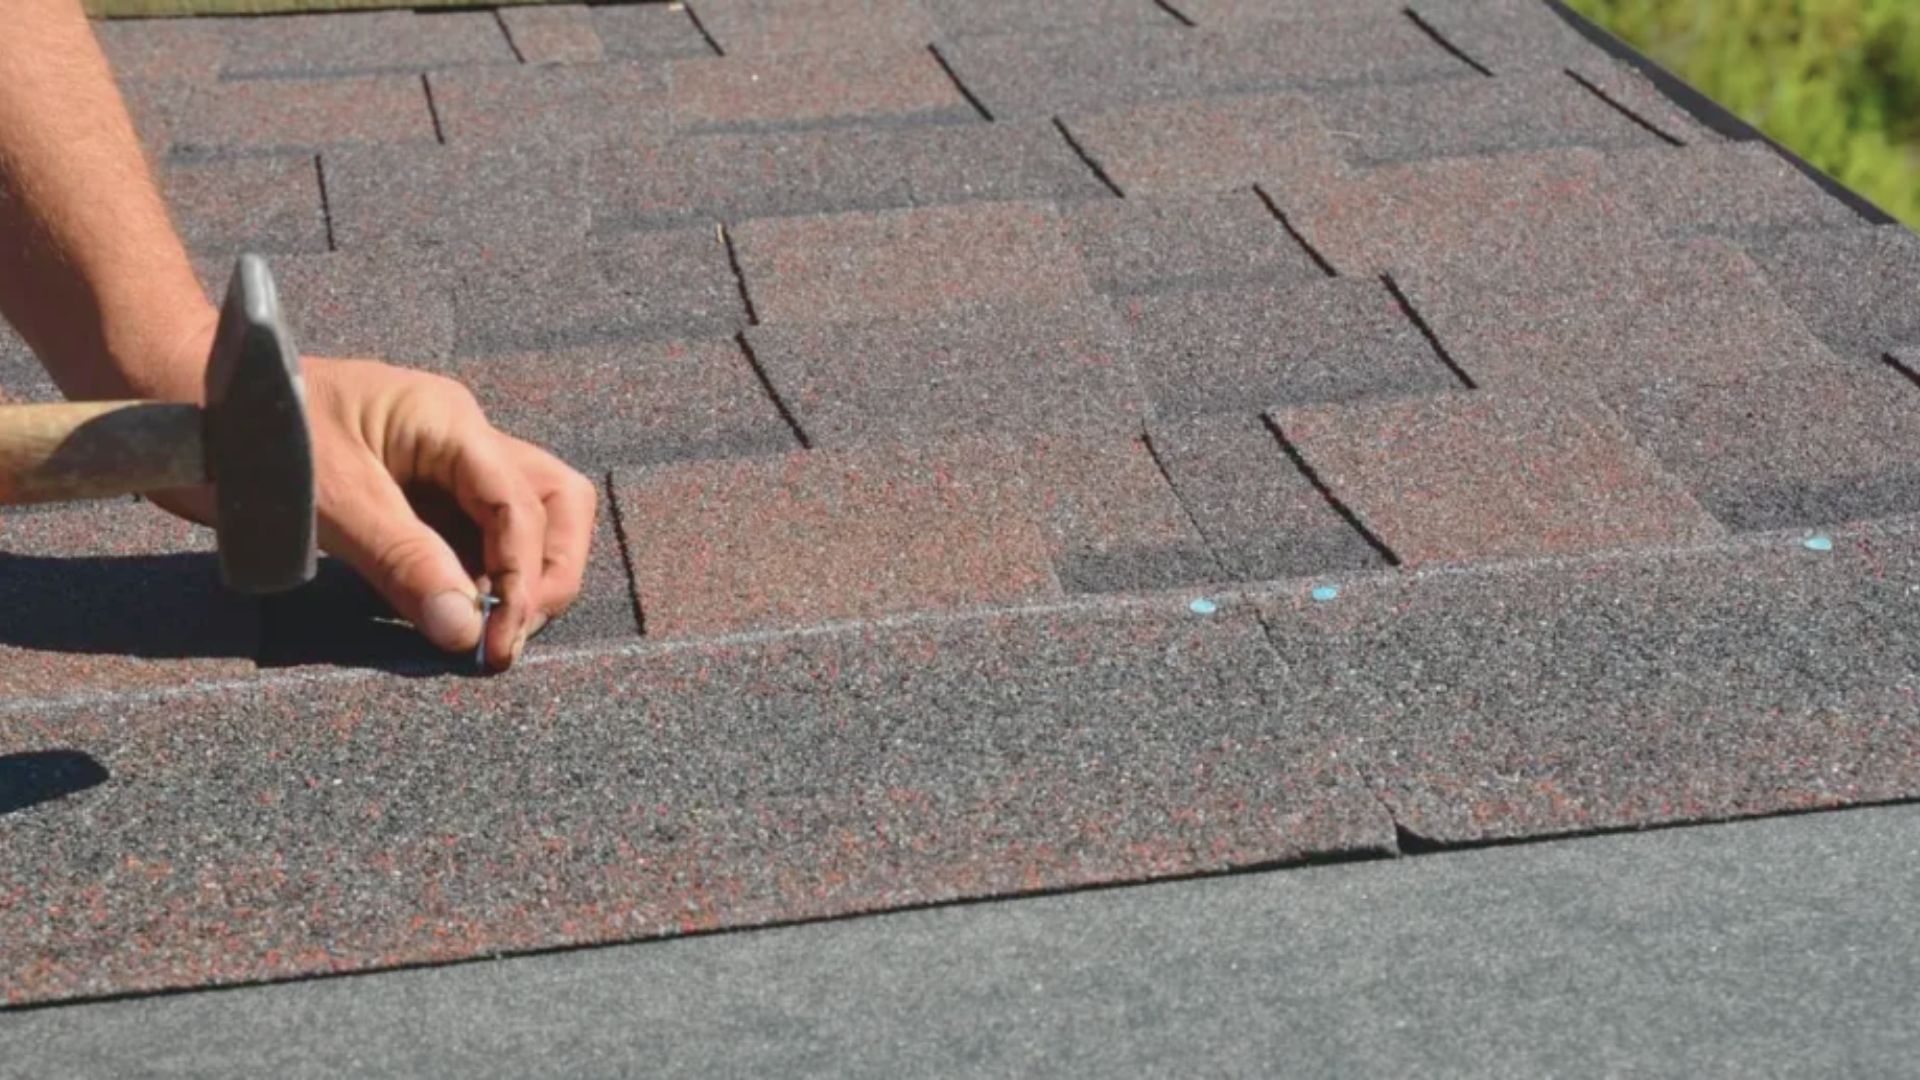
Step 3: Proper Nail Placement for Each Shingle
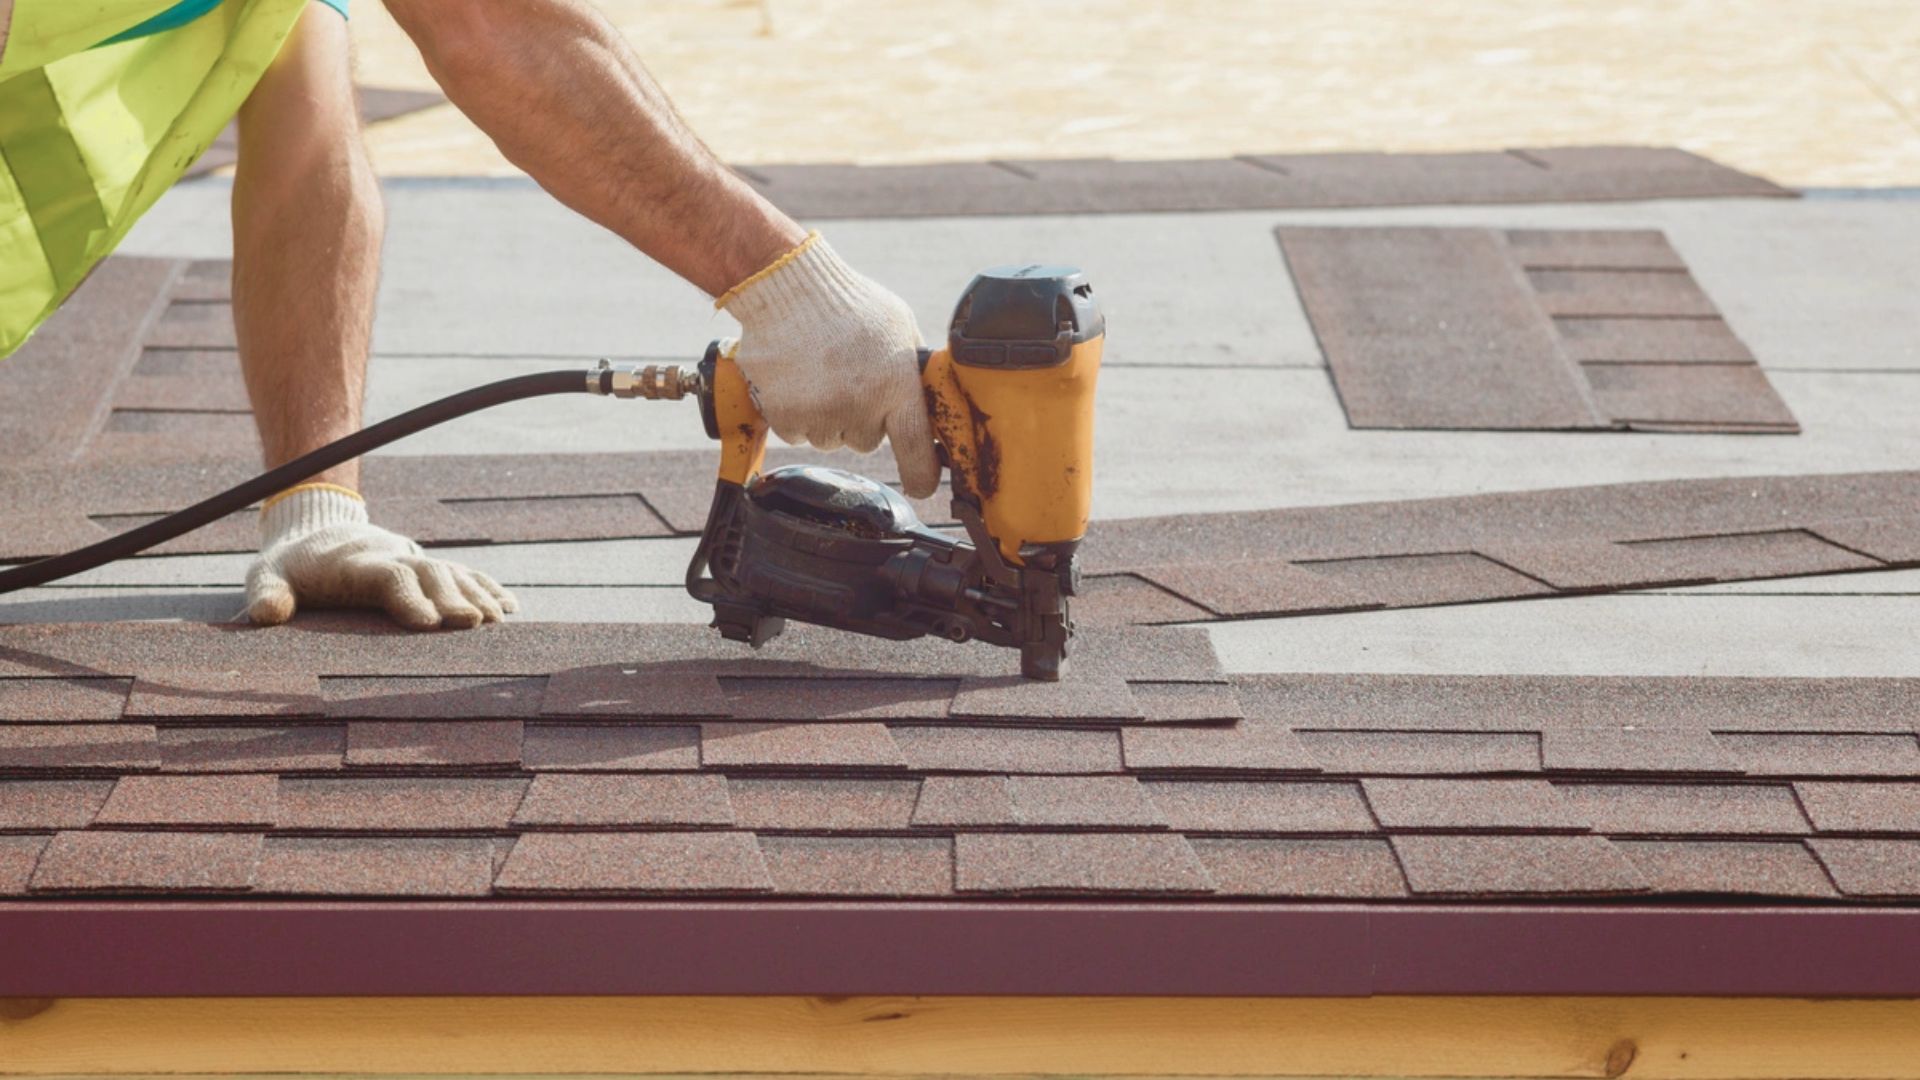
Most architectural shingles need 4 to 6 nails each. Check your manufacturer instructions for the exact number. More nails are required in high-wind areas.
Space nails evenly across the nailing zone. Keep them at least 1 inch from the edges. This prevents the shingle edges from tearing during expansion and contraction.
Avoid overdriving your nails. The nail head should sit flush with the shingle surface. Overdriven nails tear through the material and reduce holding power. Underdriven nails leave gaps where wind can catch.
Step 4: Nailing on Roof Valleys and High-Risk Areas
Valleys need special attention. Water flows fastest through these areas. Use the open valley method for architectural shingles when possible.
Place nails farther from the valley center. Keep them at least 6 inches away from the valley line. This prevents water from finding nail holes.
Hips and ridges also require careful nailing. Use extra nails in these high-stress areas. Wind hits these spots hardest during storms. Follow manufacturer guidelines for increased fastening in exposed locations.
Step 5: Securing Ridge Caps
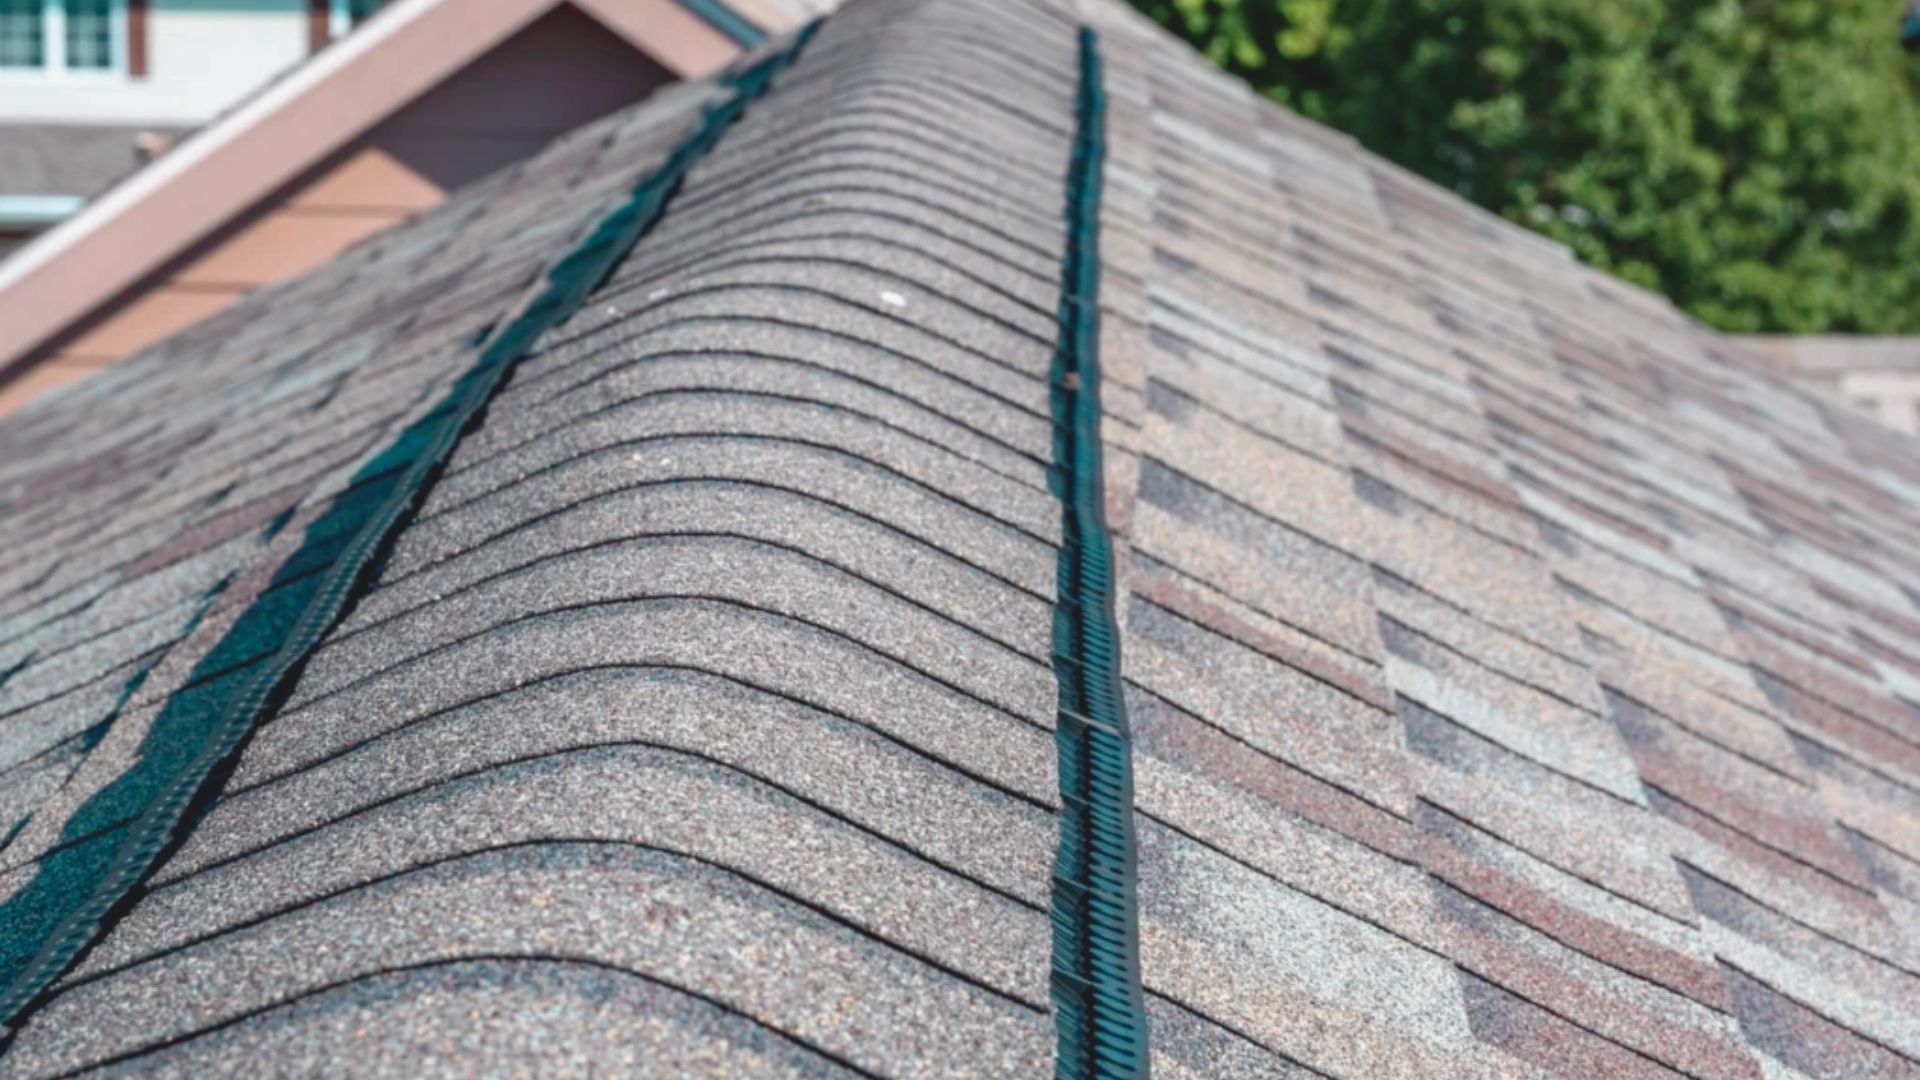
Ridge cap shingles protect the peak of your roof. These pieces need proper nailing to resist wind uplift. Use at least 2 nails per cap shingle.
Place nails on each side of the ridge. Keep them about 1 inch from the edges. This creates a secure hold without causing tears.
Overlap each cap shingle properly. Maintain consistent exposure of about 5 inches. This creates a weathertight seal along your entire ridge line.
Common Nailing Mistakes and How to Fix Them
Mistakes happen, but fixing them quickly prevents bigger problems down the road.
- Underdriven nails stick up above the shingle surface and catch wind. Tap them gently with your hammer until flush. Use light taps to avoid overdriving.
- Overdriven nails tear through the shingle and create leak points. Remove them carefully, fill holes with roofing cement, and re-nail about 2 inches away.
- Crooked nails lose holding power and weaken your roof. Pull them out, seal the holes, and drive new nails in straight at the correct depth.
- Skipped nails leave shingles vulnerable to blow-offs. Go back and add missing fasteners to maintain consistent spacing across the entire roof.
- Inconsistent patterns compromise your roof’s integrity. Check that every shingle has the manufacturer’s recommended number of nails before moving to the next row.
Tips for Durable and Code-Compliant Installation
These extra tips help ensure your roof performs well for decades. Small details make a big difference.
- Always follow manufacturer instructions exactly. Each brand may have specific requirements. Their guidelines protect your warranty coverage.
- Use corrosion-resistant nails in all installations. The small extra cost prevents rust problems later. Rusty nails lose holding power and stain your shingles.
- Maintain proper ventilation throughout your roof system. Good airflow prevents moisture buildup. Install quality underlayment before laying shingles.
- Regularly inspect and maintain your roof. Catch small problems before they become expensive repairs. Check after major storms for any damage or loose shingles.
Conclusion
Now you know exactly where to nail shingles architecturally for a roof that lasts. I remember my first roofing project and how nervous I felt about getting every nail right.
But taking it slow and following the guidelines made all the difference. Proper placement protects your home from wind, leaks, and costly repairs.
If your roof feels too complex, call a professional. Your family depends on that roof overhead. Have questions about your specific situation?
Drop a comment below and let’s talk about it.
Frequently Asked Questions
How many nails do I need per architectural shingle?
Most need 4 to 6 nails each. High-wind areas require more. Always check your manufacturer specifications.
Can I nail architectural shingles in cold weather?
Yes, but shingles become brittle in the cold. Work carefully to avoid cracking. Warm them indoors first if possible.
What happens if I nail above the nailing zone?
Nails placed too high won’t secure properly. Wind can lift the bottom edge and cause blow-offs.
Do I need special nails for architectural shingles?
Use 12-gauge nails with 3/8-inch heads. Galvanized steel works for most areas. Use stainless steel in coastal regions.
How far should nails be from shingle edges?
Keep nails at least 1 inch from all edges. This prevents tearing and ensures the shingle stays intact longer.