
If you’ve ever been inside a spa, you’ve probably encountered a super smooth wall and wondered how they got it that way.
That thought occurred to me as well. I wondered until I tried Venetian plaster. The mornings are a little more beautiful now.
This finish is durable enough for standing up to all that steam and water from your showers in addition. It will not peel or bubble or come off such as paint, and proper care makes it last for years.
I love using this on my bathroom walls because it gives a rich look. If you put this in a shower, it needs waterproofing. You will need other waterproofing. Trust me, it’s worth it for the effort.
Preparing Your Bathroom Walls for Venetian Plaster
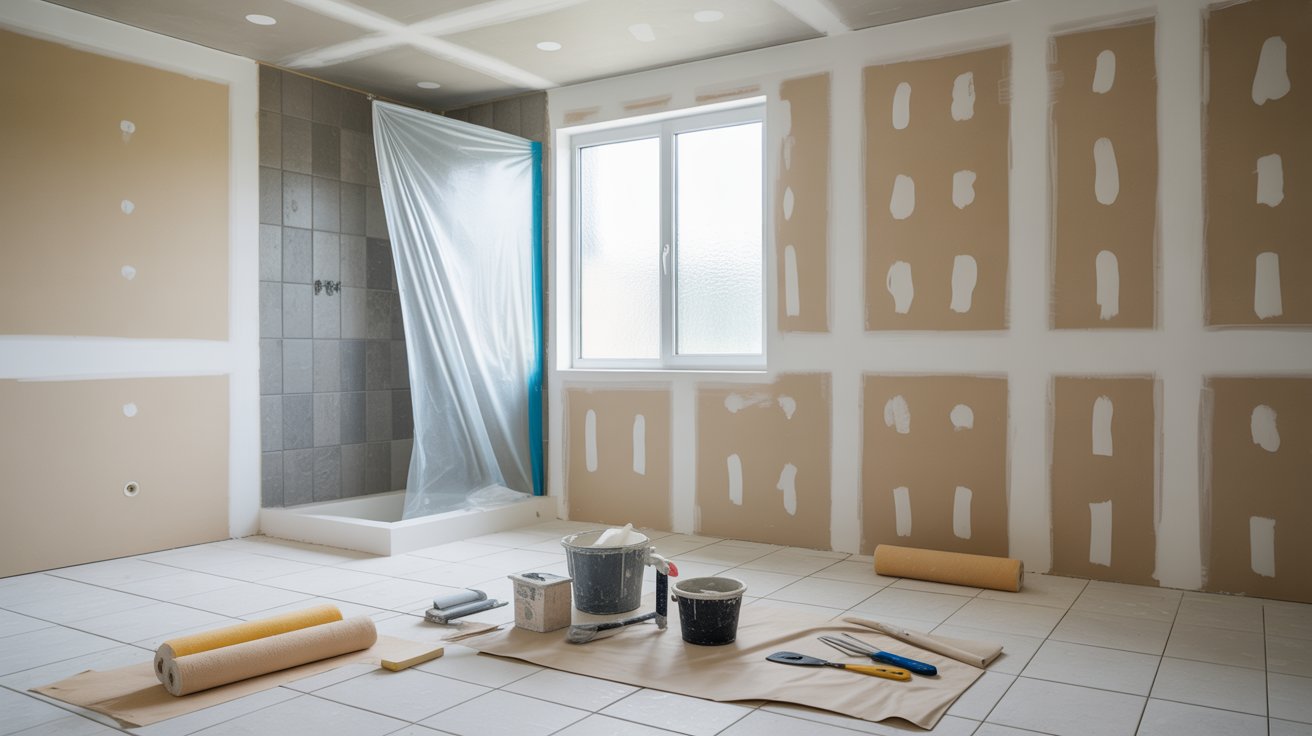
Getting your walls ready is the most important step. If you rush through this part, your plaster won’t look good or last long. Take your time here.
Cleaning and Smoothing Surfaces
Start by cleaning every inch of your walls. Remove all dirt, grease, and soap buildup. Use a degreaser if needed.
Scrape off any loose or peeling paint. Fill cracks and holes with spackling compound. Let it dry completely.
Sand the walls until they feel smooth. Run your hand over the surface. If you feel bumps, keep sanding. A smooth base is key.
Waterproofing Wet Areas
Bathrooms need waterproofing, especially near showers and tubs. Skip this step and moisture will ruin your plaster.
Use a waterproof membrane like Redgard or Aquadefense. Cement backer board works well too. Apply two coats and focus on corners where water gets in.
Let each coat dry fully. This protects your work from water damage for years.
Applying Venetian Plaster to Bathroom Walls
Now comes the fun part. Applying Venetian plaster takes some practice, but you’ll get the hang of it. Work slowly and stay patient with yourself.
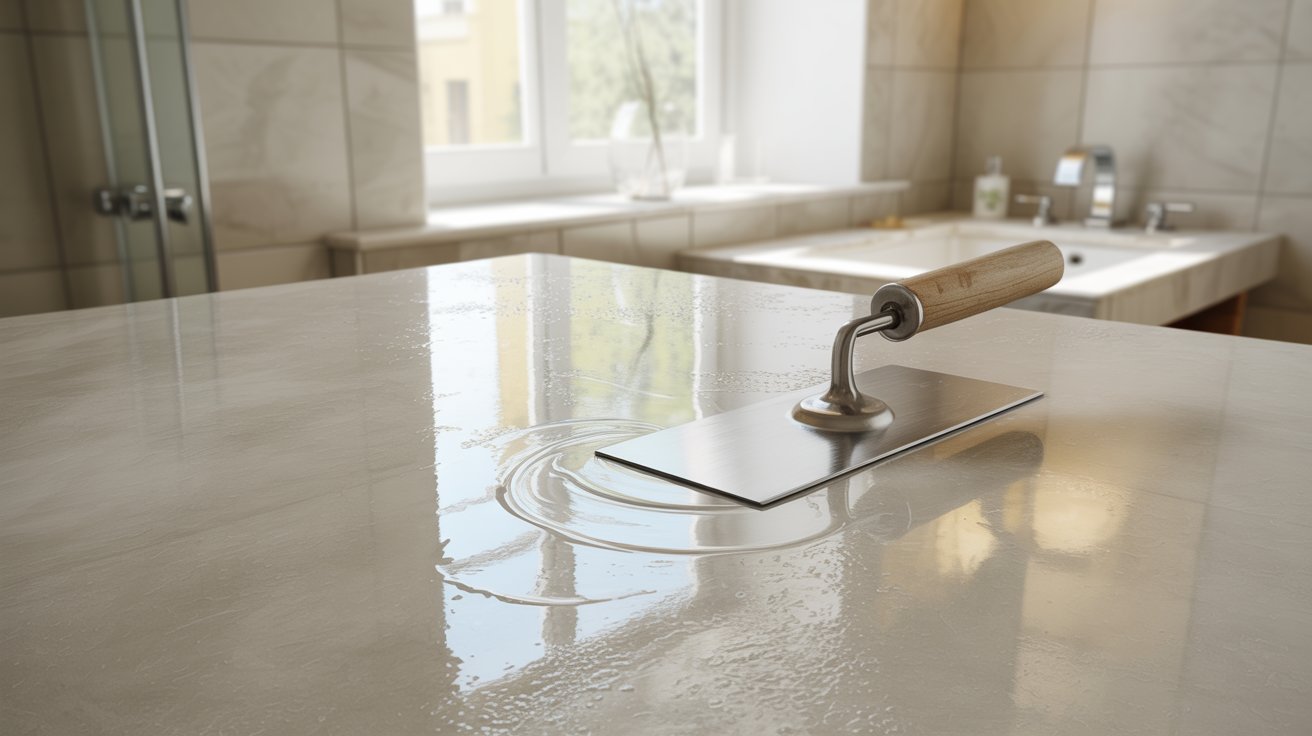
Tools and Materials Needed
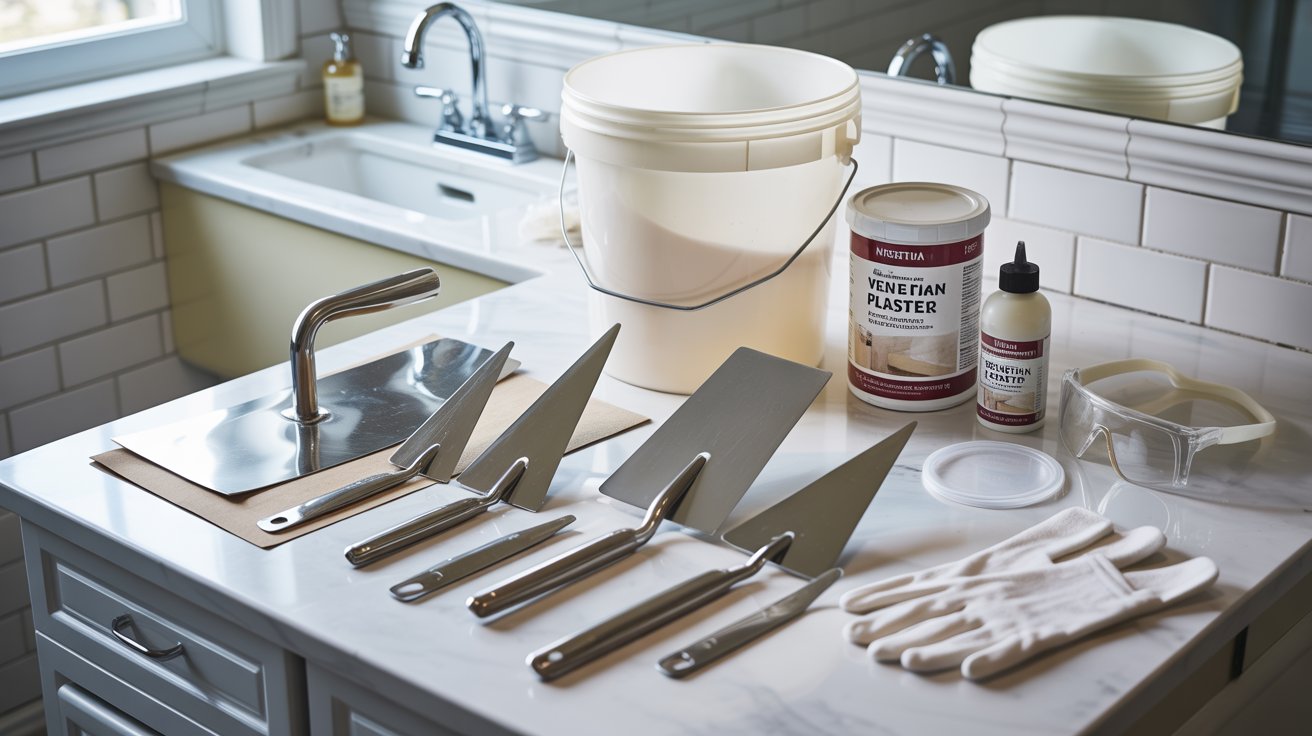
Get your supplies ready before you start. You’ll need a stainless steel trowel in two sizes. A 4-inch and 6-inch work best for most bathrooms.
Buy quality Venetian plaster mix. Don’t cheap out here. You also need fine-grit sandpaper, a sealer for protection, and a mixing bucket.
Wear gloves and safety glasses. This stuff can irritate your skin. Keep a damp cloth nearby to wipe your tools clean as you work.
Step-by-Step Application Process
Let’s understand the process quickly:
1. Applying Base Coats
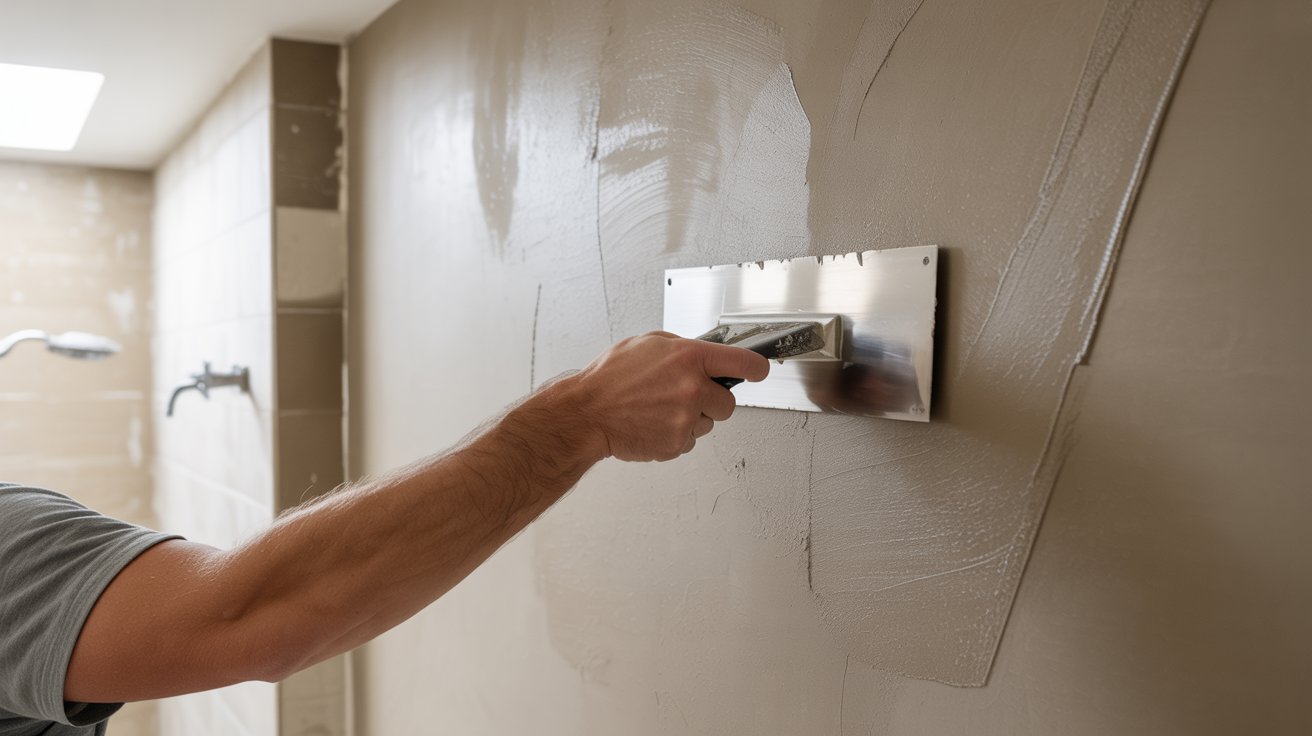
Scoop some plaster onto your trowel. Spread it thin across the wall using smooth, sweeping motions. Hold your trowel at a 15 to 30-degree angle.
This first coat doesn’t need to look perfect. Just cover the wall evenly. Let it dry for 4 to 6 hours.
2. Layering Plaster
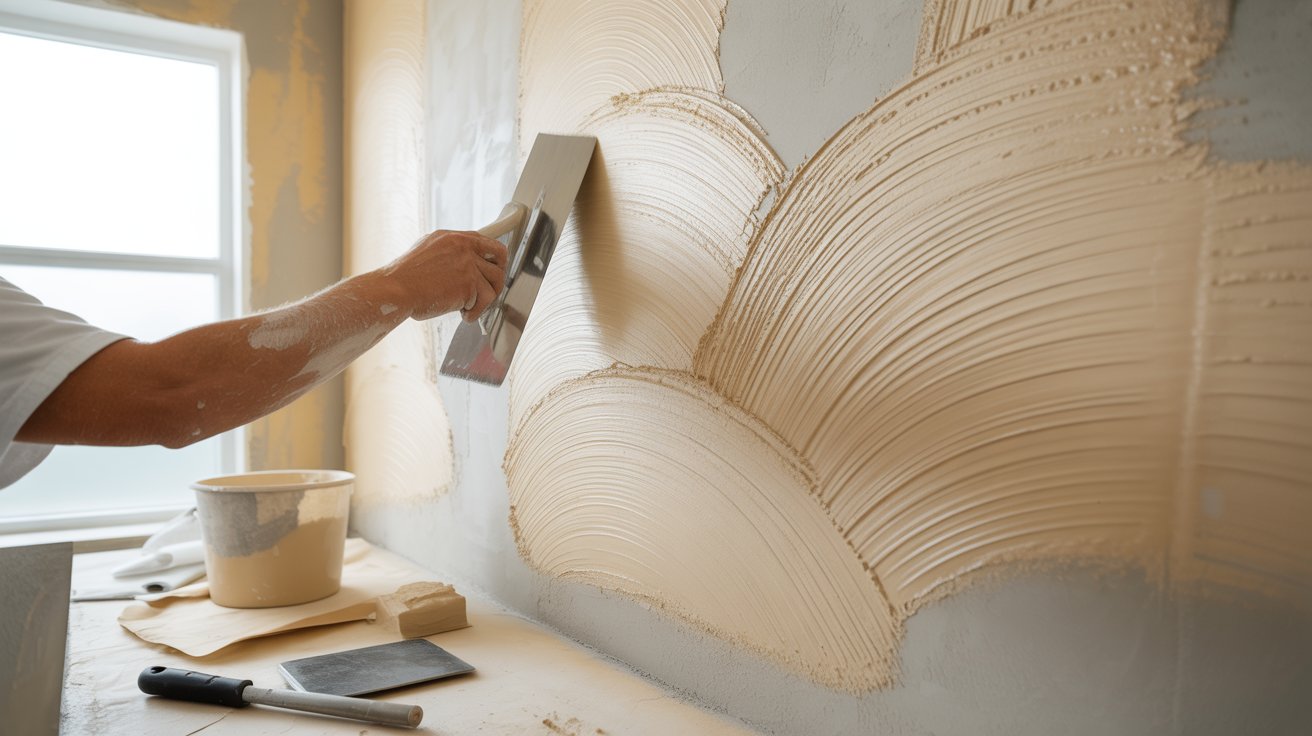
Apply your second coat in random, crosshatch strokes. This builds depth and texture. Use less plaster than the first coat. Think thin layers, not thick ones.
Add a third coat if you want more dimension. Each layer adds richness to the finish.
3. Polishing
After the final coat dries but still feels slightly damp, start polishing. Press your clean trowel flat against the wall. Use firm, circular motions.
The plaster will start to shine like marble. Keep polishing until you get the look you want. This step brings out the real beauty.
Tips for Consistent Texture and Finish
- Work in small sections at a time, about 3 feet by 3 feet
- Pop any bubbles right away with your trowel
- Smooth out streaks before the plaster dries
- Allow proper drying time between each coat
- Touch the wall to check if it still feels cool or damp before adding more
- Keep your trowel clean and wipe it often
- Avoid dragging dried bits across fresh plaster
Special Considerations for Shower Walls
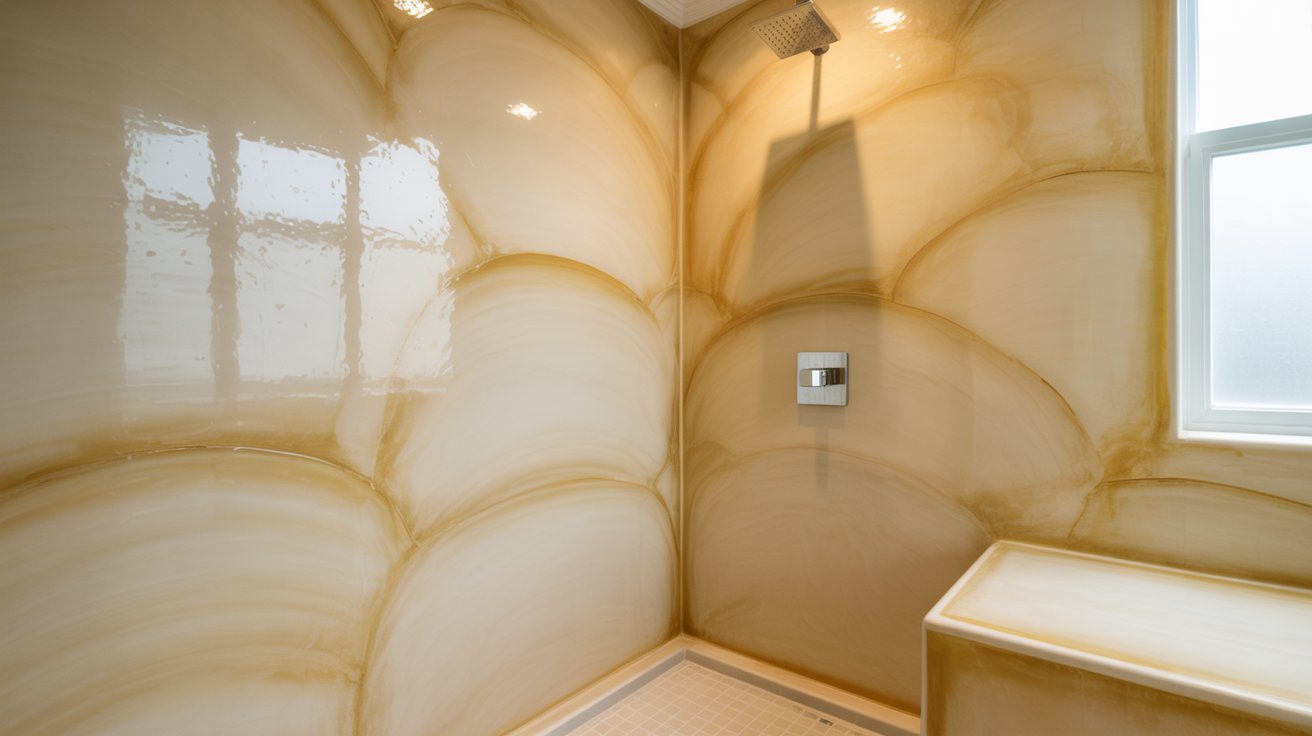
Shower walls need extra attention. The constant water exposure means you can’t treat them like regular bathroom walls. A few extra steps will save you from problems down the road.
Extra Waterproofing Measures
Use water-resistant plaster formulas made specifically for wet areas. Regular plaster won’t hold up to daily showers. Ask your supplier which products work best in showers.
Apply multiple coats of waterproof sealer over your finished plaster. This creates a barrier against moisture. Don’t skip this step.
Keep plaster away from your shower tray or tub edge. Water pools in these spots and will damage the plaster. Stop your application about an inch above these areas. You can finish the gap with tile or another waterproof material.
Sealing and Protecting the Finish
Once your plaster is done, seal all the joints and edges. Use anti-mold silicone in corners where walls meet. Also seal where your plaster meets the ceiling, tub, or shower pan.
Choose a high-quality sealer made for wet environments. Apply at least two coats. Some products I recommend are polyurethane sealers or specialized stone sealers. Read the label to make sure it’s rated for continuous moisture.
Reapply sealer every year or two. Check for any worn spots where water hits the most. A little maintenance goes a long way in keeping your shower walls looking great.
Finishing Touches and Styling Your Venetian Plaster Bathroom
Your plaster walls are done. Now make the whole bathroom come together with the right touches.
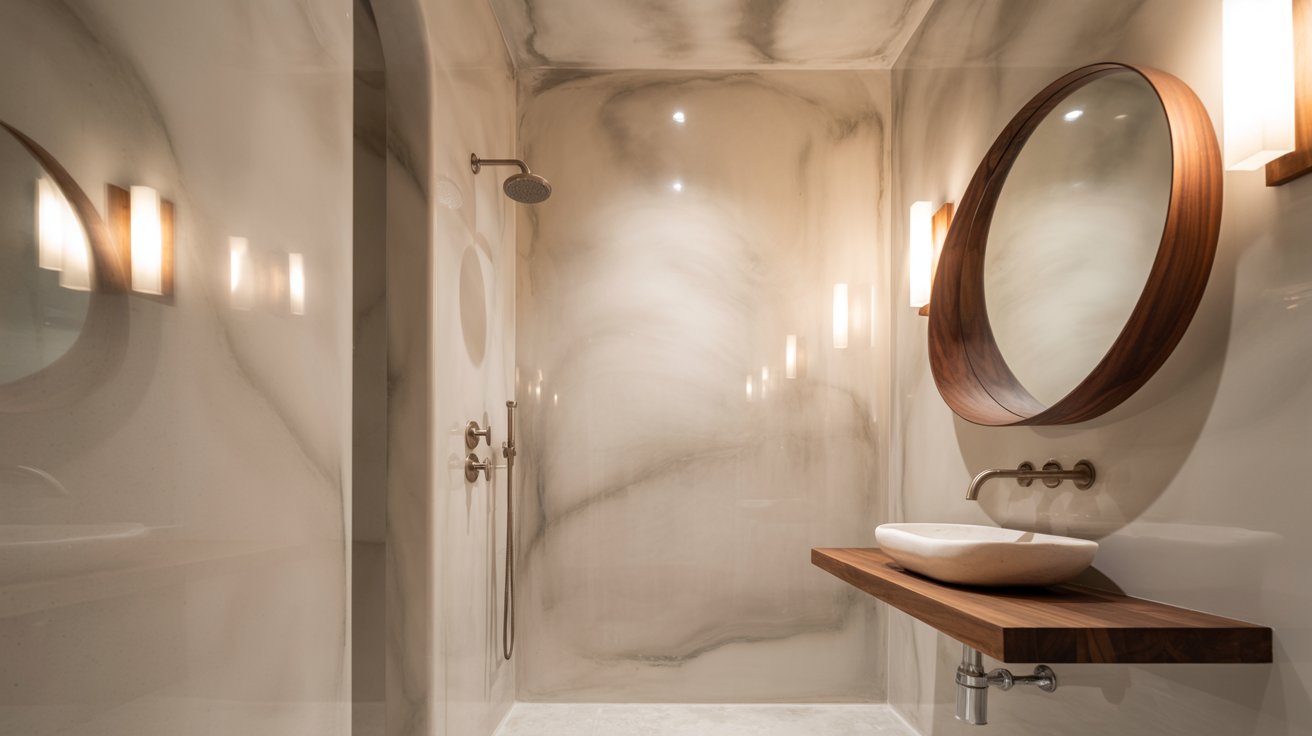
Matching Fixtures and Accessories
Choose fixtures that complement your walls. Brushed nickel, matte black, or chrome faucets all look great against plaster.
Add wood accents like a mirror frame or shelf. This balances the smooth plaster texture. Keep accessories simple and let your walls stand out.
Lighting Tips
Good lighting shows off your plaster work. Install lights at angles that graze the walls. This highlights the texture and depth.
Wall sconces work well on either side of your mirror. Add some recessed ceiling lights too. Use warm bulbs instead of cool white. They bring out the natural tones in plaster.
Maintaining Venetian Plaster
Clean your walls with a soft, damp cloth. Wipe gently in circular motions. Never use harsh cleaners, bleach, or scrubbers. They’ll damage the finish.
Check your sealer once a year. If water stops beading on the surface, reapply it. This keeps moisture out.
For small scratches, use leftover plaster to touch them up. Feather it in with your trowel and polish to match. Most minor fixes blend right in.
Conclusion
On account of the Venetian plaster, I have a bathroom where I actually feel comfortable just hanging out, because it looks so much more upscale and it’s going to last for a lot longer because I took the time to get the prep work right.
The most important part involves waterproofing. When that part is correct, everything else follows.
People must labor hard and be patient to avoid cheating. After you are done and see those smooth, shiny walls gleaming, you can stand back, proud of what you’ve created.
Your bathroom deserves it. Why not plan yours this weekend? You can do this.
Frequently Asked Questions
Can I apply Venetian plaster directly in my shower?
Yes, but you need proper waterproofing first. Use a waterproof membrane and multiple coats of sealer to protect against constant moisture exposure.
How long does Venetian plaster take to dry between coats?
Each coat needs 4 to 6 hours to dry properly. Touch the wall to check if it still feels cool or damp before applying the next layer.
Is Venetian plaster difficult for beginners to apply?
It takes practice, but beginners can do it with patience. Start with a small area to get comfortable with the technique before doing the entire wall.
How do I clean Venetian plaster bathroom walls?
Use a soft, damp cloth with mild soap and water. Avoid harsh chemicals and abrasive scrubbers that can damage the finish.
How often should I reseal my Venetian plaster in the bathroom?
Check your sealer once a year, especially in wet areas. Reapply when water stops beading on the surface to maintain moisture protection.