
Want to give your furniture that lived-in, vintage look? You’re in the right place. In this article, I’ll show you how to transform plain painted wood into pieces with character and history. After 15 years of refinishing furniture, I’ve learned the best techniques that anyone can use fancy tools needed.
I will share everything from basic sanding methods to advanced layering techniques. You’ll find a complete shopping list, step-by-step instructions, and photos of each stage. By the end, you’ll have the skills to create worn, aged finishes that look naturally weathered.
The best part? These methods work on any wooden item chairs, tables, frames, or shelves. You can complete most projects in a weekend with materials you might already have at home.
Let’s transform your too-perfect painted furniture into something with soul and story.
What You’ll Need to Get Started
Your distressing toolkit can be simple. Here’s what I recommend:
Basic Tools and Materials
- Sandpaper (80, 120, and 220 grit)
- Clean rags and a drop cloth
- Paintbrushes (2-inch and angled)
- Paint colors of your choice
- Clear wax or polyurethane sealer
- Protective gloves and a face mask
Optional Tools for Extra Character
- White candle or petroleum jelly
- Wire brush or steel wool
- Small hammer for dents
- Chains or keys for random marks
Recommended Paint Types
- Chalk paint – Easiest to work with, no primer needed
- Milk paint – Most authentic aging effect
- Regular latex paint – Works with primer
Flat or eggshell finishes work best. Skip the glossy paints-they don’t distress naturally.
Prep Work Before You Distress
Good prep ensures better results. Follow these steps before you start:
Choose Your Piece Carefully
- Real wood works best – solid or veneer
- MDF or particleboard can work with proper priming
- Look for sturdy pieces with good bones
Clean and Inspect the Surface
- Wipe with warm, soapy water
- Remove old wax with mineral spirits
- Fix loose parts or holes with wood filler
- Sand any rough spots lightly
Consider a Base Coat
- Dark base + light top coat = aged look when sanded
- Try black, brown, or navy underneath white or cream
- Let each layer dry fully (24 hours is best)
How to Distress Painted Wood – Step-by-Step
Now for the fun part! Here’s my tried-and-true process that I’ve perfected over hundreds of projects:
Step 1 – Apply Wax or Petroleum Jelly
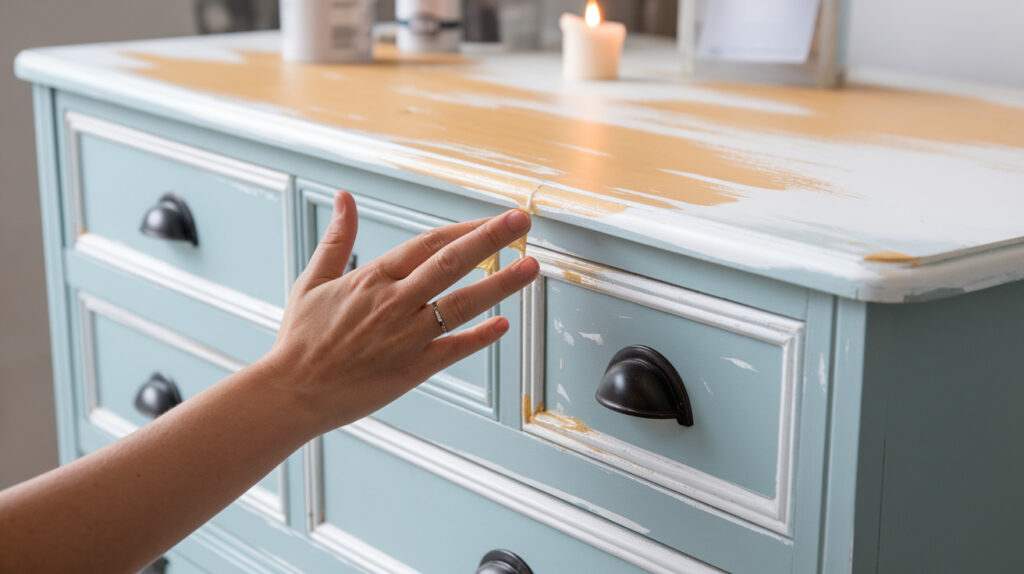
This “resist” technique creates areas where paint won’t stick well, making it easier to create natural-looking worn spots.
- Where to apply: Think about how a piece would wear over decades of use:
- Edges and corners that get bumped
- Areas around handles where fingers touch
- Raised details that stick out
- Center areas of drawers that get rubbed
- Legs where feet might kick
- How to apply:
- Use your finger to rub a thin layer of wax or petroleum jelly
- Press harder in some spots, lighter in others, for random effects
- Don’t overdo it – tiny amounts work best
- A white candle works great for small, precise areas
Pro tip: Look at old furniture for inspiration. Notice how wear happens in specific places, not all over.
Step 2 – Paint Your Surface
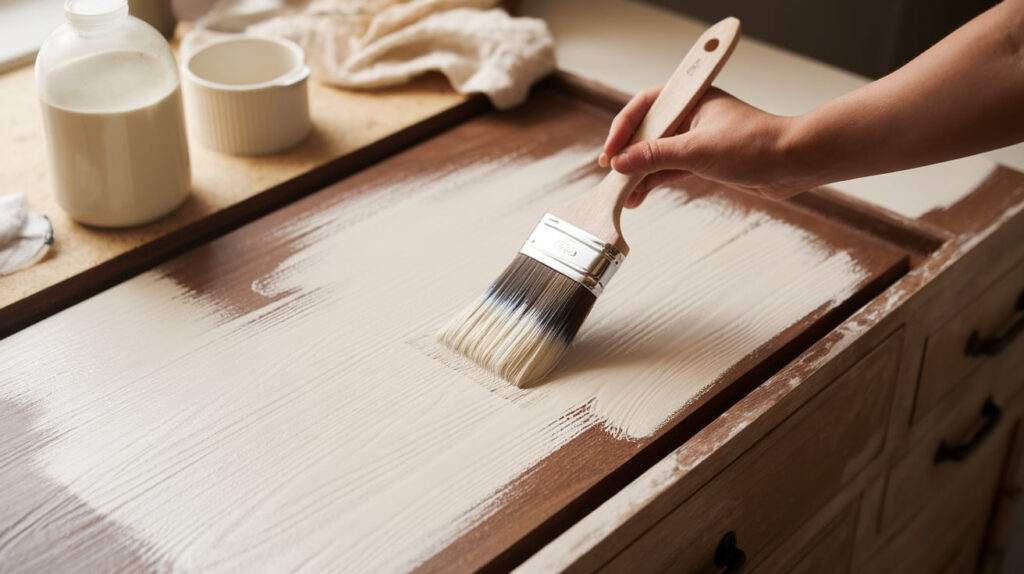
The paint application sets the foundation for your distressed finish.
- Painting technique:
- Use a quality brush for better control
- Apply paint in the direction of the wood grain when possible
- Don’t try to hide brush strokes – they add character
- Consider varying your pressure to create natural texture
- Allow each coat to dry completely (rushing causes peeling)
- Color choices that work well:
- White over dark wood or dark paint
- Cream over mahogany or walnut tones
- Light blue or green over brown base coats
- Gray over black for industrial looks
- Milk paint tip: If using milk paint, mix it slightly thinner than directed for a more authentic aged look.
Sometimes I skip perfect technique on purpose – real old painted furniture rarely has flawless brushwork!
Step 3 – Distress with Sandpaper and Tools
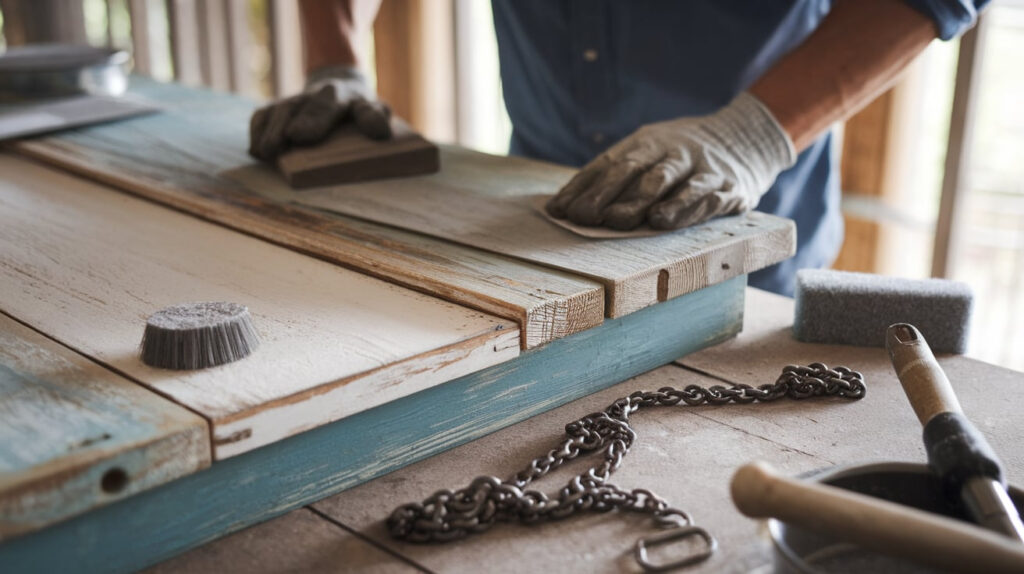
This is where your piece starts to come alive with character.
- Start gently and build up:
- Begin with 120-grit sandpaper for controlled wear
- Move to 80-grit for deeper distressing
- Use 220-grit for final smoothing of rough edges
- Best areas to focus on:
- Edges and corners (always the most worn on genuine antiques)
- High points and raised details
- Areas around handles and knobs
- Table edges where hands rest
- Chair arms and seat front edges
- Lower portions of the legs, where the feet might scuff
- Different tools create different wear patterns:
- Sandpaper wrapped around a block: Creates even wear
- Sandpaper used with fingertips: Makes random patterns
- Steel wool: Creates fine scratches and subtle aging
- Wire brush: Makes wood grain more visible with deeper lines
- Chain: Tap lightly for random dents and marks
- Small hammer edge: Creates authentic dings and dents
- Keys or screwdriver: Good for concentrated scratch marks
- Technique matters:
- Use short strokes for most natural wear
- Apply different pressure levels as you work
- Stand back often to check your progress
- Stop before you think you’re done! Most people over-distress
Remember: Real antiques show gradual wear, not sudden damage. The best faux finishes look subtle and authentic.
Step 4 – Wipe and Seal
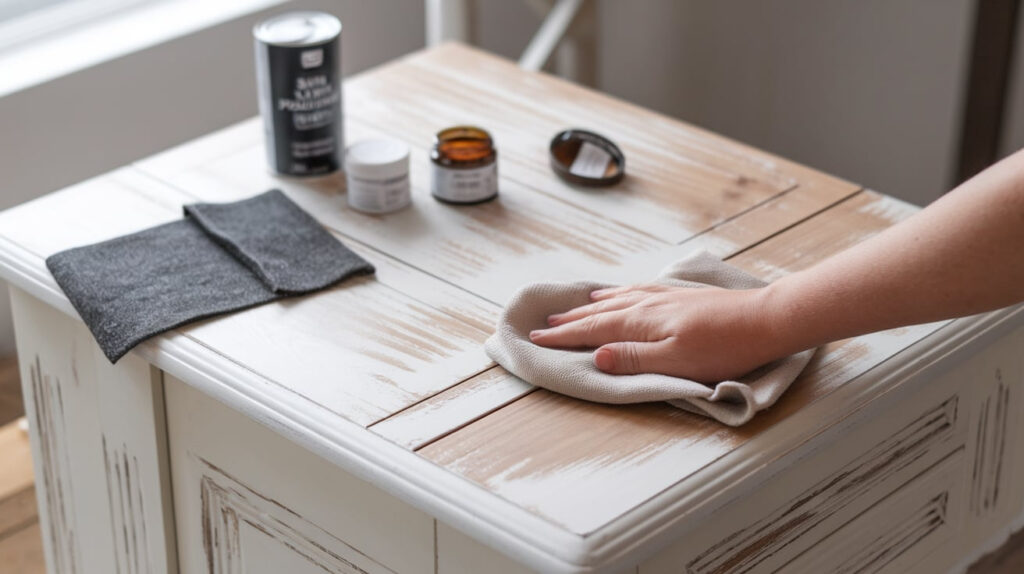
Proper sealing protects your work and enhances the aged appearance.
- Clean thoroughly:
- Wipe with a soft cloth to remove major dust
- Use a slightly damp cloth for fine particles
- Let dry completely (dust trapped under sealer ruins the finish)
- A tack cloth works great for final cleaning
- Sealer options and effects:
- Clear wax: Most authentic for vintage pieces, needs reapplication every 6-12 months
- Dark wax: Adds age and depth to recessed areas
- Satin polyurethane: More durable for high-use surfaces like tables
- Matte polyacrylic: Water-based option that won’t yellow
- Hemp oil: Natural option for a softer, hand-rubbed look
- Application tips:
- Apply thin coats (thick layers look artificial)
- Work in small sections
- Wipe off excess immediately with wax
- For dark wax, apply clear wax first to control the dark color
- Let dry between coats according to product instructions
I often use a combination of clear wax followed by selective dark wax in crevices to create authentic depth and aging.
Final touch: Once everything is dry, I sometimes add one more light distressing with 0000 steel wool over the sealed surface. This breaks the sheen in places and makes the piece look gently used rather than freshly finished.
The Quick Method (Distress Wood in Minutes)
Short on time but want that aged look? I’ve got you covered. This quick technique gives you similar results with much less work.
Time-Saving Shortcut
When I need to finish a project fast, here’s my go-to method:
- Apply wax first: Rub candle wax or petroleum jelly on edges and corners
- Paint once: Brush on a single coat of chalk or milk paint
- Sand while still slightly damp: Wait until paint is tacky but not wet
- Seal immediately: Apply a thin coat of wax or quick-dry sealer
The magic happens when you sand semi-dry paint – it pulls away more naturally than fully dried paint.
My 15-minute process:
- Minutes 1-2: Rub wax on edges
- Minutes 3-7: Apply paint quickly
- Minutes 8-12: Sand strategic areas
- Minutes 13-15: Wipe clean and seal
This method works especially well with chalk paint since it dries faster than other paints.
Best For:
I recommend this quick method for:
- Small projects like picture frames, small shelves, or boxes
- First-time DIYers wanting to test techniques
- Touch-ups on existing distressed pieces
- Gift items you need to finish in a hurry
- Practice pieces before tackling larger furniture
The results won’t have the depth of a multi-layer approach, but they still look great for simple projects!
Pro tip: Keep a spray bottle of water handy. If your paint dries too fast, mist it lightly to make sanding easier.
Pro Tips for a Natural Distressed Finish
Want your piece to look genuinely aged? These pro tips make all the difference:
Layer Paint Colors
- Apply a dark base coat first (brown, black, navy)
- Add light top coat (white, cream, pastel)
- Sand edges to reveal both layers
- Real antiques show multiple paint layers from years of use
Don’t Overdo It
- Focus on natural wear points: edges, corners, handles
- Leave flat surfaces mostly intact
- Create random, uneven wear patterns
- Step back test: If distressing jumps out at you from 6 feet away, it’s too much
Test Before You Tackle Big Projects
- Practice on scrap wood with the same materials
- Try different tools to see the effects
- No scraps? Test on hidden areas (bottom, back)
- Take photos of test results for reference
I learned these tricks the hard way, so you don’t have to. The best distressed finishes look like they happened naturally over decades, not in an afternoon.
Final Thoughts
Creating worn, vintage furniture doesn’t need to be hard or costly. With these techniques, you can transform plain wood into pieces with history and character.
What I love most about distressing is how forgiving it is. Made a mistake? No problem. Just add more paint or sand a bit more. Unlike many DIY projects, imperfections improve the final look!
The best part is seeing the transformation. That boring brown table becomes something with a story and soul.
Don’t worry about getting it “perfect.” Real vintage pieces aren’t perfect either. Your personal touch is what makes distressed furniture special.
I still feel accomplished when I finish a distressing project. Even after years of practice, revealing those worn edges feels like uncovering hidden treasure.
Now it’s your turn. Start small, have fun, and create something that looks like it’s been in your family for generations.