
DIY wall sconces offer an excellent lighting solution that combines style, functionality, and affordability without the complexity of electrical work.
These custom fixtures provide ambient lighting that enhances any room’s atmosphere while staying completely renter-friendly since no hardwiring is required.
The budget-conscious approach allows you to achieve designer looks for a fraction of retail costs, making beautiful lighting accessible regardless of your decorating budget.
This guide presents two straightforward methods for creating pretty wall sconces: an upcycled fluted design that repurposes existing materials, and a spray-painted version that starts with basic components.
Both techniques require minimal tools and experience, making them perfect weekend projects that deliver professional-looking results.
Why Make Your Own DIY Wall Sconce?
Creating your own wall sconces gives you the flexibility to save money while getting exactly what you want. Store-bought designer sconces cost $100-300 each, but these DIY versions run just $15-35.
Customize shapes, colors, and textures to match your decor perfectly. No more settling for “close enough” when you can create what your space needs. Use renter-friendly mounting that leaves no damage behind.
Repurpose materials for sustainable projects. Old cardboard becomes beautiful lighting, and basic sconces get new life with fresh paint.
Whether you’re upgrading a rental or personalizing your home, these sconces deliver professional style with a DIY budget.
Materials You’ll Need
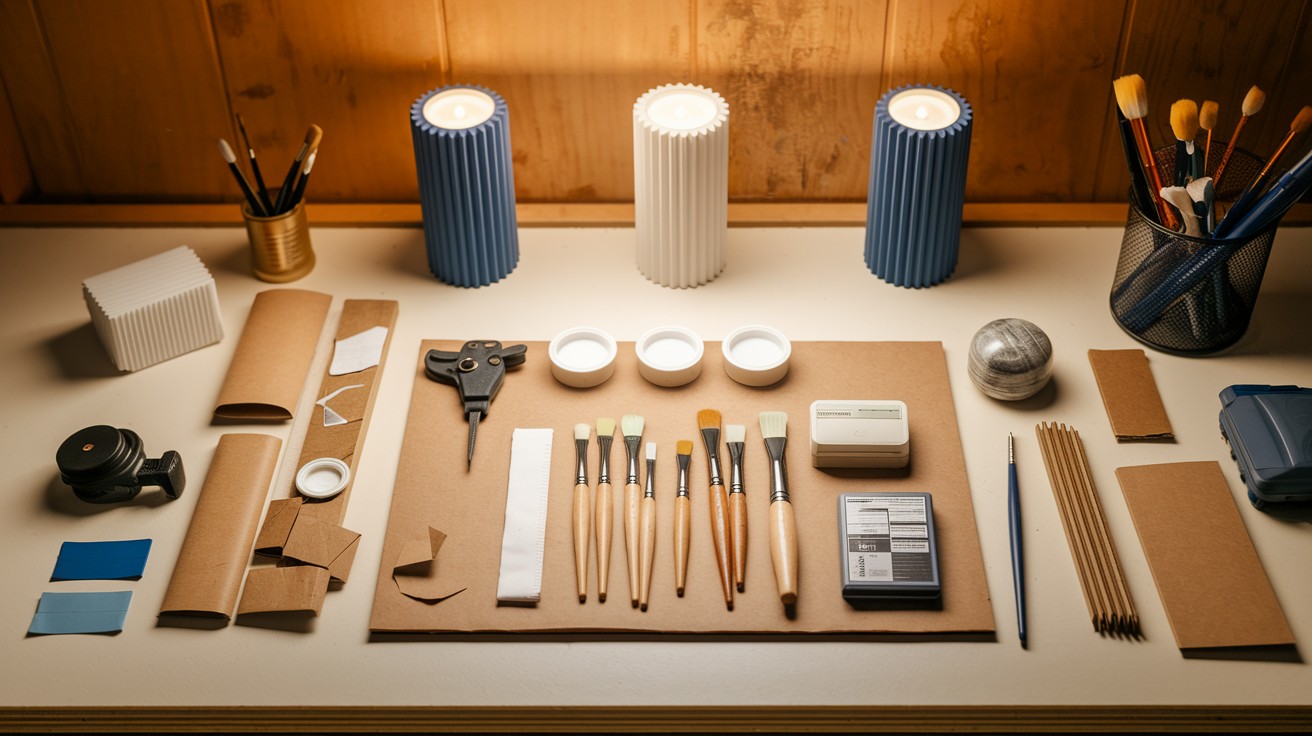
Complete list of affordable, easily accessible materials needed to create both fluted and spray-painted DIY wall sconce projects.
For Fluted Wall Sconce
- Cardboard scraps for creating the base structure and foundation of your custom sconce design.
- Half dowels create the distinctive fluted texture that gives this sconce its characteristic appearance.
- White paint and texture paint for finishing the surface and achieving a professional, polished look.
- Painter’s tape to ensure clean lines during the painting process and protect surrounding areas.
- Strong adhesive like Liquid Nails to securely bond all components together during assembly.
- Battery-powered puck lights to provide illumination without requiring any electrical work or hardwiring.
- 3M Command Velcro strips for easy, damage-free mounting and removal that’s perfect for renters.
- Basic tools include a boxcutter for precise cuts, clamps for holding pieces during assembly, jigsaw for shaping, and brushes for paint application.
For Spray-Painted Wall Sconce
- A basic wall sconce purchased from retailers like Amazon serves as your starting foundation piece.
- Use metal primer spray paint to ensure proper paint adhesion and create a smooth base for color application.
- Color spray paint in your chosen shade for the final finish that matches your decor preferences.
- Use painter’s tape to protect areas you don’t want painted and achieve clean, professional-looking results.
- A battery-operated puck light or a remote-controlled bulb to provide lighting without requiring electrical work or hardwiring installation.
Step-by-Step: Fluted Wall Sconce
Complete instructions for creating a custom fluted wall sconce using cardboard, dowels, paint, and battery-powered lighting in four simple steps.
Step 1: Make the Frame
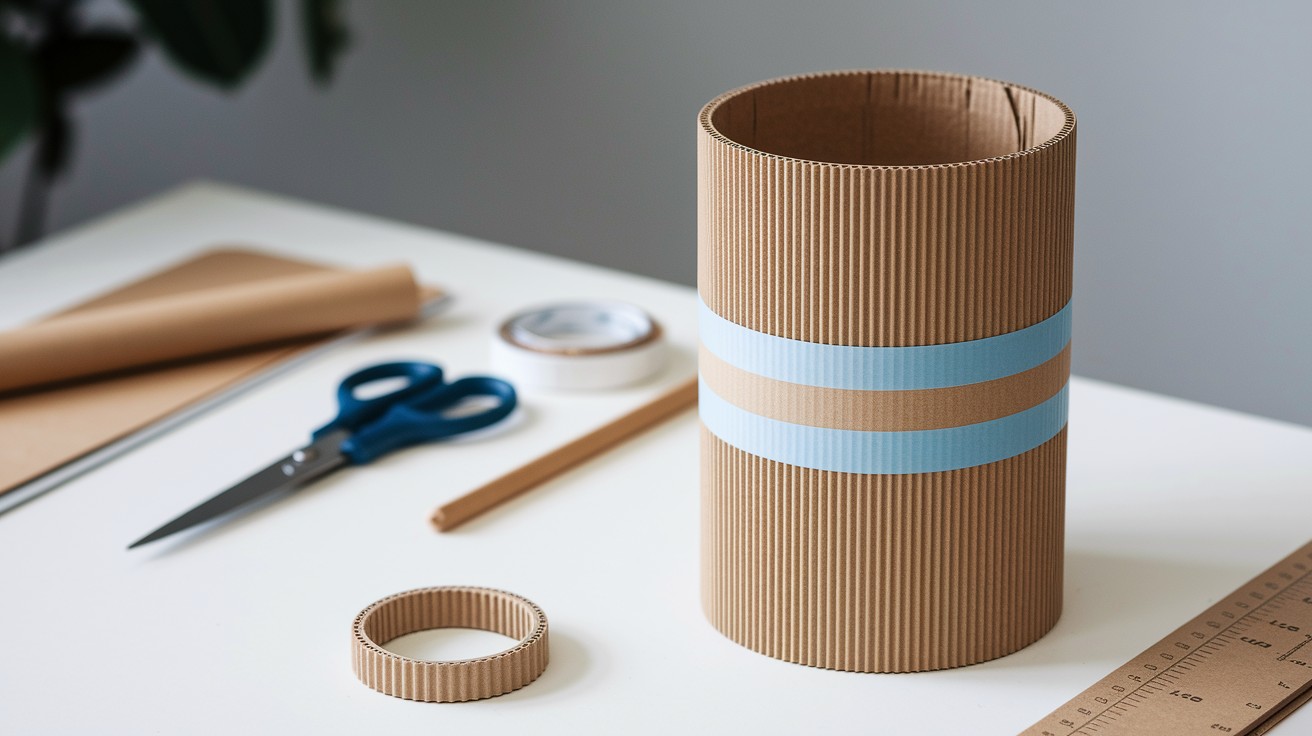
Begin your fluted sconce project by creating a sturdy cylindrical base using cardboard scraps.
Roll the cardboard into a cylinder shape that will serve as the foundation for your dowels, ensuring the size fits your intended space and design vision.
Secure the cylinder firmly with painter’s tape, wrapping it around the seam to create a stable structure.
Make sure the cylinder maintains its shape and stands upright, as this will determine the final appearance of your finished sconce.
Step 2: Cut and Attach Dowels
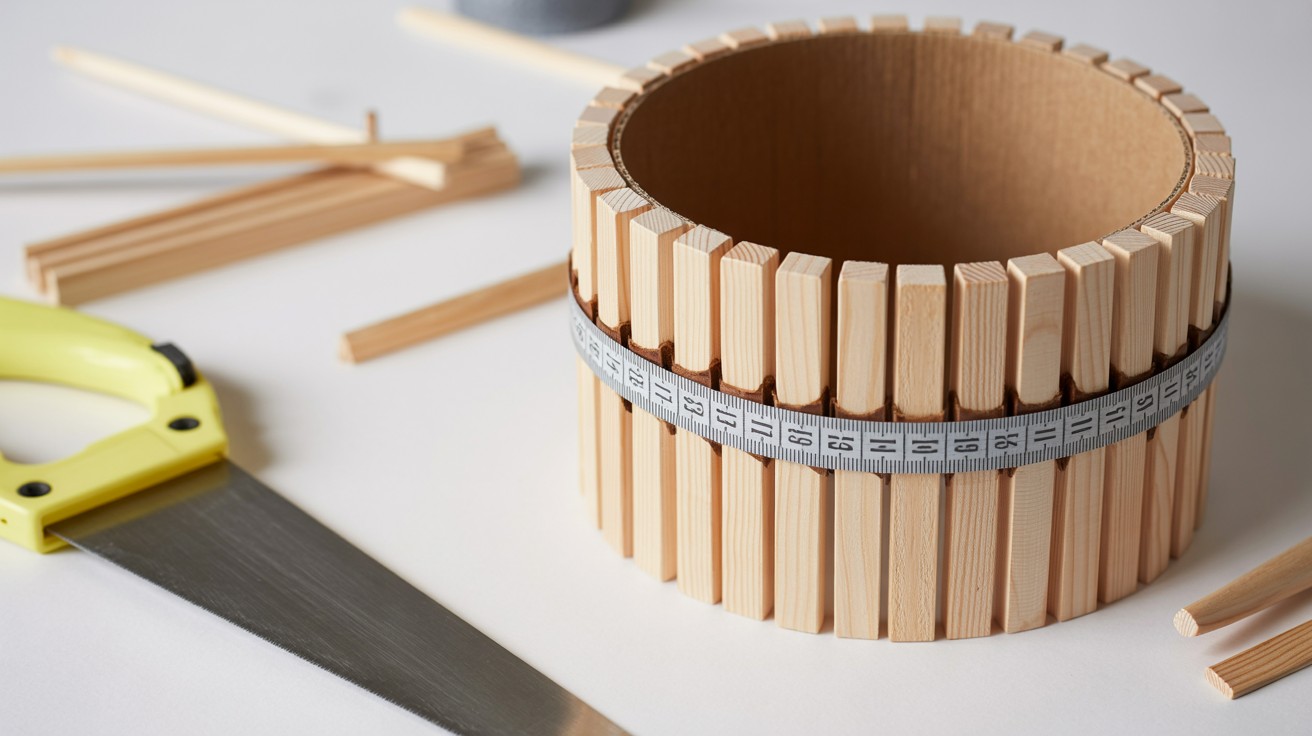
Measure and cut your half dowels to uniform lengths of approximately 21 centimeters for consistent visual appeal.
Apply strong adhesive like Liquid Nails to each dowel and attach them vertically to the cardboard cylinder, spacing them evenly around the circumference.
Work systematically around the cylinder, ensuring each dowel is straight and properly aligned with its neighbors.
Allow the adhesive to dry completely according to manufacturer instructions before proceeding to the next step.
Step 3: Paint and Add Texture
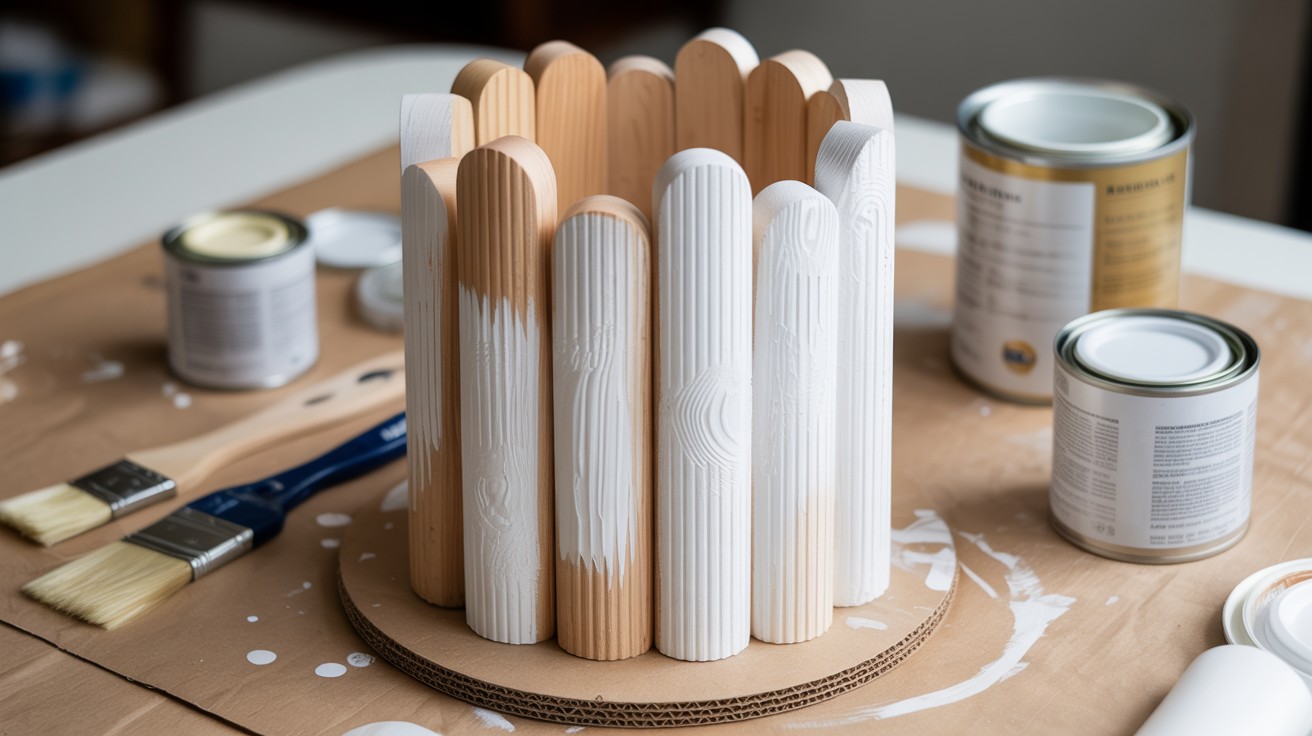
Apply 2-3 coats of white paint to all dowels, allowing each coat to dry thoroughly between applications for even coverage.
Once the base paint is completely dry, brush texture paint vertically along each dowel to create depth and visual interest.
The vertical brushing motion enhances the fluted effect while adding sophisticated texture that catches light beautifully.
Allow the texture paint to cure fully before handling or mounting the sconce.
Step 4: Add Light and Mount
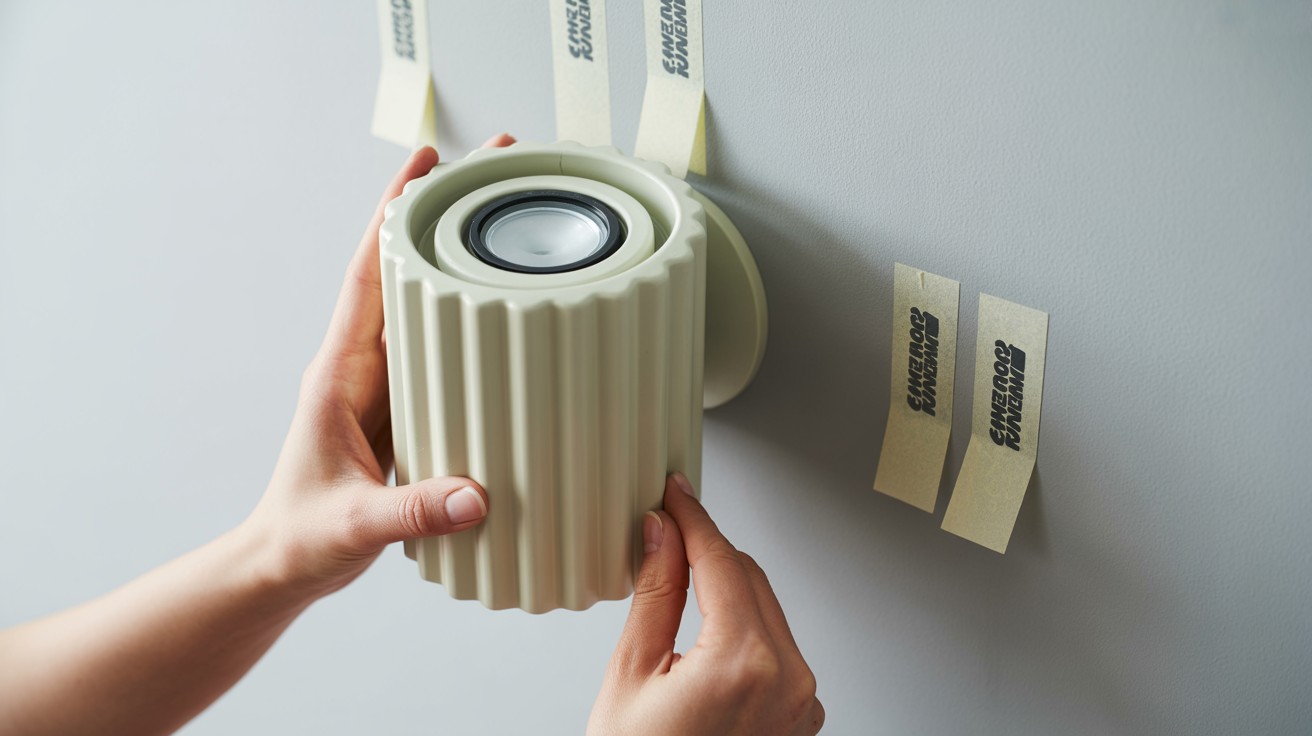
Install your battery-powered puck light inside the cylinder, positioning it to provide optimal light distribution.
Attach 3M Command Velcro strips to both the back of your sconce and your chosen wall location, ensuring the strips align properly for secure mounting.
Press firmly to activate the adhesive and test the connection before relying on it to support your finished sconce.
The Velcro system allows for easy removal and repositioning without wall damage.
Step-by-Step: Spray-Painted Wall Sconce
Simple three-step process for transforming a basic wall sconce using spray paint, primer, and battery-powered lighting for custom results.
Step 1: Tape and Prep
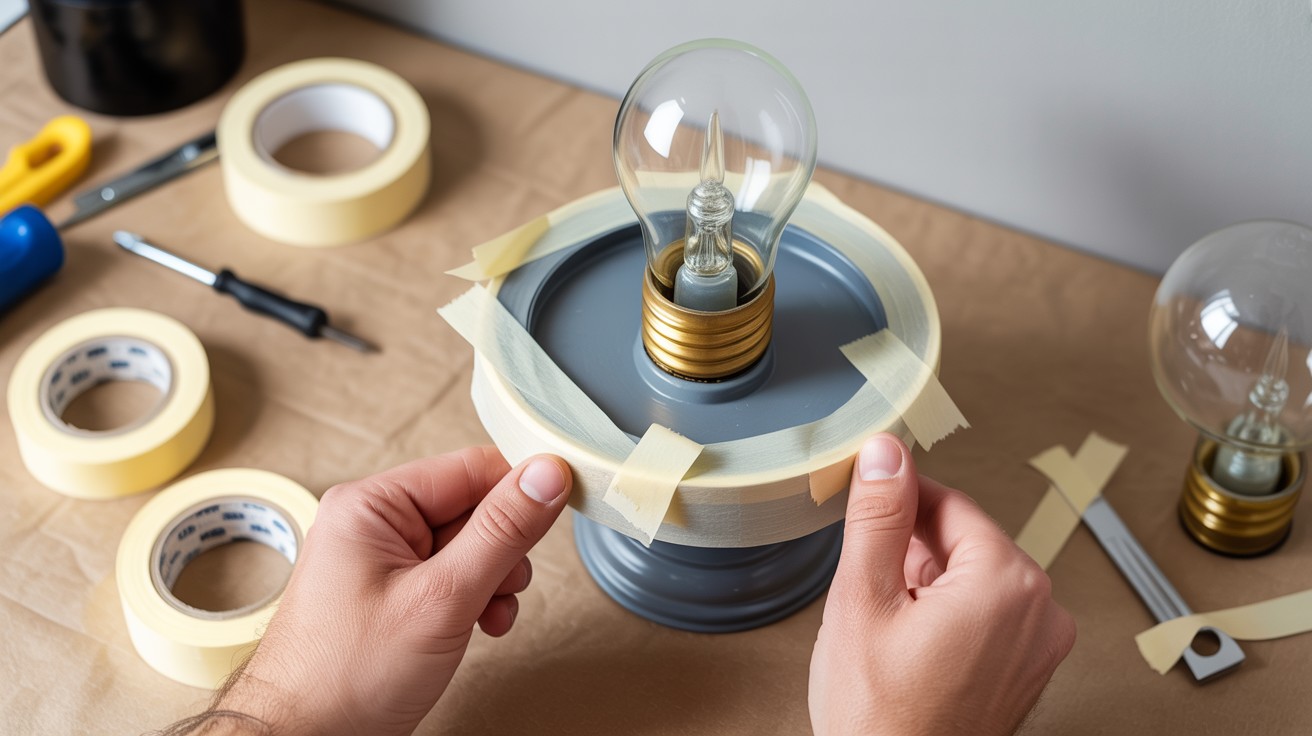
Start by carefully removing the glass globe or shade from your basic wall sconce to access all surfaces that need painting.
Use painter’s tape to cover any areas you want to protect from paint, paying special attention to the bulb socket area and any electrical components.
Proper taping ensures clean lines and prevents paint from interfering with the sconce’s functionality.
Take time to press tape edges firmly to prevent paint bleeding underneath, creating professional-looking results.
Step 2: Prime and Paint
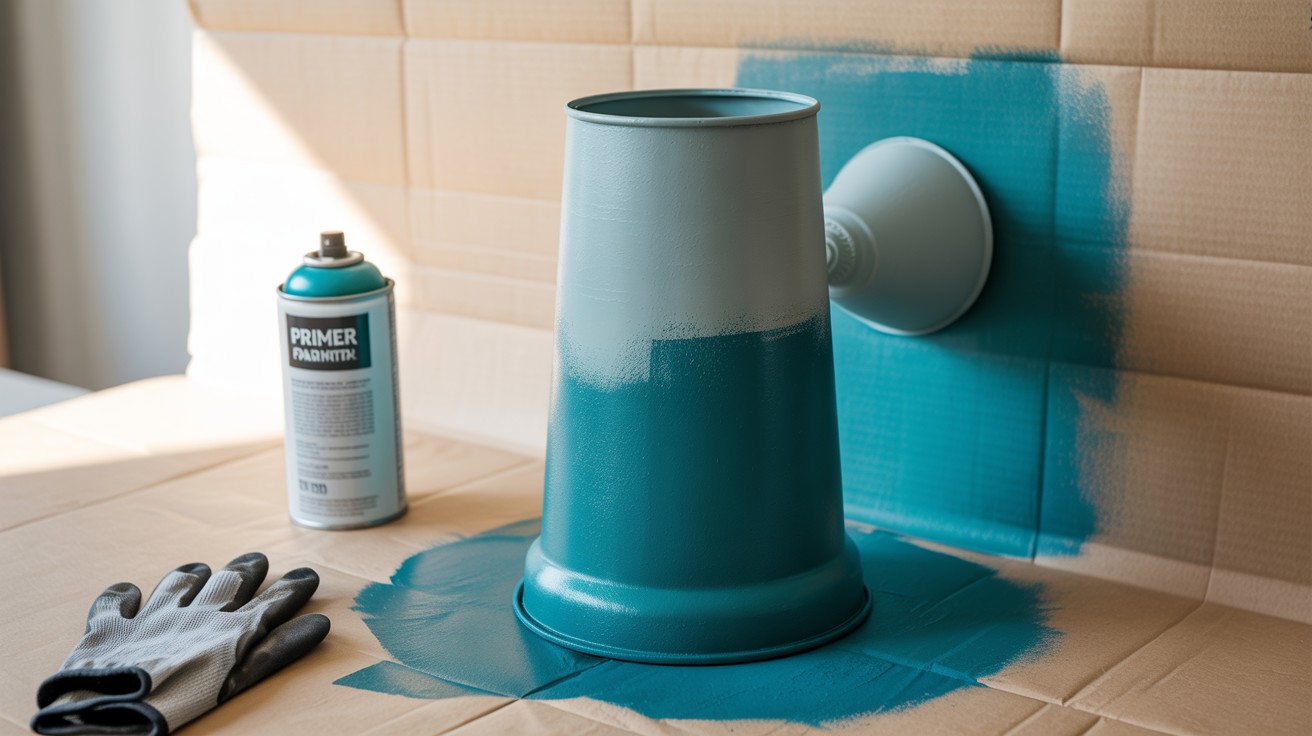
Apply metal primer spray paint in thin, even coats to ensure proper paint adhesion and long-lasting results.
Allow the primer to dry completely according to manufacturer instructions before proceeding with your chosen color.
Apply your color spray paint using smooth, overlapping strokes to avoid drips or uneven coverage.
Apply multiple thin coats rather than one thick coat for the best finish, allowing proper drying time between each application for optimal results.
Step 3: Reassemble and Light
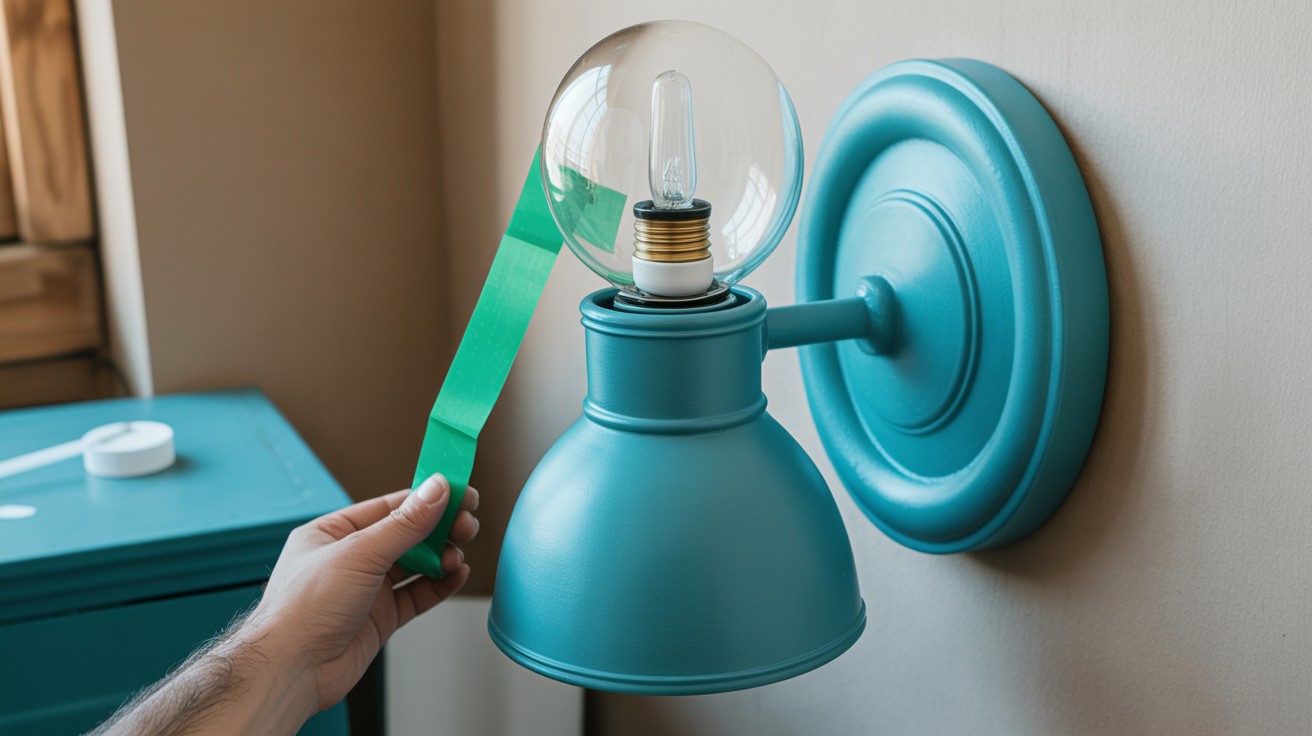
Once the paint is completely dry and cured, carefully remove all painter’s tape to reveal clean, crisp lines.
Reattach the glass globe or shade, ensuring it fits properly and securely in place. Insert your battery-powered puck light or screw-in battery bulb into the fixture, testing the light to ensure proper function.
Mount your newly transformed sconce on the wall using appropriate hardware and enjoy your custom lighting solution that looks professionally finished.
Tips for Success
These tips are going to help you out:
- Use spray paint specifically formulated for metal surfaces to ensure proper adhesion and prevent chipping or peeling over time.
- Apply multiple thin coats rather than one thick application to achieve smooth, even finishes without drips or runs.
- Allow proper drying time between coats as specified by the paint manufacturer to ensure each layer cures completely.
- Choose removable mounting options like Command strips if you’re renting to preserve wall surfaces and maintain flexibility for future changes.
- Test the weight capacity of your chosen mounting system to ensure it can safely support your finished sconce.
- Consider using remote-controlled puck lights for convenient operation without reaching inside the sconce to access switches.
- A remote control allows you to operate multiple sconces simultaneously, creating coordinated lighting effects throughout your space.
Where to Use DIY Wall Sconces
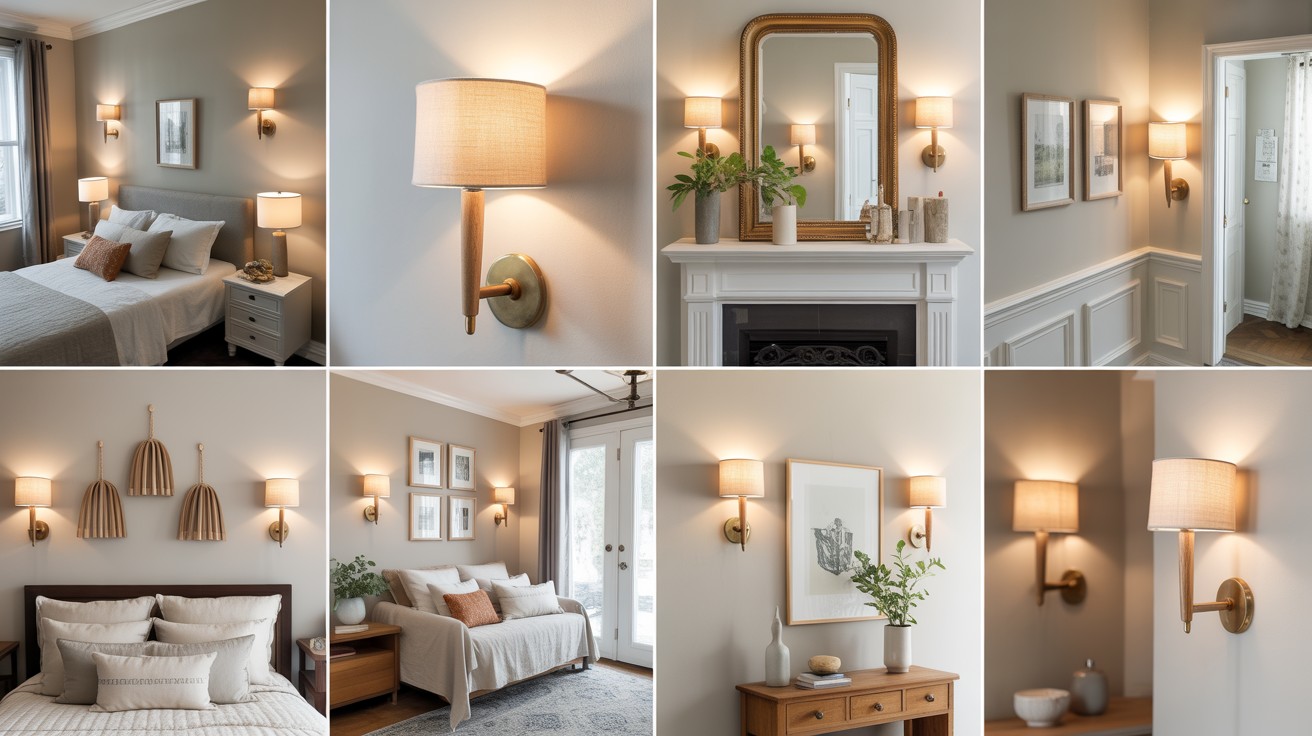
DIY wall sconces work beautifully in bedrooms above nightstands, providing perfect reading light while freeing up surface space.
Flanking mirrors or fireplaces with matching sconces creates balanced, symmetrical lighting that enhances focal points and adds architectural interest.
Hallways, entryways, and reading nooks benefit from sconce lighting that adds warmth to transitional spaces often lacking adequate overhead illumination.
These fixtures create welcoming atmospheres while improving navigation and functionality.
Gallery walls gain extra dimension when enhanced with strategic sconce placement that highlights artwork and creates layered illumination.
Sconces can serve as both decorative elements and practical ambient lighting for viewing collections.
Conclusion
After completing dozens of DIY lighting projects over the years, I can honestly say wall sconces are one of the most rewarding builds you’ll tackle.
There’s something magical about flipping that switch and seeing your handmade creation cast beautiful light across the room.
These projects prove you don’t need expensive tools or years of experience to create stunning home decor. A weekend, some basic materials, and a willingness to try something new is all it takes.
The best part? Every time guests compliment your lighting, you get to say “I made that myself.” That feeling never gets old.
Your walls are waiting for some personality. Which sconce style will you try first?
Frequently Asked Questions
Can I make these sconces without any electrical experience?
Yes, both projects use battery-powered lights that require no wiring or electrical knowledge whatsoever. Simply insert puck lights or battery bulbs into your finished sconces for safe, code-compliant lighting.
How much do these DIY sconces cost to make?
The fluted version costs around $15-25 using cardboard, dowels, and basic supplies, while the spray-painted option runs $20-35 depending on your base sconce choice. Both options cost significantly less than store-bought designer sconces.
Are these sconces suitable for renters?
Absolutely – both designs use removable mounting methods like Command strips that won’t damage walls. You can easily take them down when moving without losing your security deposit or leaving marks.
How long do the battery-powered lights last?
Most quality puck lights provide 50-100 hours of continuous use on a single set of batteries. With typical evening use, batteries usually last 2-3 months before needing replacement.
Can I customize the size and color of these sconces?
Yes, both projects are highly customizable – adjust dowel lengths and cylinder sizes for different proportions, and choose any paint colors to match your decor. The spray-painted version works with various base sconce styles for different looks.