
In this blog, I’ll share how I created a stunning DIY upholstered headboard that transformed my bedroom without the hefty price tag.
An upholstered headboard instantly adds luxury, warmth, and a designer touch, but buying one can cost hundreds of dollars. Instead of overspending, I took the DIY route and crafted my own for under $200 and the results were worth it.
Here you can find everything you need to create a beautiful, custom headboard that fits your style and budget. You can choose plush velvet or classic linen, this project is an easy way to elevate your bedroom. Let’s dive in!
Cost and Tools Overview
One of the biggest perks of this DIY upholstered headboard project is its affordability. While store-bought headboards can easily set you back hundreds of dollars. This custom version costs around $170—not including fabric. You can opt for plush velvet, classic linen, or trendy boucle, you can control your budget while achieving a high-end look.
Best of all, you won’t need a workshop full of expensive tools. This project requires only basic tools most of which you may already have. With just a few materials and some creativity, you can build a headboard that rivals designer pieces at a fraction of the cost.
Choosing the Headboard Size & Style
When designing your DIY upholstered headboard, getting the dimensions right is key to achieving a balanced and professional look. Here’s a recommended size for a Queen-sized bed:
- Headboard Panel: 1.5m (W) × 0.5m (H) – This provides a sleek and proportional backdrop for your bed.
- Legs: 0.8m (H) × 0.15m (W) each – These sturdy supports ensure stability and proper positioning against the wall or bed frame.
- Customization: Feel free to adjust the width and height to suit your bed size and personal preference. A taller headboard can create a dramatic, statement look, while a wider design can add extra presence behind nightstands.
- Tufted vs. Non-Tufted: If you want a more elegant, classic look, consider adding button tufting. This optional step gives your headboard a plush, designer feel. For a sleek and modern aesthetic, a smooth, non-tufted finish works beautifully.
Materials & Supplies Needed
- MDF Board: Cut to 1.5m x 0.5m for a Queen bed
- Legs: Cut from the same board, measuring 0.8m x 0.15m each.
- Foam: A mattress topper (~5cm thick)
- Foam Wadding (Batting): 1.5m wide, 170gsm bonded fiber, 2m length
- Fabric: Upholstery-grade fabric, at least 2m
- Staple Gun: 14mm staples
- Upholstery Needle: Approx. 20cm long
- Buttons: 35mm wide
- Thread: Strong upholstery or jewelry thread
- Drill & Screws: 8 screws
- Other Essentials: Ruler, Sharpie, scissors, Stanley knife, hammer
Step-by-Step for DIY Upholstered Headboard
Step1: Preparing the Board (Drilling Button Holes)
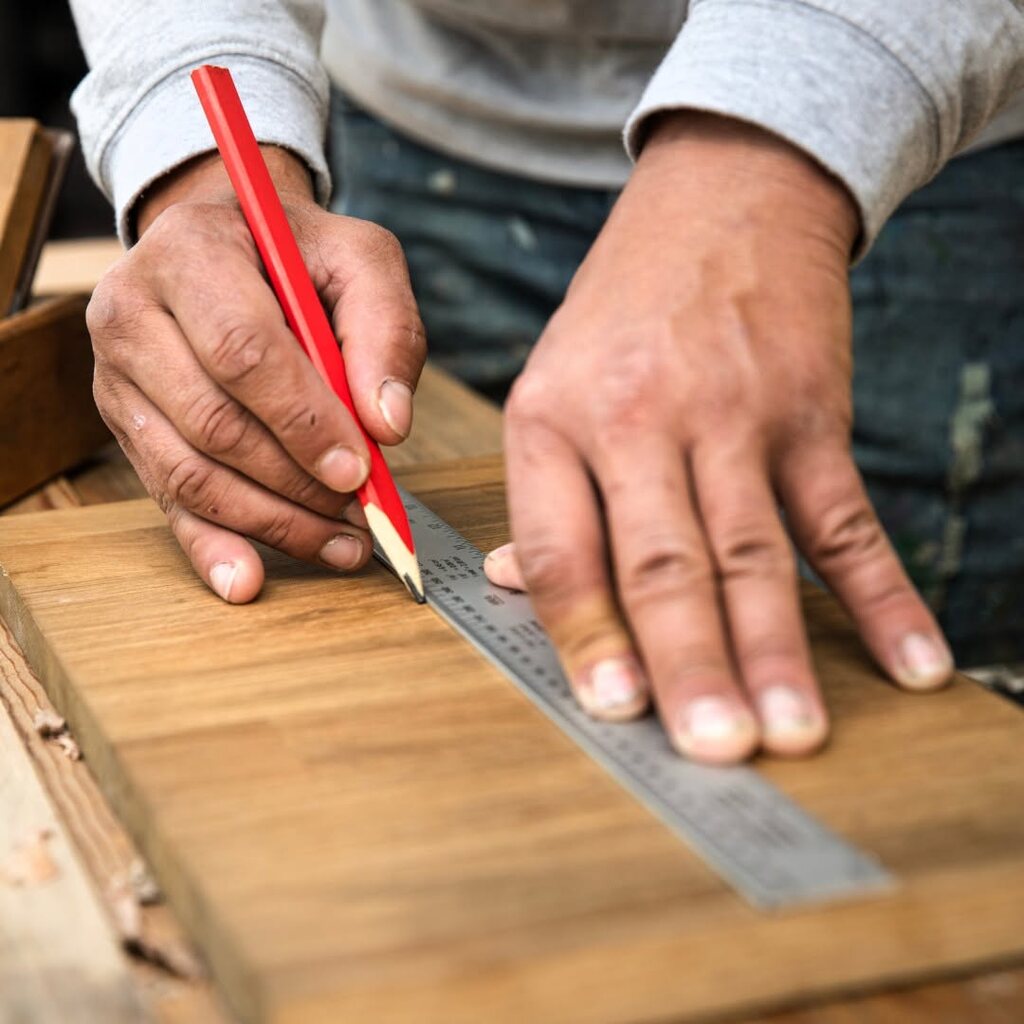
Start by planning the button placement, aiming for a balanced look. Two rows with four buttons each work well for a Queen-sized headboard. Use a ruler and Sharpie to mark the exact spots, ensuring even spacing for a professional finish.
Next, drill holes at each marked point, making sure they are large enough for the upholstery needle to pass through easily. For better visibility, position the buttons slightly higher on the headboard, as the lower section may be covered by pillows when the bed is made.
Step 2: Attaching the Foam & Wadding

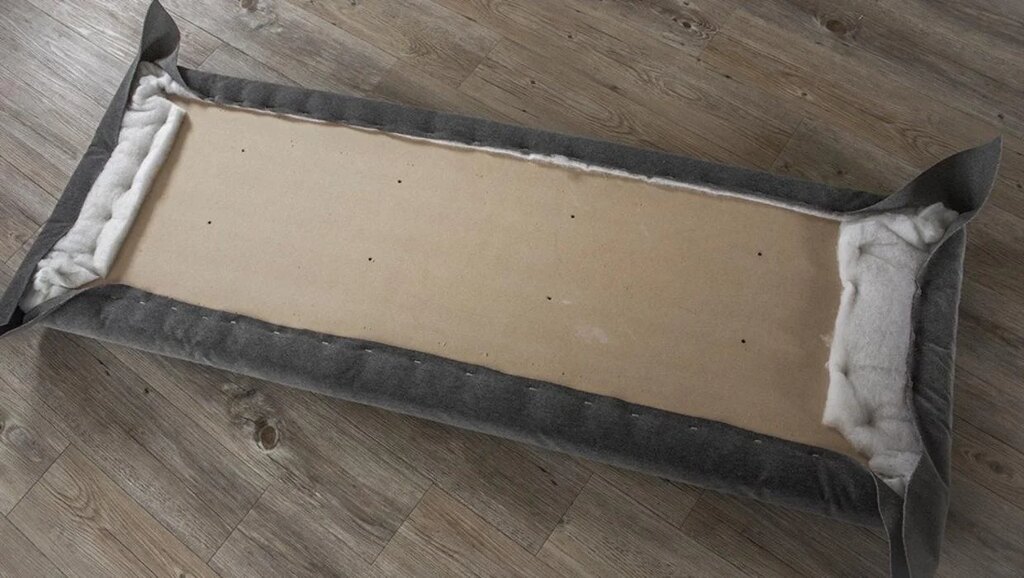
Lay the wadding flat, center the foam on top, and place the MDF board over it. For added stability, optionally secure the foam to the board with spray glue. Trim the foam to match the exact size of the board.
Pull the wadding tightly over the edges, overlapping about 15cm on all sides, and staple it securely at the back. Smoothly fold the corners using multiple small folds for a seamless finish.
Step 3: Attaching the Fabric
Spread your fabric face down, making sure it’s smooth and wrinkle-free, then place your headboard right in the center. Pull the fabric snugly around the edges, securing it with staples along the back for a tight, professional finish.
When you get to the corners, take an extra moment to fold them neatly using a single, clean fold for that sleek, designer look. Staple them down, step back, and admire how it’s all coming together
Step 4: Covering & Attaching Buttons
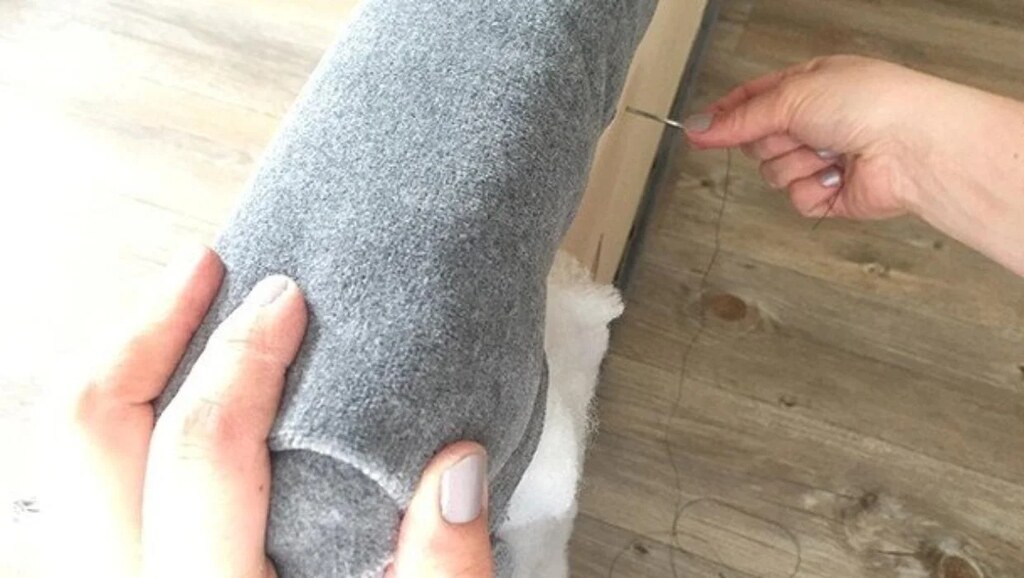
To create those gorgeous tufted details, start by covering your buttons with fabric using a button kit or a simple hand-sewing technique. Next, thread a strong upholstery needle and push it through the pre-drilled hole from the back of the headboard to the front. Attach the button, then carefully guide the needle back through to the other side.
Pull the thread tight to achieve a deep tufted effect, then secure it by stapling the thread firmly to the back of the board. Repeat for all buttons, making sure each one is evenly pulled for a flawless, luxurious look.
Step 5: Attaching the Legs

Decide on the perfect height for your headboard and position the legs accordingly. Once aligned, trace their placement and mark where the screws will go—each leg will need four screws for stability.
Drill pilot holes carefully, making sure not to go through the fabric on the front. Finally, attach the legs securely by driving in the screws, ensuring a firm and steady base for your stylish new headboard.
Step 6: Final Assembly & Placement
Place your beautifully crafted headboard behind the bed, ensuring it rests securely against the wall. Adjust the height as needed for the perfect fit, making sure it’s stable and well-positioned.
Conclusion
Why spend hundreds when you can craft a custom upholstered headboard for under $200? With basic tools, quality fabric, and a bit of creativity, you can achieve a high-end look on a budget. Whether you go for tufted elegance or a sleek modern finish, this DIY project lets you tailor every detail to your style.
From measuring and securing fabric to attaching sturdy legs and perfecting tufting, every step ensures a professional-quality result. Plus, with removable covers or fabric swaps, refreshing your bedroom look is easy. Now, grab those tools—your dream headboard is just a few steps away.
FAQs
How long does it take to make a DIY upholstered headboard?
Most DIY headboards can be completed in a day or a weekend, depending on tufting and drying times for adhesives.
How do I clean an upholstered headboard?
Regularly vacuum with a brush attachment and spot clean stains using a fabric cleaner or mild soap and water.
How do I attach the headboard to the bed?
Many DIYers simply lean it against the wall, but you can also mount it using brackets or attach it to the bed frame with screws.
Can I use an old headboard as a base?
Yes. If you already have a solid headboard, you can upholster over it instead of building a new base. Just make sure it’s sturdy and smooth.
Do I need to staple the fabric, or can I glue it instead?
Stapling is more secure, but if you prefer a no-staple method, fabric adhesive or heavy-duty Velcro can work for a cleaner look.
Can I add built-in LED lights or a storage compartment?
Absolutely! LED strip lighting behind the headboard adds a soft glow, while a hinged panel at the back can provide hidden storage.
What’s the easiest way to make a headboard look high-end?
Choose luxurious fabric like velvet or textured linen, add deep tufting, and use extra-thick foam for a plush, designer feel.