
Making your own cabinet doors is a practical solution for home improvement enthusiasts. This do-it-yourself approach offers substantial benefits worth considering. First, you’ll see significant cost savings compared to purchasing pre-made options, often reducing expenses by 30-50%.
Second, crafting custom doors allows complete control over dimensions, style, and materials, perfect for unique spaces or personal preferences. Third, this hands-on project builds valuable woodworking skills applicable to future renovations.
Many homeowners hesitate, wondering about necessary tools and expertise. Rest assured, basic cabinet doors require only common workshop items: a saw, drill, measuring tape, and sander.
As for skill level, even beginners can create functional, attractive doors by following straightforward instructions. With some patience and attention to detail, your kitchen or bathroom can showcase your personal craftsmanship.
Tools and Materials Needed
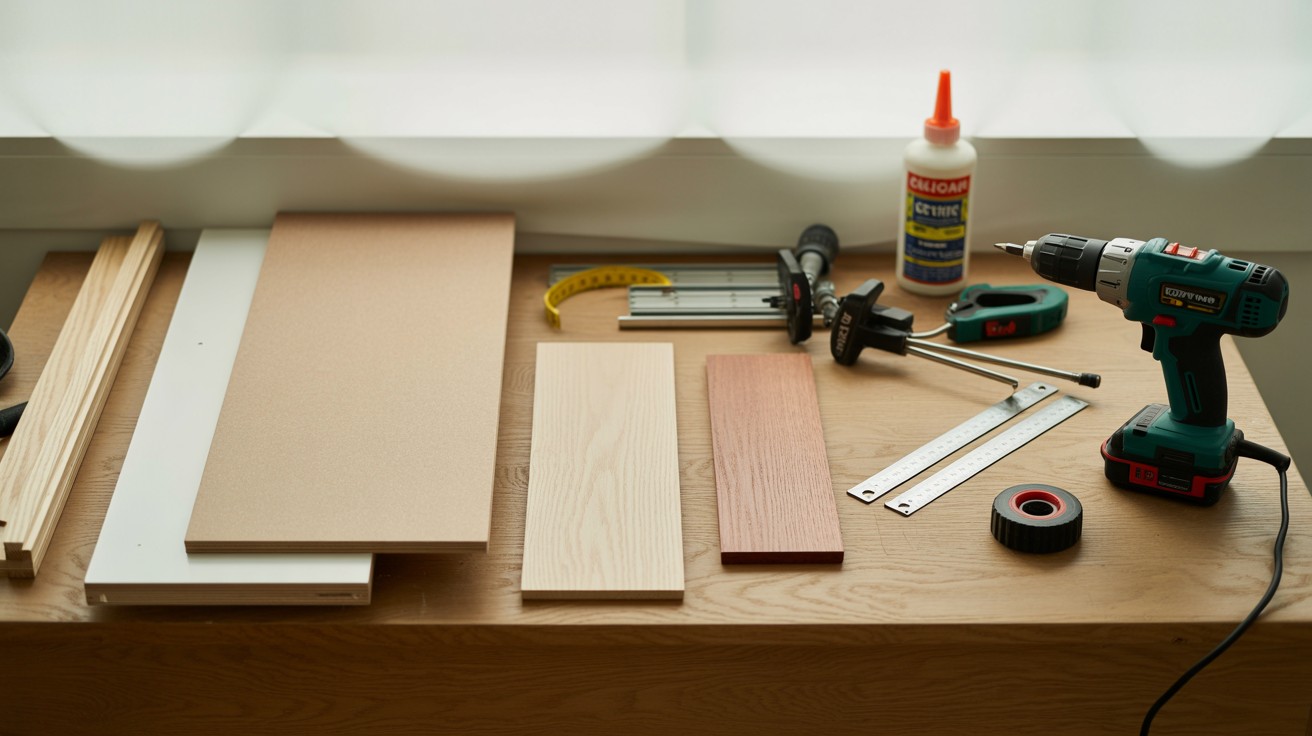
Material Options
MDF (Medium-Density Fiberboard) MDF offers a cost-effective option with a smooth surface that takes paint exceptionally well. Its consistent thickness makes it ideal for cabinet doors. However, it tends to be heavier than other options, lacks moisture resistance, and cannot be stained effectively.
Plywood Plywood provides excellent stability with minimal warping and a good strength-to-weight ratio. It comes in various wood veneers to match your décor. The main drawbacks include visible edge layers that require banding and a higher cost compared to MDF.
Solid Wood Solid wood creates a classic, timeless look for cabinet doors. You can sand and refinish it multiple times over its lifespan, and it offers superior strength and durability. The trade-offs include a higher price point and potential expansion or contraction with humidity changes.
Essential Tools
- Circular Saw: For straight cuts on panels
- Rip-Cut Guide: Ensures accurate, straight cuts
- Orbital Sander: Smooths surfaces and edges
- Wood Glue: Bonds components securely
- Clamps: Holds pieces while glue dries
- Wood Filler: Conceals minor imperfections and gaps
- Measuring Tape & Square: For accurate measurements
- Drill/Driver: For attaching hardware
Optional Tools
Consider adding a router to your arsenal for creating decorative edge profiles or panel grooves. A hinge jig helps with consistent hinge placement. For more precise cuts than a circular saw can provide, a table saw is valuable. When making frame-and-panel doors, a miter saw becomes useful for frame pieces.
Gathering these materials and tools before beginning your project will streamline the construction process and improve your results.
Choosing Your Door Style
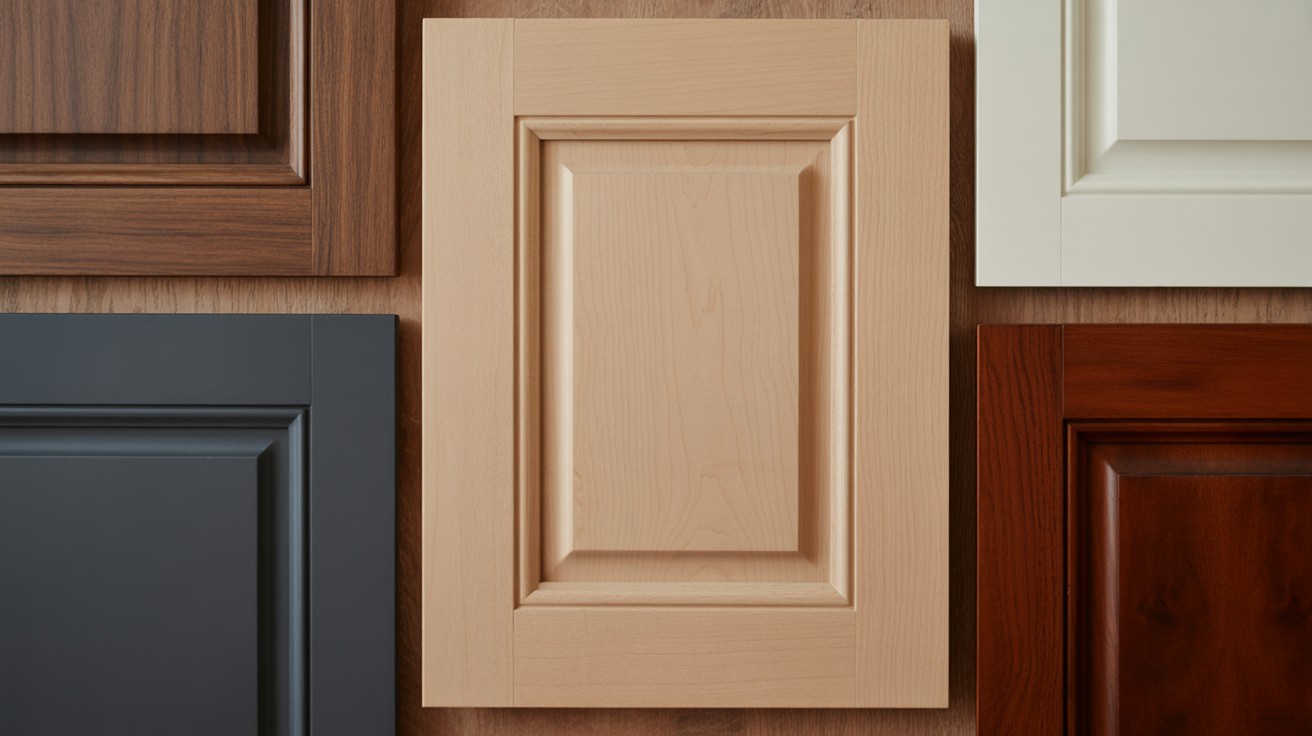
Shaker-Style: A Classic Approach
Shaker-style doors represent one of the most popular options for cabinets today. Their clean lines and simple design create a timeless look that fits both modern and traditional homes. This style features a frame around the perimeter with a flat panel in the center, creating visual interest without complexity. The straightforward design makes it an excellent choice for DIY projects, as the construction methods are fairly simple.
How Style Influences Materials and Techniques
Your door style directly impacts your material selection and construction methods. For Shaker doors, you might use solid wood or MDF for the frame pieces, with a plywood or MDF panel insert. The construction typically involves creating a frame with mortise and tenon joints or pocket screws, then inserting the center panel.
More ornate styles may require specialized router bits to create detailed edge profiles. Modern slab doors, by contrast, use simpler construction but might benefit from high-quality veneers or laminates for a sophisticated finish.
Customization Options
Even within the Shaker style, you can introduce variations that make your doors unique:
- Panel Materials: Consider using plywood, beadboard, or shiplap for the center panel to add texture and visual interest.
- Edge Details: Subtle changes to how you shape the inner edge of the frame can create different looks.
- Proportions: Adjusting the width of the frame pieces relative to the door size can create either a more substantial or delicate appearance.
- Trim Elements: Adding simple trim to the outer edges can enhance the look without complicating construction.
The beauty of DIY cabinet doors lies in this ability to blend standard styles with personal touches, creating a result that perfectly suits your home and preferences.
Step-by-Step Process
Step 1: Measuring and Planning
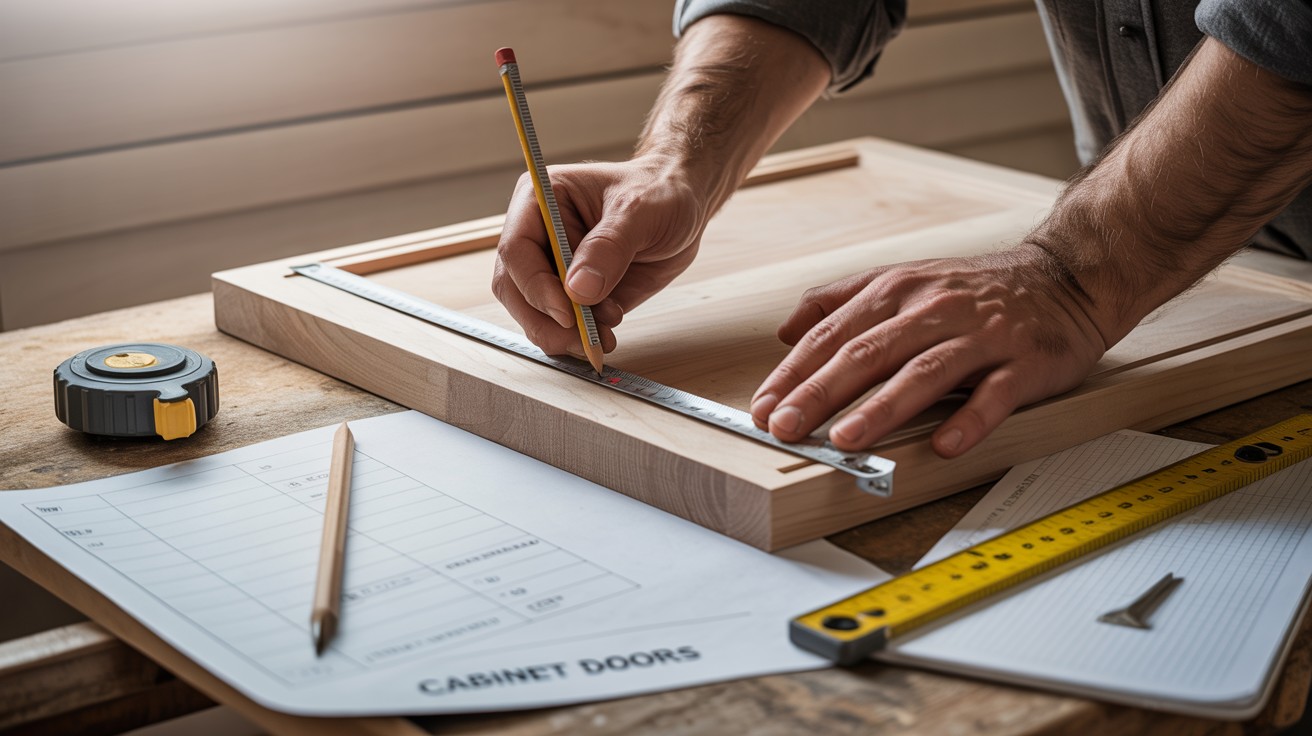
Calculate door sizes based on overlay style—subtract 1/8″ from each side for standard overlay or add 1″ to opening dimensions for full overlay. Create a detailed cut list and sketch your design to maximize material usage.
Step 2: Cutting the Panels and Trim
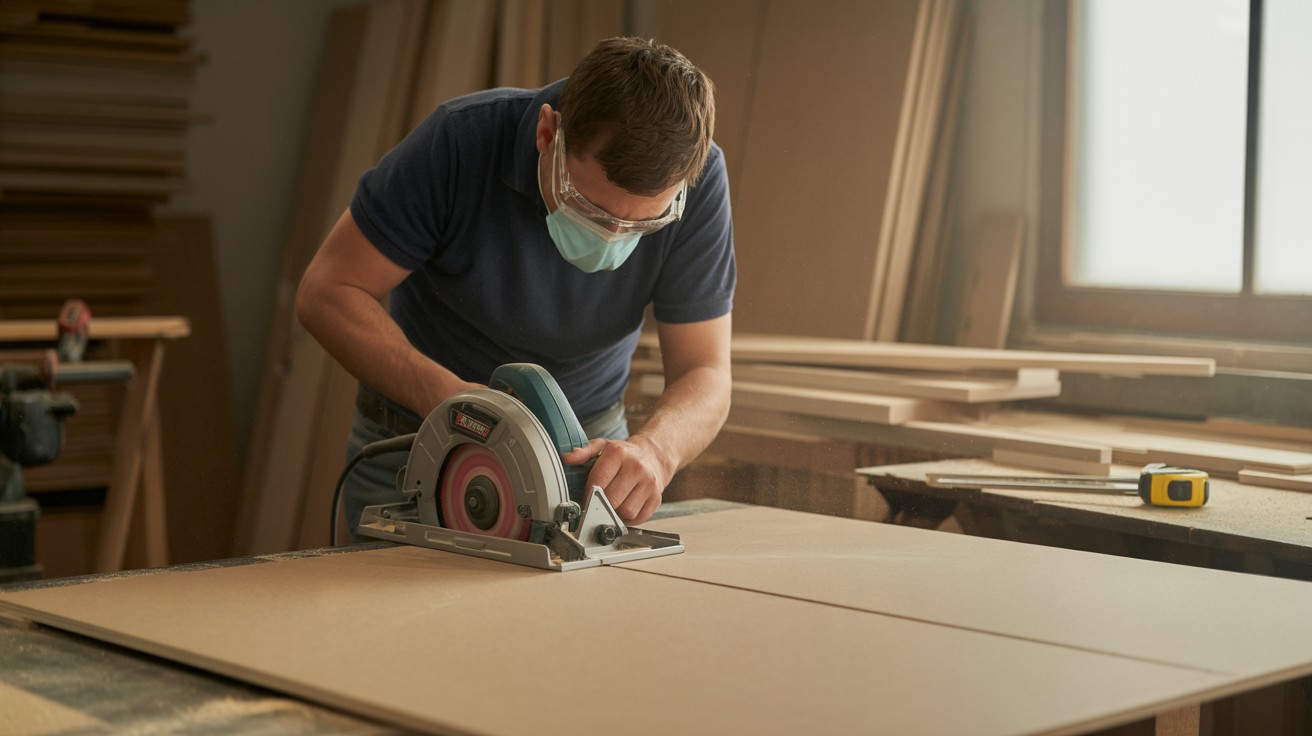
Use a circular saw with a rip-cut guide to cut 3/4″ material for back panels and 1/4″ material for rails and stiles. Always wear a dust mask and eye protection, especially when cutting MDF.
Step 3: Sanding
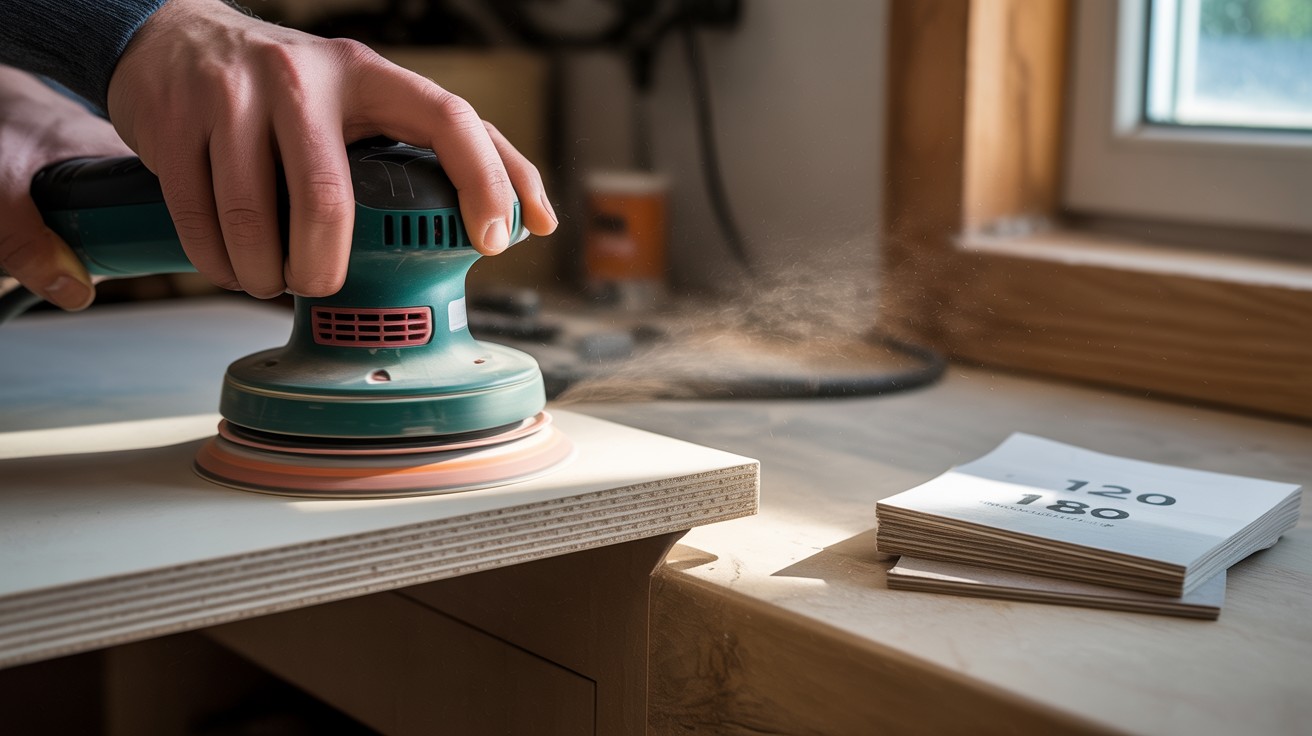
Sand all edges with an orbital sander using 120-grit sandpaper, then finish with 180-grit for a smooth surface. Pay extra attention to MDF edges, which require thorough sanding for a good paint finish.
Step 4: Gluing and Assembly
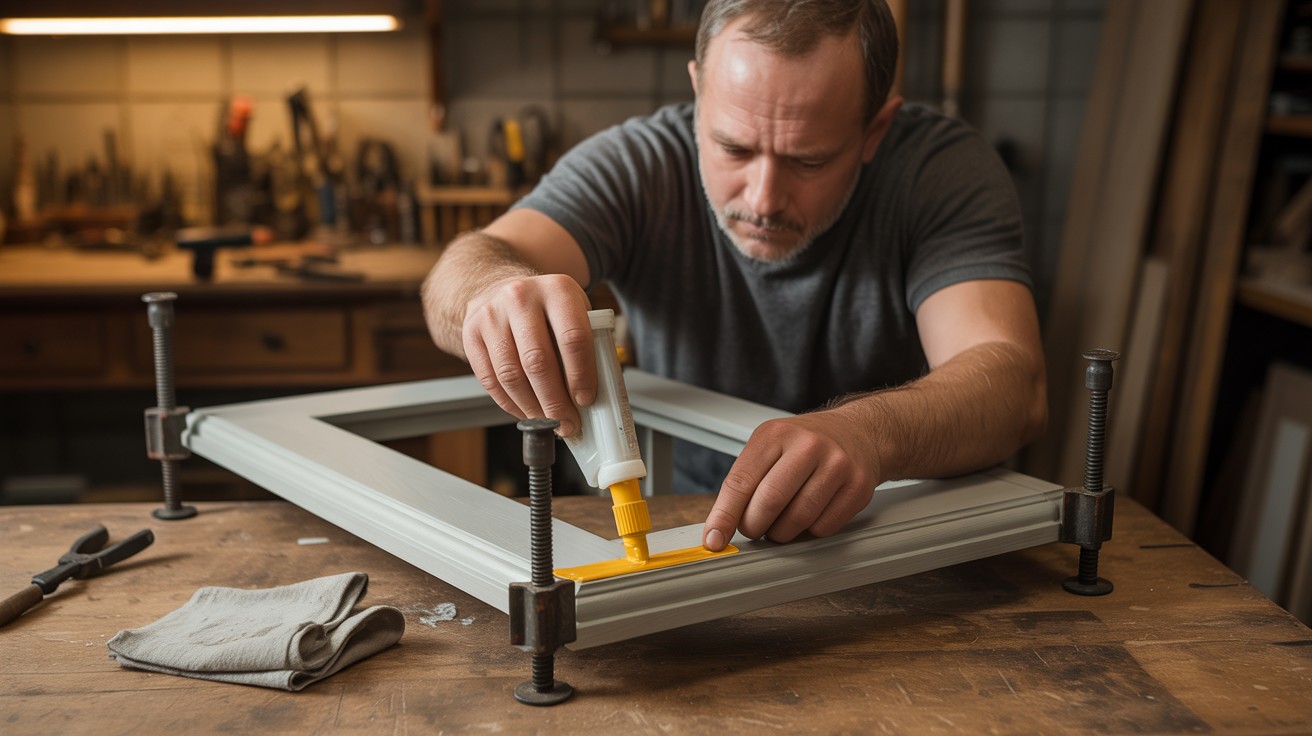
Apply a thin layer of wood glue to joining surfaces. Position stiles and rails around the panel, checking that corners are square. Clamp firmly and allow 24 hours for drying. Remove excess glue while still tacky.
Step 5: Finishing Touches
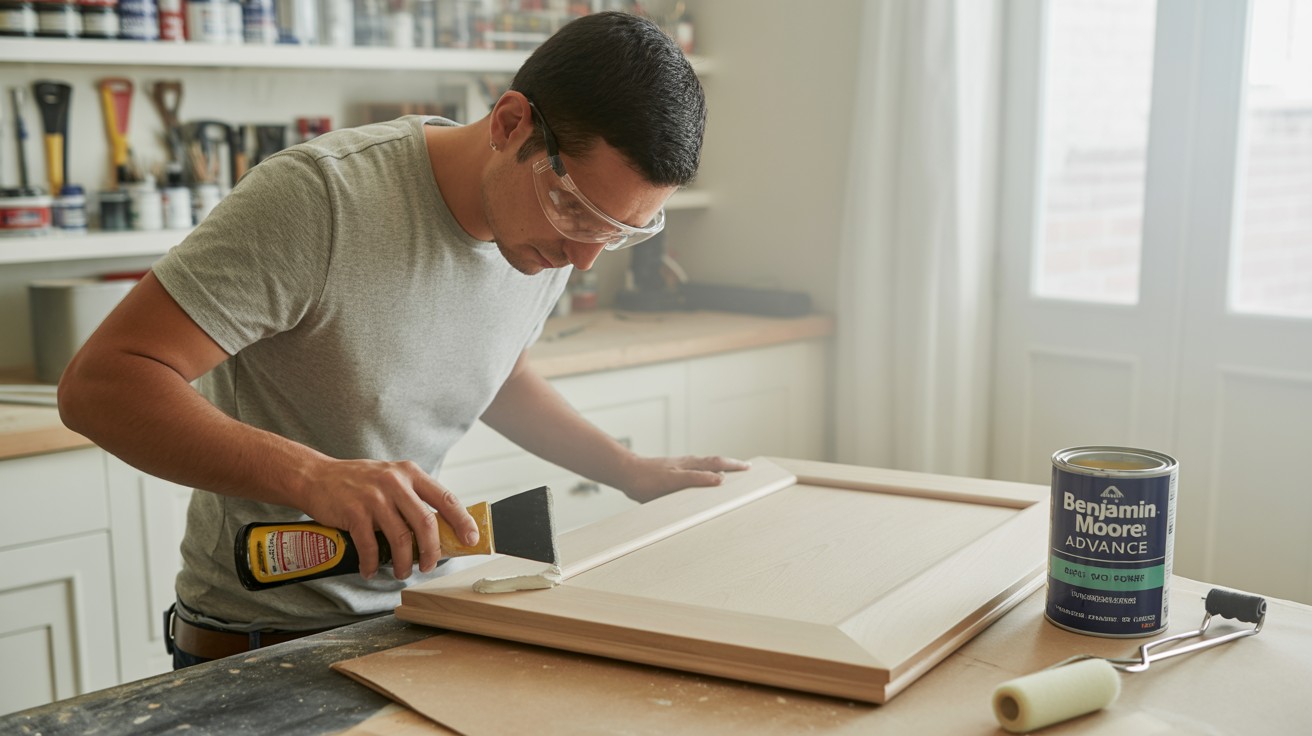
Fill seams with wood filler and sand when dry. Consider using a router for edge rounding if desired. Apply a good primer suitable for your material, followed by two coats of paint, sanding lightly between coats.
Step 6: Installing Hardware
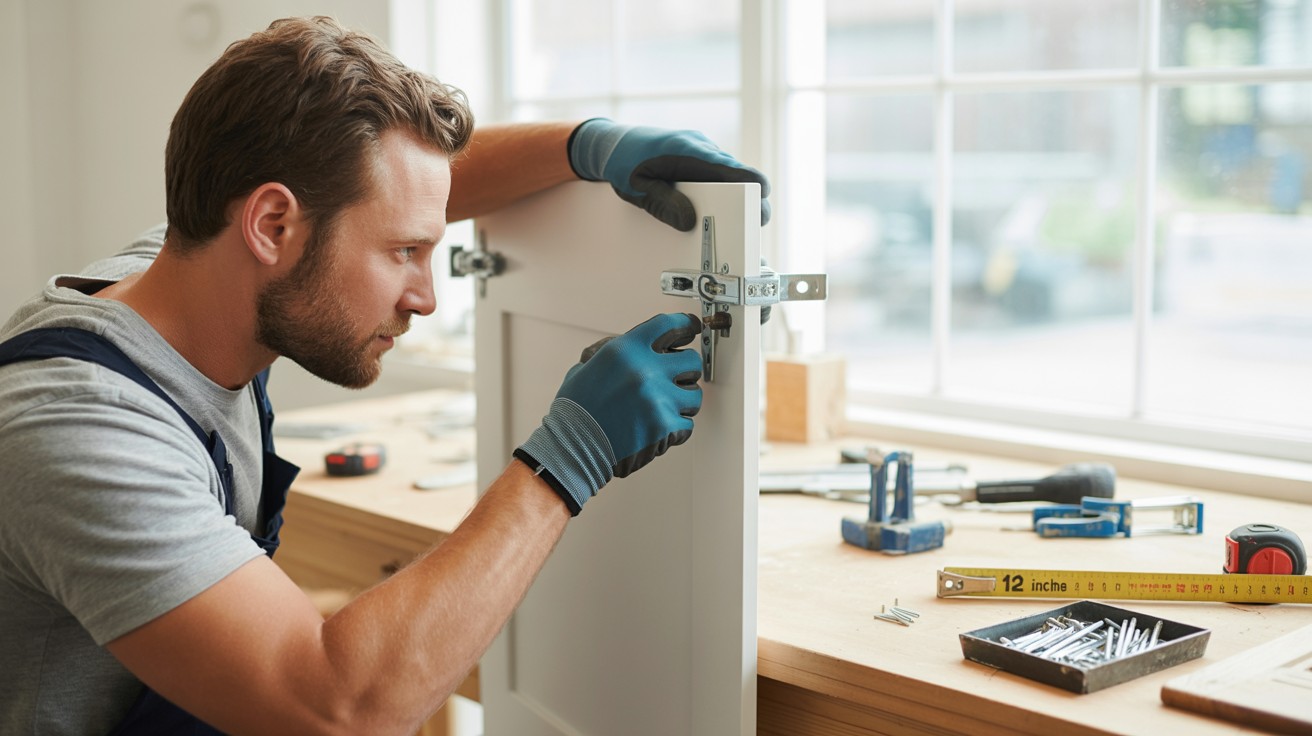
Use a hinge jig for consistent hole placement. Install two hinges for doors under 24″ tall, three for taller doors. Use shims to maintain even spacing when hanging, and make final adjustments for perfect alignment.
Pros and Cons of DIY Cabinet Doors
Advantages
DIY cabinet doors can save you 40-60% on costs compared to pre-made options. You gain complete control over dimensions, style, and materials, allowing for perfect customization. Basic tools are sufficient to create professional-looking doors, and you’ll develop useful skills for future projects.
Challenges
The process demands a significant time commitment—expect to spend a full weekend or more on your first project. MDF doors can be quite heavy, potentially requiring stronger hinges. Installation requires precision to ensure proper alignment and consistent gaps between adjacent doors.
Despite these challenges, the financial savings and satisfaction of creating custom doors often make the effort worthwhile, particularly for budget-conscious renovations.
Final Thoughts
Creating your own cabinet doors offers substantial cost savings while providing the satisfaction of completing a hands-on project.
Many homeowners find that their first DIY door leads to additional custom woodworking projects throughout their homes. The skills you build are transferable to numerous home improvement tasks.
For additional inspiration, check out our related articles on budget kitchen transformations and bathroom updates. The techniques shown in those room makeovers complement the cabinet door methods discussed here.
We’d love to see your results and answer any questions about your specific project. Share photos of your completed doors in the comments section below.
Our community of DIY enthusiasts is always ready to offer support and celebrate your success.
Frequently Asked Questions
What tools are absolutely essential for making DIY cabinet doors?
A circular saw with a rip-cut guide, measuring tape, drill, and orbital sander form your basic toolkit. Add wood glue, clamps, and a quality paintbrush for assembly and finishing.
How much money can I save by making my own cabinet doors?
Most DIYers save between 40-60% compared to buying pre-made doors. A typical kitchen with 20 cabinet doors might cost $1,000 in materials versus $2,500 for store-bought options.
How long does it take to make cabinet doors from scratch?
First-time makers should plan for 1-2 hours per door, not including drying and curing times. With practice, you can reduce this to about 45 minutes per door plus finishing time.
Can I make cabinet doors without a table saw or router?
Absolutely! A circular saw with a straight-edge guide provides sufficient accuracy for most door styles. While a router adds decorative options, it’s not required for basic door construction.
What’s the best material for painting cabinet doors?
MDF (Medium-Density Fiberboard) is ideal for painted doors due to its smooth surface and consistent quality. Just ensure you seal the edges with a good primer before painting for best results.