
Are you looking to add character and charm to your home without breaking the bank?
A DIY board and batten wall might be exactly what you need! This classic architectural feature has made a huge comeback in modern homes, providing texture, depth, and visual interest to otherwise plain walls.
You can create this stunning look yourself, even if you’re also considering other home improvement projects like diy pantry shelves or custom storage solutions.
In this guide, I’ll walk you through everything you need to know to transform an ordinary wall into a stunning focal point.
Whether you’re a seasoned DIYer or picking up tools for the first time, this project is accessible, affordable, and incredibly rewarding.
What is Board and Batten wall
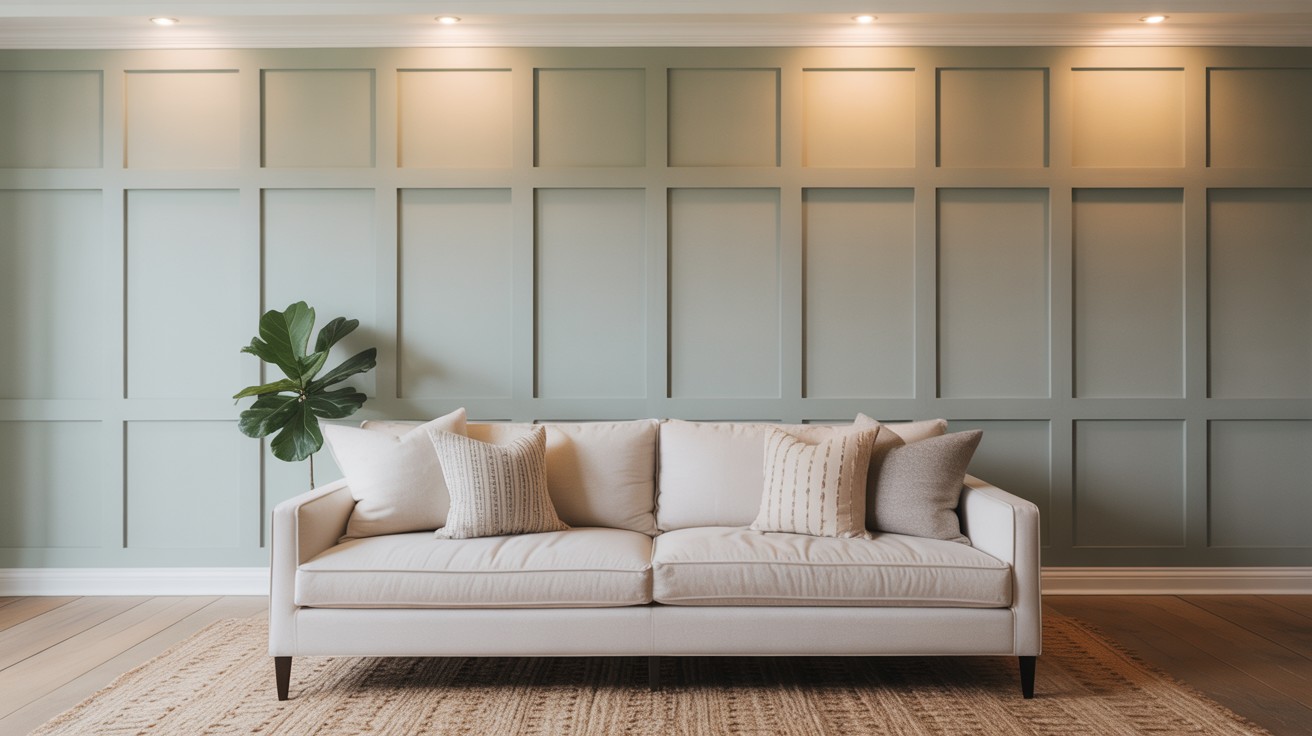
A board and batten wall is a simple wall design that adds texture and style to your home. It uses flat boards (the “board” part) and narrow strips of wood (the “batten” part) attached to your wall in a pattern.
This DIY board and batten wall project can completely change how a room looks without requiring professional help.
Board and batten walls work in any room – bedrooms, living rooms, hallways, or even alongside your DIY pantry area. They’re popular because they’re affordable, relatively easy to install, and create a dramatic before-and-after transformation that instantly upgrades your space.
Tools and Materials You’ll Need
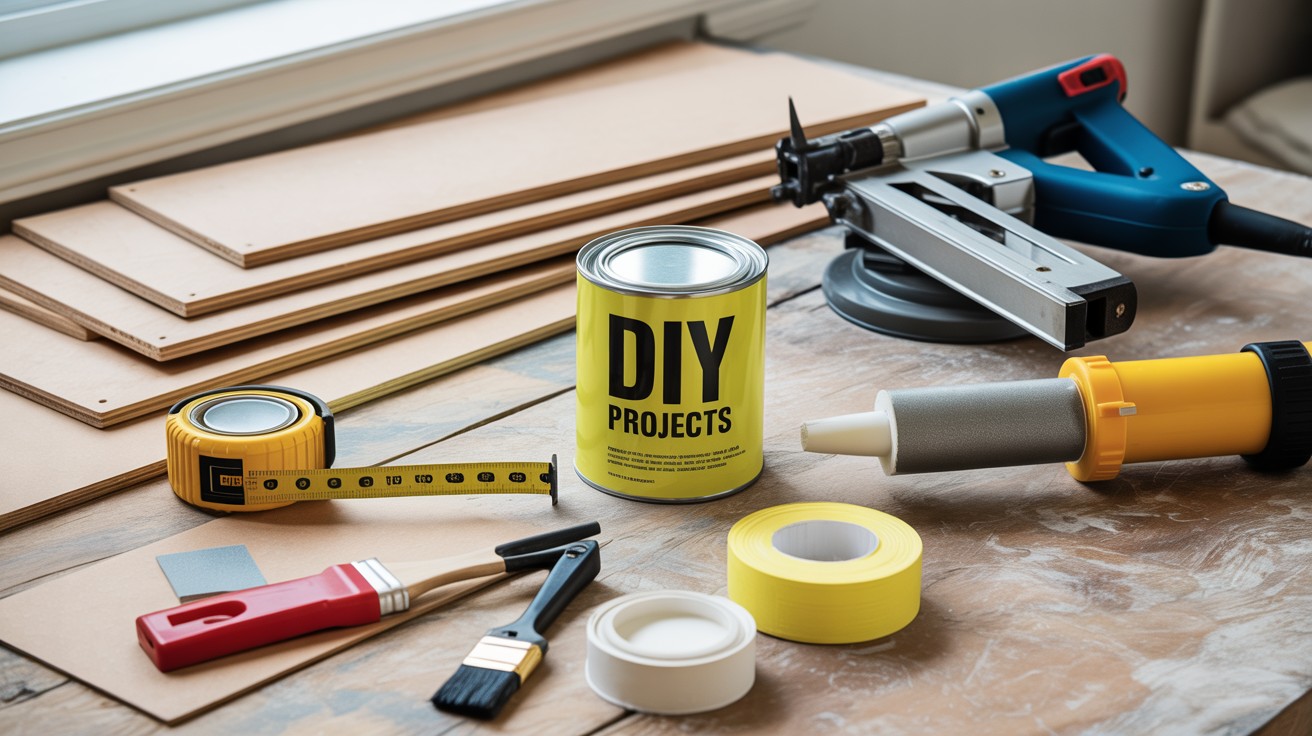
Basic tools for your DIY board and batten wall:
- Tape measure & level
- Stud finder
- Saw for cutting
- Nail gun/hammer
- Caulking gun
- Sandpaper
- Paint supplies
Materials Checklist
- MDF boards (battens)
- Wider MDF (rails, if needed)
- Wood glue
- Finishing nails
- Caulk & wood filler
- Primer & paint
- Painter’s tape
Step-by-Step Guide to Creating Your DIY Board and Batten Wall
Step 1: Measure and Plan
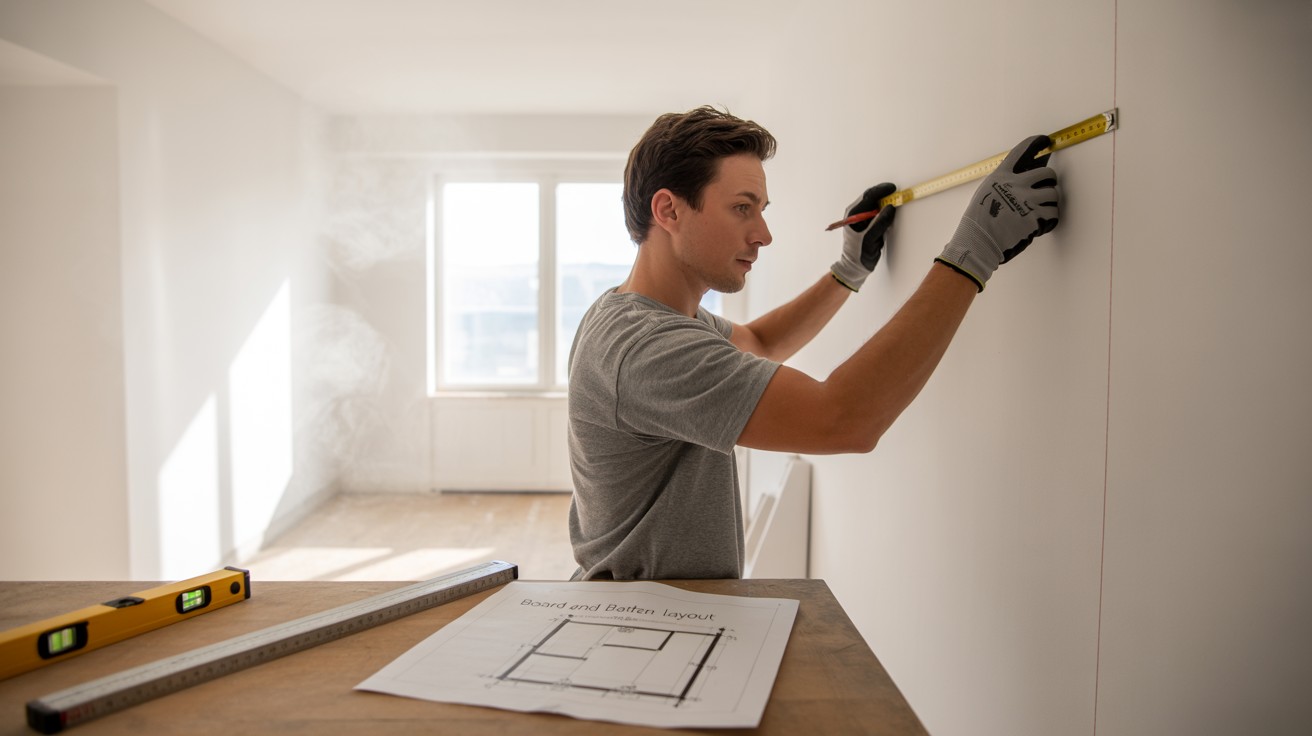
- Decide on the pattern and spacing for your battens
- Measure your wall dimensions
- Calculate how many battens you’ll need
- Create a sketch with measurements
- Add up the total wood needed and purchase materials
Pro tip: Use painter’s tape to mark where battens will go on the wall before buying materials. This helps visualize the final look and confirm spacing.
Step 2: Prepare the Wall

Before installing any wood, make sure your wall is ready:
- Remove any outlet covers or switch plates
- Fill any holes or imperfections with spackle
- Sand the wall smooth
- Clean the wall to remove dust and debris
- Paint the wall the same color you’ll use for the finished project (this saves time later!)
Step 3: Install the Frame (for Wainscoting Style)
If you’re doing a partial wall treatment:
- Determine the height (typically 32-40 inches from the floor)
- Install the top horizontal board first, making sure it’s level
- Install the bottom board (if not using existing baseboards)
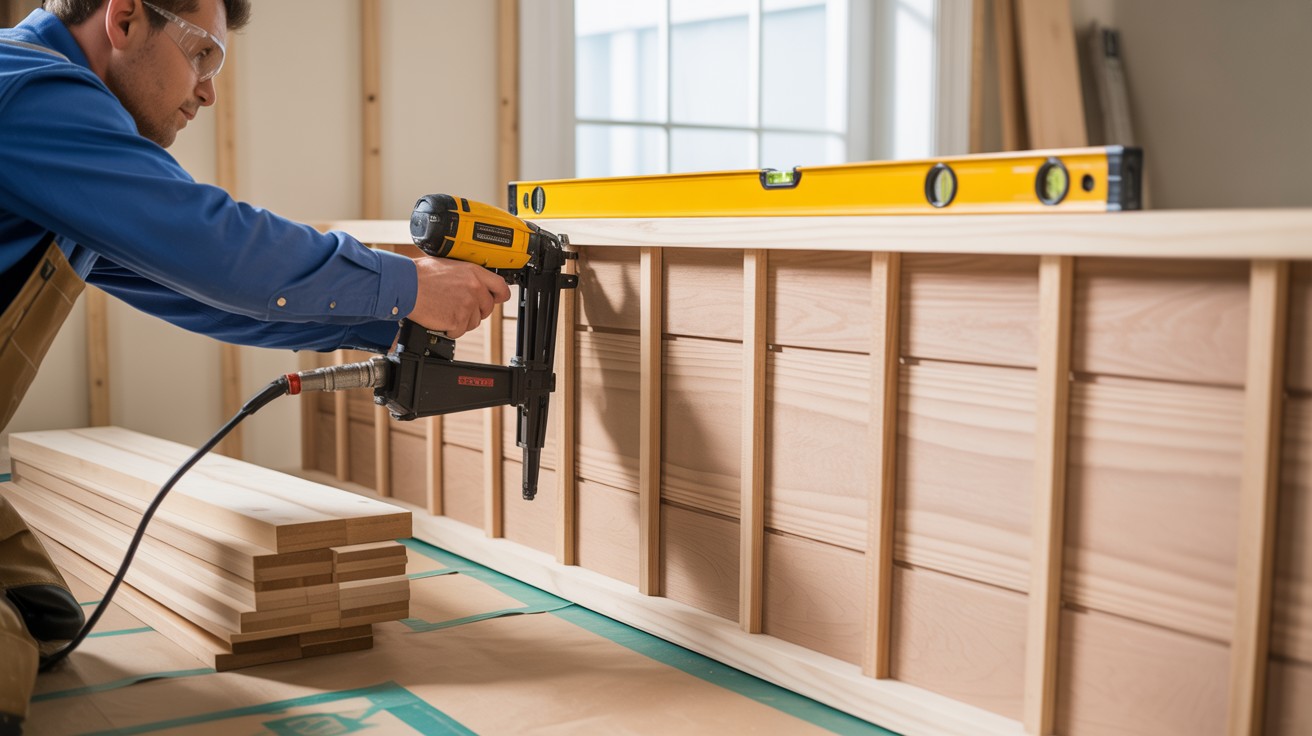
Step 4: Add the Vertical Battens
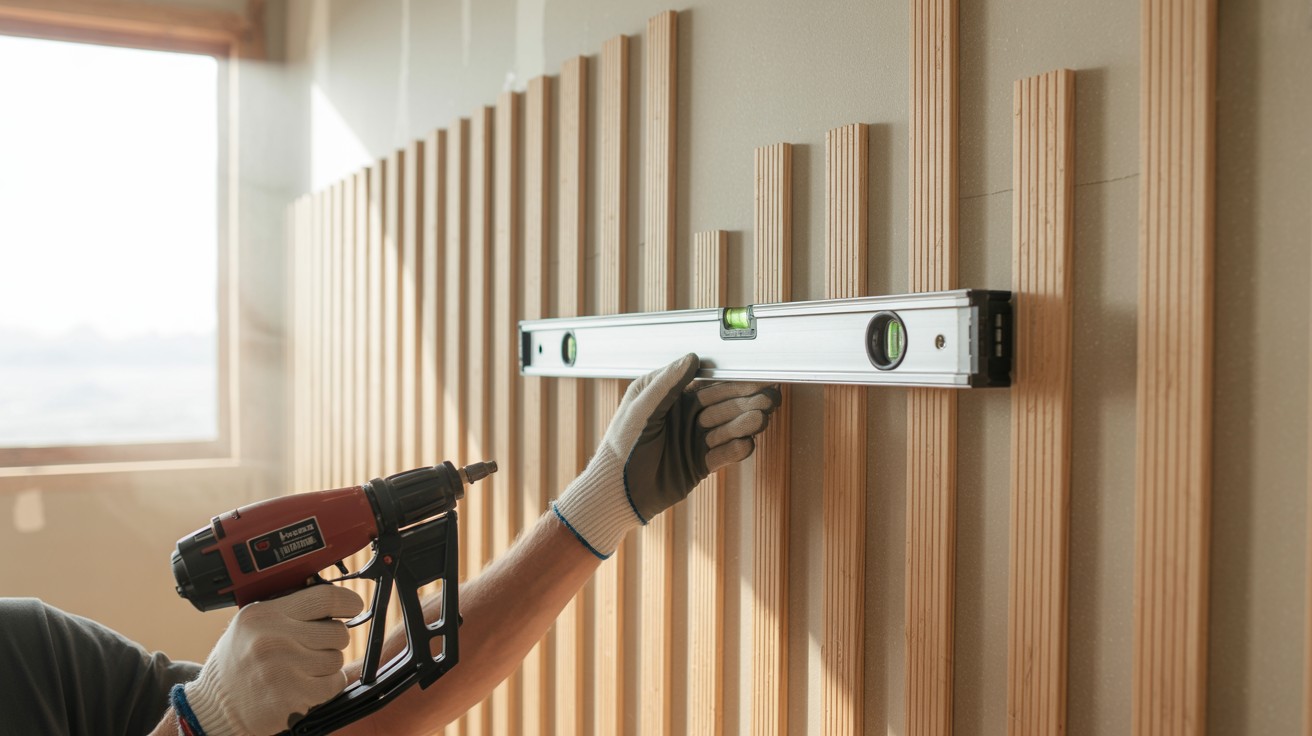
- Mark the placement of each batten according to your plan
- Use a level to ensure each batten is perfectly straight
- Apply wood glue to the back of each batten
- Secure with finishing nails (ideally into wall studs where possible)
- Continue until all vertical battens are installed
Step 5: Add Horizontal Battens (Optional)

If you’re creating a grid pattern:
- Measure and mark where horizontal battens will go
- Cut pieces to fit between vertical battens
- Apply wood glue and secure with nails
- Check that everything is level and aligned
Step 6: Finish the Project
- Fill nail holes with wood filler
- Apply caulk along all edges where wood meets the wall
- Sand everything smooth once dry
- Apply primer if needed
- Paint the entire wall and all battens with 2 coats of paint
- Reinstall outlet covers and switch plates
Choosing the Right Wall for Your Board and Batten Project
- Living Room or Bedroom Accent Wall: Make one wall stand out and become the main feature of the room.
- Entryway Wall: Create a warm, welcoming feel right when you walk in.
- Dining Room Wall: Add a touch of elegance and make the space feel more formal.
- Hallway Wall: Turn a plain hallway into an interesting and stylish area.
- Behind the Bed: Use board and batten as a creative headboard alternative for a cozy look.
- Near Pantry Shelves in the Kitchen: Tie your kitchen design together and make it look neat and stylish.
Design Ideas for Your DIY Board and Batten Wall
Here are some creative ways to enhance your DIY board and batten wall to suit different room styles.
Modern Farmhouse Style
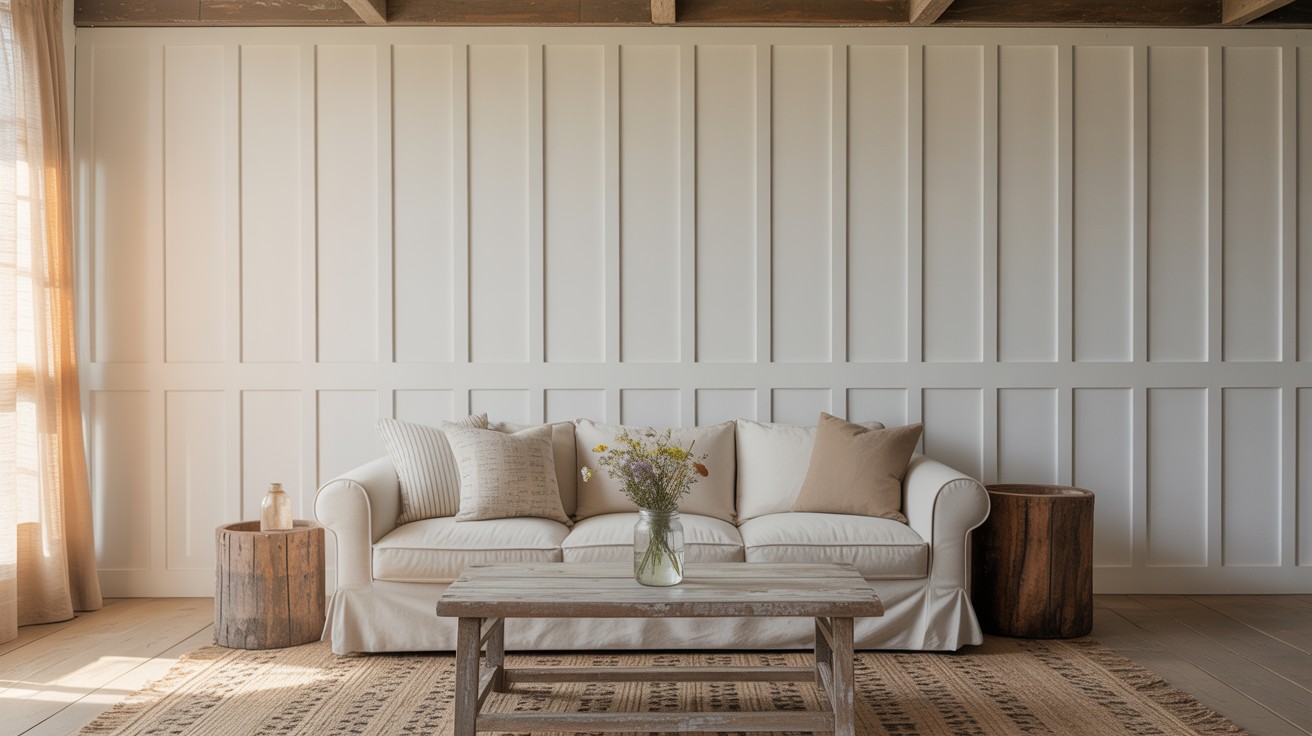
- White board and batten with light gray or beige wall color
- Wider spacing between battens
- Decorated with simple, rustic accessories
Contemporary Look
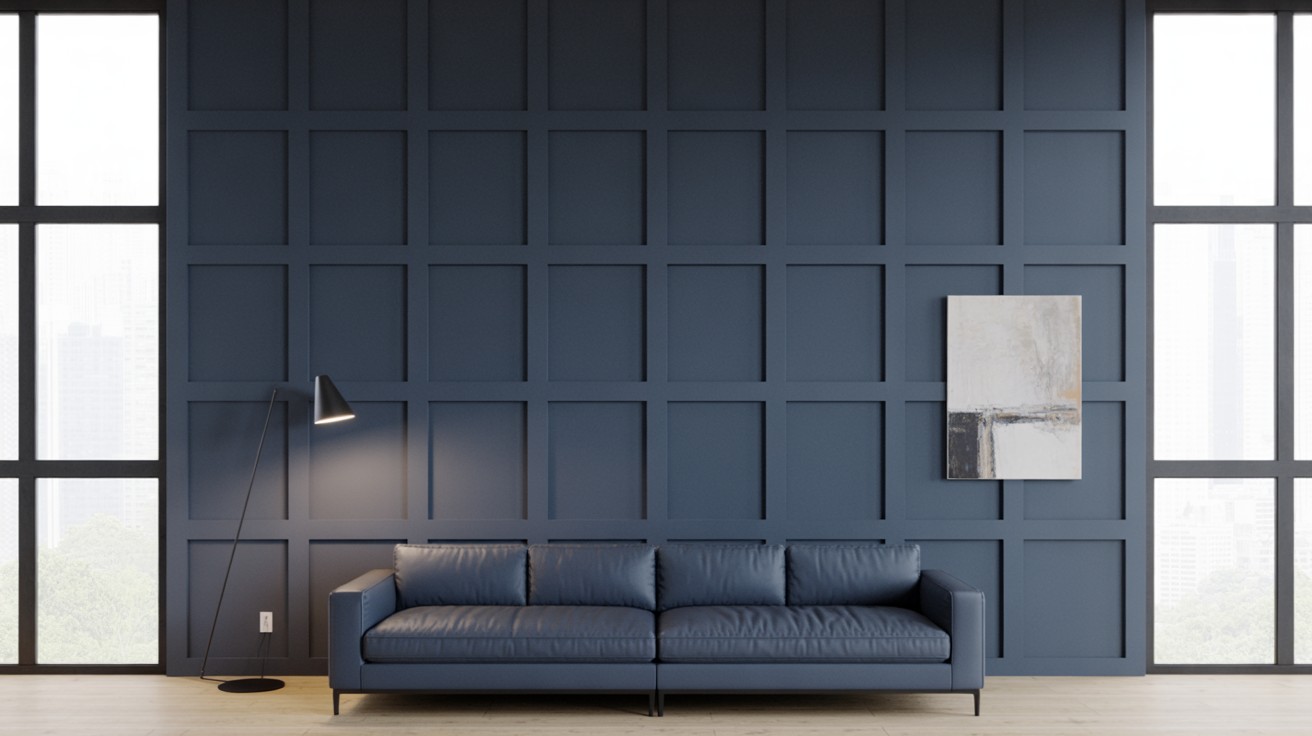
- Black or dark navy board and batten
- Clean, geometric patterns
- Minimal décor to let the wall shine
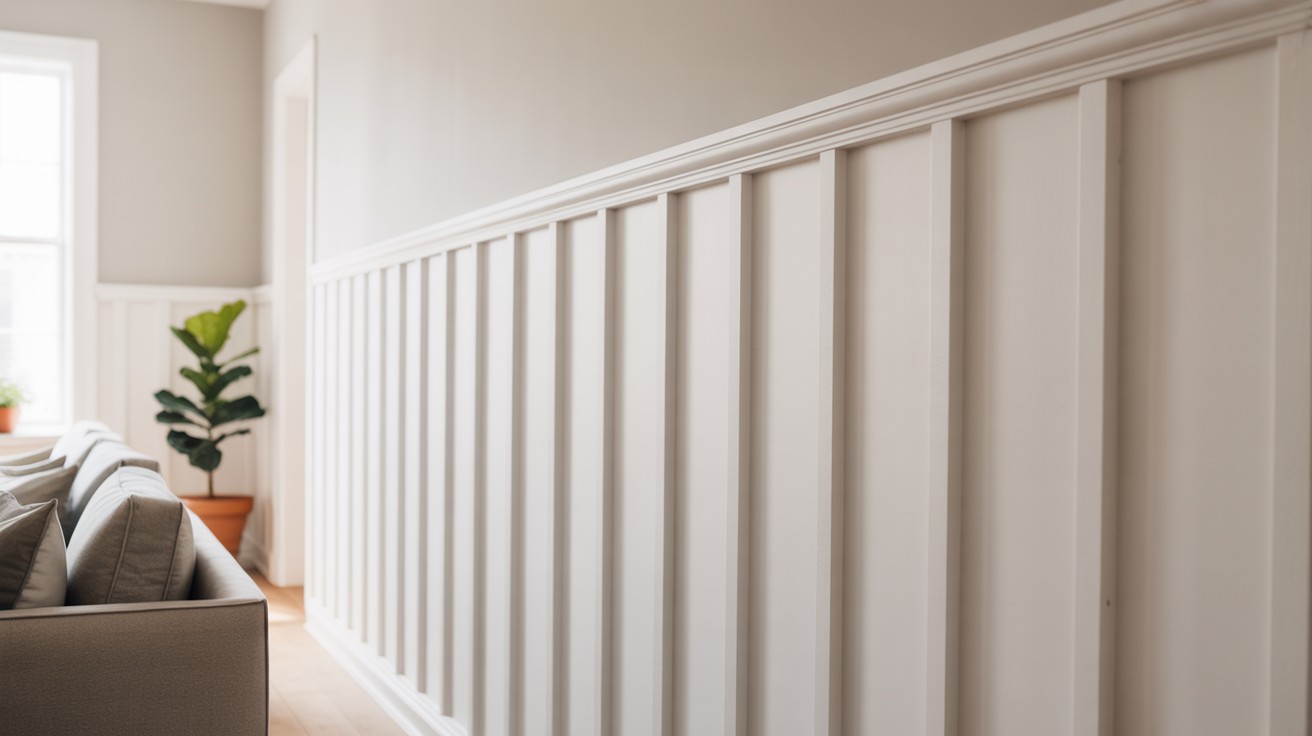
Traditional Elegance
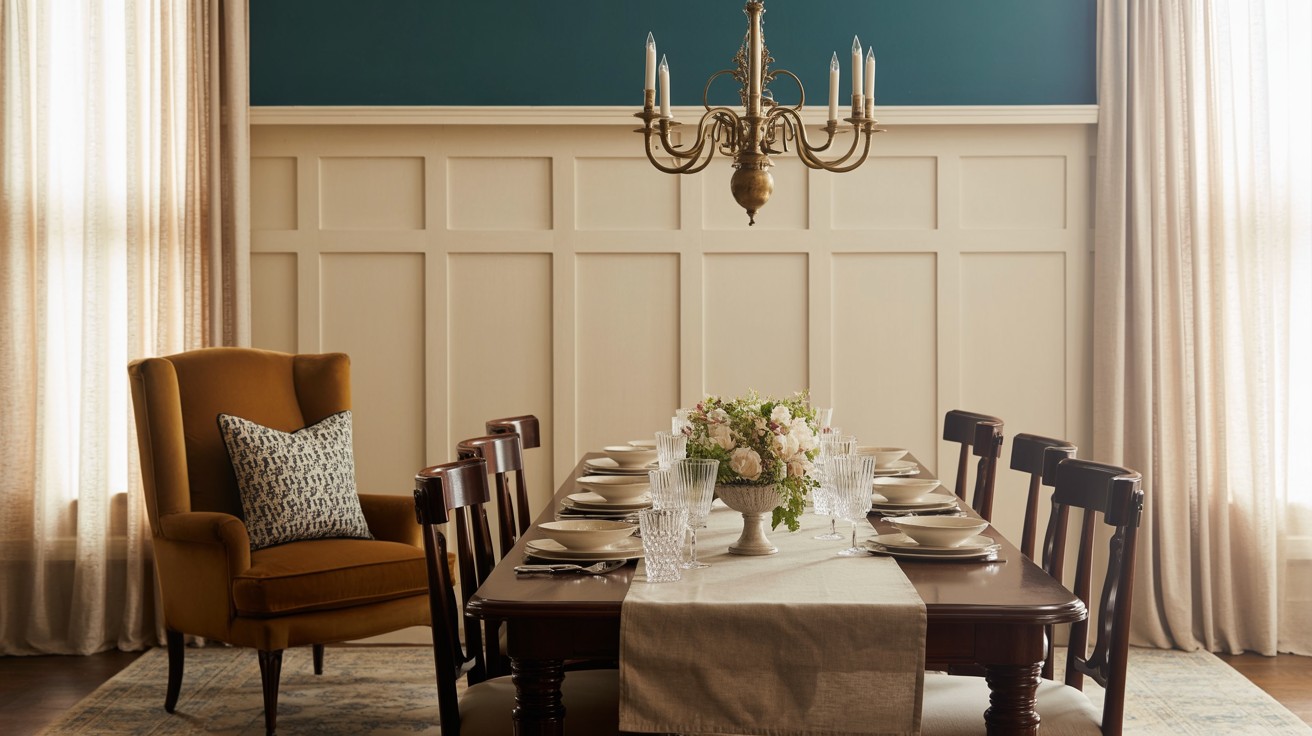
- Cream or soft white color
- Wainscoting style (partial wall)
- Paired with wallpaper or a bold paint color above
Kid’s Room Fun
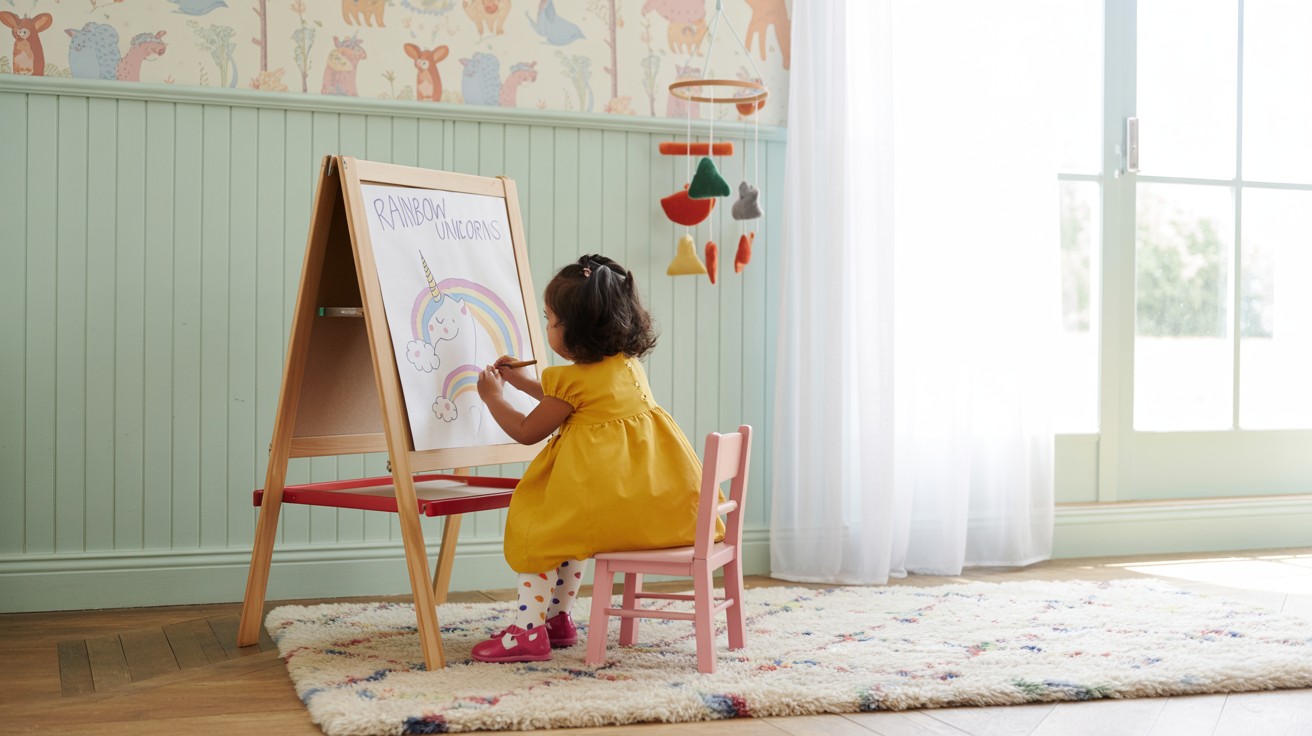
- Bright, playful colors
- Lower height board and batten that can serve as a display ledge
- Can be combined with nearby DIY pantry shelves for toy storage
Common Mistakes to Avoid
- Measure twice, cut once to avoid wasting materials
- Plan your pattern to work around switches and outlets
- Caulking edges creates a seamless, professional look
- Take time for proper drying between coats
- Crooked battens will be very noticeable
Cost Breakdown at a Glance
|
Item |
Quantity |
Estimated Cost (USD) |
|
1×4 MDF/wood boards |
8–10 boards |
$40–$60 |
|
1×6 MDF/wood baseboard |
1 board |
$10–$15 |
|
Construction adhesive |
1 tube |
$4–$6 |
|
Brad nails/finish nails |
1 box |
$5–$8 |
|
Caulk |
1 tube |
$3–$5 |
|
Spackle |
1 small tub |
$4–$6 |
|
Paint & primer |
1 quart each |
$20–$30 |
|
Sandpaper |
2 sheets |
$2 |
Maintenance Tips for Your Board and Batten Wall
- Clean regularly with a damp cloth to remove dust
- Touch up paint as needed for scuffs or marks
- Check caulk lines yearly and repair if cracking occurs
- Tighten any loose battens promptly to prevent further damage
Conclusion
A DIY board and batten wall is more than just a home improvement project—it’s a creative expression that transforms your living space. With basic tools, affordable materials, and a weekend of work, you can create a custom feature that would cost hundreds more if
Don’t let another weekend go by staring at those plain walls! Gather your supplies, make your plan, and dive into this satisfying DIY project.
Share your before-and-after photos in the comments below, or tag us on social media with #DIYBoardAndBatten. We can’t wait to see how you transform your space!
Frequently Asked Questions
What is a Board and Batten Wall ?
A board and batten wall is a design where vertical wooden slats (battens) are attached to a flat wall to create texture and depth, often used for decoration.
How do I Measure for a DIY Board and Batten Wall ?
To measure, mark the desired height for the battens, then use a level to space them evenly across the wall for a balanced, symmetrical look.
Can I Install a Board and Batten Wall on My Own?
Yes! With the right tools and patience, you can easily install a board and batten wall by following simple steps, making it a fun DIY project.