
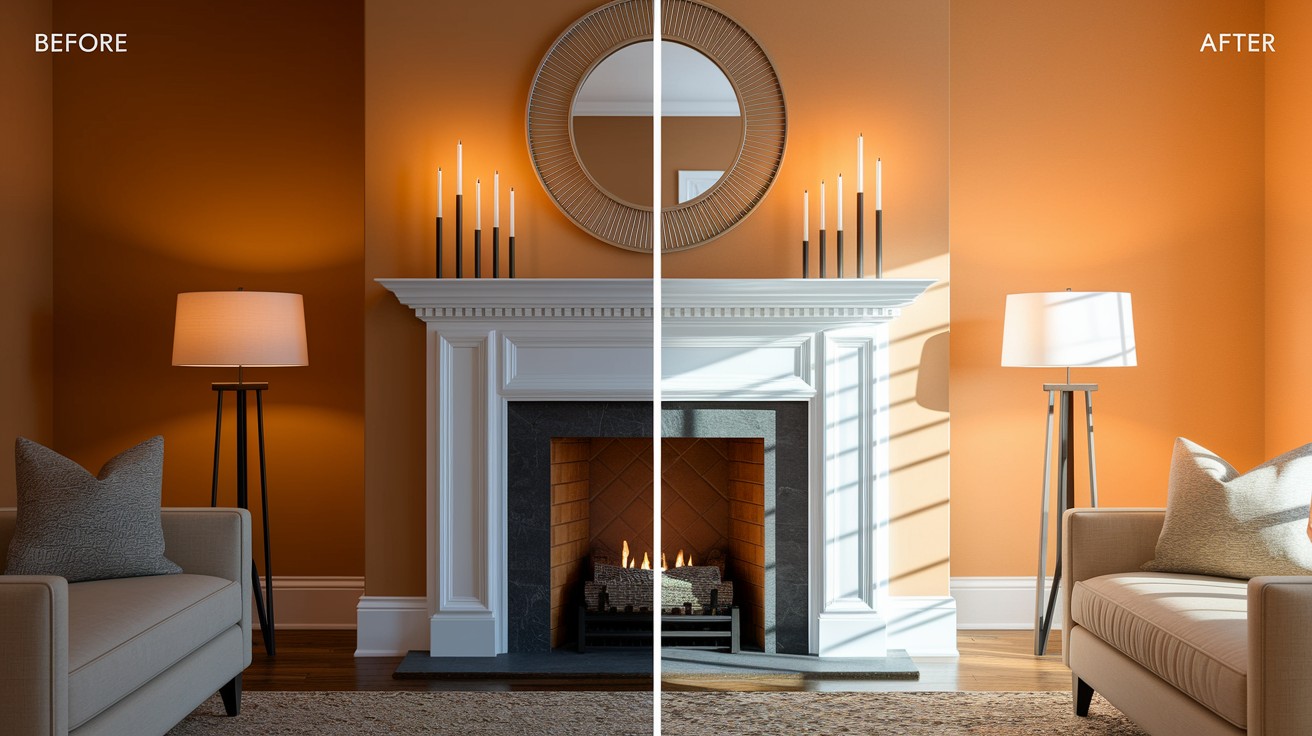
Is your fireplace mantel looking tired or outdated? You’re not alone!
Many homeowners dream of refreshing this focal point but worry about the cost. But an impressive diy fireplace mantel transformation doesn’t require professional help or a big budget.
With some basic tools, creativity, and a weekend of your time, you can breathe new life into your living space.
In this guide, I’ll walk you through my recent fireplace makeover that cost less than $100 but made a dramatic difference in my home’s appearance.
If you’re looking to modernize a traditional mantel, add character to a builder-grade fireplace, or simply refresh your existing design.
These budget-friendly tips will help you create a beautiful focal point that looks like it cost much more than it did.
Assess Your Existing Mantel

Before grabbing your tools, take a good look at your current fireplace mantel.
Is it structurally sound? Does it need minor updates or a complete overhaul? Understanding what you’re working with helps plan your DIY mantel project effectively.
Measure everything, height, width, and depth, and take several photos from different angles. Check if the existing mantel is securely attached and note any damage or wear.
This assessment will guide your material choices and help you create a realistic budget-friendly mantel makeover plan.
Don’t forget to consider your room’s style too. Your refreshed fireplace mantel design should complement your space, not clash with it.
With clear understanding of your starting point, you’ll make smarter decisions for your DIY fireplace update.
Step-by-Step DIY Fireplace Mantel Makeover
https://youtu.be/ItIlApDgXiA?si=mcSez1EEHxSb58VJ
Giving your fireplace mantel a fresh new look doesn’t have to be complicated or expensive. Follow these simple steps to transform your space with minimal tools and maximum impact.
Tools:
- Measuring tape
- Stud finder
- Power drill with screwdriver bits
- Table saw or miter saw
- Sandpaper (medium and fine grit)
- Paintbrushes (various sizes)
- Paint roller and tray
- Putty knife
- Level
Materials:
- 1×8 wood boards (for main structure)
- 2×4 wood (for support)
- Wood screws
- Drywall screws
- Wood filler (DAP brand recommended)
- Paint (white for walls, color of choice for mantel)
- Primer
- Wood stain (like Ebony used in the example)
- Joint compound (for wall repairs)
- Water (for brick whitewashing)
Step-by-Step Guide
1. Remove the Existing Mantel
Carefully take off your old fireplace mantel to prepare your workspace. Be gentle to avoid damaging the surrounding wall.
2. Update the Brick (Optional)
For a refreshed look without completely covering the brick:
- Mix 50% white paint with 50% water for a whitewash effect
- Paint between the mortar lines with regular paint
- Apply the whitewash mixture to the bricks
- Wipe off excess for a subtle, not-too-white finish
3. Install Base Boards
- Use a stud finder to locate wall studs
- Cut 1×8 boards to match your fireplace width
- Secure boards to the wall with screws into the studs
- Position boards to create the framework for your new mantel design
4. Create the Mantel Shelf
- Cut boards to size, including mitered edges for corners
- Assemble the pieces to form your mantel shelf
- Use wood filler to cover imperfections and gaps
- Allow to dry completely, then sand smooth
5. Build Support Structure
- Cut 2×4 lumber to create a sturdy support base
- Secure support pieces to wall studs with drywall screws
- Ensure the support is level for proper mantel installation
6. Repair and Prep Surrounding Wall
- Fill in any paneling gaps or wall damage with joint compound
- Allow to dry completely
- Sand smooth for a seamless finish
- Apply primer to all repaired areas
7. Install the Mantel and Add Finishing Touches
- Place your completed mantel shelf onto the support structure
- Add any additional accent boards above the mantel
- Prime and paint all wooden surfaces
- Apply your chosen stain to the mantel shelf (Ebony works well for a rich finish)
8. Final Touches
- Allow all paint and stain to dry completely
- Clean the area of any dust or debris
- Style your new DIY fireplace mantel with your favorite decor items
With these simple steps, your budget-friendly fireplace makeover will transform your living space and create a beautiful focal point everyone will admire!
Cost Breakdown and Time Investment
|
Item |
Cost Range |
Time Required |
|
Basic DIY Fireplace Mantel |
$50-$150 |
1-2 days |
|
Paint & Primer |
$30-$50 |
2-4 hours |
|
Wood (1×8 boards) |
$25-$60 |
30 minutes (shopping) |
|
Support Materials (2×4s) |
$10-$20 |
1 hour (installation) |
|
Wood Filler & Sandpaper |
$8-$15 |
1-2 hours (prep work) |
|
Stain or Finish |
$15-$30 |
2-3 hours (application & drying) |
|
Decorative Molding (optional) |
$15-$40 |
1-2 hours (installation) |
|
Tools (if purchasing) |
$40-$100 |
N/A |
|
Total DIY Project |
$75-$250 |
8-16 hours |
Budget Fireplace Mantel Makeover Ideas
These budget-friendly mantel makeover ideas will add charm and style to any room.
1. Paint Transformation
A fresh coat of paint can completely change your diy fireplace mantel without breaking the bank. Choose a bold color that contrasts with your walls or go classic with crisp white.
This simple update costs under $30 but makes a dramatic difference. Just sand, prime, and paint your existing mantel for an instant refresh that looks professionally done.
2. Add Decorative Molding
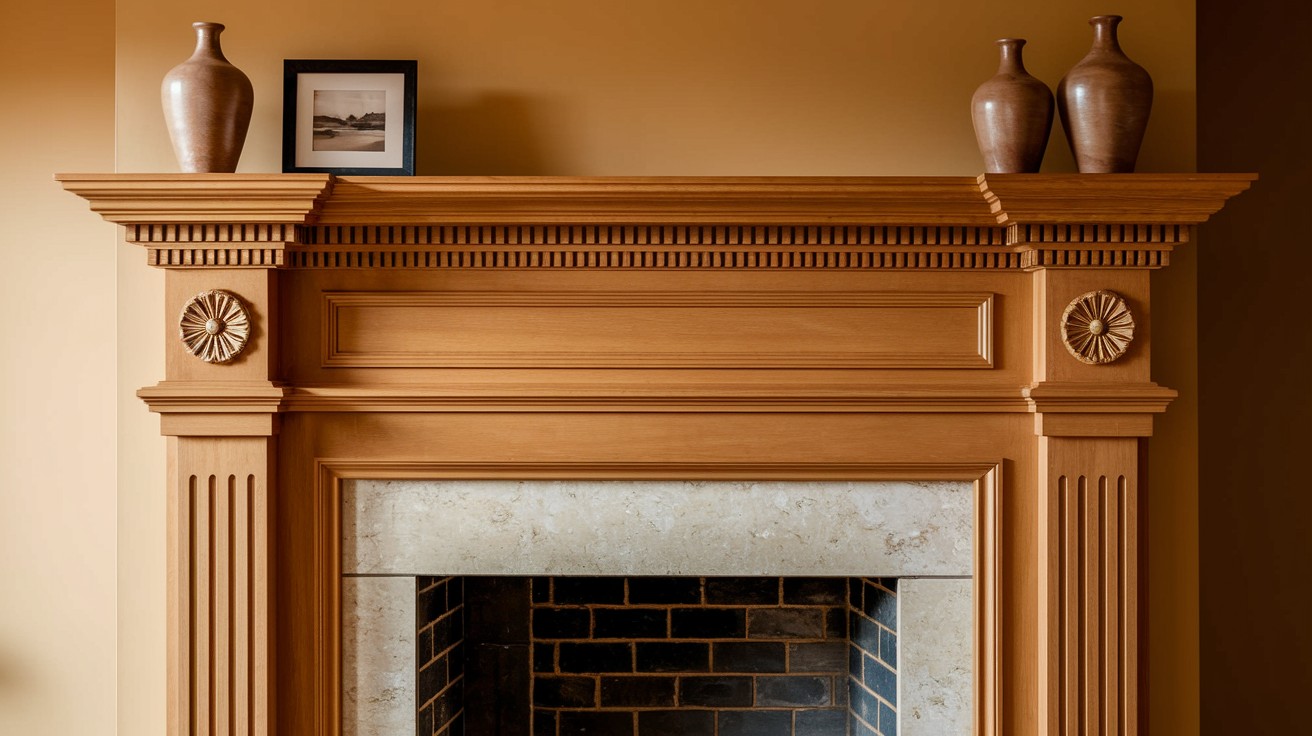
Turn a plain diy fireplace mantel into an architectural feature by adding inexpensive trim or crown molding. This detail makes even budget mantels look custom-built and high-end.
Molding typically costs $1-2 per foot at home improvement stores. Cut pieces to size, attach with wood glue and finishing nails, then paint everything to match for a seamless look.
3. Reclaimed Wood Overlay
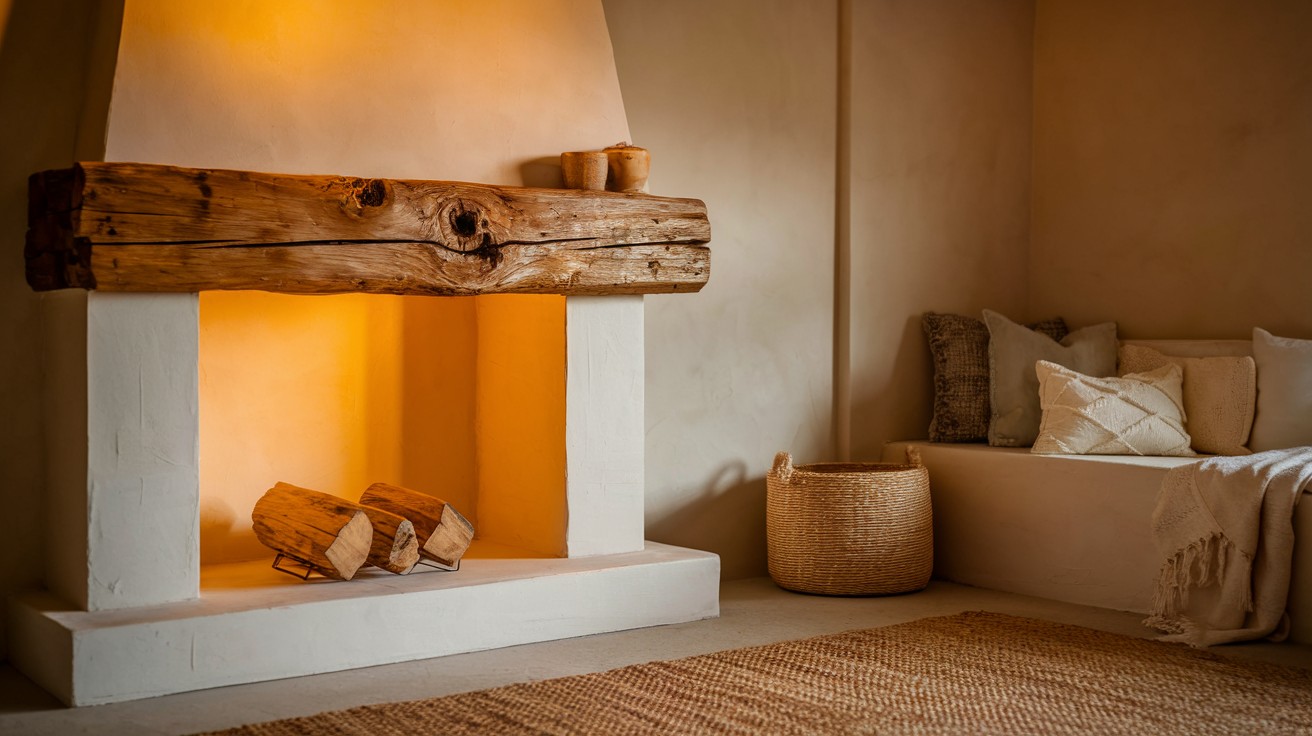
Create rustic charm by covering your existing diy fireplace mantel with reclaimed wood planks. This sustainable option adds warmth and character while hiding damage on older mantels.
Look for free pallets or barn wood in your area. Clean thoroughly, cut to size, and attach to your mantel frame with construction adhesive for an instant farmhouse-style upgrade.
4. Faux Stone or Brick Veneer
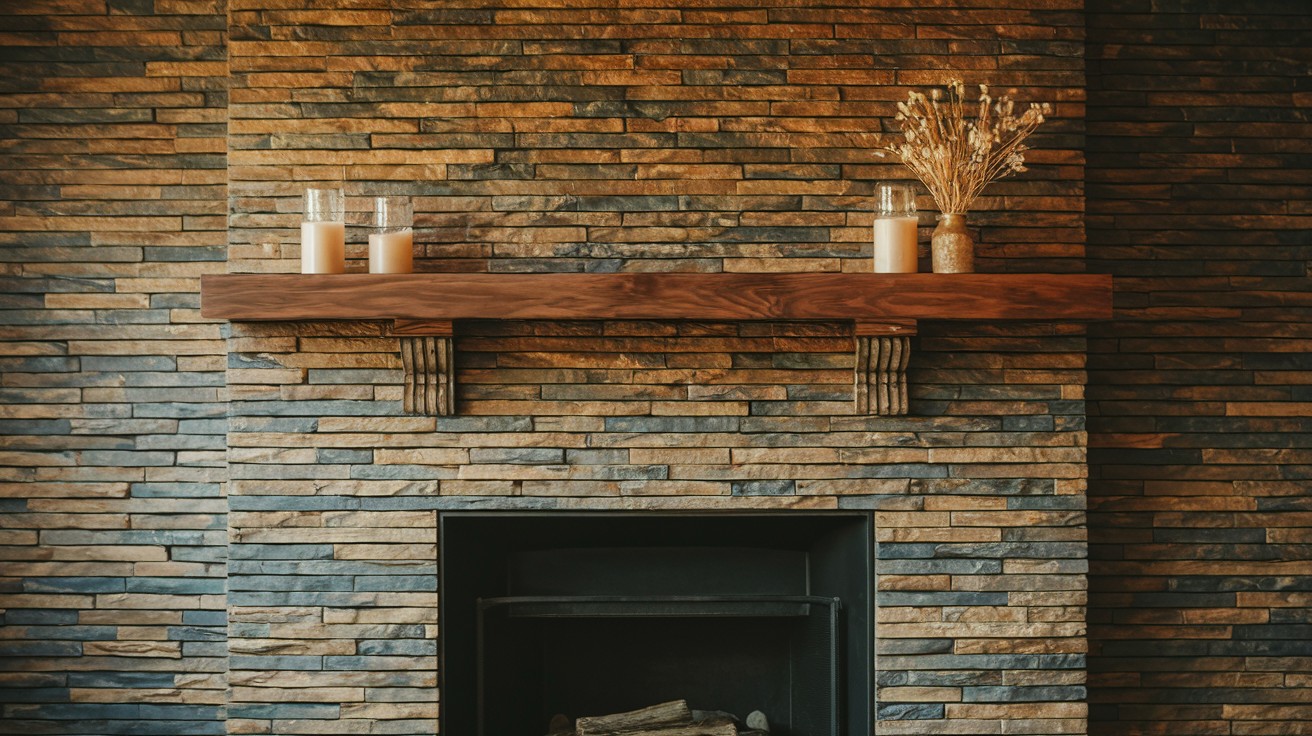
Transform your diy fireplace mantel with lightweight stone or brick veneer sheets. These affordable materials create the look of masonry without the weight or installation complexity.
Peel-and-stick options make this project especially beginner-friendly. Simply measure, cut, and apply directly to your mantel surface for a dramatic textural transformation that costs around $50.
5. Stencil or Wallpaper Accent

Add visual interest to your diy fireplace mantel with decorative stencils or leftover wallpaper. This clever idea works especially well on solid mantels that lack architectural details.
Apply stencils with paint or adhere wallpaper with removable adhesive. This customizable approach lets you coordinate perfectly with your room’s color scheme while spending less than $25.
Common Mistakes to Avoid
- Skipping accurate measurements before purchasing materials for your fireplace mantel makeover
- Forgetting to locate and mark wall studs when installing your diy fireplace mantel
- Using the wrong type of screws that won’t properly support the weight of your mantel shelf
- Rushing through mitered corner cuts, leading to gaps in your custom fireplace mantel
- Not allowing adequate drying time between applying wood filler and sanding your budget mantel project
- Painting or staining without proper surface preparation on your fireplace mantel design
- Overlooking local building codes regarding clearance requirements for your diy mantel installation
- Attempting to install a heavy fireplace mantel without adequate support structure
- Using interior paint too close to the firebox where temperatures can affect durability
- Neglecting to seal or protect your wooden mantel appropriately for longevity
Conclusion
Transforming your diy fireplace mantel doesn’t require professional skills or a hefty budget.
From assessing your existing structure to adding those final decorative touches, this step-by-step guide gives you everything needed for a successful makeover.
Remember that even simple changes, like fresh paint, decorative molding, or reclaimed wood, can dramatically transform your fireplace’s appearance without breaking the bank.
By avoiding common mistakes and carefully planning your project, you’ll achieve professional-looking results for a fraction of the cost.
Ready to tackle your own diy fireplace mantel project? Get started this weekend! Share your before-and-after photos in the comments below, or tag us on social media.
If you found this guide helpful, subscribe to our newsletter for more budget-friendly home improvement ideas.
Frequently Asked Questions
How Long Will My DIY Fireplace Mantel Project Take?
Most DIY fireplace mantel makeovers can be completed in a weekend. Plan for 8-16 hours of active work, plus drying time for paint, stain, and fillers. Breaking the project into stages makes it manageable for beginners.
Do I Need Special Tools To Build A Fireplace Mantel?
You don’t need fancy tools for a great mantel makeover. Basic items like a measuring tape, drill, level, and saw will handle most projects. Many home improvement stores can cut wood to size if you don’t have a saw.
Is It Safe to Install a Wooden Fireplace Mantel?
Yes, wooden DIY fireplace mantels are safe when properly installed. Just follow building codes for clearance (typically 12 inches above the firebox) and secure it firmly to wall studs. Non-working fireplaces have fewer restrictions.