
Repairing bathroom water damage costs thousands of dollars. After my first attempt at shower renovation failed, I had to learn this the hard way.
The most important step before tiling shower walls is waterproofing them. If you ignore it, mold, leaks, and structural damage will appear within months.
Everything I wish I had known before my first try is covered in this practical guide. You’ll find the appropriate resources, methods, and common mistakes to avoid.
Since that initial catastrophe, I have waterproofed five showers. Any skill level of do-it-yourselfer can benefit from these tried-and-true techniques.
Preparation, application techniques, inspection advice, and cost breakdowns will all be covered. You’ll have the self-assurance to complete this successfully by the end.
What Is Shower Wall Waterproofing?
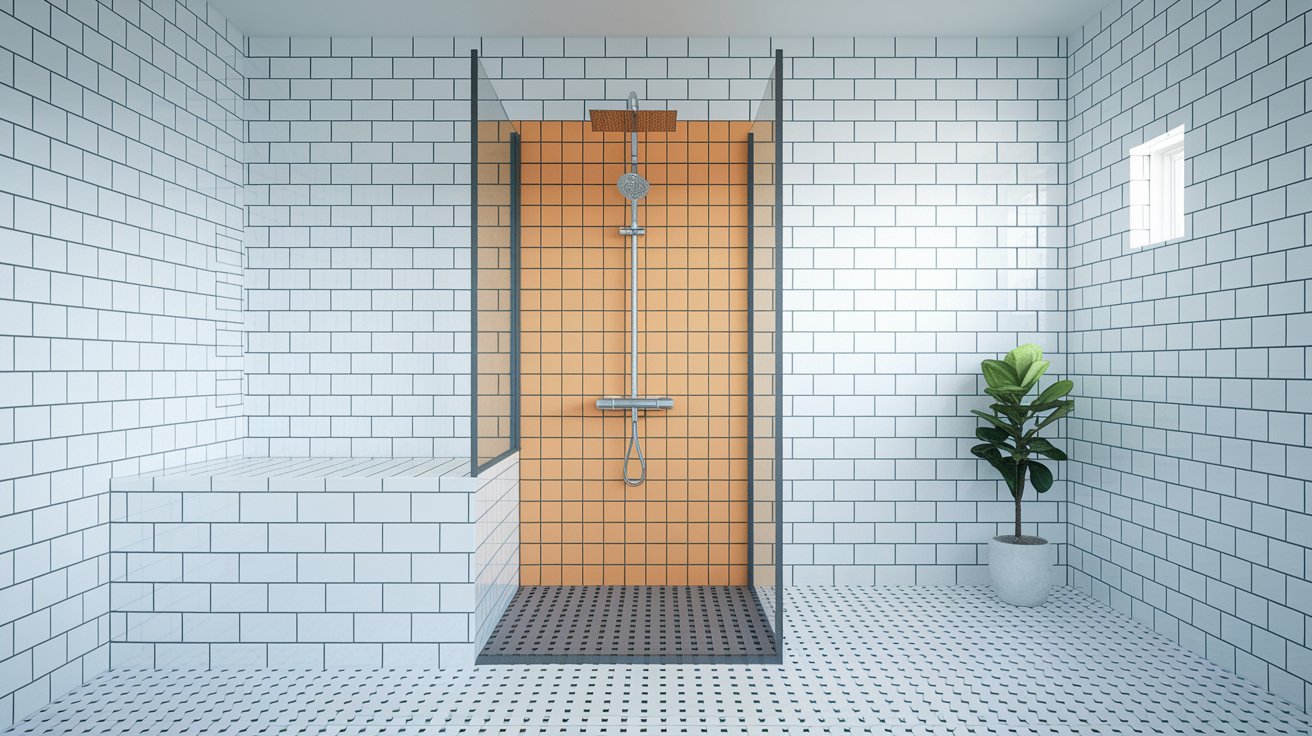
Waterproofing creates a barrier that stops water from reaching the structure behind your tiles. This protection is required in all wet areas of your bathroom.
Moisture resistance and waterproofing are different things. Moisture-resistant materials slow down water penetration. Waterproof systems stop it completely.
Several waterproofing systems work for showers. Liquid membranes like RedGard paint onto surfaces. Sheet membranes like Schluter Kerdi attach with adhesive. Waterproof backer boards combine structure and protection in one material.
Each system has benefits depending on your project. The goal is the same: keep water away from wood, drywall, and framing.
Why Waterproofing Shower Walls Matters
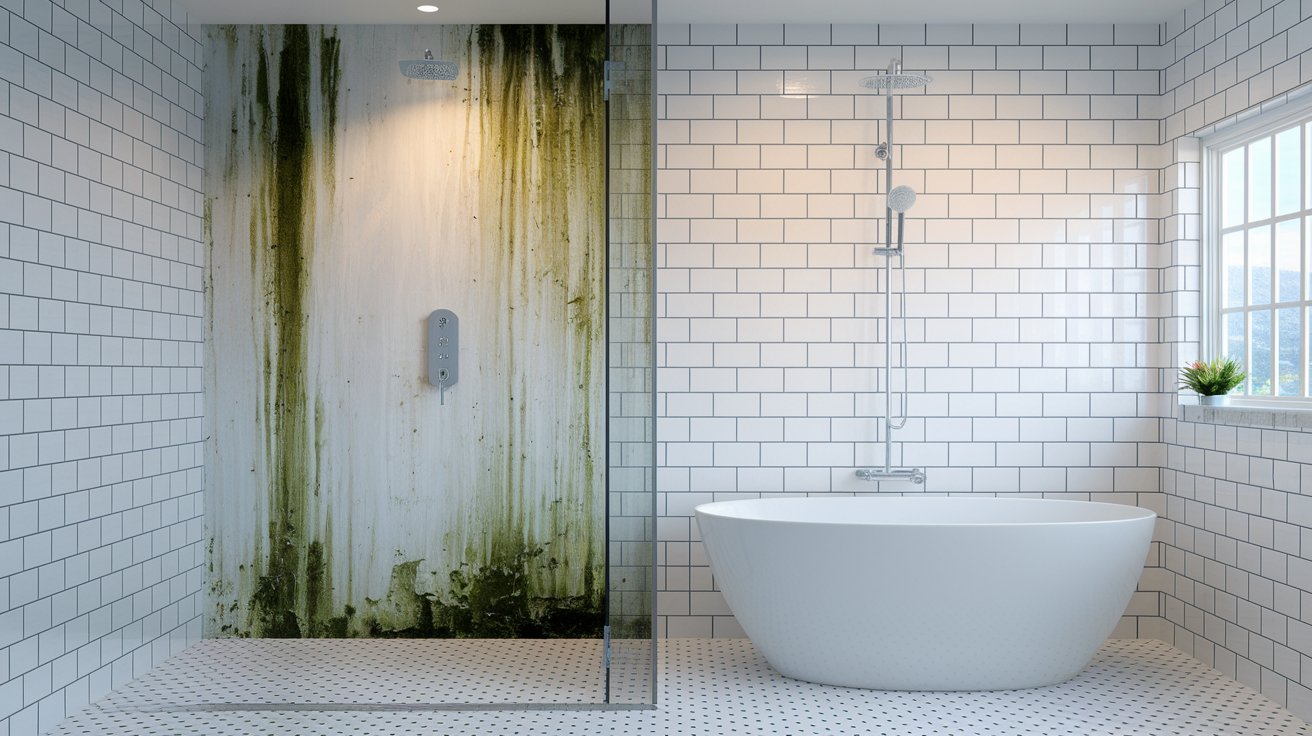
Water finds every weak point in your shower. Without proper waterproofing, serious problems develop fast.
Moisture trapped behind tiles creates mold that spreads through walls and becomes a health hazard. Waterproofing prevents water from accumulating on the surface, allowing it to drain properly.
Tiles and grout last for decades with proper waterproofing. Without it, water loosens tiles within a few years. You’ll spend more replacing failed work than doing it right initially.
Water damage rots floor joists, destroys drywall, and compromises your home’s structure. Fixing this costs ten times more than waterproofing upfront. Proper waterproofing protects your family and property value.
Materials and Tools You’ll Need
Having the right supplies before starting saves time and frustration. Here’s what I use for every waterproofing project.
Waterproof Membrane: Liquid membrane products like RedGard or Oatey brush or roll on smoothly. They work well for most DIY projects. Sheet membranes like Schluter Kerdi offer faster coverage for larger areas.
Seam Tape: Waterproof mesh tape reinforces joints between backer boards. This prevents cracks at weak points. Use tape designed specifically for waterproofing systems.
Thinset Mortar: Modified thinset bonds tape and seals screw holes. Choose a formula compatible with your waterproofing membrane.
Cement Backer Board: Cement board provides a stable, water-resistant base. It won’t rot like drywall when exposed to moisture.
Drill and Mixing Paddle: A drill with a mixing attachment blends thinset to the right consistency. This saves arm strength and ensures proper mixing.
Application Tools: Putty knives and trowels spread thinset over tape and screws. Paint rollers and trays work for liquid membranes. Small brushes reach corners and tight spaces.
Safety Equipment: Gloves protect your hands from chemicals. A respirator filters harmful fumes. Safety glasses prevent splashes. Don’t skip protective gear.
Step-by-Step Guide to Waterproofing Shower Walls
Follow these steps in order for reliable waterproofing that lasts. Taking shortcuts leads to failure.
Step 1: Prepare the Shower Surface
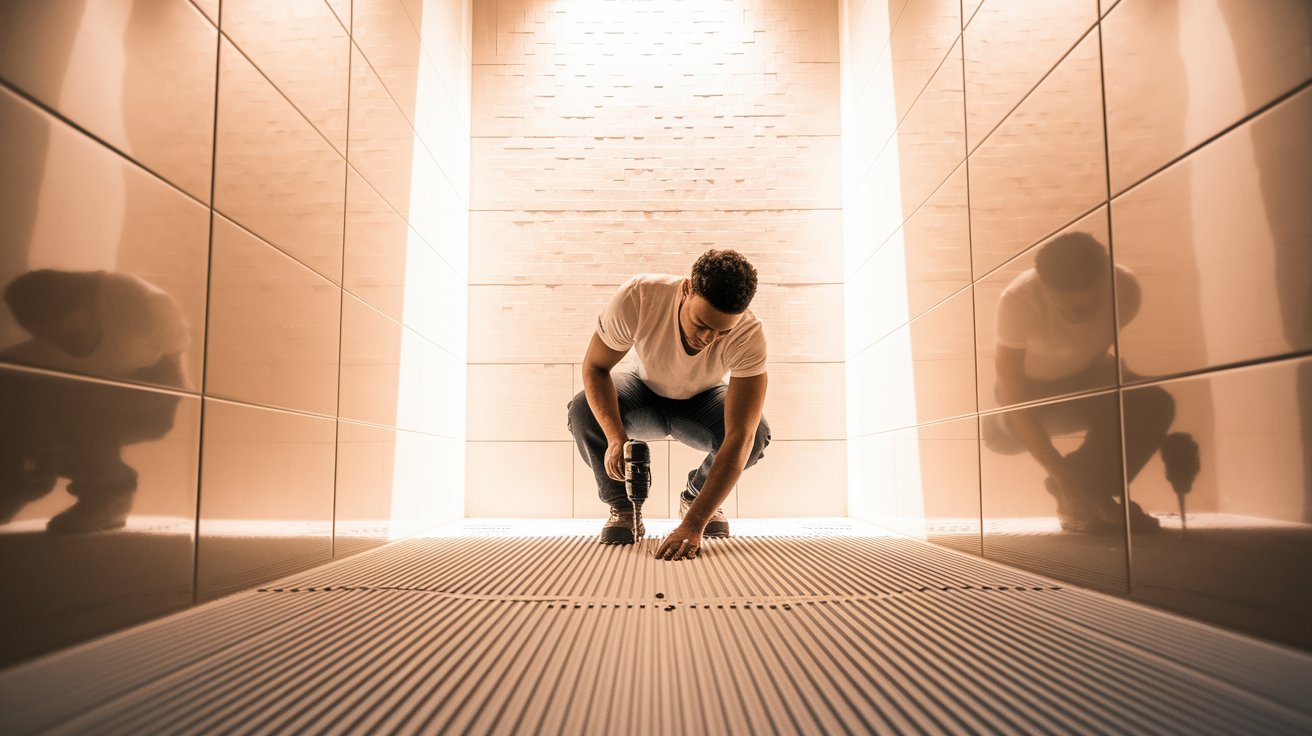
Install cement backer boards on all shower walls using proper fasteners. Space screws according to the manufacturer’s specifications.
Clean the entire surface thoroughly. Remove all dust, debris, and loose material. The surface must be completely dry before applying anything.
Step 2: Seal the Joints and Screws
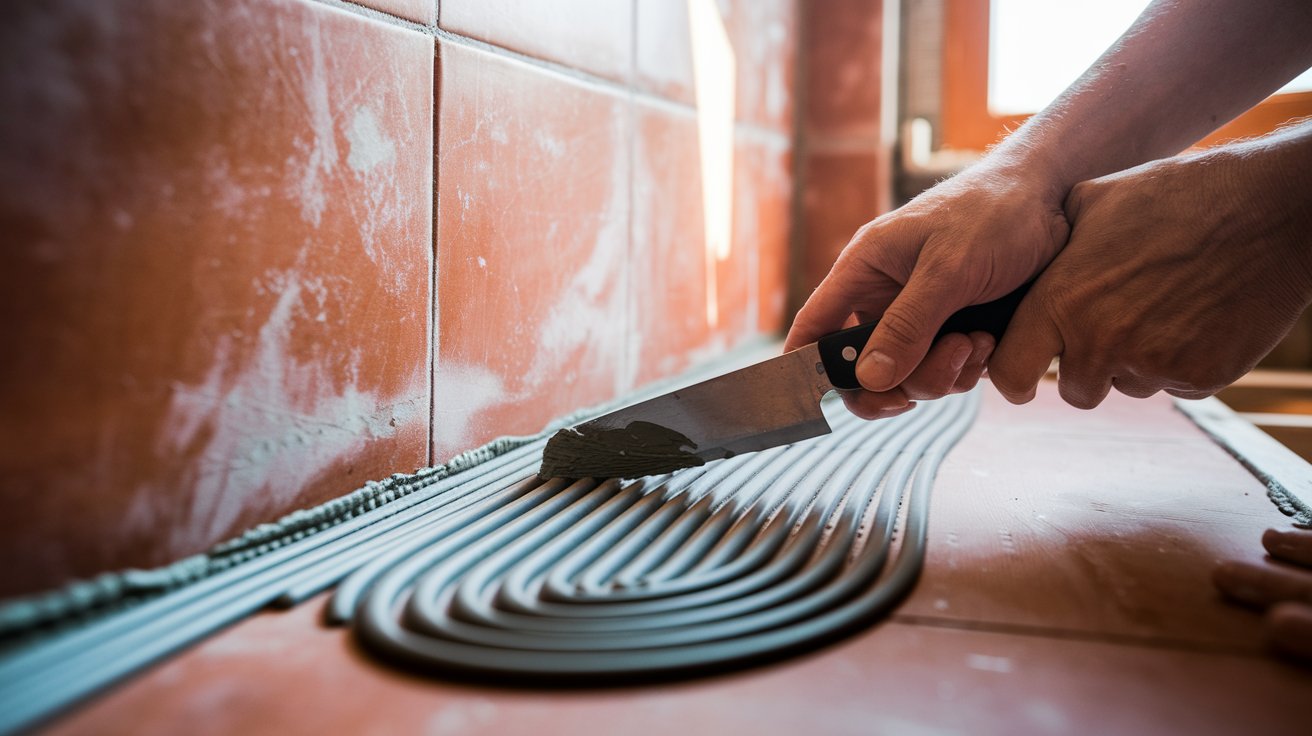
Cut seam tape to fit all joints where backer boards meet. Press tape firmly into corners and along seams.
Mix thinset mortar to a creamy consistency. Spread a thin layer over all tape using a putty knife. Fill every screw hole with thinset. Smooth everything flat with the wall surface.
Let this dry completely. This usually takes 24 hours, depending on temperature and humidity.
Step 3: Choose Your Waterproofing Method

Liquid membranes cost less and work well for small to medium showers. They require multiple coats but offer complete coverage. RedGard is my go-to choice.
Sheet membranes install faster and provide instant waterproofing. They cost more but save time. Schluter Kerdi is the industry standard.
Waterproof backer boards like GoBoard combine structure and waterproofing. They simplify the process but limit flexibility in repairs.
Consider your budget, timeline, and skill level when choosing.
Step 4: Apply the Waterproofing Layer
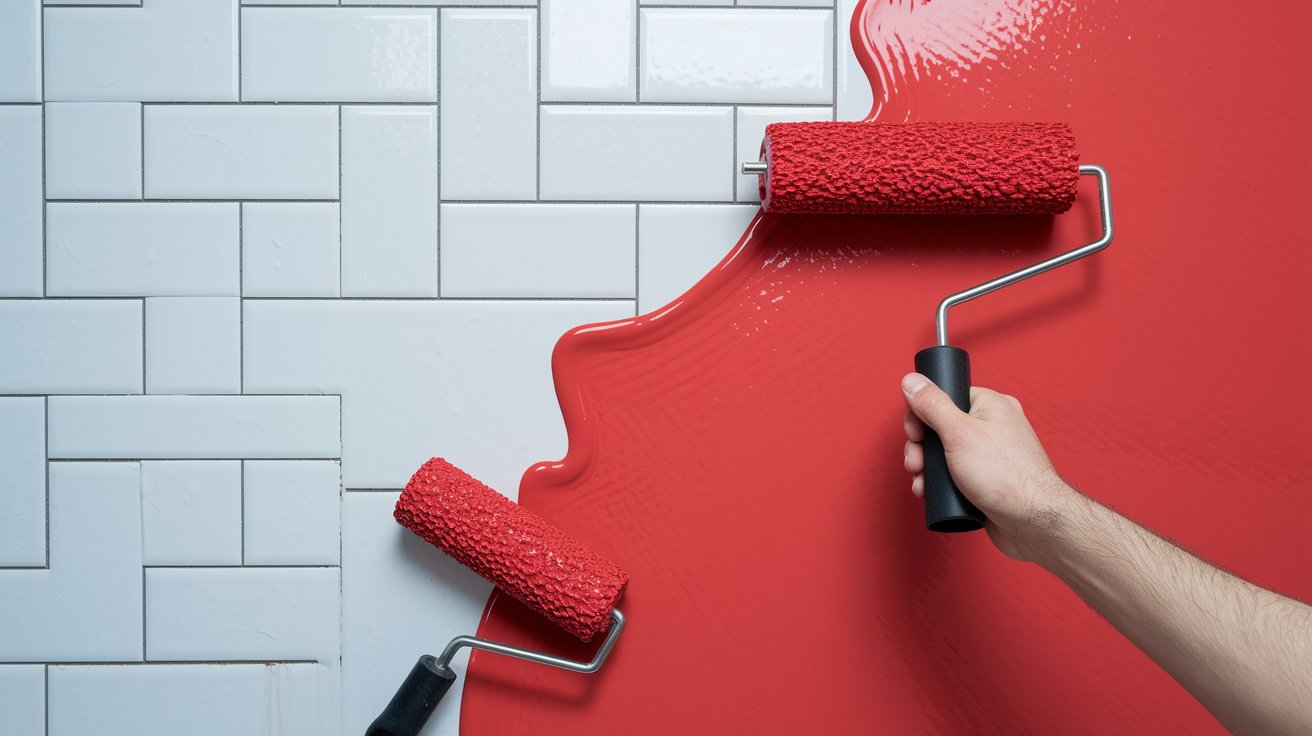
For liquid membranes, pour the product into a paint tray. Use a roller for large flat areas. Switch to a brush for corners, edges, and around fixtures.
Apply the first coat evenly without puddles or thin spots. Work in sections to maintain a wet edge.
Check the manufacturer’s instructions for drying time. Most products need 4-6 hours between coats.
Apply the second coat in the opposite direction from the first. This ensures complete coverage.
Step 5: Inspect and Patch
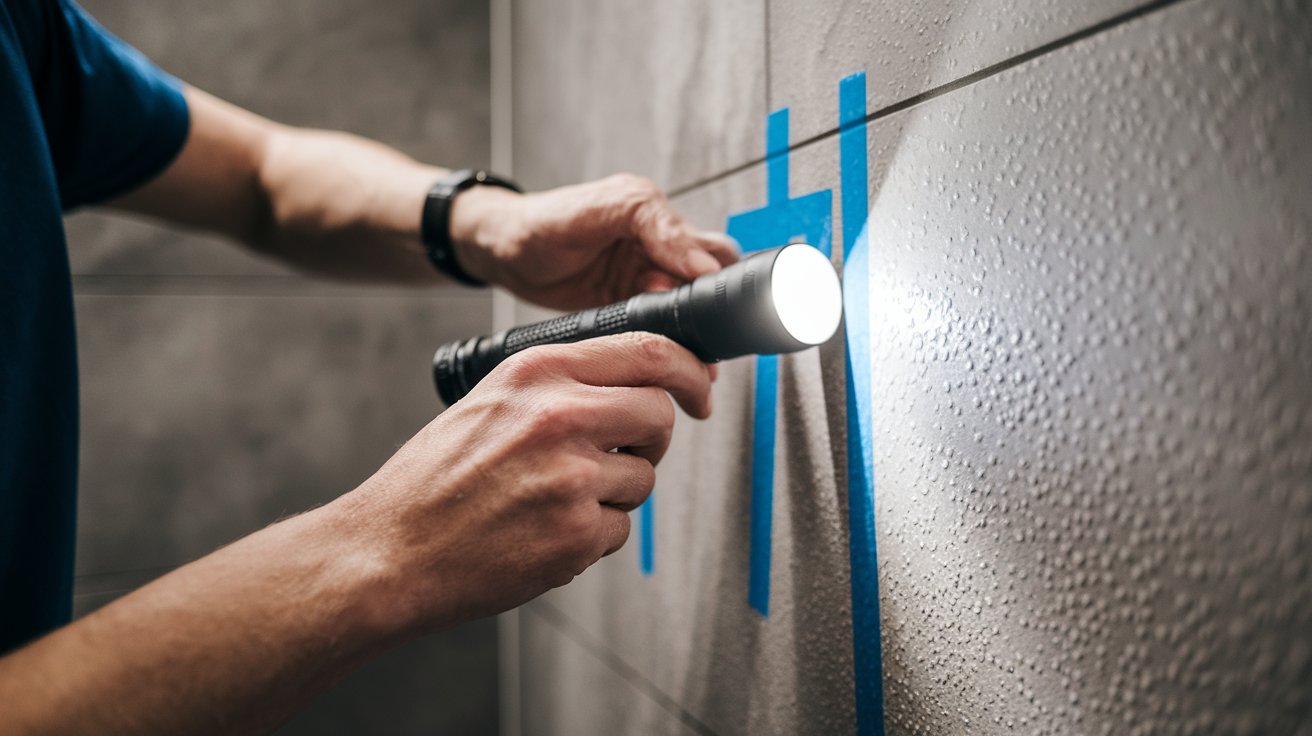
After the second coat dries, inspect every inch carefully. Look for pinholes, gaps, or areas where the backer board shows through.
Mark problem spots with tape. Apply touch-up coats to any questionable areas. Some spots may need a third full coat.
Good lighting helps spot imperfections. Use a flashlight at an angle to find thin spots.
Step 6: Allow Proper Drying Time
Follow manufacturer recommendations exactly. Most liquid membranes need 24-48 hours before tiling.
Touch the surface to verify it’s completely cured. It should feel dry and slightly rubbery, not tacky.
Starting tile work too early ruins the waterproofing. Be patient here.
Tips for a Professional Finish
- Use disposable rollers and brushes for liquid membranes. These products don’t wash out easily. Throwing away tools costs less than cleaning supplies and time.
- Cover your tub, fixtures, and floors with plastic sheeting before starting. Waterproofing products stain permanently. Tape plastic securely so it doesn’t shift while you work.
- Apply thin, even coats rather than one thick layer. Multiple thin coats cure properly and provide better protection. Thick coats take forever to dry and may crack.
- Read and follow every detail in the manufacturer’s instructions. Each product has specific requirements. Mixing systems or skipping steps voids warranties and causes failures.
Common Waterproofing Mistakes to Avoid
These errors cause most waterproofing failures. Learn from my mistakes and others I’ve fixed.
Neglecting Corners and Seams
Corners where walls meet are the most vulnerable spots. Water pools here and finds any gap. Apply extra coats to all inside corners. Use a brush to work product deep into joints.
Wrong Coat Thickness
Too thin and you’ll have pinholes. Too thick and the product won’t cure properly. Follow the manufacturer’s coverage rate exactly. Most specify square footage per gallon.
Rushing the Drying Process
I know you want to finish quickly. But starting the next step before proper drying guarantees problems.
Set a timer and do something else. Check that the surface is fully cured before proceeding.
Ignoring Product Guidelines
Every waterproofing system has specific instructions. Temperature requirements, drying times, and application methods vary.
Assuming all products work the same causes failures. Read the manual before opening the container.
Cost of Waterproofing Shower Walls
Understanding costs helps you budget properly and decide between DIY and professional installation.
| Expense Category | DIY Cost | Professional Cost |
| Liquid Membrane | $50-100 | Included in labor |
| Seam Tape & Thinset | $20-40 | Included in labor |
| Backer Board | $40-80 | Included in labor |
| Tools & Supplies | $30-60 | Not needed |
| Total Materials | $140-280 | $0 |
| Labor | Your time | $500-1200 |
| Grand Total | $140-280 | $500-1200 |
Final Inspection Checklist
Review these points before moving to tile installation. Catching problems now is easy. Fixing them later means starting over.
All Joints Protected: Every seam between backer boards should have tape and thinset. Check wall-to-wall corners, wall-to-floor transitions, and around any openings.
Complete Coverage: Two full coats should cover every surface. The color should be uniform with no light spots showing through.
Surface Quality: Run your hand over the walls. Feel for cracks, bubbles, or rough areas. Sand down any high spots carefully. Fill any low spots with additional membrane.
Ready for Tile: The surface should feel dry and slightly tacky. It should not be wet or sticky. Press firmly to ensure the membrane has bonded well.
Conclusion
Too many gorgeous tile installations have been ruined by neglected waterproofing, in my experience. Don’t take a shower like that.
It requires patience and attention to detail to properly waterproof shower walls. But the effort is well worth it. Your shower will be free of mold and leaks for decades to come.
Pay close attention to these steps. Go slowly. Check your work again. The mental tranquility is amazing.
Regarding your waterproofing project, what queries do you have? Post in the comments. I’m glad to assist.
Frequently Asked Questions
Do I really need to waterproof if I’m using cement board?
Yes. Cement board is water-resistant, not waterproof. Water passes through it over time. A waterproof membrane provides the protection your shower needs.
How many coats of liquid membrane do I need?
Most manufacturers require two coats minimum for warranty coverage. High-traffic areas may need three coats. Check your product’s specifications for exact requirements.
Can I tile the same day I finish waterproofing?
No. Liquid membranes need 24-48 hours to cure completely. Sheet membranes can be tiled immediately. Follow manufacturer’s timing to avoid problems.
What happens if I find a leak after tiling?
You’ll need to remove tiles to access and repair the waterproofing. This is expensive and time-consuming. Thorough inspection before tiling prevents this.
Is RedGard better than Schluter Kerdi for DIY projects?
Both work well when installed correctly. RedGard costs less but needs multiple coats. Kerdi installs faster but costs more. Choose based on your budget and timeline.