
Are you tired of struggling to park multiple vehicles in your cramped driveway?
Whatever your situation, learning how to widen driveway with pavers is a practical solution that can transform your property’s functionality while enhancing its curb appeal.
Many homeowners face the challenge of limited driveway space but aren’t aware that expanding with pavers is a doable weekend project that doesn’t require professional contractors or specialized equipment.
With some planning and basic DIY skills, you can create that extra parking space you’ve been dreaming about.
In this guide, I’ll walk you through the simple steps to widen your driveway using pavers, helping you save money while adding value to your home.
Whether you’re looking to accommodate an additional vehicle or simply want more space to maneuver, these straightforward techniques will give your property the upgrade it deserves.
Planning and Preparation

Before you start to widen the driveway with pavers, proper planning will save you time, money, and frustration.
Here’s everything you need to know to prepare for a successful project:
Measure Your Space:Decide how much wider you want your driveway to be. Use a tape measure to mark the new area. Most people add 2 to 4 feet, but it depends on your cars and yard space.
Check Local Rules:Before you start, check with your local building office or homeowners group. Find out if you need a permit, if there are property line limits, drainage rules, or underground utilities to watch out for.
Calculate Materials:You’ll need pavers (buy a little extra), gravel for the base (4-6 inches deep), sand for leveling (1-2 inches), edge restraints to hold pavers in place, and landscape fabric to stop weeds.
Gather Tools:Get a shovel, rake, tamper (to press down the base), level, string and stakes to mark the area, rubber mallet, wheelbarrow, gloves, and safety glasses.
Plan Your Time:This project usually takes a weekend. Pick dry days to work so the ground isn’t muddy and the job goes smoothly.
Think About Drainage: Make sure the widened driveway slopes slightly away from your house (about 1/4 inch per foot) so water doesn’t pool near your foundation.
Steps to Widen Driveways with Pavers
Now that you’ve planned your project to widen driveway with pavers, follow these simple steps to complete the job successfully:
Step 1 – Mark the Extension Area
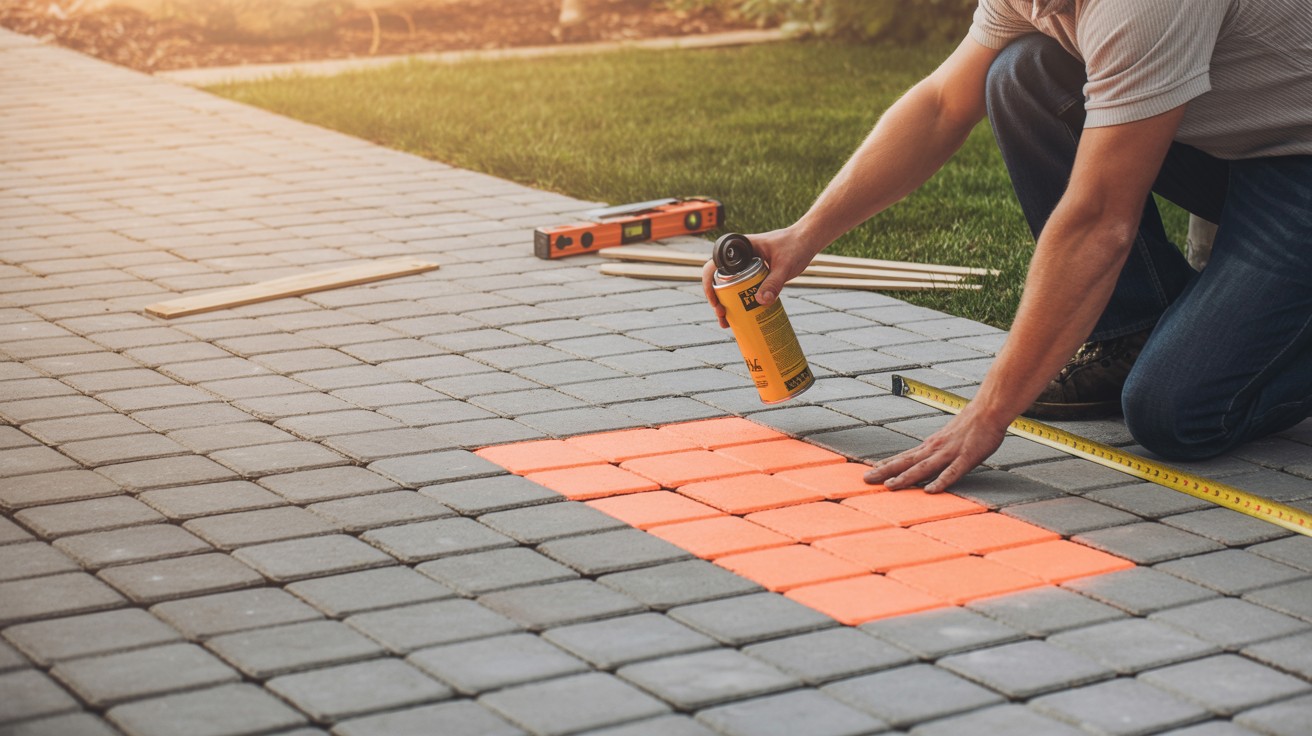
- Use stakes and string to outline where you’ll widen driveway with pavers
- Spray paint the ground to make the outline clear
- Double-check measurements to ensure proper width
Step 2 – Remove Grass and Soil

- Dig out grass, plants, and topsoil from the marked area
- Remove about 8-10 inches of depth for a proper base
- Keep the bottom of the excavation flat and even
Step 3 – Install Landscape Fabric
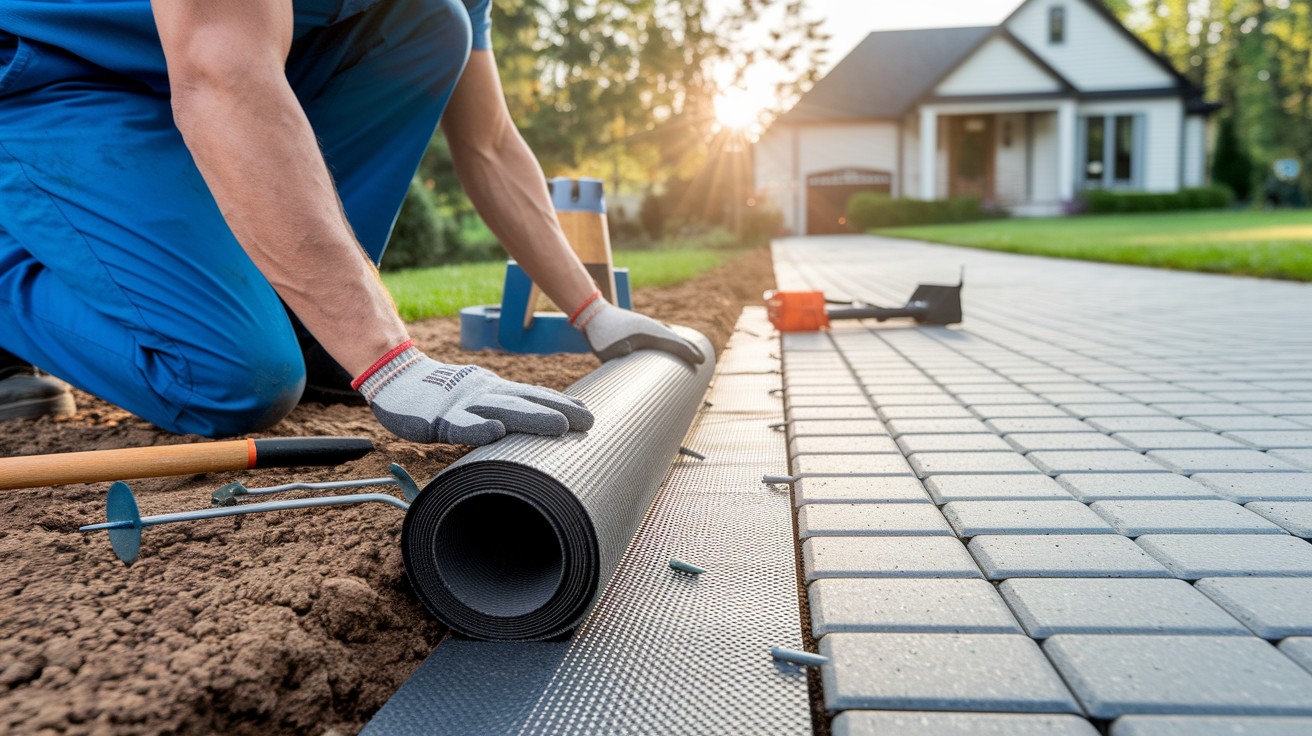
- Lay landscape fabric over the entire dug-out area
- Overlap edges by at least 6 inches
- This prevents weeds from growing through your pavers later
Step 4 – Add and Compact Gravel Base
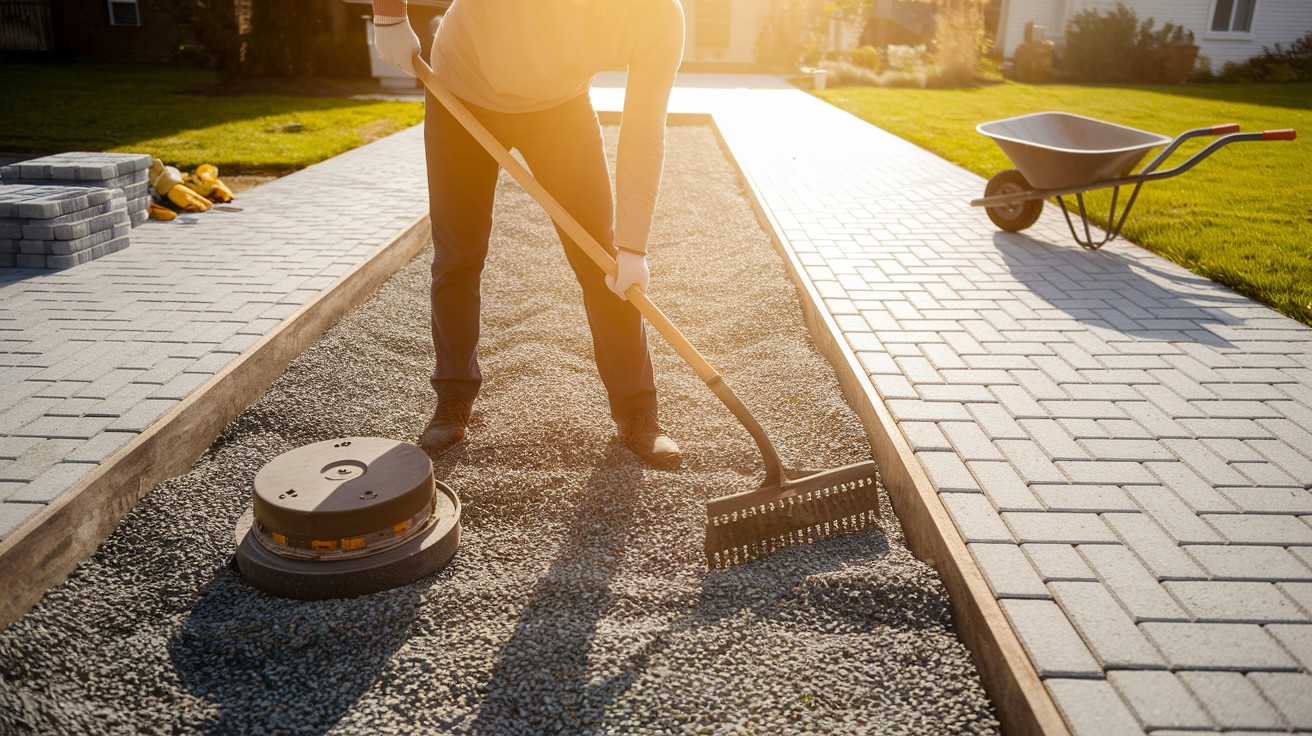
- Pour 4-6 inches of gravel into the excavated area
- Spread evenly with a rake
- Use a hand tamper or plate compactor to firmly pack down the gravel
- Check for proper slope away from your house (¼ inch per foot)
Step 5 – Add Sand Layer
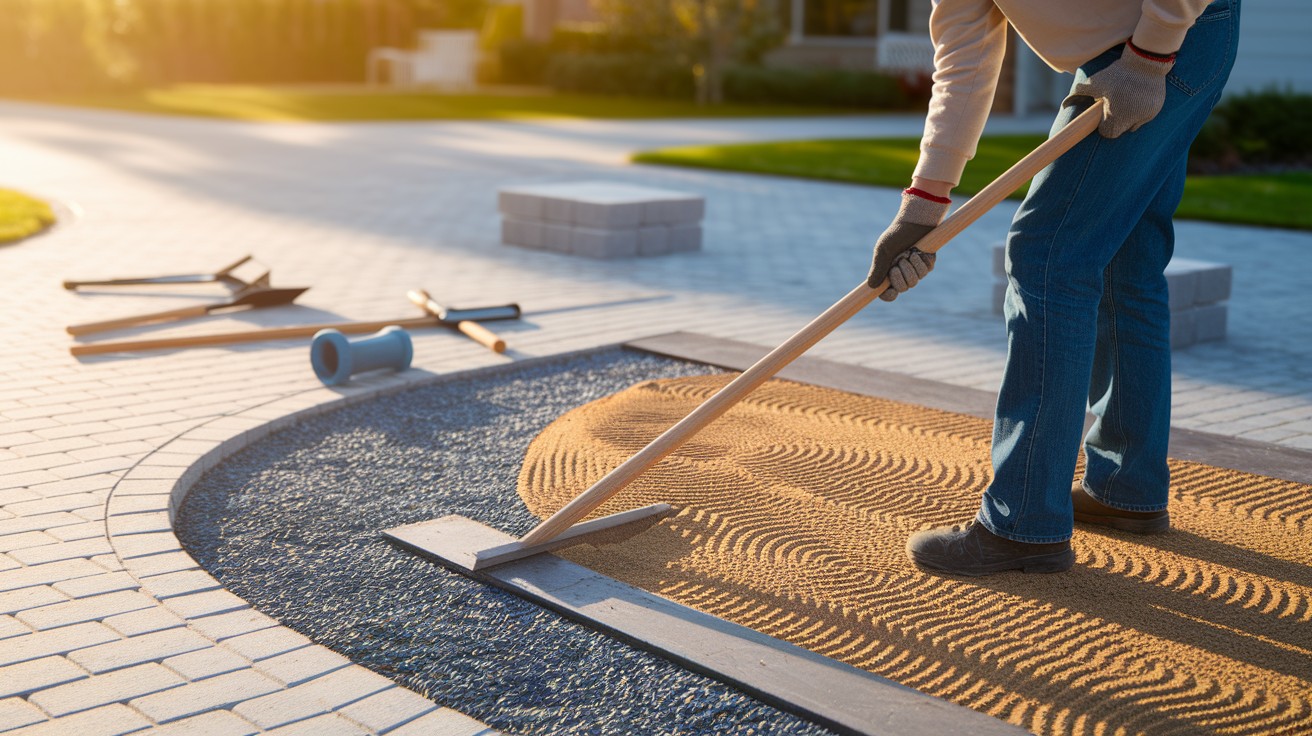
- Spread 1-2 inches of coarse sand over the compacted gravel
- Level the sand using a long, straight board
- Lightly mist with water and compact again
Step 6 – Install Edge Restraints
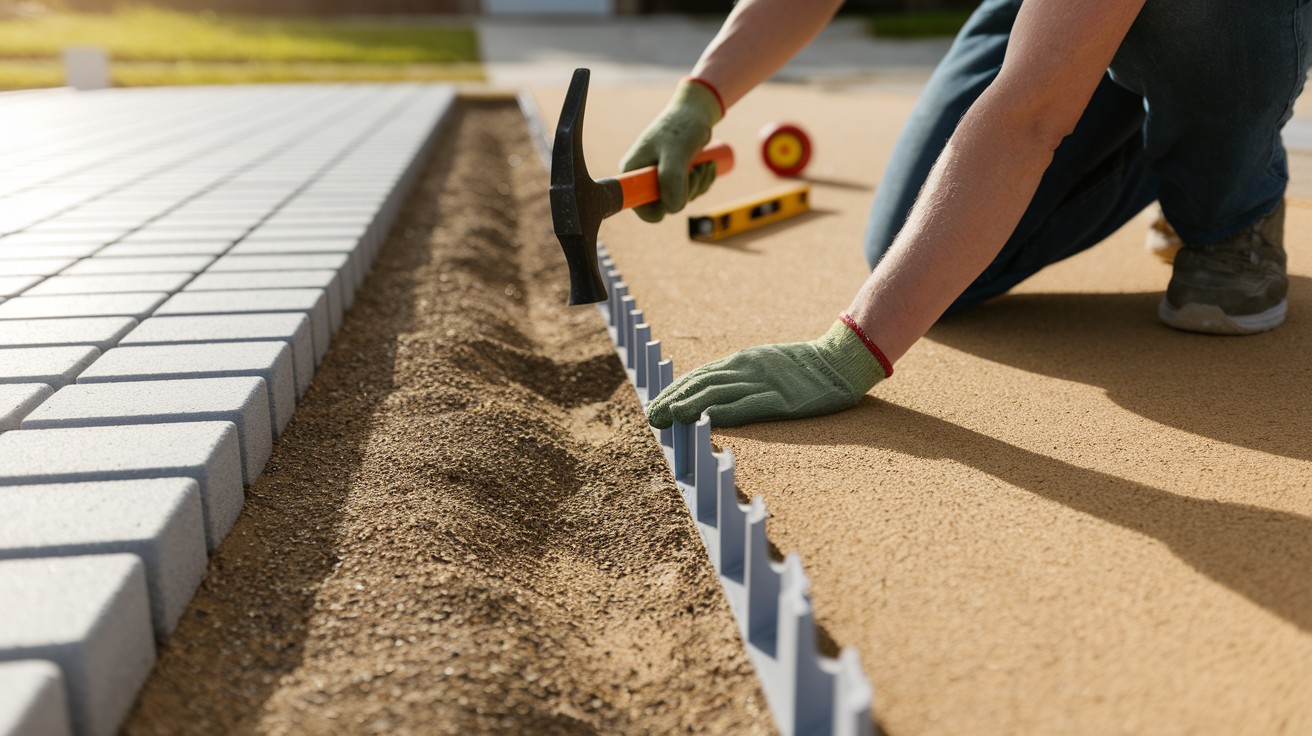
- Place edge restraints along the outer edge of your driveway extension
- Secure with spikes according to package instructions
- This keeps pavers from shifting over time
Step 7 – Lay the Pavers
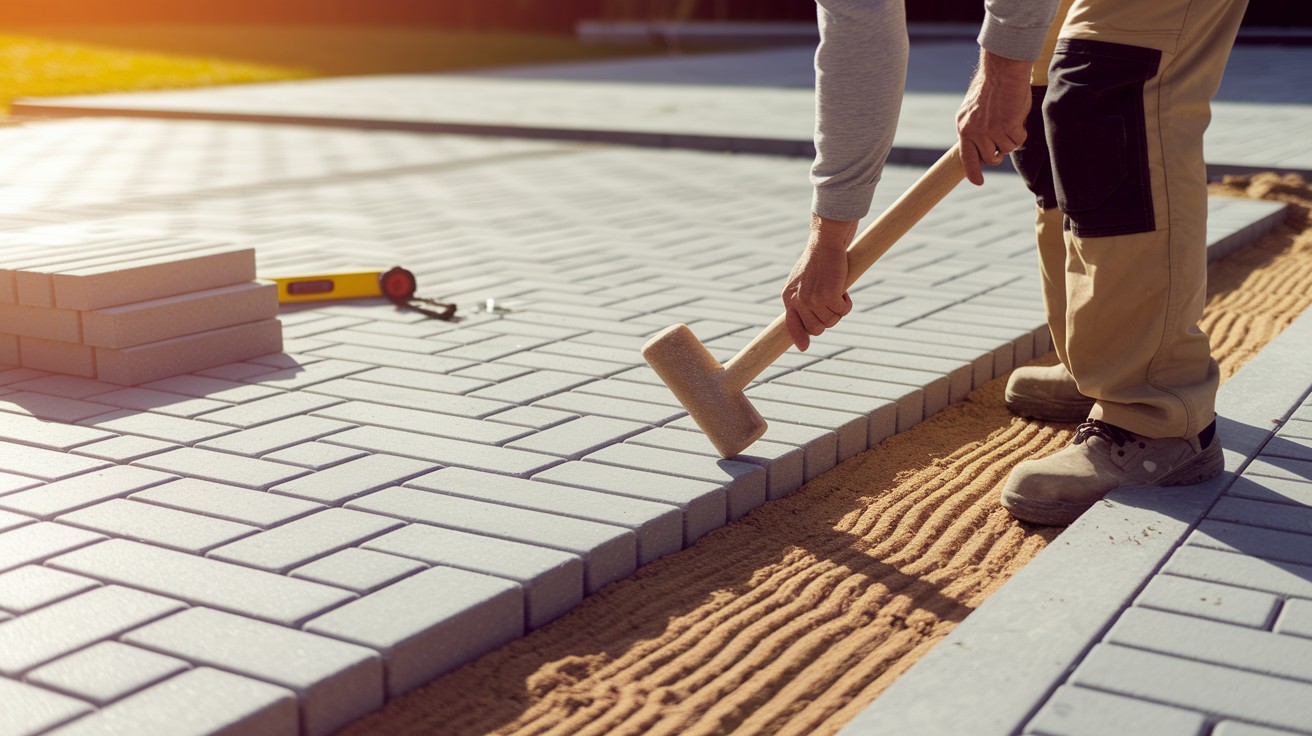
- Start laying pavers at the edge of your existing driveway
- Work in your chosen pattern (herringbone, basket weave, etc.)
- Use a rubber mallet to tap pavers into place
- Cut pavers as needed for edges using a masonry saw
Step 8 – Fill Gaps With Sand
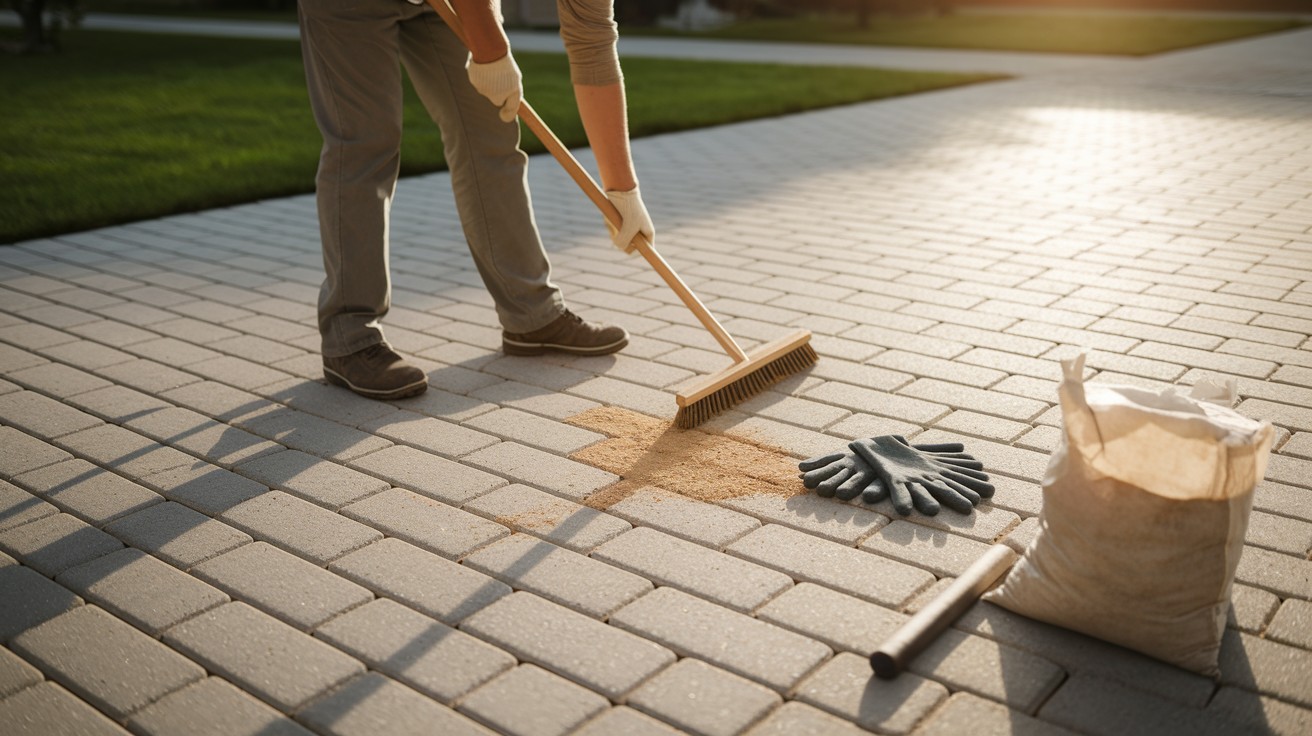
- Spread fine sand over the entire paver surface
- Sweep sand into the gaps between pavers
- Use a plate compactor to vibrate sand deeper into gaps
- Add more sand as needed until gaps are completely filled
Step 9 – Seal the Pavers (Optional)
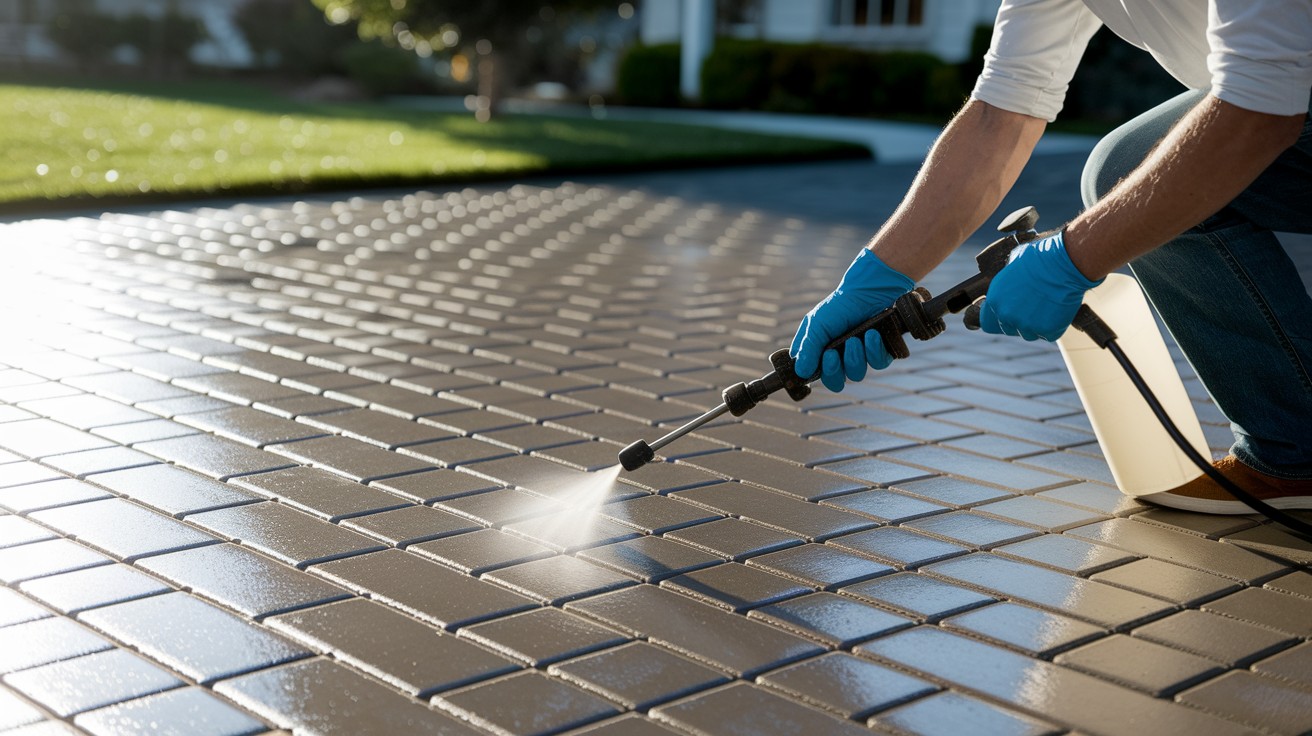
- Apply paver sealer following product instructions
- This enhances color and protects your widened driveway with pavers
- Allow proper drying time before using your driveway
By following these simple steps to widen the driveway with pavers, you’ll create a beautiful, durable extension that adds value and functionality to your home.
Maintenance Tips for Your Widened Driveway
Keep your newly widened driveway with pavers looking great with these simple maintenance tips:
- Sweep away leaves and dirt regularly to prevent staining and weed growth.
- Pull any weeds that appear between pavers as soon as you notice them.
- Rinse your paver driveway with a garden hose every few months to remove dirt buildup.
- Reapply joint sand yearly to keep pavers secure and prevent shifting.
- Clean oil or grease stains quickly using dish soap and a stiff brush.
- Check for uneven or sunken pavers after heavy rain and reset them as needed.
- Reseal your widened driveway with pavers every 3-5 years to maintain color and protection.
Conclusion
Widening your driveway with pavers is a practical and achievable DIY project that adds both functionality and curb appeal to your home.
We’ve walked through the entire process from careful planning and preparation to step-by-step installation and simple maintenance tips.
With proper materials, tools, and techniques, you can successfully widen driveway with pavers over a weekend, creating the extra space you need while enhancing your property’s value.
Remember that taking time with the foundation layers ensures long-lasting results, and regular maintenance keeps your investment looking great for years to come.
Whether you’re solving a parking problem or simply improving your home’s exterior, this project offers excellent returns for your effort.
Ready to transform your driveway?
Grab your measuring tape and start planning! Share your before-and-after photos in the comments below, or subscribe for more practical home improvement guides.
Frequently Asked Questions
How much does It Cost to Widen Driveway With Pavers?
The cost typically ranges from $10-25 per square foot, depending on paver quality and if you DIY. For a standard 2-foot widening along 20 feet, expect to spend $400-1,000 in materials.
Can I Use Different Pavers to Widen My Existing Driveway?
Yes! Using different pavers can create an intentional border design. Just ensure they have similar thickness and durability as your existing driveway materials for a seamless blend.
How Long Will It Take to Widen My Driveway?
Most homeowners complete their driveway widening project in a weekend. The excavation takes the most time, while the actual paver installation goes quite quickly once your base is prepared.
Do I Need a Permit to Widen My Driveway With Pavers?
Many areas require permits for driveway expansions, especially if you’re changing the access point to a public road. Check with your local building department before starting your project.