
Your basement sits empty. Dark. Unused.
What if I told you it could become the heart of your home? You’re here because you want to build a wet bar basement. Maybe you’re tired of that wasted space downstairs. Or you dream of entertaining friends without trips upstairs for drinks.
I get it. I’ve helped hundreds of homeowners change their basements.
This guide covers everything you need. Costs, designs, materials, and step-by-step planning. You’ll learn which mistakes cost thousands. Which shortcuts actually work.
Here’s what’s inside:
- 15 wet bar ideas that wow guests
- Real costs for 2025 projects
- Materials that handle moisture
- When to DIY vs. hire pros
No fluff. No sales pitches. Just proven advice from someone who’s seen every basement challenge.
Your friends will ask who designed your space. You built something amazing.
What Is a Wet Bar Basement and Why Build One?
A wet bar basement is simple. It’s a bar area with running water built in your basement.
The basics include:
- A sink with hot and cold water
- Counter space for drinks
- Storage for glasses and bottles
- Electrical outlets for appliances
But here’s the thing, It’s not just about the plumbing. A wet bar creates a gathering spot. Your basement becomes the place people want to be.
Why build one?
You get extra living space. Your home value goes up. Family time gets better. Friends actually want to visit your basement. Plus, you control the vibe. Quiet wine night? Check. Game day chaos? Also check.
Key Things to Consider Before You Start
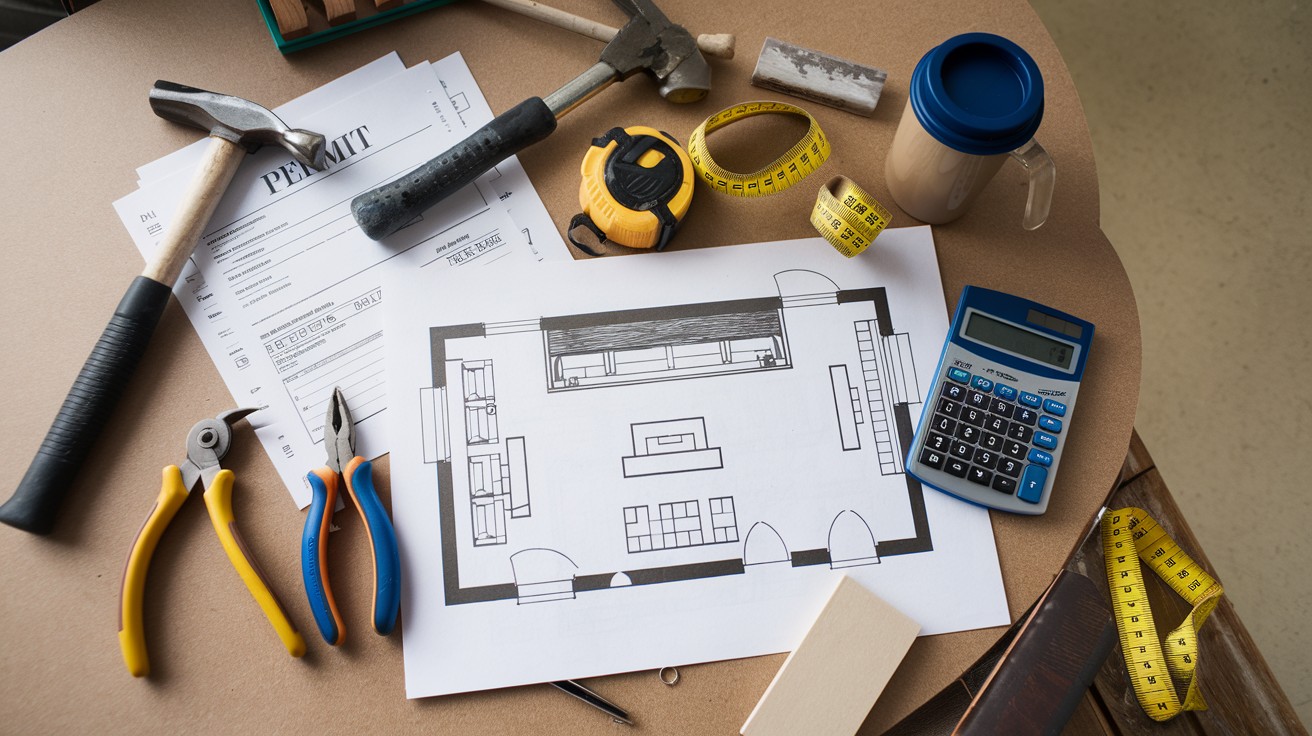
Hold on. Don’t grab your tools yet.
Smart planning saves money and headaches.
First, check your local building codes. Some areas have strict rules about basement bars. You might need permits.
Think about these questions:
- How much space do you have?
- Where are your water lines?
- What’s your electrical situation?
- How’s the moisture level down there?
Budget reality check: A basic wet bar starts around $3,000. High-end setups can hit $15,000 or more.
Your ceiling height matters too. Low ceilings feel cramped. You want at least 7 feet if possible. And here’s something most people forget, Access matters. Can you get materials downstairs? Can guests easily reach the bar? Think about traffic flow.
Wet Bar vs. Dry Bar: Which One Is Right for You?
Let’s settle this debate.
Wet bar: Has running water. Sink included. You can wash glasses, make ice, clean up easily.
Dry bar: No plumbing. Just storage and counter space. Cheaper to build.
When to choose wet:
- You entertain often
- Your main kitchen is far away
- You want maximum convenience
- Budget allows for plumbing work
When dry makes sense:
- Limited budget
- No nearby water lines
- Simple setup preferred
- Plumbing seems too complex
Here’s the truth: Mostpeople regret going dry. That trip upstairs to wash glasses gets old fast. The convenience of water is worth the extra cost.
How Much Does a Basement Wet Bar Cost in 2025?

Money talk. Let’s be real about costs.
Basic wet bar: $3,000 – $6,000
- Simple sink and counter
- Basic cabinets
- DIY installation
Mid-range setup: $6,000 – $12,000
- Quality materials
- Mini-fridge included
- Some professional work
High-end wet bar: $12,000 – $25,000+
- Custom everything
- Premium appliances
- Full professional installation
Cost breakdown by component:
- Plumbing: $500 – $2,000
- Electrical: $300 – $1,500
- Cabinets: $1,000 – $5,000
- Countertops: $500 – $3,000
- Appliances: $800 – $4,000
- Labor: $2,000 – $8,000
Money-saving tip: Do the demo yourself. Paint your own cabinets. Shop sales for appliances. But don’t skimp on plumbing or electrical. Those mistakes cost more later.
Wet Bar Basement Ideas That Change Any Space
Ready for inspiration? Here are 15 ideas that actually work.
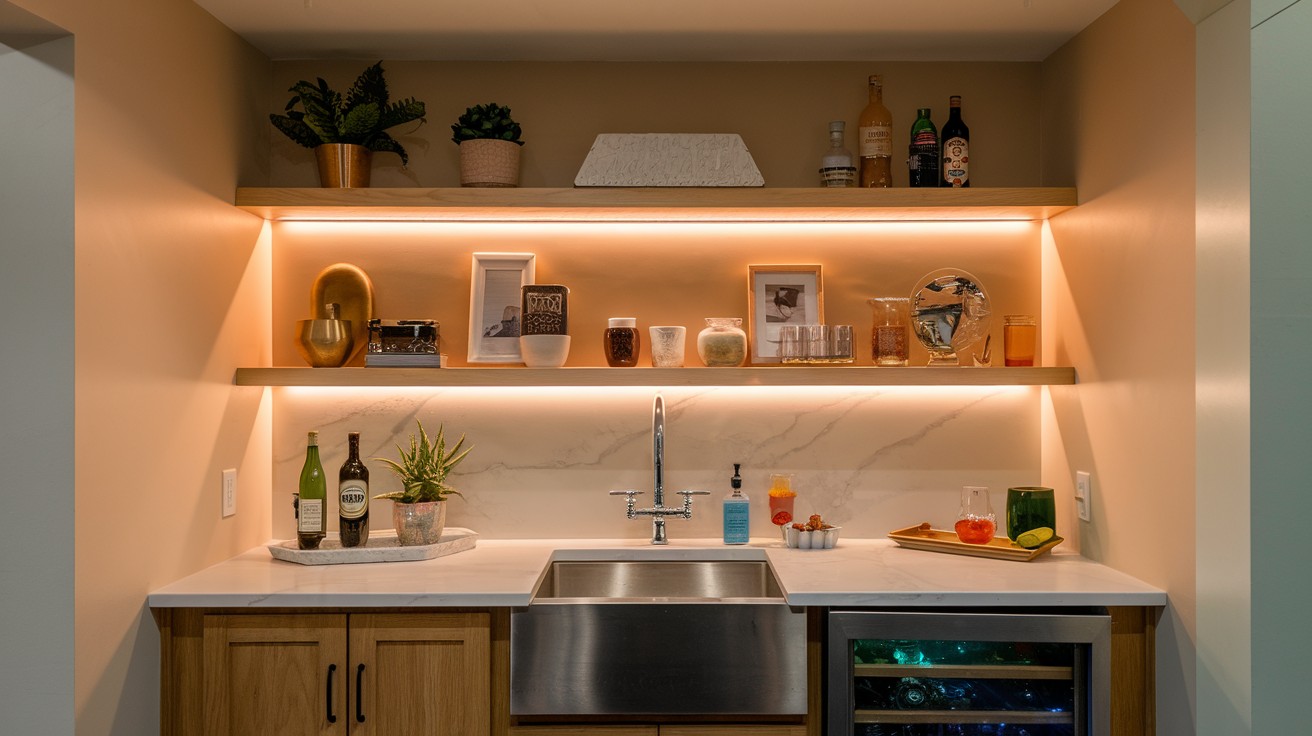
1. Modern Minimalist Wet Bar
Clean lines. White counters. Hidden storage.
Key elements:
- Flat-panel cabinets
- Quartz countertops
- Under-cabinet LED lighting
- Stainless steel sink
This style works in any basement. It’s timeless. Easy to maintain.
2. Rustic Cabin Vibes
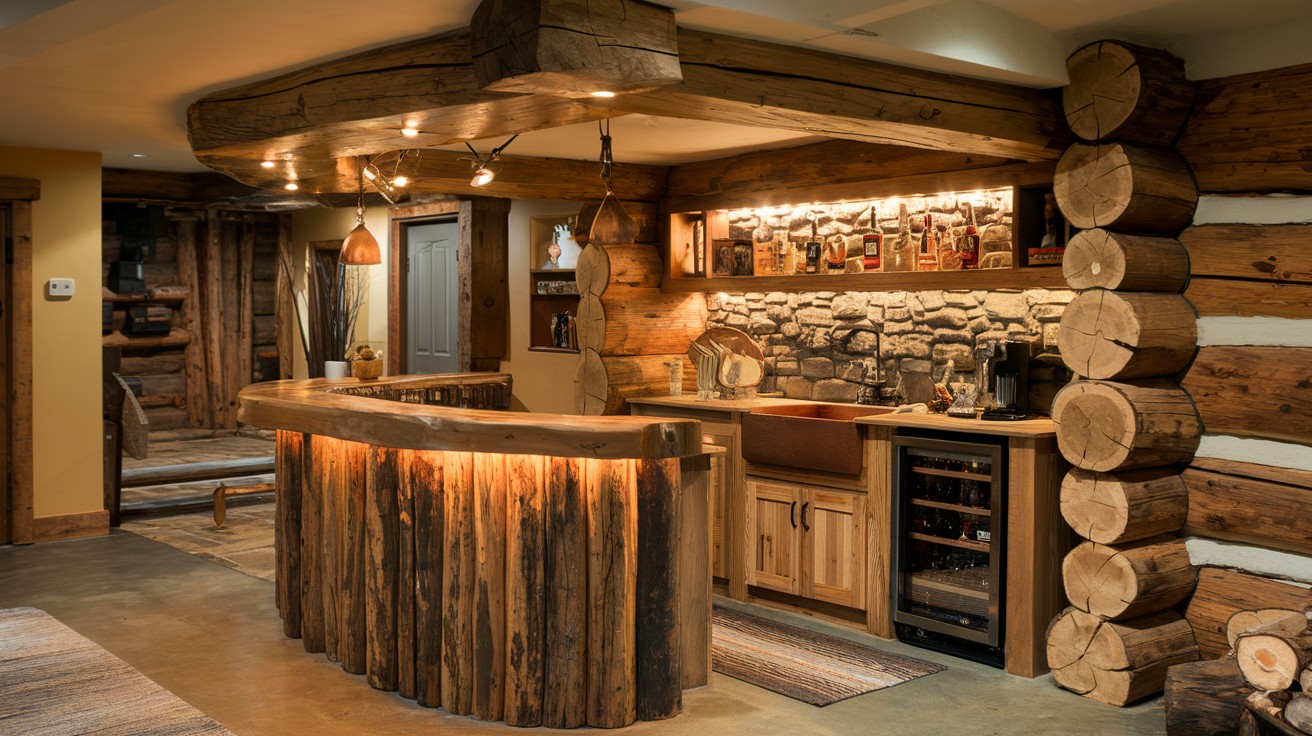
Wood everywhere. Natural stone. Cozy feel.
Must-haves:
- Reclaimed wood bar top
- Stone backsplash
- Copper sink
- Vintage-style lighting
Perfect if your home has rustic elements upstairs.
3. Industrial Speakeasy
Dark. Dramatic. Classy.
Design elements:
- Black metal frames
- Exposed brick (or brick veneer)
- Edison bulb lighting
- Dark countertops
Your friends will think they’re in a real speakeasy.
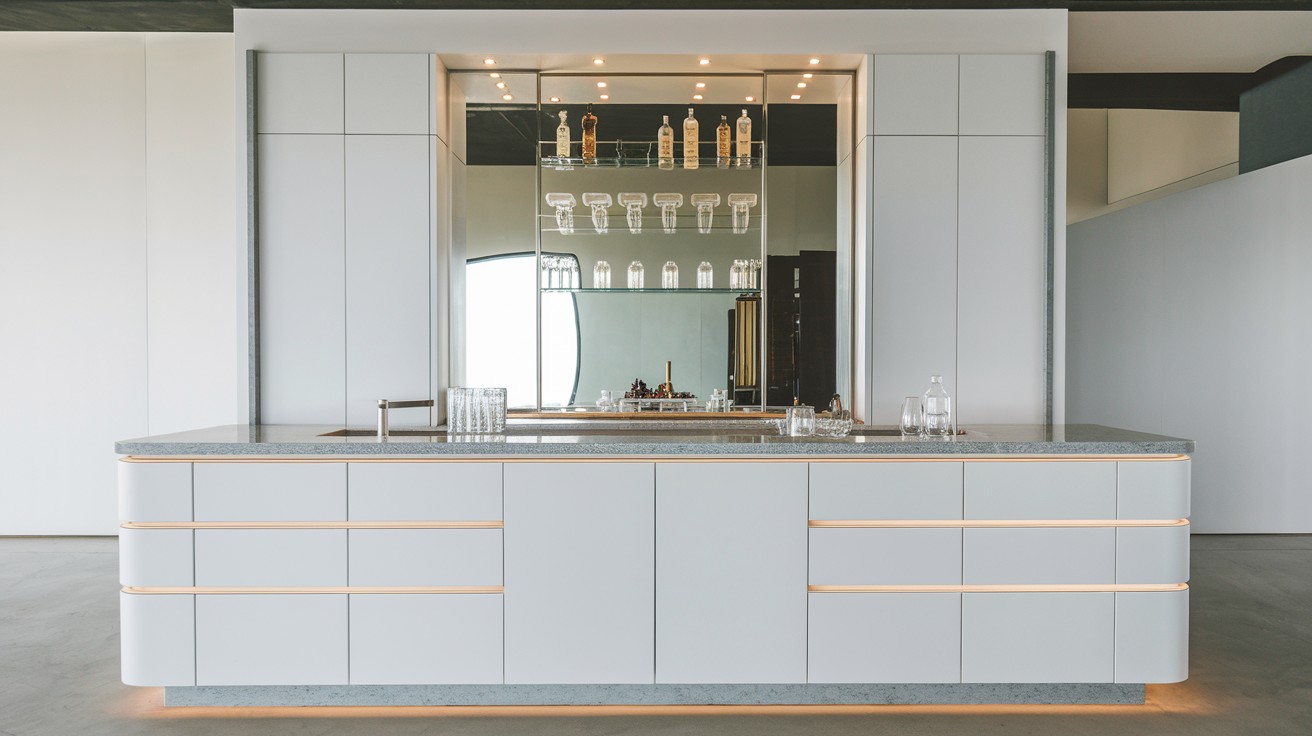
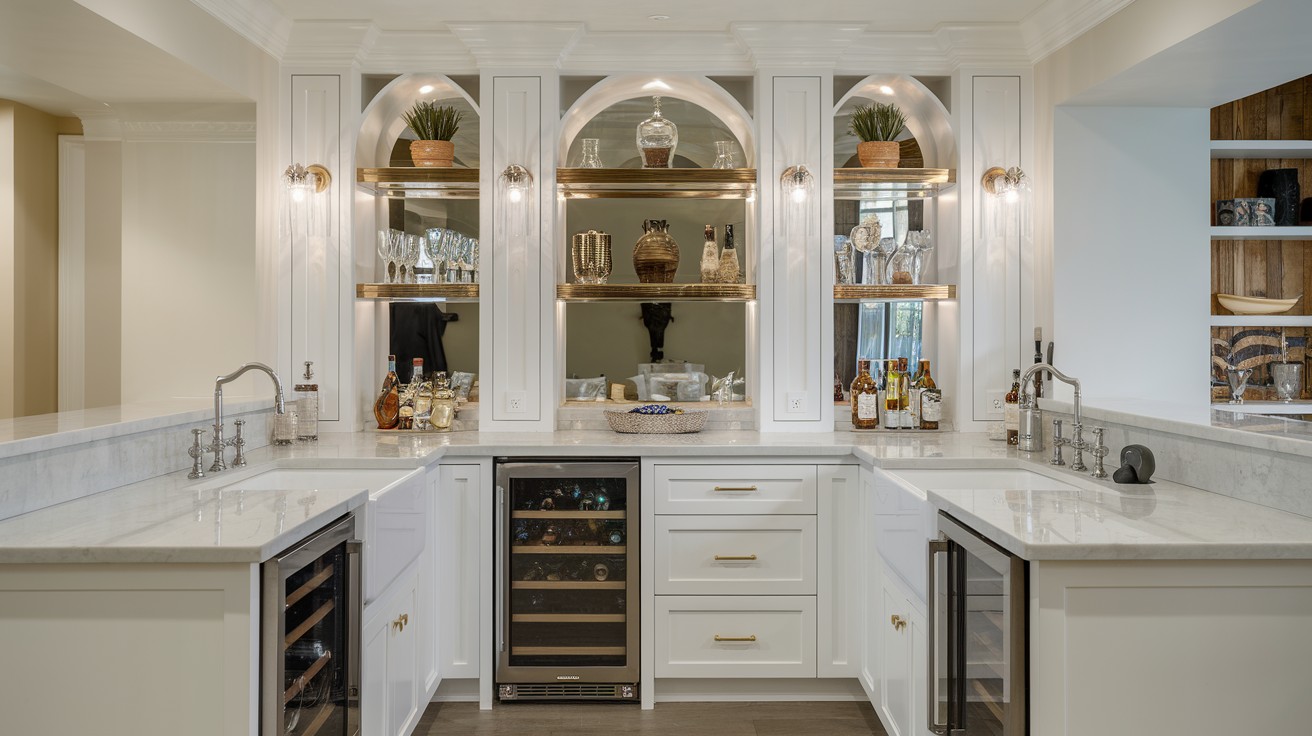
4. Glam Cocktail Lounge

Sparkle. Shine. Classy sipping.
Glamorous touches:
- Mirrored backsplash
- Gold fixtures
- Marble countertops
- Crystal lighting
This style makes every drink feel special.
5. Game Night Central
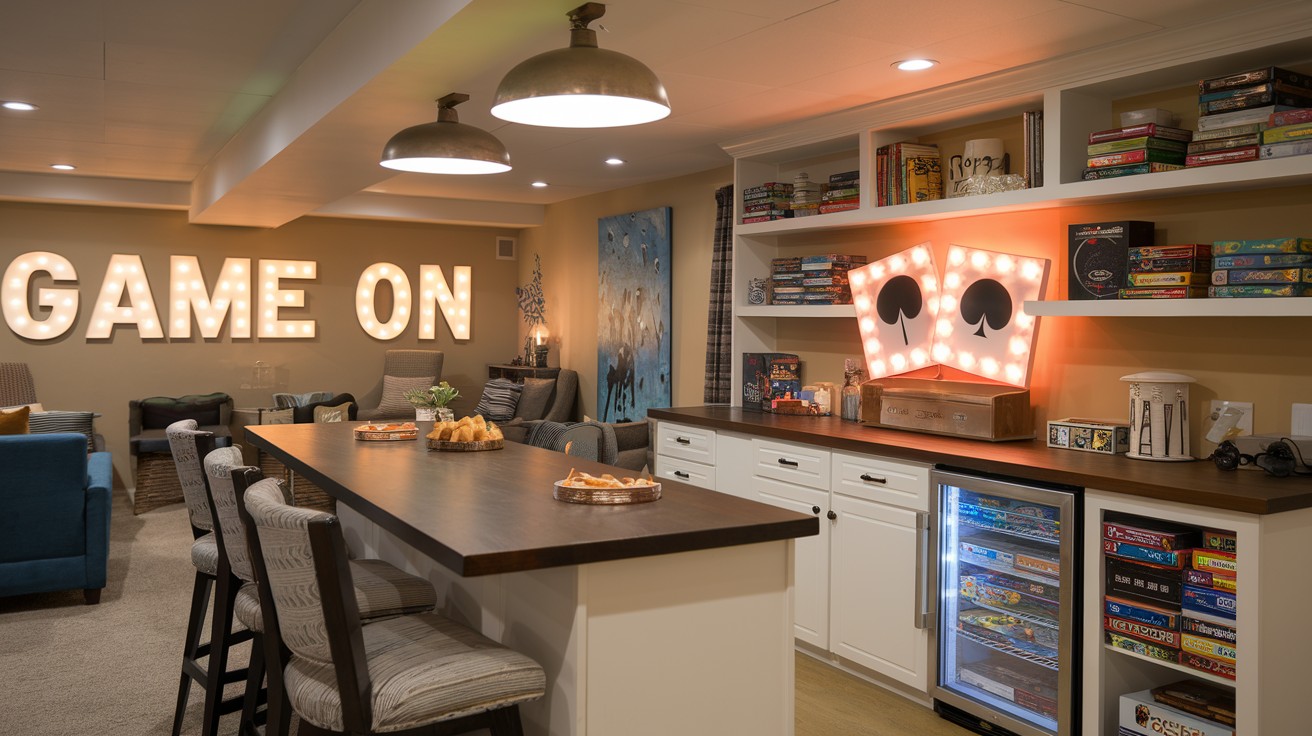
Function meets fun. Everything you need for game night.
Gaming essentials:
- Extra counter space for snacks
- Mini-fridge for drinks
- Storage for games
- Good lighting for cards
The bar becomes command central for entertainment.
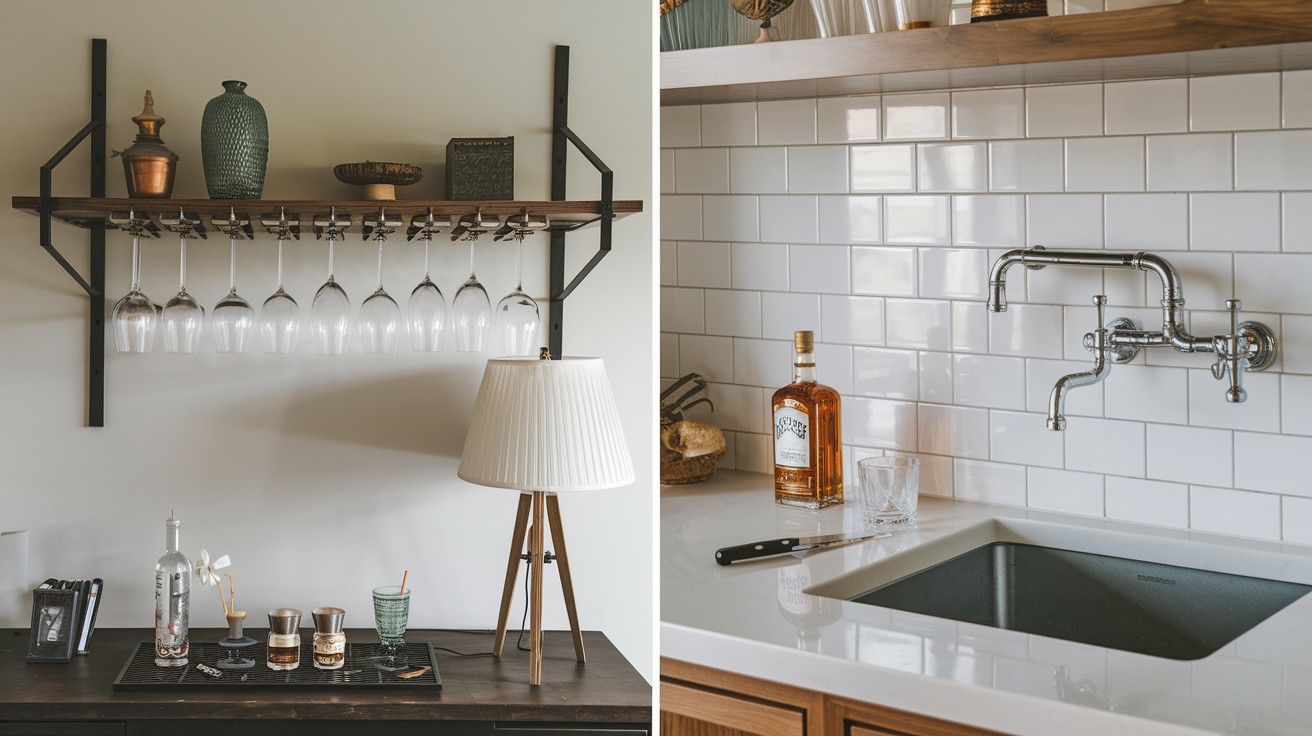
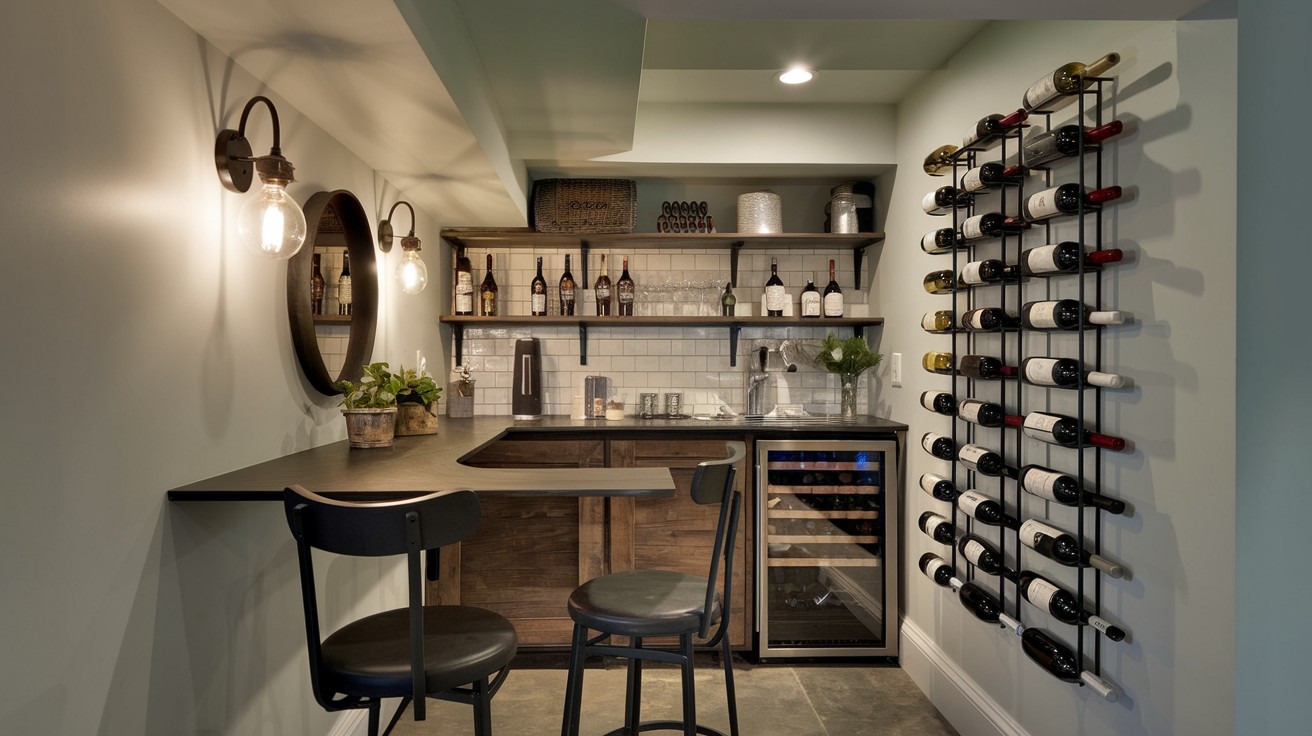
6. Wine Lover’s Nook
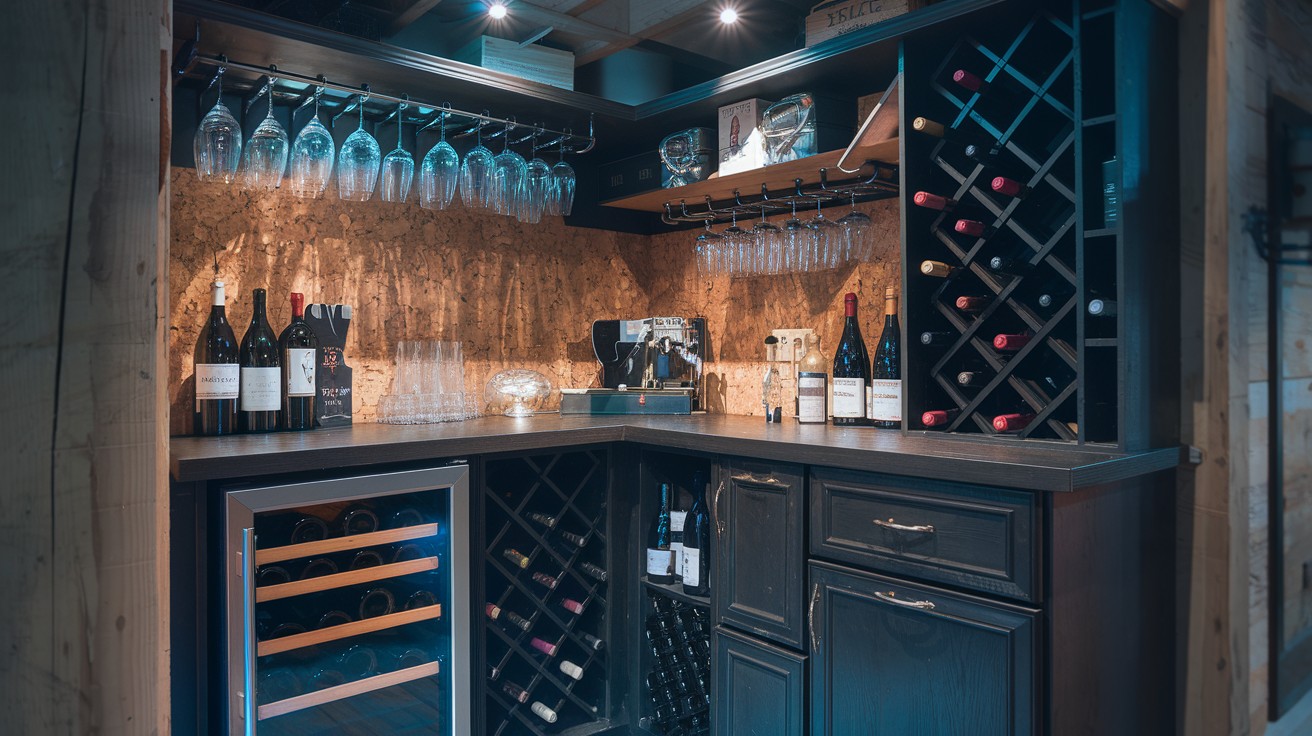
For the wine enthusiast. Storage and serving combined.
Wine-focused features:
- Wine fridge
- Glass rack overhead
- Wine bottle storage
- Cork board backsplash
Temperature control matters here. Keep wine storage cool.
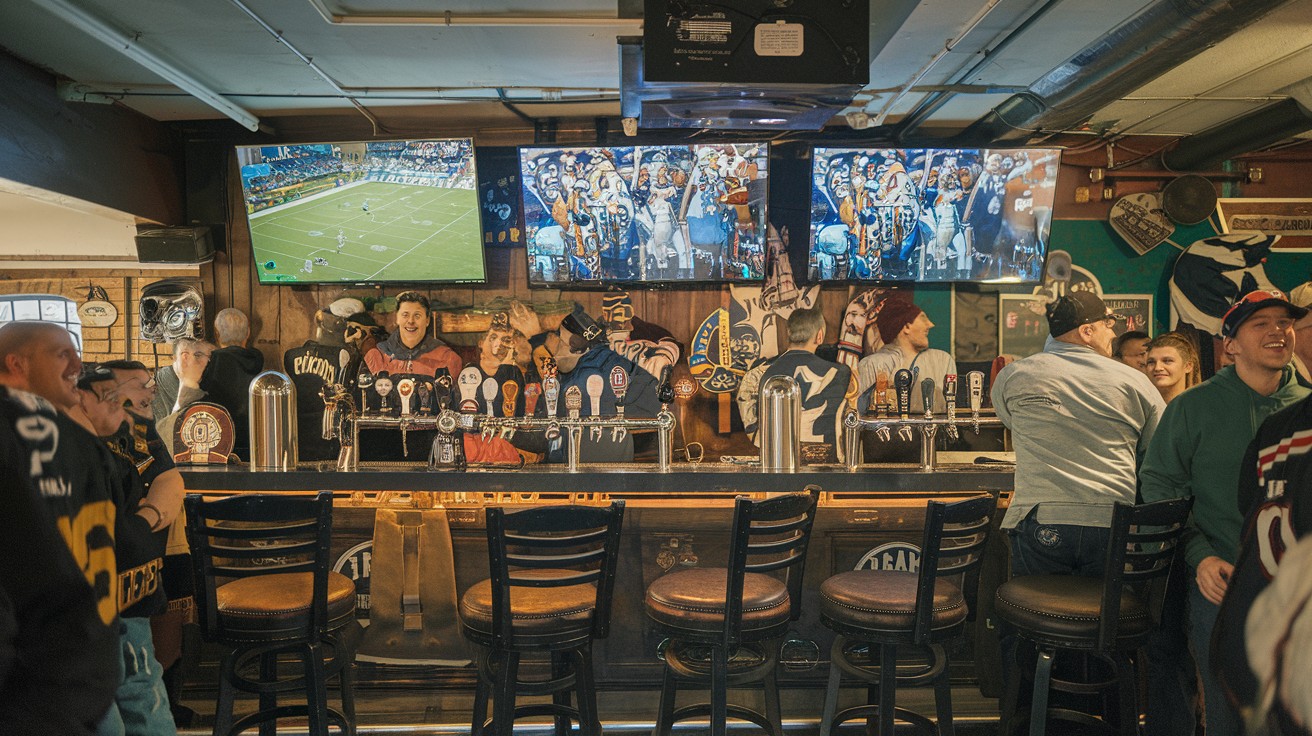
7. Sports Bar Setup
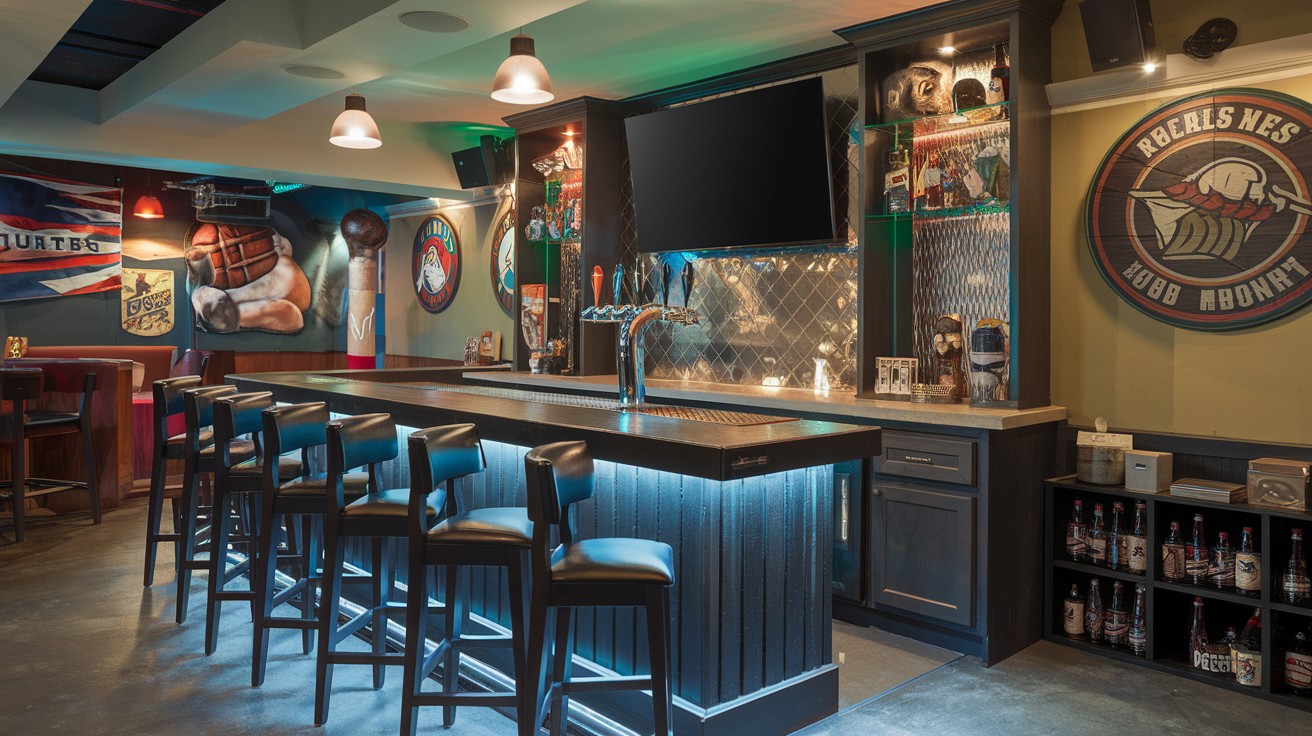
Game day headquarters. Everything a fan needs.
Sports bar essentials:
- TV mounting space
- Beer tap (if budget allows)
- Team memorabilia display
- Comfortable bar stools
Mount the TV where everyone can see. No neck craning allowed.
8. Family-Friendly Wet Bar
Kid-safe but adult-approved. Balance is key.
Family considerations:
- Lower counter section for kids
- Safety locks on cabinets
- Soft-close drawers
- Easy-clean surfaces
Adults get their space. Kids feel included.
9. Compact Corner Bar for Small Basements
Small space, big impact. Every inch counts.
Space-saving tricks:
- L-shaped counter
- Wall-mounted storage
- Fold-down table extension
- Vertical wine storage
Don’t let size limit your dreams.
10. Under-the-Stairs Wet Bar
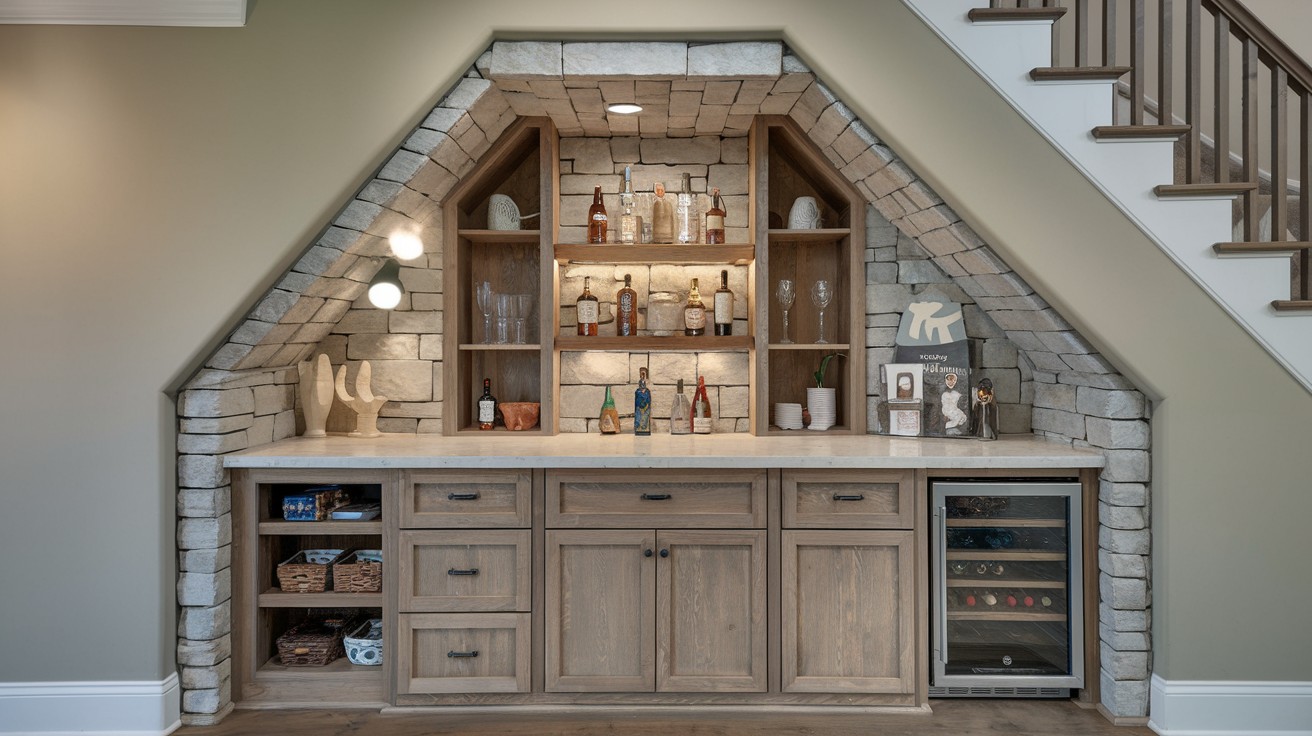
Dead space becomes prime real estate.
Under-stair advantages:
- Built-in ceiling
- Natural boundaries
- Cozy feel
- Surprising storage
Measure carefully. Sloped ceilings need planning.
11. Outdoor-Inspired Indoor Bar
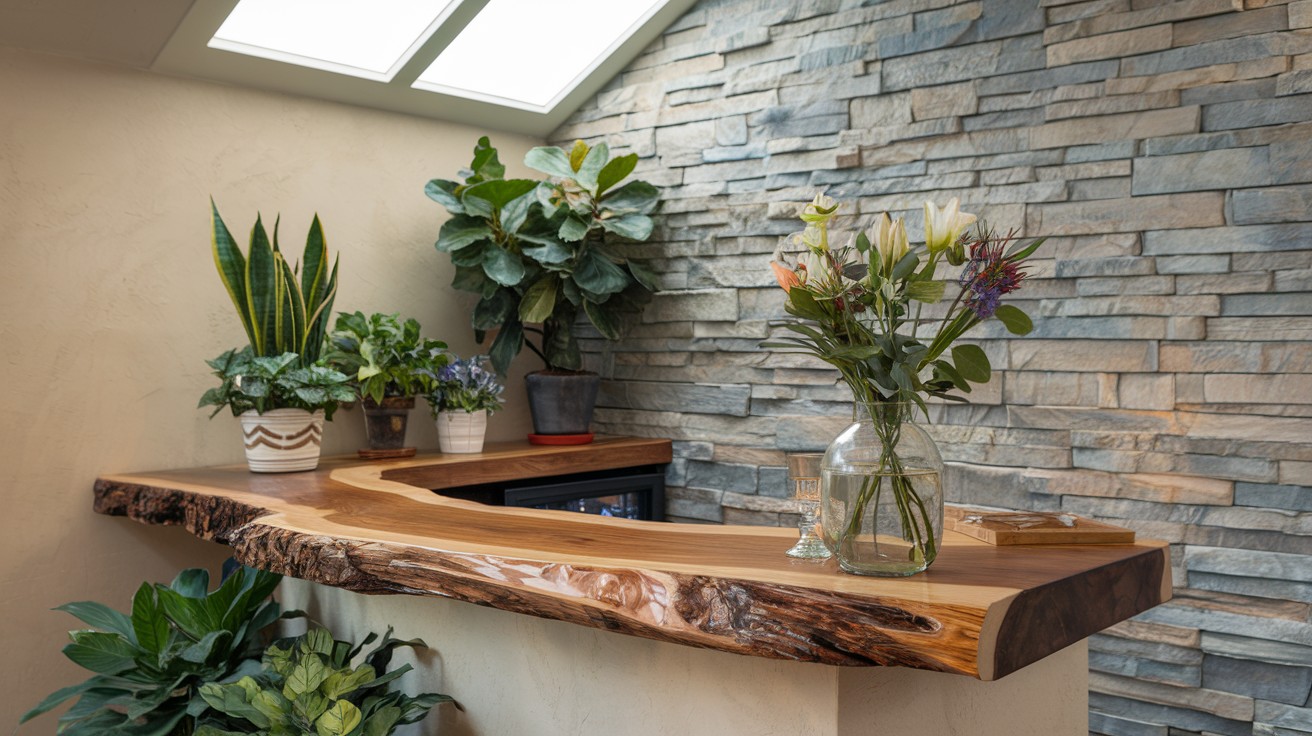
Bring nature inside. Fresh and inviting.
Natural elements:
- Live edge wood counter
- Stone accents
- Plants (that thrive in basements)
- Natural lighting
Creates an unexpected oasis underground.
12. Classic Pub Style
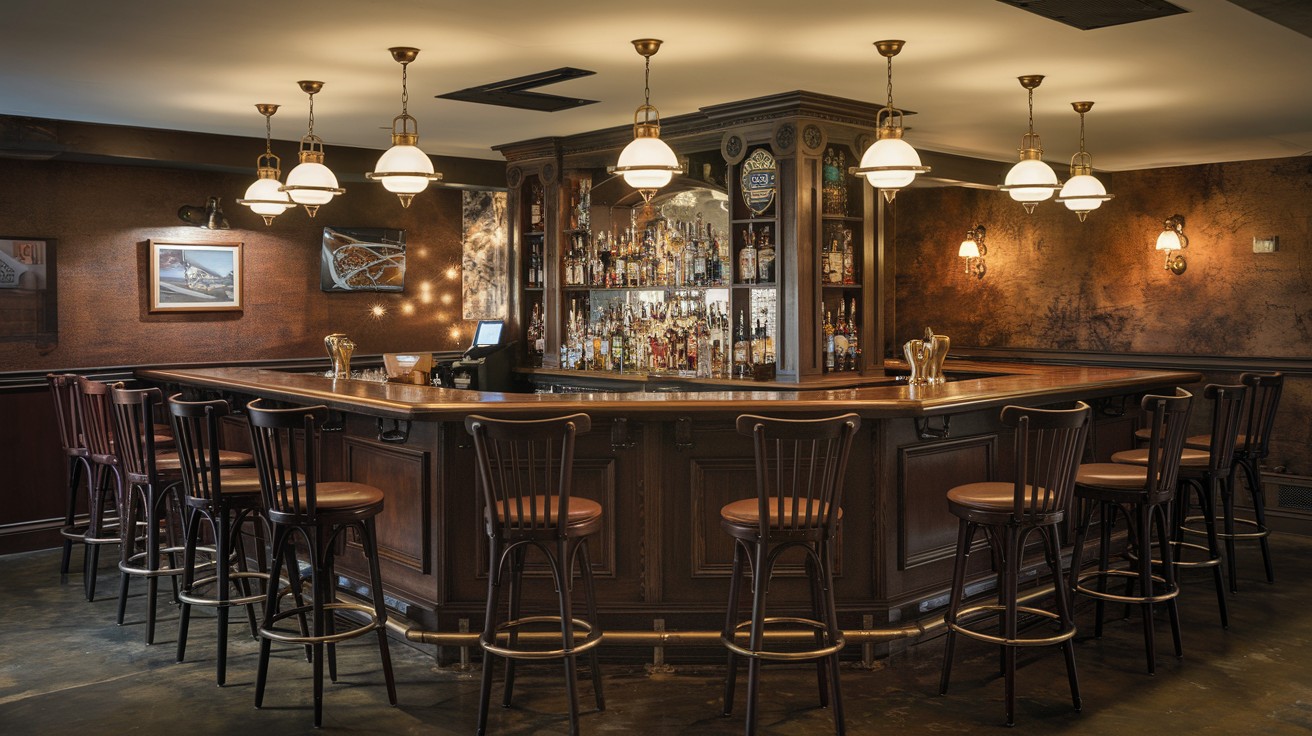
Traditional. Welcoming. Timeless appeal.
Pub essentials:
- Dark wood finishes
- Brass fixtures
- Traditional bar rail
- Cozy lighting
This style never goes out of fashion.
13. Retro Diner Theme
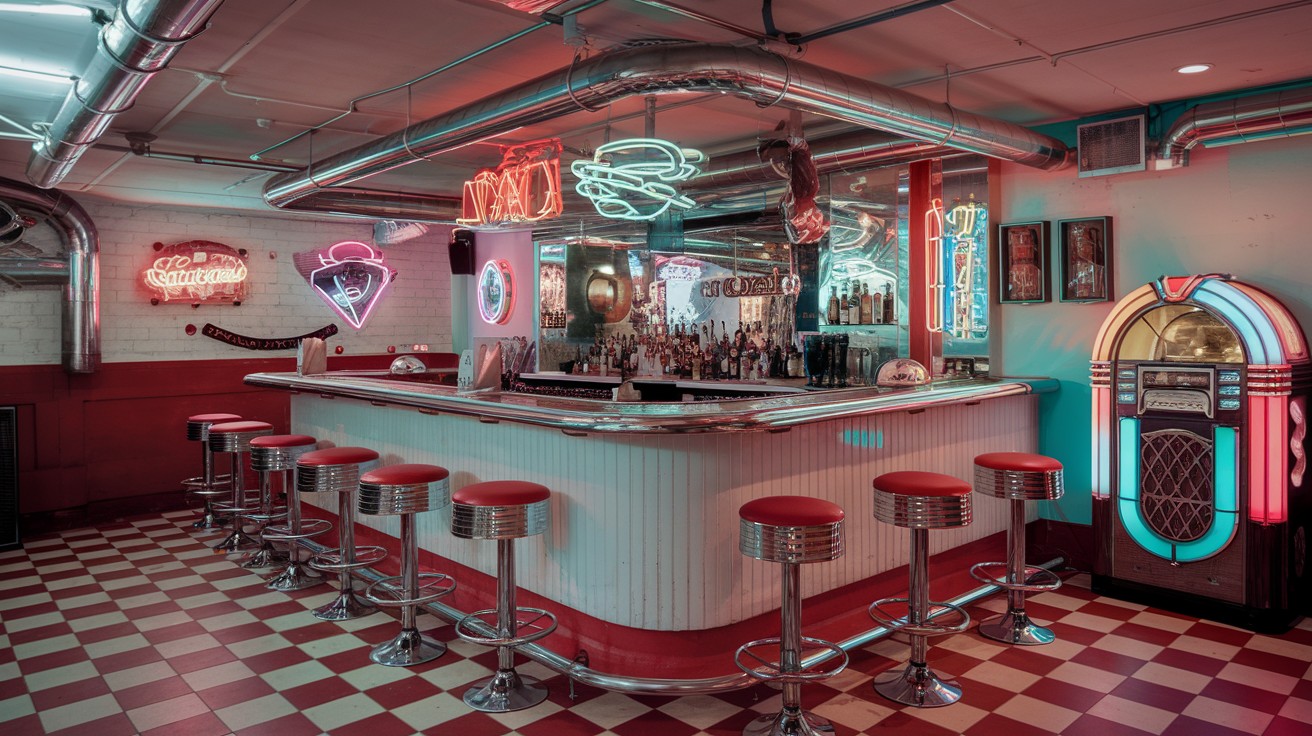
Fun. Nostalgic. Conversation starter.
Retro touches:
- Chrome fixtures
- Checkered patterns
- Bright colors
- Vintage appliances
Your basement becomes a time machine.
14. Multi-Zone Entertainment Bar

Different areas for different activities.
Zone ideas:
- Quiet conversation area
- Game playing section
- TV watching spot
- Food prep space
Flow between zones matters. Plan the layout carefully.
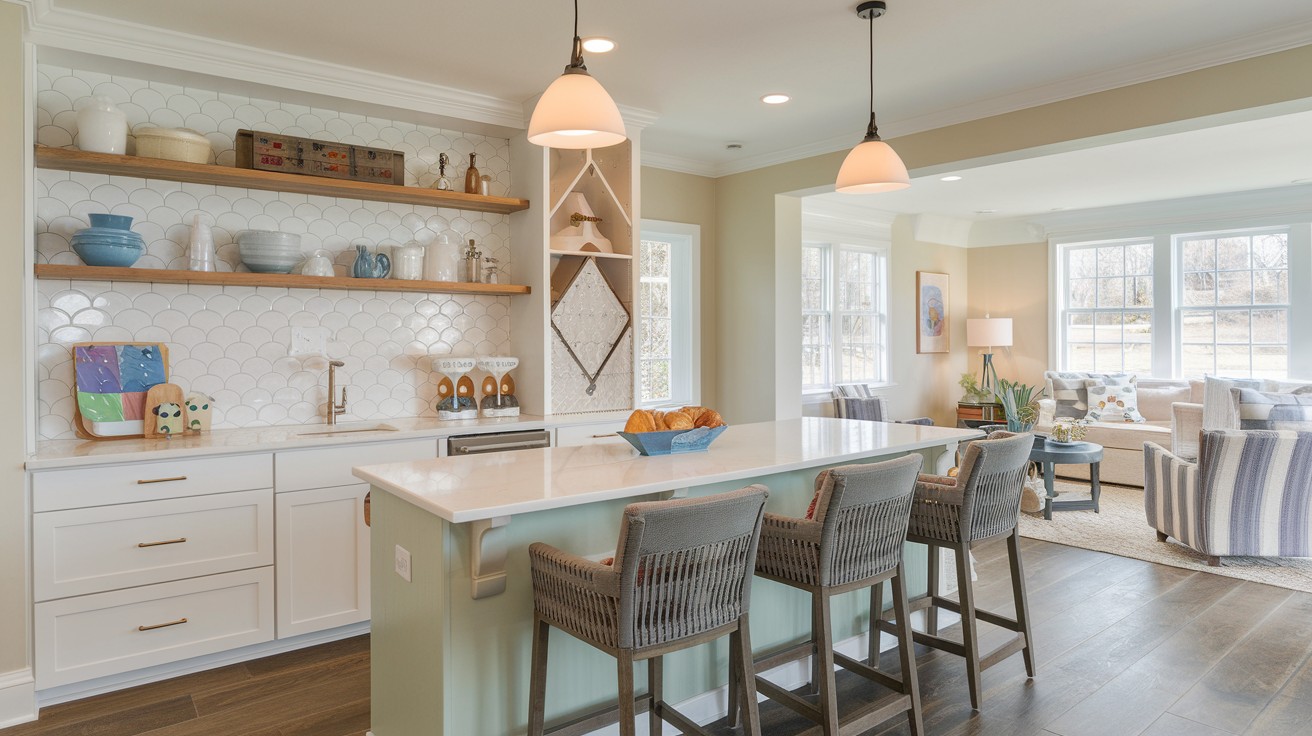
15. All-in-One Kitchenette Bar Combo
Maximum function. Mini kitchen meets bar.
Kitchenette additions:
- Small sink plus prep sink
- Mini appliances
- Extra counter space
- More storage
Perfect for serious entertainers.
Expert Tips to Build or Renovate Your Basement Wet Bar
Learn from the pros. Avoid expensive mistakes.
Start with the big picture. Plan your entire basement, not just the bar. Everything should work together. Moisture control comes first. Fix any water issues before you build. Mold ruins everything.
Electrical planning is crucial. You’ll need outlets for:
- Appliances
- Lighting
- Phone charging
- Sound system
Plan for more outlets than you think you need.
Plumbing placement matters. Locate your bar near existing water lines when possible. It saves money. Don’t forget ventilation. Basements need air circulation. Consider a small exhaust fan.
Test everything twice. Check plumbing and electrical before closing up walls.
Wet Bar Appliances & Tech Must-Haves
The right appliances make your bar shine.
Essential appliances:
- Mini-fridge (under-counter style)
- Ice maker (if space allows)
- Wine cooler (for wine lovers)
- Microwave (for quick snacks)
Tech upgrades worth considering:
- USB charging stations
- Bluetooth speakers
- Smart lighting
- Temperature control
Size matters. Measure your space carefully. Standard appliances might not fit.
Energy efficiency saves money. Look for Energy Star ratings.
Noise levels matter. Some mini-fridges are loud. Check reviews.
Wet Bar Lighting: Set the Mood
Lighting makes or breaks the atmosphere.
Layer your lighting:
- Task lighting for prep work
- Ambient lighting for mood
- Accent lighting for drama
Under-cabinet lights are essential. They illuminate your work surface. LED strips work great. Dimmer switches are your friend. Bright for cleaning. Dim for relaxing.
Consider pendant lights over the bar. They create focal points and provide good task lighting. Warm light feels better. Avoid cool white LEDs in entertainment spaces. Emergency lighting is smart. Power outages happen. Battery backup lights help.
Choosing the Right Materials for Moisture-Prone Areas
Basements and moisture go together. Choose materials that can handle it.
Countertop champions:
- Quartz (engineered stone)
- Granite (properly sealed)
- Stainless steel
- Concrete (sealed)
Avoid: Laminate in wet areas. Wood without proper sealing.
Flooring that works:
- Luxury vinyl plank
- Ceramic tile
- Polished concrete
- Sealed hardwood (with proper moisture control)
Cabinet considerations:
- Marine-grade plywood
- Stainless steel
- Polymer cabinets
- Properly sealed wood
Backsplash materials:
- Ceramic or porcelain tile
- Natural stone (sealed)
- Stainless steel
- Glass
Spend more on materials. Save on labor if needed.
Smart Storage Solutions
Every bottle needs a home. Every glass needs a spot. Think vertical. Use wall space for storage. Floating shelves work great.
Glass storage options:
- Overhead racks
- In-cabinet holders
- Open shelving
- Specialized glass cabinets
Bottle storage ideas:
- Wine racks
- Liquor shelves
- Hidden compartments
- Temperature-controlled areas
Don’t forget the extras:
- Cocktail napkins
- Bar tools
- Cleaning supplies
- Extra ice
Make it accessible. Store frequently used items at eye level. Label everything. Organization saves time during parties.
Plumbing and Electrical: Hire a Pro or DIY?
The big question. When to DIY and when to call professionals.
DIY-friendly tasks:
- Painting
- Installing shelves
- Basic cabinet assembly
- Decorating
Call the pros for:
- New plumbing lines
- Electrical panel work
- Gas line installation
- Structural changes
Gray area projects:
- Simple electrical outlets
- Basic plumbing connections
- Tile installation
- Cabinet installation
Safety first. When in doubt, hire professionals. Water and electricity don’t mix well with mistakes. Check local codes. Some areas require professional installation for certain work. Get permits when needed. Don’t skip this step. It protects you later.
Avoid These Common Wet Bar Basement Mistakes
Learn from others’ expensive errors.
Mistake #1: Ignoring moisture issues. Fix water problems first. Always.
Mistake #2: Skipping permits. Code violations cause problems when selling.
Mistake #3: Poor ventilation planning. Stagnant air creates problems.
Mistake #4: Inadequate lighting. Dark bars aren’t fun.
Mistake #5: Forgetting storage. You need more than you think.
Mistake #6: Wrong appliance sizes. Measure twice, buy once.
Mistake #7: Cheap materials in wet areas. They’ll need replacement soon.
Mistake #8: No emergency shutoffs. Water disasters happen.
Mistake #9: Poor traffic flow. People shouldn’t bump into each other.
Mistake #10: Rushing the project. Good work takes time.
Maintenance Tips for Longevity
Keep your wet bar looking and working great.
Daily habits:
- Wipe down surfaces
- Check for leaks
- Empty trash
- Quick organization
Weekly maintenance:
- Deep clean appliances
- Check plumbing connections
- Clean glass storage
- Organize supplies
Monthly tasks:
- Deep clean sink and fixtures
- Check for moisture issues
- Clean light fixtures
- Inventory supplies
Seasonal care:
- Check seals and caulking
- Service appliances
- Deep clean storage areas
- Update supplies
Signs of trouble:
- Musty smells
- Water stains
- Loose fixtures
- Electrical issues
Address problems quickly. Small issues become big expenses.
Conclusion
Your basement doesn’t have to stay empty anymore. You now have everything needed to build an amazing wet bar basement. The ideas, costs, materials, and expert tips are all here.
Remember the essentials:
- Fix moisture issues first
- Budget for quality materials
- Get permits when required
- Plan your plumbing and electrical carefully
Start with one section. Maybe a simple corner bar. Add more later as the budget allows.
Your basement will become the favorite room in your house. Friends will gather. Family time improves. Your home value increases. The empty space downstairs has huge potential. You have the knowledge to make it happen.
Stop dreaming about that perfect wet bar basement. Start building it today.
Your future self will thank you.
Frequently Asked Questions
What size wet bar fits in my basement?
A basic wet bar needs 6 feet of counter space to work well. Measure your available space and plan for 3 feet of clearance behind the bar for comfortable movement.
Do basement wet bars increase home value?
Yes, a well-built wet bar can add $5,000 to $15,000 in home value. Quality installation and proper permits are essential for maximum return on investment.
Can I add a wet bar to a finished basement?
Absolutely, but you’ll need to open walls for plumbing and electrical work. Plan for extra costs since finished spaces require careful renovation to maintain the existing look.
What’s the biggest mistake people make with basement wet bars?
Ignoring moisture control is the costliest error. Fix any water issues before building or you’ll face mold, rot, and expensive repairs later.
How do I keep my basement wet bar warm in winter?
Install proper insulation and consider a small space heater for extreme cold. Pipes can freeze in unheated basements, so maintain adequate temperature year-round.