
In this blog, I’m tackling a frustrating yet common issue—your water heater leaking from the drain valve.
You might have noticed a small puddle forming underneath or a slow, persistent drip. Is it a simple fix, or a sign of something more serious? A leaking drain valve can lead to wasted water, increased energy bills, and potential damage to your home.
Let’s get to the bottom of this problem and help you prevent big headaches down the road.
What Exactly Is the Drain Valve?
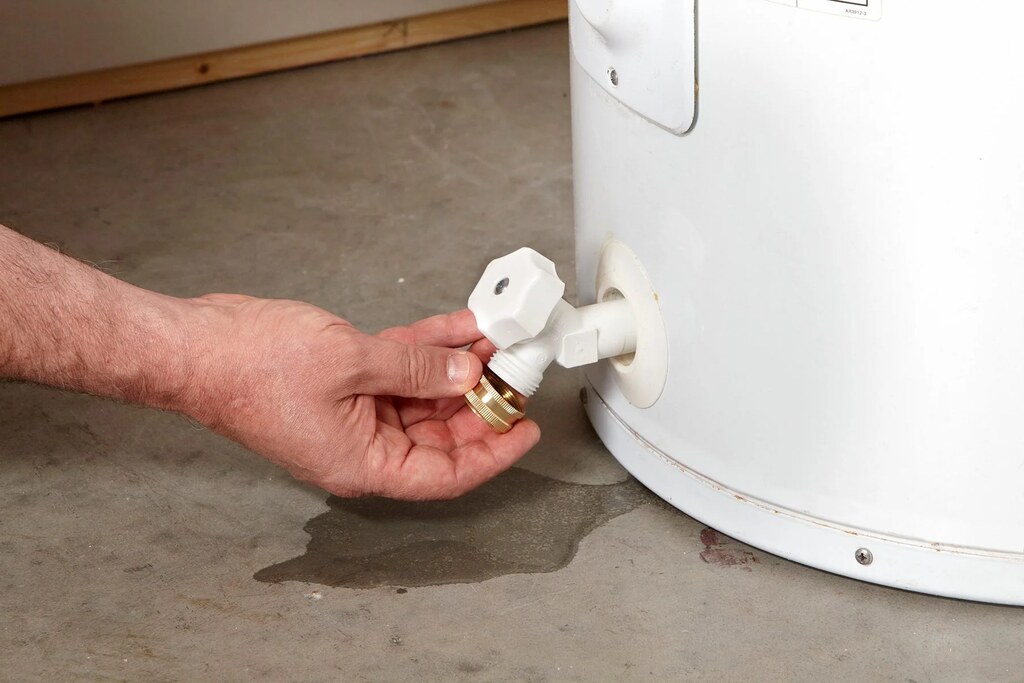
Before we dive into fixing the problem, let’s make sure we’re talking about the right part. The drain valve is located at the bottom of your water heater.
It’s the small spout that allows you to drain water from the tank when you need to flush out sediment buildup or perform maintenance.
Now, a drain valve should only release water when you open it. If water is coming out when it’s closed, something’s wrong. Here’s why this could be happening:
- The valve is loose – Sometimes, the leak is just because the valve isn’t fully closed or has loosened over time.
- The valve is old or damaged – Over time, plastic or brass drain valves can wear out, leading to leaks.
- The gasket inside has failed – Drain valves have a rubber gasket inside that seals the opening. If that wears out, water will start dripping.
- There’s sediment buildup – If you haven’t flushed your water heater in a while, mineral deposits can collect inside the valve, preventing it from sealing properly.
- It’s a bigger issue with the tank – In some cases, the leak may not be from the valve at all. A crack in the tank or excessive pressure could be forcing water out.
Why Is Your Water Heater Leaking from the Drain Valve?
Here are some of the most common reasons why your water heater might be leaking from the drain valve:
1. A Loose or Partially Open Drain Valve
Sometimes, the simplest explanation is the correct one. If the valve wasn’t closed properly after maintenance, water might be slowly leaking out.
This can happen if the valve is slightly twisted or if it wasn’t sealed tightly after use.
2. A Faulty or Worn-Out Drain Valve
Over time, the drain valve can wear out due to normal wear and tear.
If your water heater has been in use for many years, the valve might have developed small cracks, corrosion, or simply lost its ability to form a proper seal.
3. Sediment Buildup Causing Internal Damage
If you haven’t flushed your water heater in a while (or ever), sediment from minerals in the water can accumulate at the bottom of the tank.
This buildup can interfere with the drain valve’s ability to close properly, leading to leaks.
4. Plastic Drain Valve Cracking
Many water heaters come with plastic drain valves, which are more prone to cracking over time.
If your valve is made of plastic and has started leaking, chances are it has developed a small fracture due to temperature changes or simple aging.
First, Confirm That the Drain Valve Is the Source of the Leak

Before you start unscrewing parts or buying a replacement valve, take a closer look to make sure the leak is actually coming from the drain valve.
Sometimes, water can drip from other places and make it look like the valve is leaking.
Here’s what you need to check:
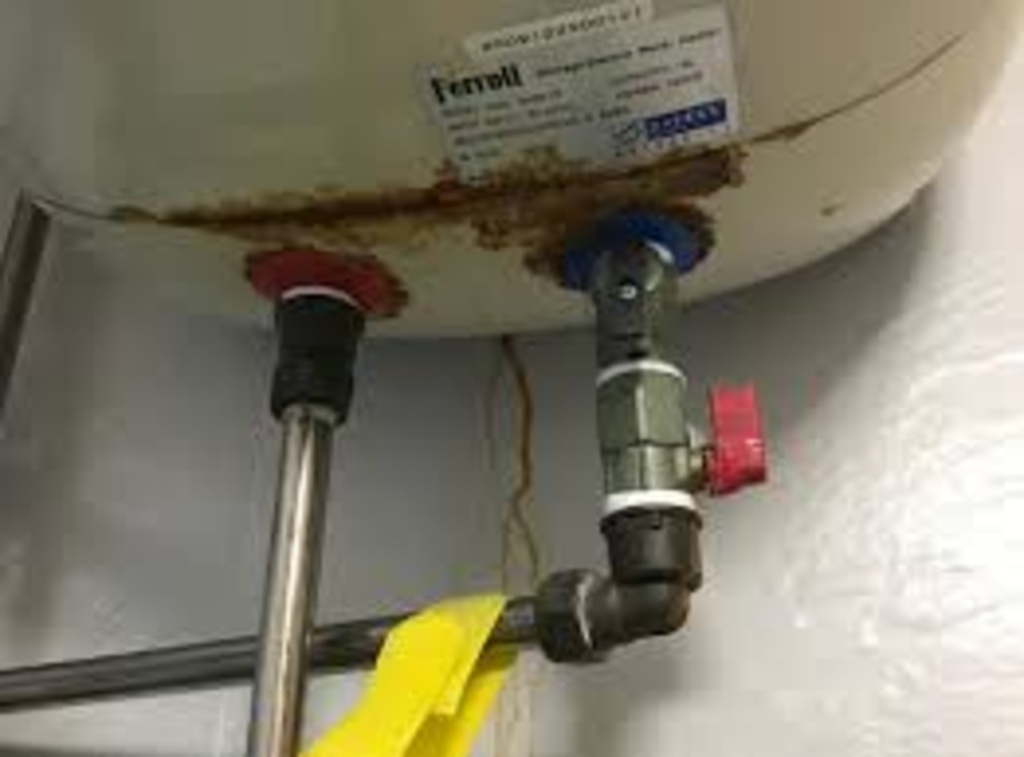
- The pressure relief valve (TPR valve) – This safety valve is usually located near the top of the water heater. If it’s faulty or if the pressure inside the tank is too high, it may be dripping water that runs down the tank and looks like it’s coming from the drain valve.
- Condensation – If you notice moisture forming on the water heater, it might not be a leak at all. This is common in humid conditions. Dry off the area and check again after a few hours.
- The bottom of the tank – If the actual water heater tank has developed a small crack, water will start pooling near the drain valve, making it seem like the leak is coming from there.
If you’ve confirmed that the drain valve is the culprit, it’s time to fix it.
How to Fix a Leaking Drain Valve
1. Try Tightening It First
Before replacing the valve, grab a wrench and try tightening it slightly. Sometimes, the valve can loosen over time, allowing water to drip out.
But be careful—not too tight! Over-tightening can strip the threads or crack the valve, making things worse.
After tightening, wait a few hours and check if the leak has stopped. If not, you’ll need to move on to the next step.
2. Flush the Valve to Remove Sediment
If the valve isn’t closing properly because of built-up sediment inside, you can try flushing it out. Here’s how:
- Turn off the water heater – If it’s a gas heater, turn the gas control to the “Pilot” setting. For electric heaters, shut off power at the breaker.
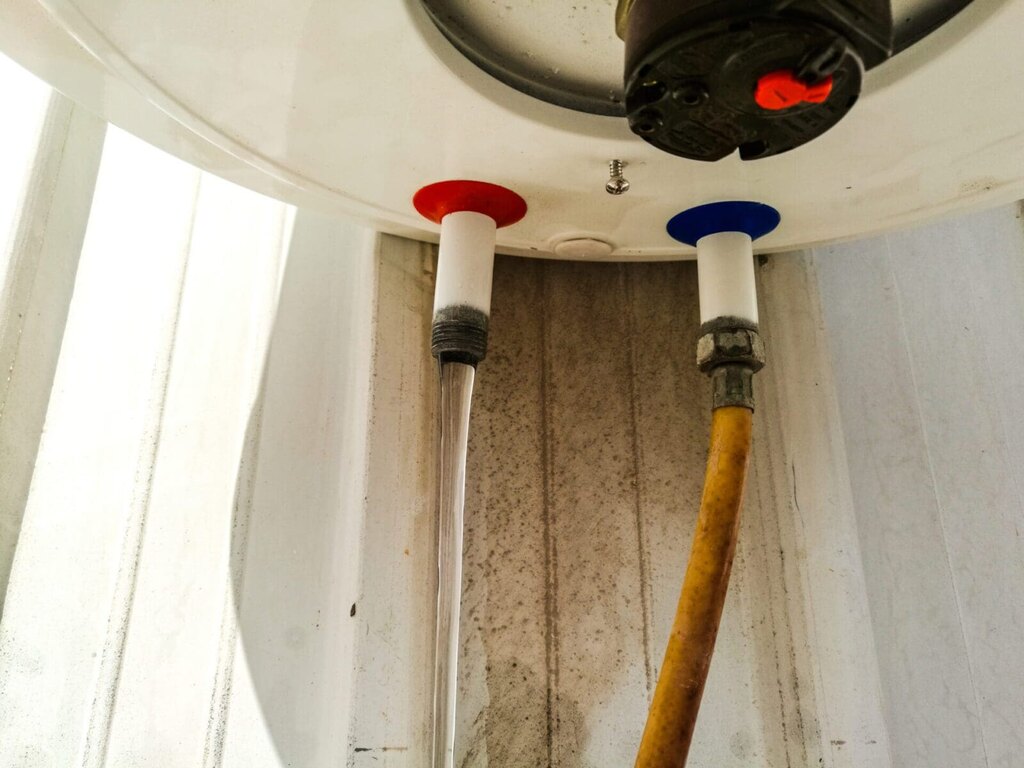
- Attach a garden hose – Connect a hose to the drain valve and place the other end in a safe draining area.
- Open the valve – Let the water drain out to clear any sediment.
- Close the valve and check for leaks – If the leak stops after flushing, sediment was the issue. If it continues, you may need a replacement valve.
3. Replace the Drain Valve
If the leak doesn’t stop after tightening or flushing, your best bet is to replace the drain valve altogether. Here’s how:
What You’ll Need:
A new drain valve (brass is more durable than plastic)
Pipe wrench or pliers
Teflon tape (also called plumber’s tape)
Bucket or garden hose for draining
Towels (to catch any spills)
Steps to Replace the Valve:
- Turn off the water and power – Shut off the cold water supply to the heater and turn off the power source. For gas heaters, set the thermostat to “Pilot.”
- Drain the tank – Attach a hose to the valve and drain out several gallons of water so the area around the valve is empty.
- Remove the old valve – Use a wrench to unscrew the drain valve. If it’s stuck, apply gentle pressure—don’t force it too much.
- Wrap the threads of the new valve with Teflon tape – This will help create a watertight seal.
- Screw in the new valve – Hand-tighten first, then use a wrench to secure it snugly.
- Turn the water back on and check for leaks – Slowly open the cold water supply and check the new valve. If no leaks appear, turn the heater back on.
At this point, your leaking problem should be solved! But before we wrap up, let’s talk about how to prevent this from happening again.
How to Prevent Future Drain Valve Leaks
Now that you’ve gone through the hassle of fixing the leak, the last thing you want is for it to happen again anytime soon. Here’s how to keep your water heater in good shape:
- Flush your tank regularly – At least once a year, drain a few gallons of water to remove sediment buildup.
- Check the drain valve for leaks periodically – A quick check every few months can help you catch small issues before they turn into major problems.
- Use a brass drain valve instead of plastic – If you had to replace your valve, go for brass. It’s far more durable than plastic and less likely to crack over time.
- Monitor the pressure in your tank – High pressure can put extra strain on your valves and tank. If you notice frequent leaks, consider installing a pressure-reducing valve.
Conclusion
A leaking drain valve might seem like a small issue at first, but it can quickly turn into a major headache if left unchecked. By identifying the cause early and taking the right steps to fix it, you can avoid bigger problems like water damage or a failing water heater.
If you’re not comfortable handling the repair yourself, don’t hesitate to call a professional plumber. But if you follow these steps, you should be able to tackle the issue yourself and keep your water heater running smoothly for years to come.
Got any questions about your water heater? Let me know in the comments!
FAQs
Can I use plumber’s tape to stop a leaking drain valve?
Plumber’s tape (Teflon tape) won’t fix an active leak but can help create a tight seal when installing a new valve. If your valve is leaking, replacing it is usually the best solution.
Is a slow drip from the drain valve a big problem?
Yes, even a slow drip can lead to bigger issues like water damage or increased pressure inside the tank. It’s best to fix it as soon as possible.
Should I replace a plastic drain valve with a brass one?
Absolutely! Brass drain valves are more durable, less prone to cracking, and provide a better seal compared to plastic ones.
How often should I flush my water heater to prevent valve leaks?
Flushing your water heater at least once a year helps remove sediment buildup, which can clog or damage the drain valve over time.
What if my new drain valve is still leaking?
If a newly installed valve leaks, check that it’s properly tightened and sealed with Teflon tape. If the leak continues, the issue may be with the tank itself, and you should call a plumber.