
Ready to upgrade your kitchen without hiring a contractor? Tiling a backsplash is one of the most beginner-friendly home improvement projects you can tackle.
Unlike complex renovations, this project requires basic tools and straightforward techniques that anyone can master with a little patience.
Why choose the DIY route? You’ll save hundreds of dollars compared to professional installation, create a completely custom look that matches your style, and gain valuable skills for future projects.
The process breaks down into four manageable steps: preparing your wall surface, installing the tiles, applying grout, and adding finishing touches.
By the end of this weekend, you’ll have a beautiful new backsplash and the satisfaction of knowing you did it yourself.
Why Tiling a Backsplash Is a Great Beginner Project

Backsplashes offer the perfect practice area for new tilers since the wall space is typically small and contained, making it much less overwhelming than tiling entire floors.
You can work at your own pace and focus on learning proper techniques without getting discouraged by a massive project.
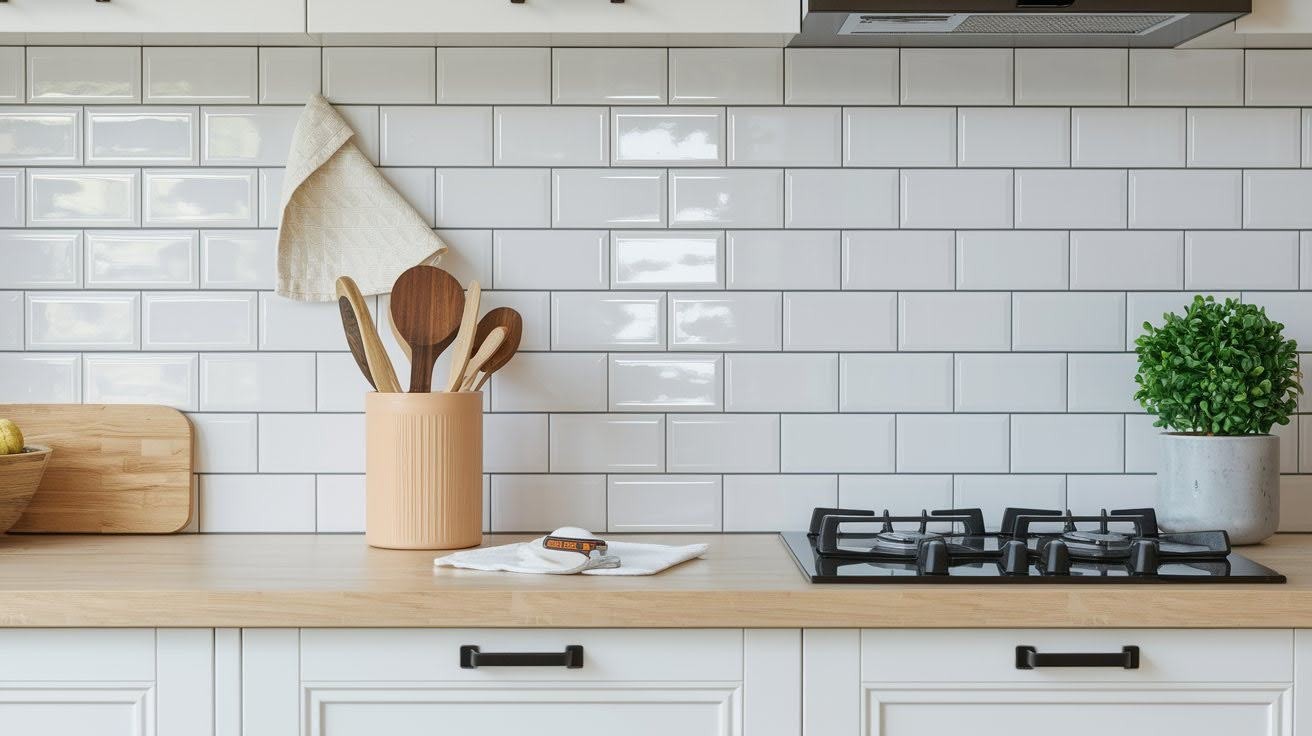
The results create an immediate visual impact that completely changes how your kitchen, bathroom, or laundry room looks and feels.
This project also teaches basic construction skills like measuring, cutting tiles, mixing adhesive, and working with grout.
The relatively low material costs mean you can learn these fundamental techniques without a huge financial commitment, making it a smart introduction to more ambitious renovations later.
Step-by-Step Guide to Tiling a Backsplash
Complete walkthrough from planning and preparation to final installation, covering tools, techniques, and finishing touches for successful DIY backsplash projects.
Step 1: Plan Your Backsplash Project
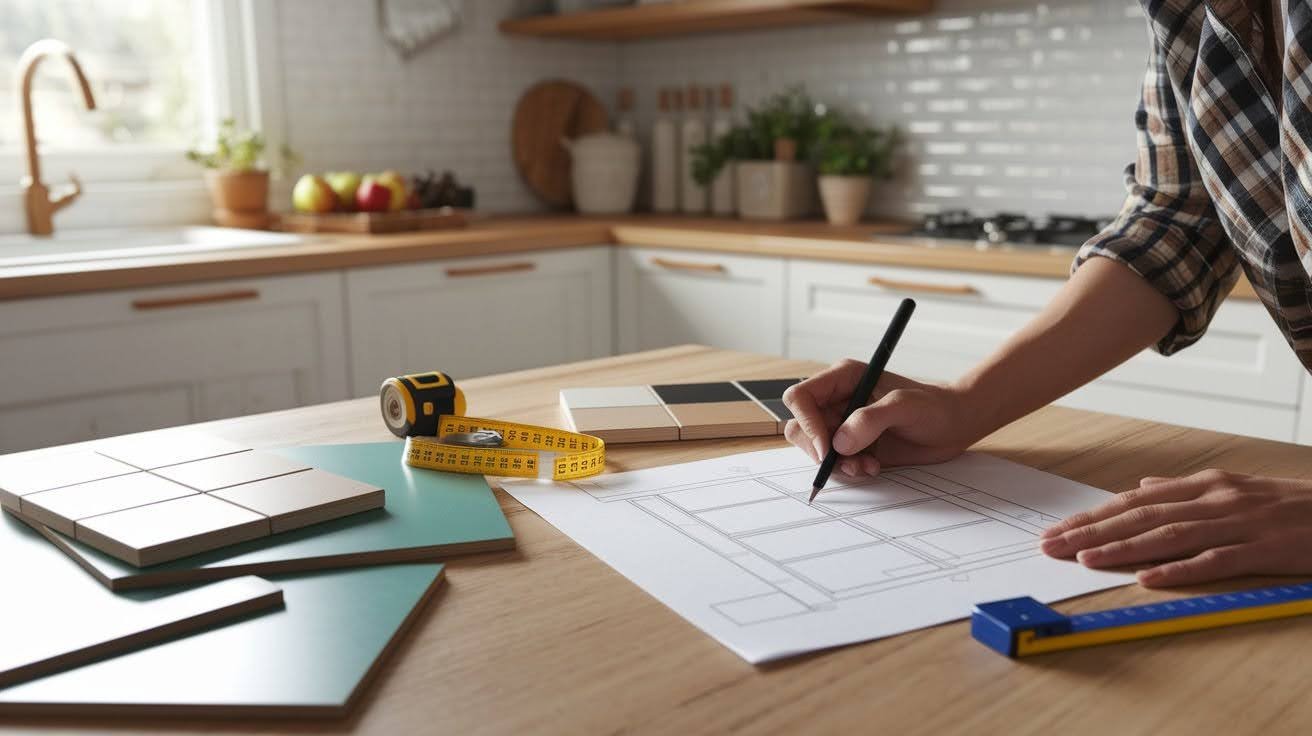
Start by selecting your tile type, style, and any trim pieces you’ll need. Consider how the tiles will look with your countertops and cabinets.
Measure your wall space carefully and order 10% extra tiles to account for cuts and potential breakage.
Create a simple sketch of your layout to identify where you’ll need partial tiles. This planning prevents awkward cuts in visible areas and ensures you have enough materials to complete the job.
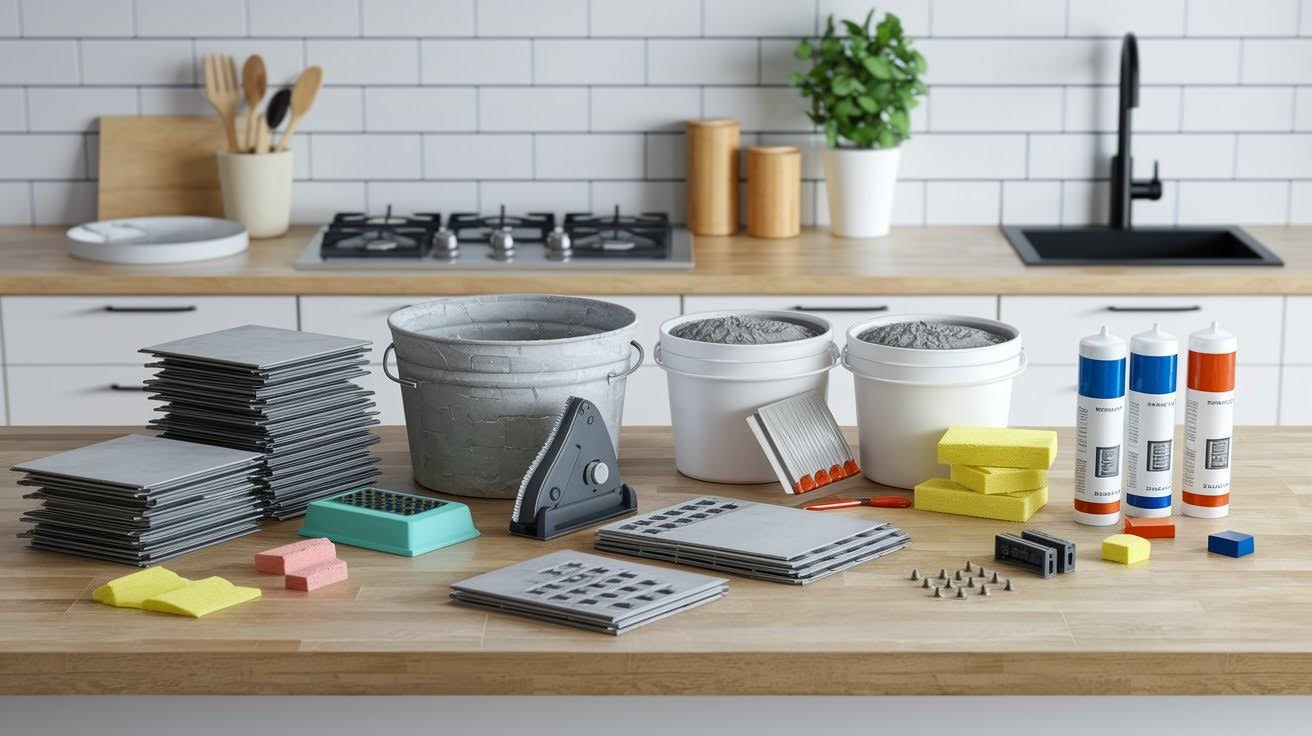
Step 2: Gather Supplies and Tools
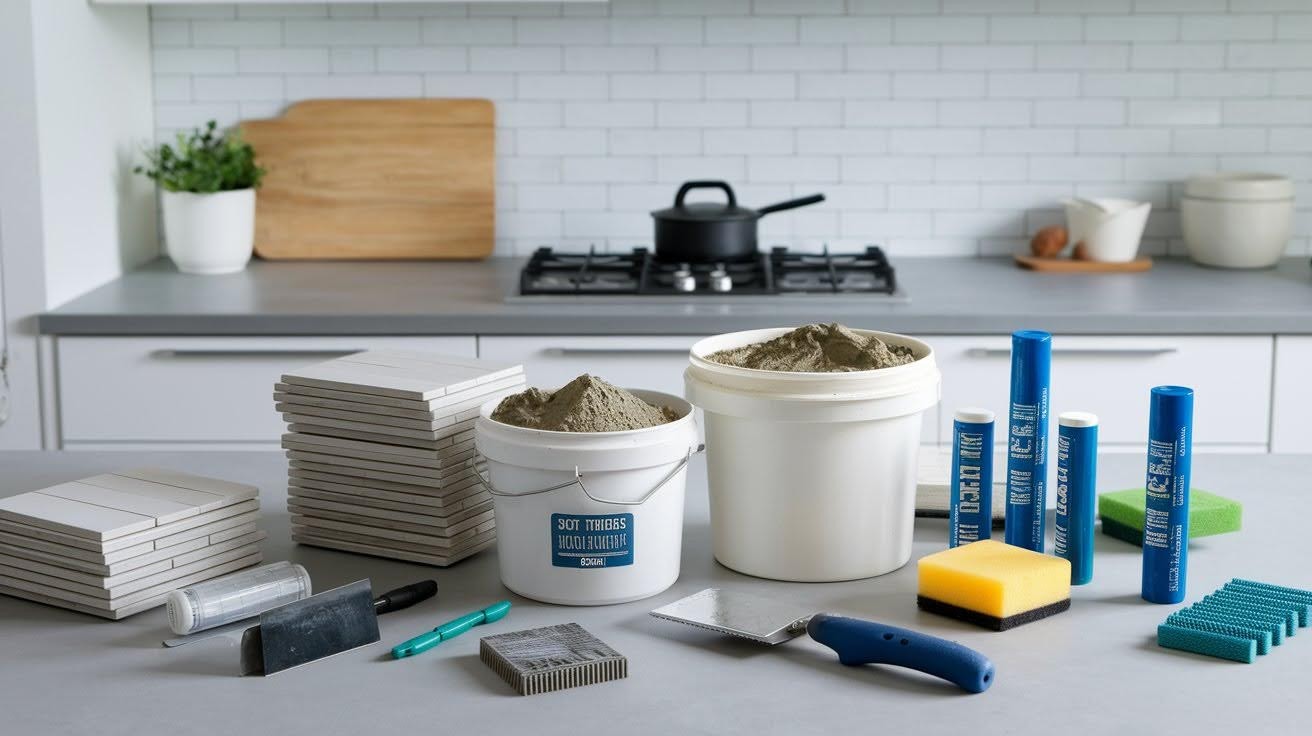
You’ll need several key materials for success. Get your chosen tiles, tile mortar or adhesive, grout, caulk, and sealer.
Important tools include a wet saw or tile cutter for precise cuts, a notched trowel for spreading adhesive, a grout float, tile spacers, mixing buckets, and cleaning sponges.
Having everything ready before you start keeps the project moving smoothly and prevents trips to the hardware store mid-project.
Step 3: Prepare the Wall
Clear your countertops and protect nearby surfaces with plastic sheeting. If you’re replacing old tile, remove it completely and patch any holes in the drywall. Sand rough areas, clean the wall thoroughly, and apply primer if needed.
For areas that get wet frequently, consider installing cement backer board for better moisture protection. Proper wall preparation ensures your tiles will stick properly and last for years.
Step 4: Cut and Place Tiles
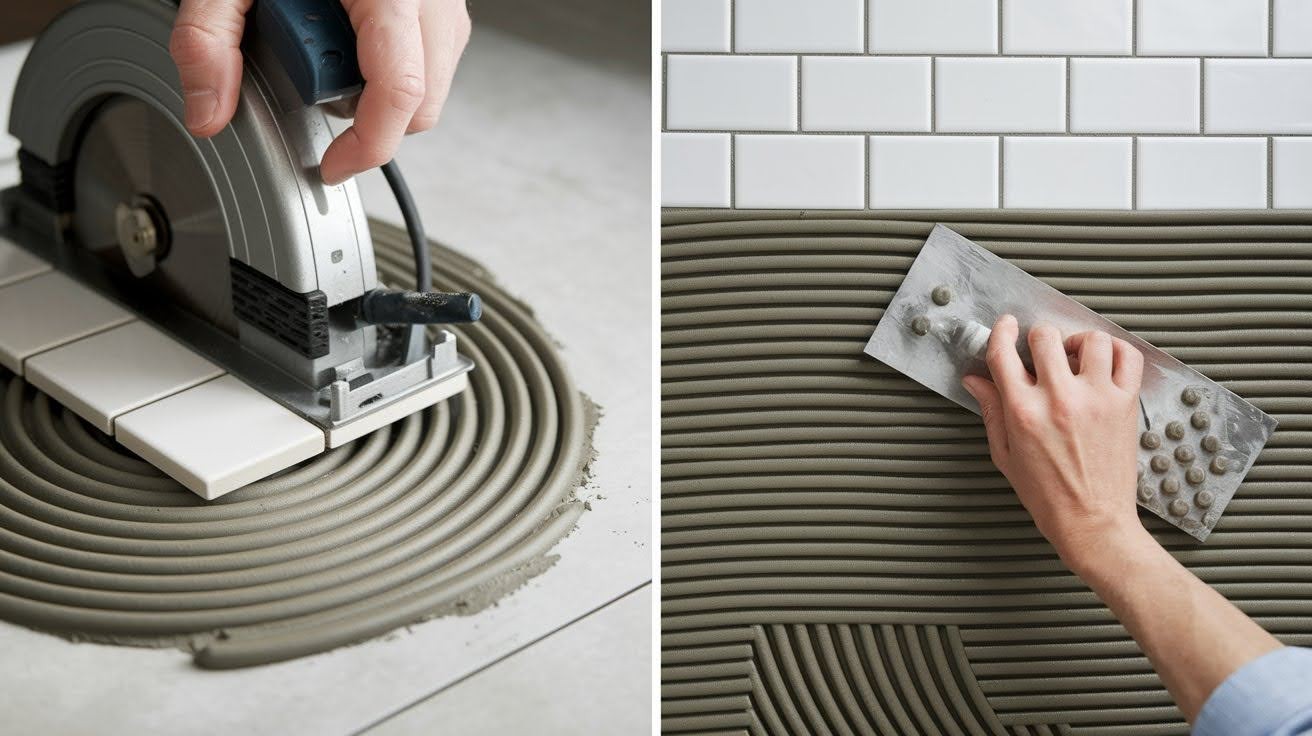
Set up your wet saw in a well-ventilated area with access to water. Mix your mortar or adhesive according to package directions, working in small batches to prevent it from drying out. Use a notched trowel to spread the adhesive evenly on the wall.
Place tiles with consistent spacing using tile spacers. Make special cuts for outlets, corners, and edges as you go. Work systematically from your starting point to maintain straight lines.
Step 5: Grout the Tiles
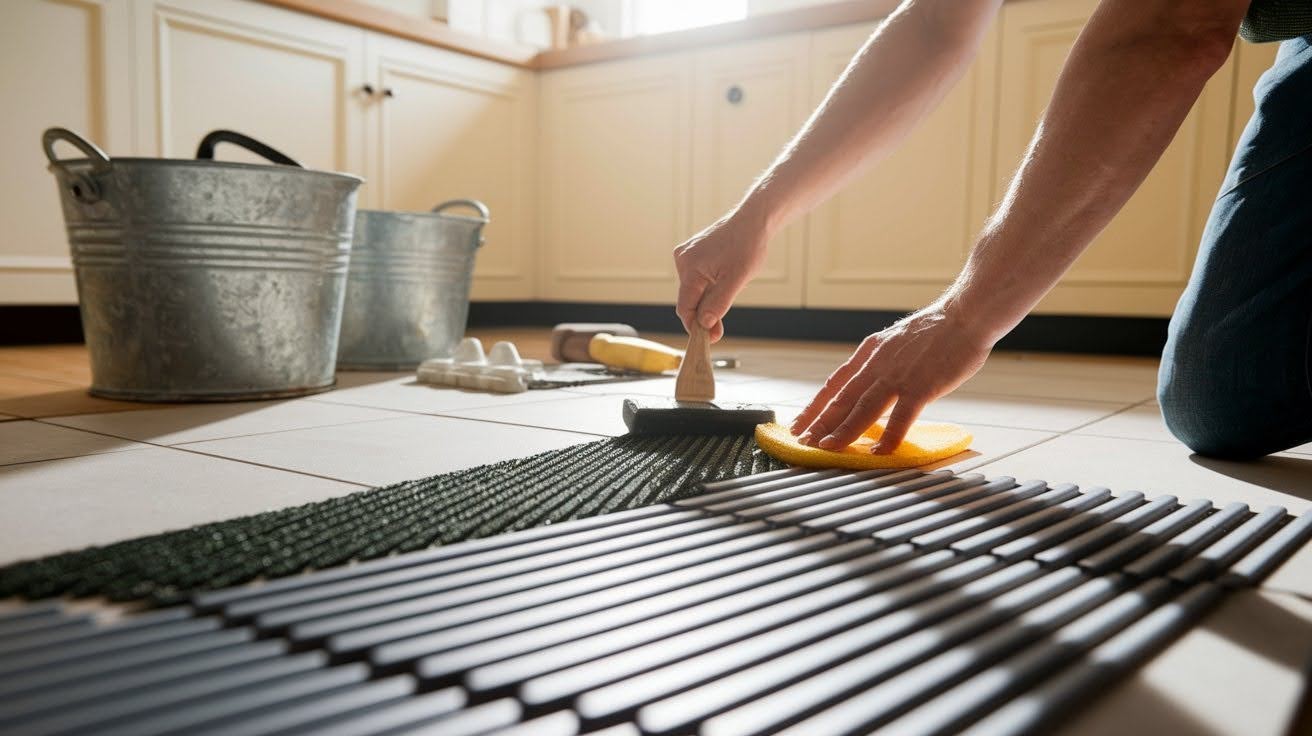
Wait for the adhesive to cure according to the manufacturer’s recommendations before grouting. If using porous tiles, apply grout release first to prevent staining. Mix grout to a thick, paste-like consistency.
Use a grout float held at a 45-degree angle to spread grout diagonally across tiles, pressing firmly to fill all joints. Remove excess grout with the float, then clean tile surfaces with a damp sponge once the grout begins to set.
Step 6: Finishing Touches
Apply caulk where your tiles meet the countertop, walls, or other surfaces for a clean, waterproof seal.
Once everything is completely dry, apply sealer to both tiles and grout lines to protect against moisture and stains. Replace outlet covers and switch plates, then reinstall any appliances you moved.
Do a final cleaning to remove any remaining haze or debris. Step back and admire your finished backsplash.
Common Beginner Mistakes to Avoid
- Skipping Layout Planning: Always find your center point and plan where cut tiles will go to avoid awkward partial tiles in prominent spots.
- Using the Wrong Mortar or Grout: Check manufacturer’s recommendations and match products to your specific project needs.
- Not Allowing Proper Drying Time: Follow product packaging time recommendations, even if it means waiting overnight between steps.
- Over-Wetting the Sponge When Cleaning Grout: Use a barely damp sponge to avoid pulling grout out of joints and creating haze.
Conclusion
You now have everything you need to tackle your first backsplash tiling project with confidence. This weekend DIY project will save you hundreds of dollars in contractor fees while giving you that incredible satisfaction of creating something beautiful with your own hands.
The visual impact alone makes it worth the effort, and you’ll be amazed at how much it changes your entire kitchen’s appearance.
Don’t let perfectionism hold you back from starting. Every professional tiler was once a beginner, and your first project doesn’t need to be flawless to look great.
Take advantage of online tile calculators to determine exactly how much material you need, and check manufacturer websites for detailed installation guides specific to your tile type.
Your new backsplash awaits.
Frequently Asked Questions
How long does it take to tile a backsplash?
Most beginners can complete a standard kitchen backsplash in one weekend. The actual tiling takes 4-6 hours, but you need drying time between adhesive, grout, and sealing steps.
What’s the best tile size for beginners?
Subway tiles (3×6 inches) or 4×4-inch square tiles are ideal for first-time projects. Larger tiles mean fewer cuts and grout lines, making installation easier and faster.
Can I tile directly over existing tile?
Yes, you can tile over existing tile if it’s firmly attached and the surface is clean. Sand the old tile lightly to help the new adhesive bond properly.
How much extra tile should I buy?
Order 10-15% extra tiles beyond your measured area to account for cuts, breakage, and future repairs. It’s better to have leftover tiles than run short mid-project.
Do I need special tools to cut tiles?
A wet saw gives the cleanest cuts, but it isn’t always necessary. Manual tile cutters work well for straight cuts, while tile nippers handle small notches around outlets.