
Ready to tackle your bathroom renovation project?
Installing a shower pan might seem intimidating, but it’s actually more manageable than you think. A shower pan is the waterproof base that sits beneath your shower floor, protecting your home from water damage.
Why choose a ready-made shower pan? It offers reliable waterproofing and saves you from the complexity of building a custom tile base from scratch. You’ll avoid potential leaks and get professional results.
Here’s what you need to know upfront: This is a moderate-level DIY project.
You’ll need basic plumbing tools and should set aside a full weekend. Don’t worry, we’ll walk you through each step so you feel confident throughout the process.
Let’s get your shower project started right.
What Is a Shower Pan and Why Does It Matter
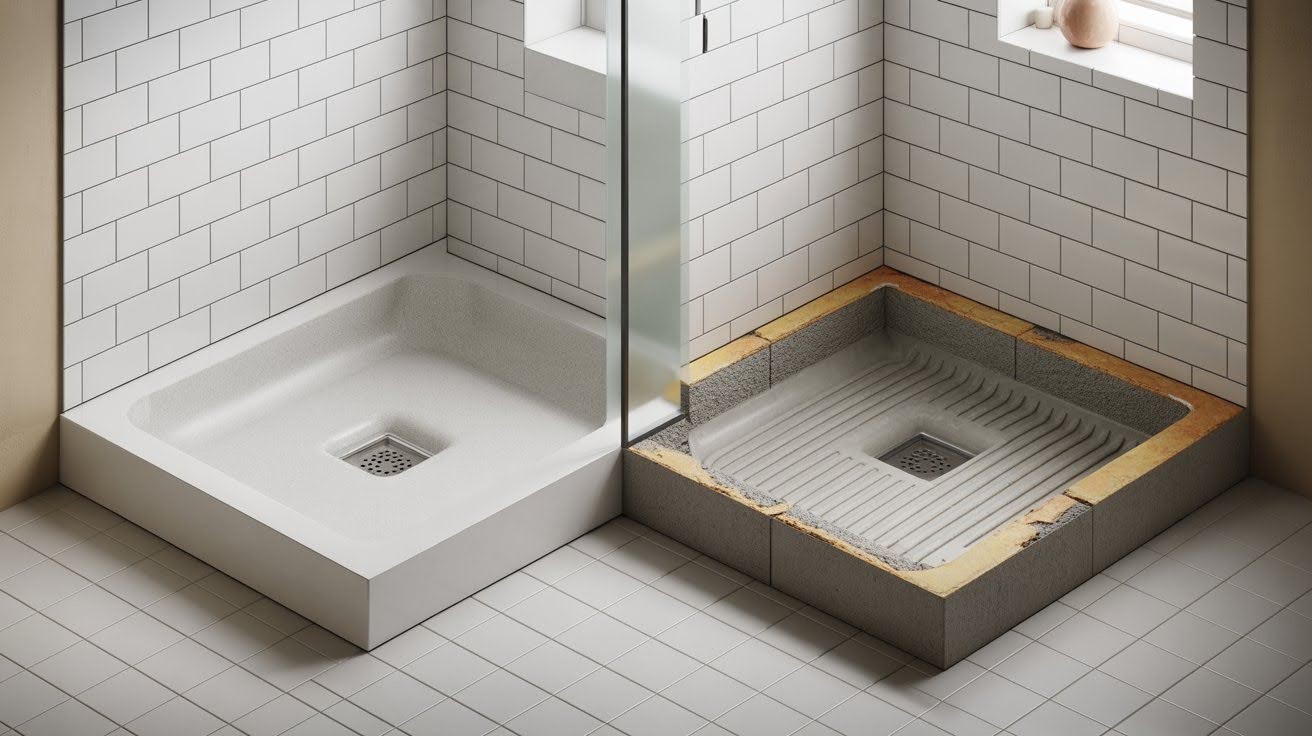
A shower pan is the sloped, waterproof foundation at the bottom of your shower. It catches water and directs it to the drain, protecting your home from water damage.
You can choose between ready-made pans or custom-built bases. Ready-made options come pre-formed and waterproofed. Custom bases require building everything from scratch with mortar and membranes.
Ready-made pans offer reliable waterproofing and durability. They install much easier than custom alternatives. A good shower pan prevents costly water damage and gives you peace of mind for years to come.
Tools and Materials You’ll Need
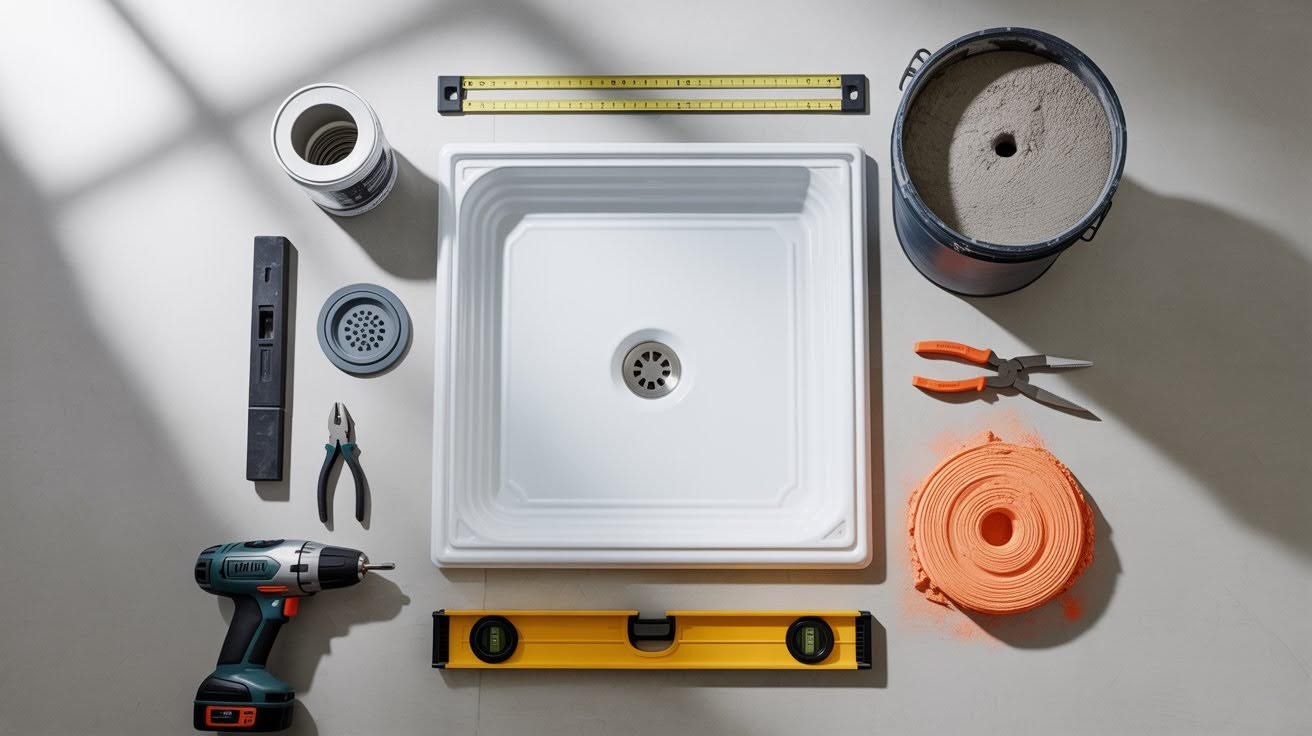
- Shower pan (acrylic, fiberglass, or composite)
- Shower drain kit (flange, gasket, screen)
- Mortar or adhesive (check manufacturer’s instructions)
- Drill and screwdriver
- Adjustable pliers
- Measuring tape
- Level
- Marker
- Utility knife
- Self-leveling compound (if subfloor needs correction)
Make sure you have everything ready before starting. This prevents trips to the hardware store mid-project.
Step-by-Step Instructions: How to Install a Shower Pan
Follow these six simple steps to install your shower pan correctly and create a watertight seal.
Step 1: Test-Fit the Shower Pan
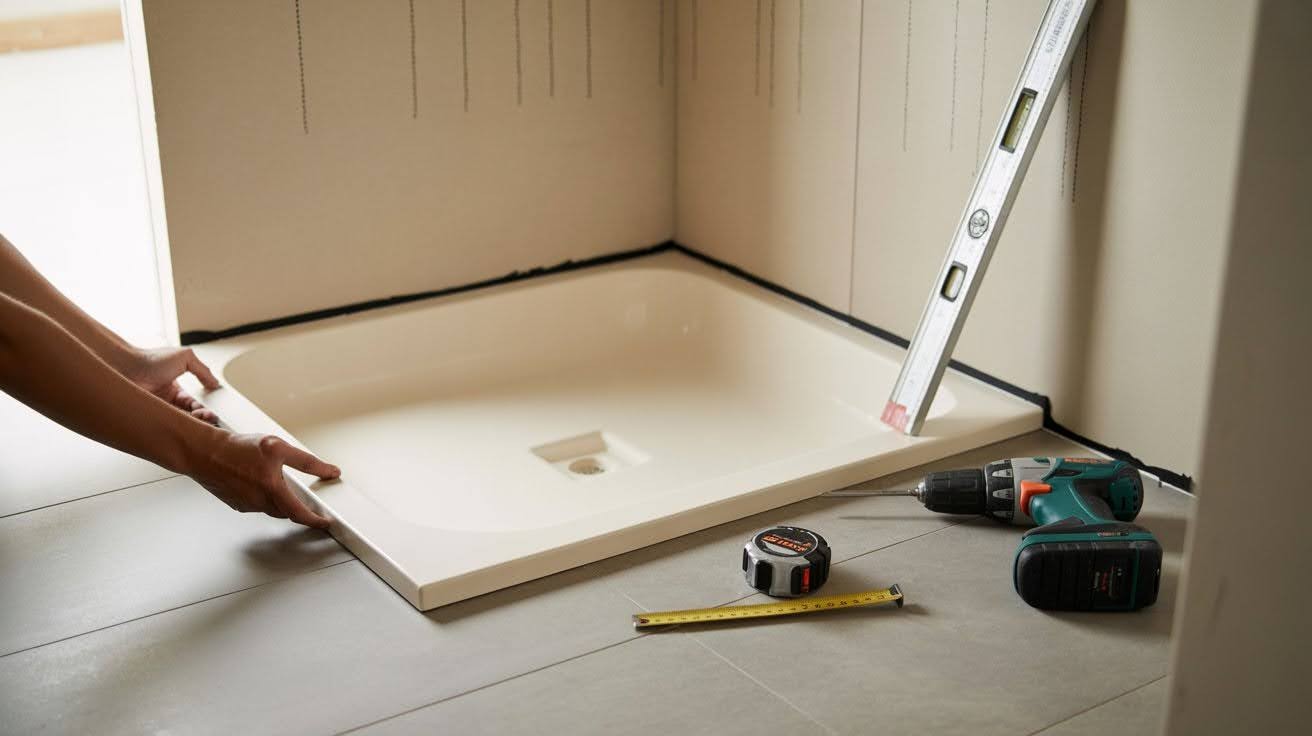
Place your shower pan in the alcove and mark the edges with your marker. Use your drill to make pilot holes at stud locations for later mounting.
Check that the drain hole aligns properly with your existing plumbing. If the alignment is off, you may need to adjust the subfloor or plumbing connections. This test fitting helps you identify any issues before applying adhesive or mortar.
Step 2: Prepare the Subfloor
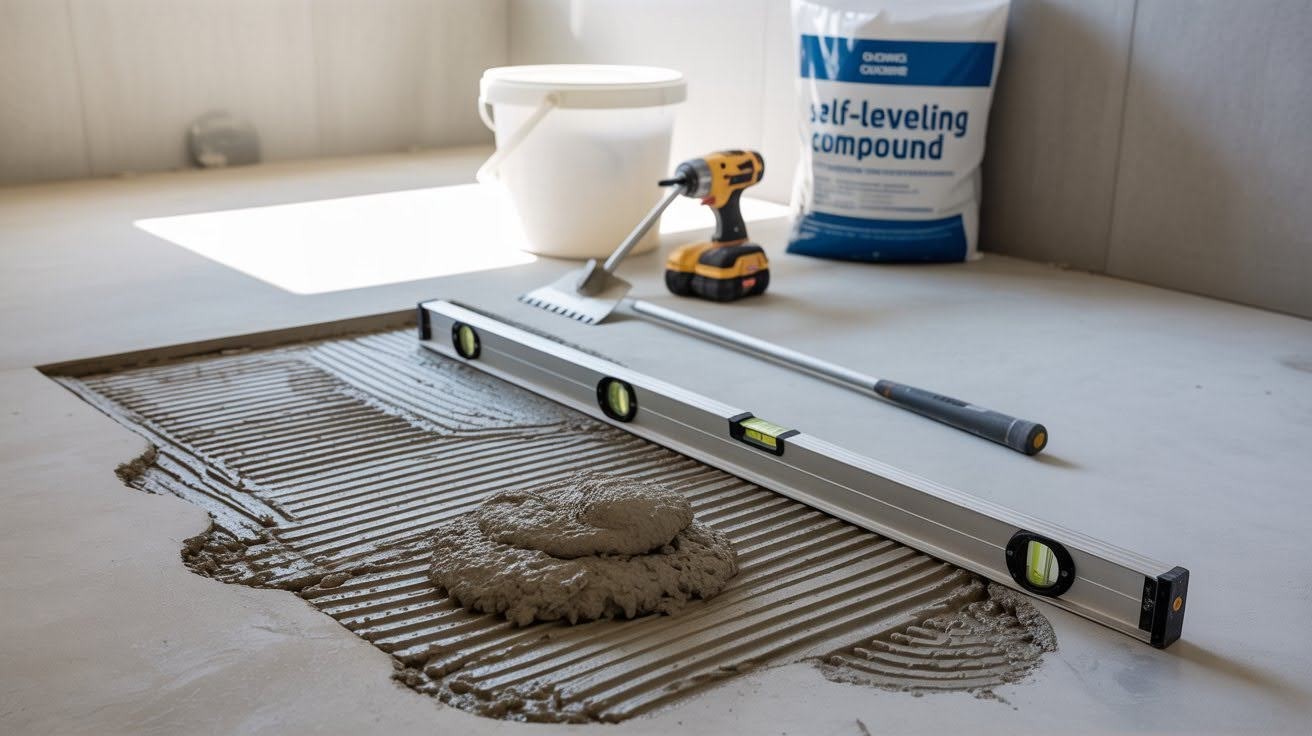
Use your level to check if the subfloor is completely even across the entire area. Apply self-leveling compound to fill any low spots, dips, or uneven sections.
Allow the compound to cure fully according to the manufacturer’s instructions before proceeding.
A level subfloor prevents future cracking, ensures proper drainage, and helps your shower pan sit correctly. Skip this step and you risk installation problems later.
Step 3: Install the Shower Drain Flange
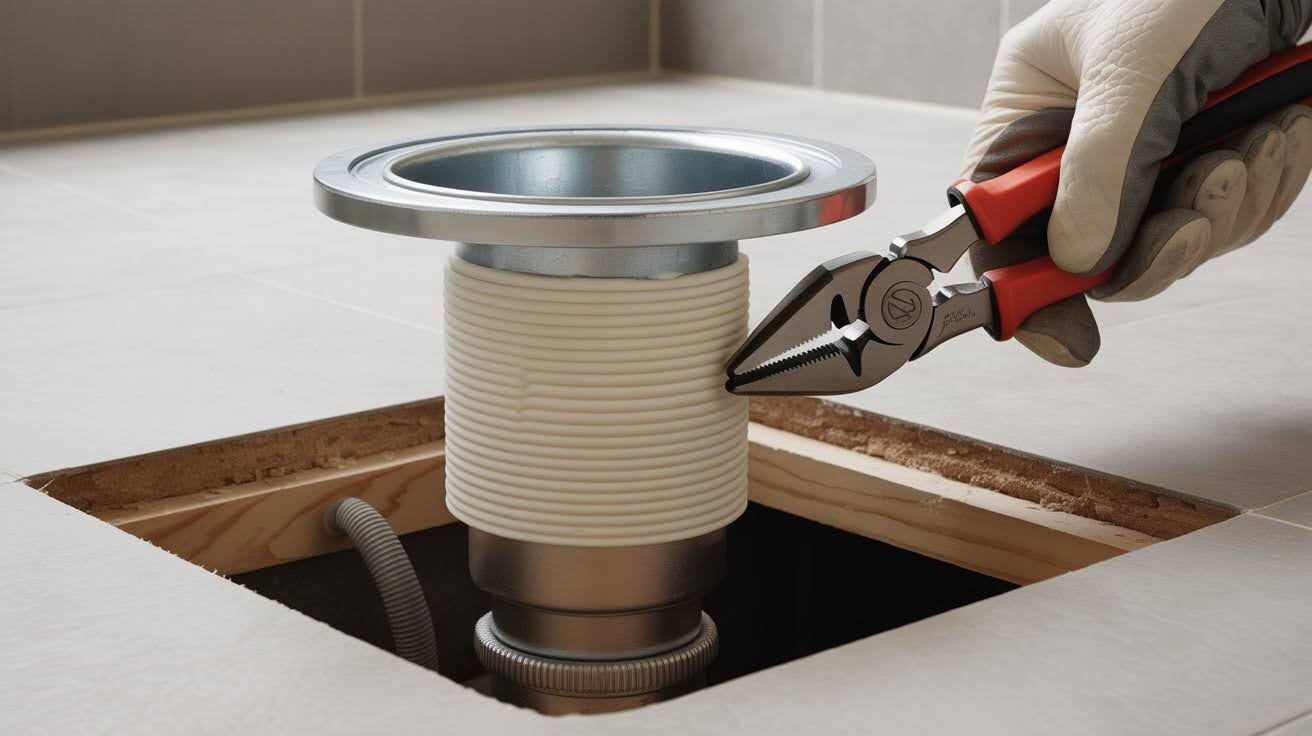
Apply a continuous bead of plumber’s caulk under the drain flange rim for waterproofing. Set the flange in place without twisting or rotating it.
From underneath the subfloor, add the rubber washers and metal locking ring. Use your adjustable pliers to tighten the assembly securely, but don’t overtighten.
The flange should sit flush and create a watertight seal with the subfloor surface.
Step 4: Secure the Shower Pan in Place
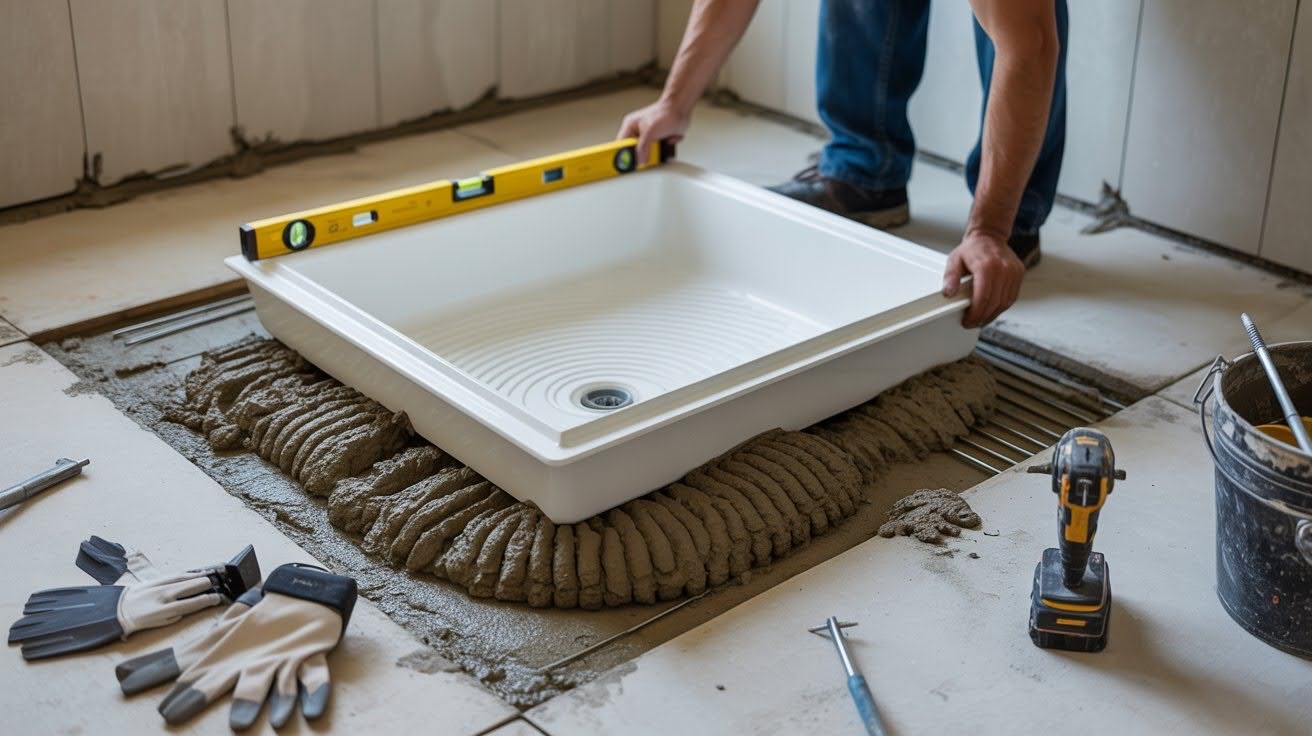
Apply adhesive in recommended spots or create small mounds of setting mortar on the prepared subfloor.
Carefully lower the shower pan onto the base, aligning it with your earlier markings. Use your level to ensure it sits perfectly level in all directions.
Secure the rim to the wall studs with screws for stability. Work slowly to avoid shifting the pan out of position during installation.
Step 5: Attach Gasket and Drain Screen
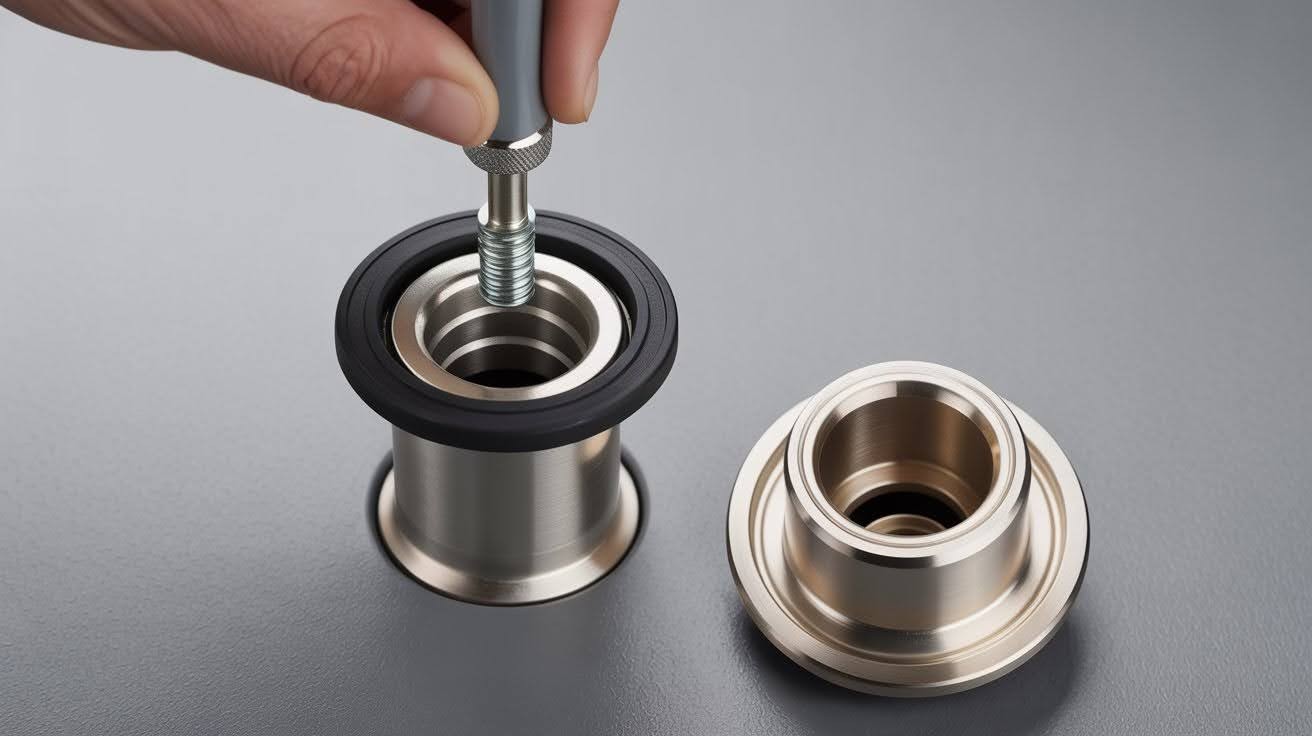
Position the rubber gasket over the drainpipe opening, ensuring it sits flat against the pan surface. Use the manufacturer’s provided tool to tighten the setscrew until snug.
Install the drain screen by either snapping it into place or securing it with screws, depending on your drain kit design. The screen should sit flush with the pan bottom for proper water flow and debris catching.
Step 6: Test for Leaks

Wait for mortar or adhesive to dry completely according to product instructions before testing. Run a steady stream of water through the drain system to check all connections.
Inspect the surrounding subfloor areas, walls, and ceiling below for any signs of water leakage.
Address any leaks immediately before proceeding with wall installation. This test prevents costly water damage repairs later in your project.
Pro Tips for a Successful Shower Pan Installation
- Always read your manufacturer’s instructions first to know whether to use adhesive or mortar for your specific pan model
- Get a helper when lowering the pan into place, since these can be heavy and awkward to handle alone
- Protect your pan’s surface with cardboard during installation to prevent scratches from tools or debris
- Keep the cardboard protection in place until you’re finished with the project
Conclusion
Installing a shower pan correctly is one of the most important steps in your bathroom renovation. It protects your home from water damage and sets the foundation for years of worry-free showers.
Take your time with each step we’ve covered. Rushing through the process often leads to costly mistakes and repairs later. Double-check your measurements, test for leaks, and don’t skip the prep work. Your patience now pays off with a solid, long-lasting installation.
If your remodel involves complex plumbing changes or structural work, consider hiring a professional. Sometimes, the peace of mind is worth the investment. But for straightforward installations, you now have the knowledge to tackle this project with confidence.
Your new shower pan will serve you well for many years to come.
Frequently Asked Questions
How long does it take to install a shower pan?
Most installations take 4-6 hours for a straightforward replacement. Factor in extra time if your subfloor needs leveling or if you’re new to DIY projects.
Can I install a shower pan on any type of subfloor?
Yes, but the subfloor must be structurally sound and level. Plywood and concrete subfloors work best, while you may need to reinforce older wooden floors first.
What happens if I don’t use mortar or adhesive?
The pan will shift, rock, and eventually crack without proper support underneath. Always follow the manufacturer’s recommendations for securing your specific pan type.
How do I know if my shower pan is the right size?
Measure your shower alcove carefully before purchasing. Standard sizes are 32×32, 36×36, and 32×60 inches, but custom sizes are available for non-standard spaces.
When should I call a professional instead of doing it myself?
Contact a pro if you need to move plumbing, have structural concerns, or lack confidence with the drain connections. Complex remodels often require permits and professional expertise.