
Are you considering refacing kitchen cabinets but are afraid of making a mistake? You’re not by yourself. Numerous homeowners have attempted this project and encountered preventable issues.
Compared to a complete replacement, cabinet refacing modernizes your kitchen for less money and effort.
However, if you do it incorrectly, you will waste both. The seven most typical refacing issues are covered in this guide, along with detailed instructions for avoiding them.
Based on experience, I’ll demonstrate what works and what doesn’t. You’ll find which errors are most costly, how to identify problems before they arise, and when to seek assistance.
Together, we can ensure that your cabinets are built correctly the first time.
What to Know Before Starting Your Cabinet Refacing Project
Understanding the basics of cabinet refacing helps you avoid problems and get professional results from your kitchen update.
Cabinet refacing keeps your existing boxes while replacing doors and drawer fronts. You apply new veneer to visible frames for an updated look at a lower cost.
Check your cabinets for water stains, soft spots, or loose joints. Refacing only works on solid structures.
Plan your design first. Choose colors that match your countertops and flooring. Test samples in your actual lighting.
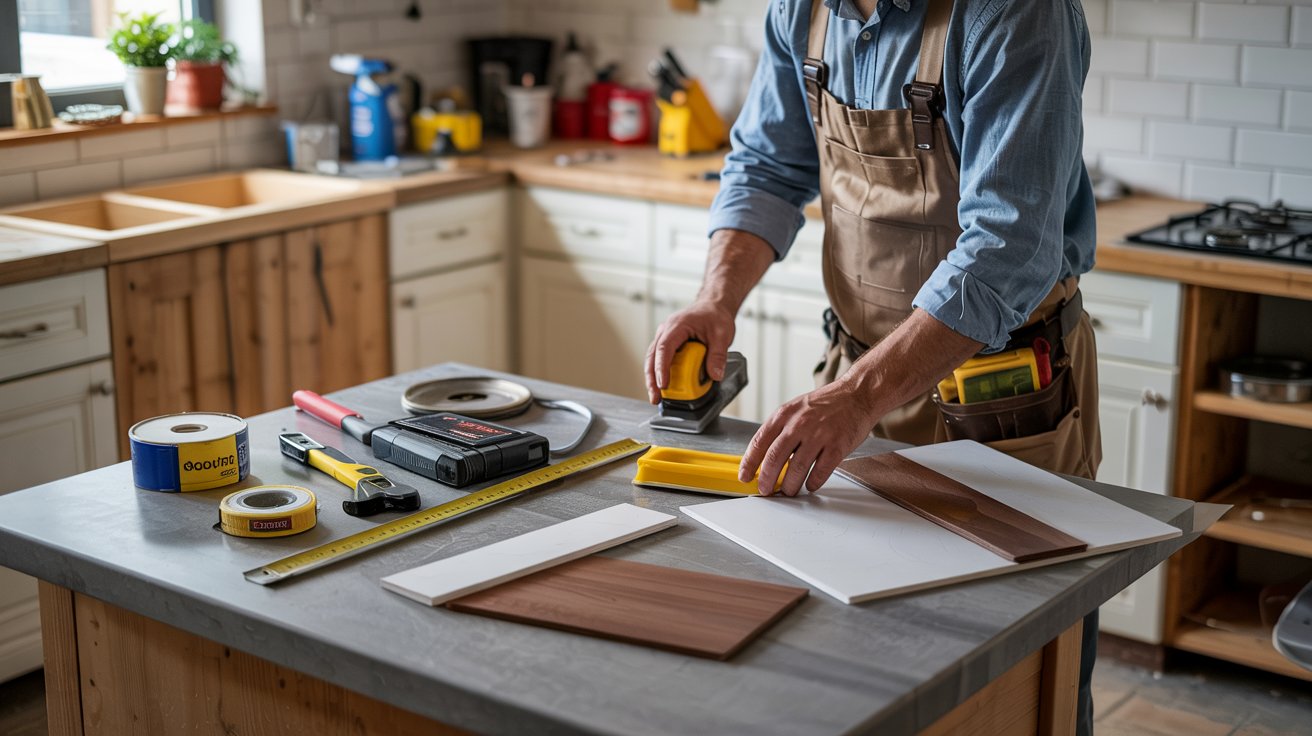
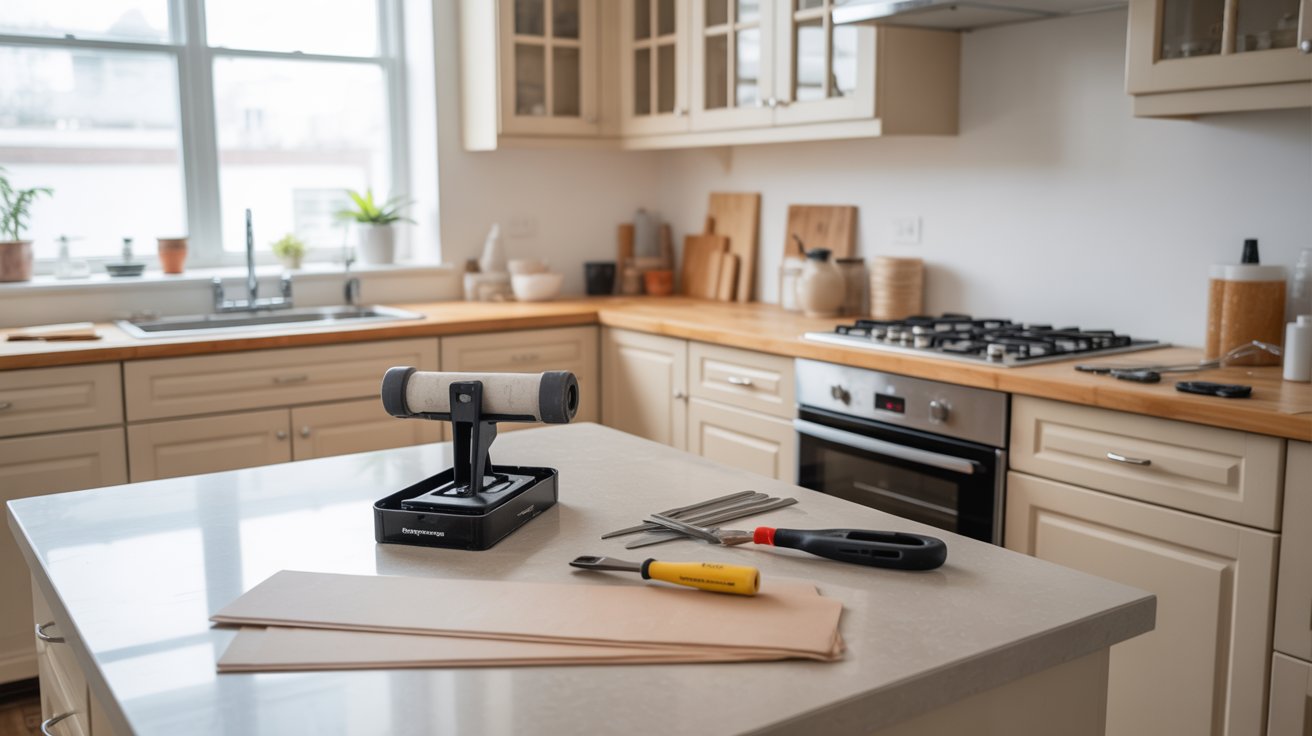
Gather your supplies: veneer sheets, contact adhesive, roller, sandpaper, utility knife, measuring tape, straightedge, safety glasses, and gloves.
Empty and clean cabinets. Remove and label all doors and hardware. Measure surfaces and confirm cabinets are level. Proper preparation prevents problems. Don’t rush this step.
7 Common Problems with Refacing Kitchen Cabinets
Learn about the biggest mistakes people make when refacing cabinets and get practical solutions to avoid each problem.
1. Poor Surface Preparation
Why It Happens: People skip cleaning and sanding, leaving grease and dirt on surfaces. Old cooking residue prevents the adhesive from bonding.
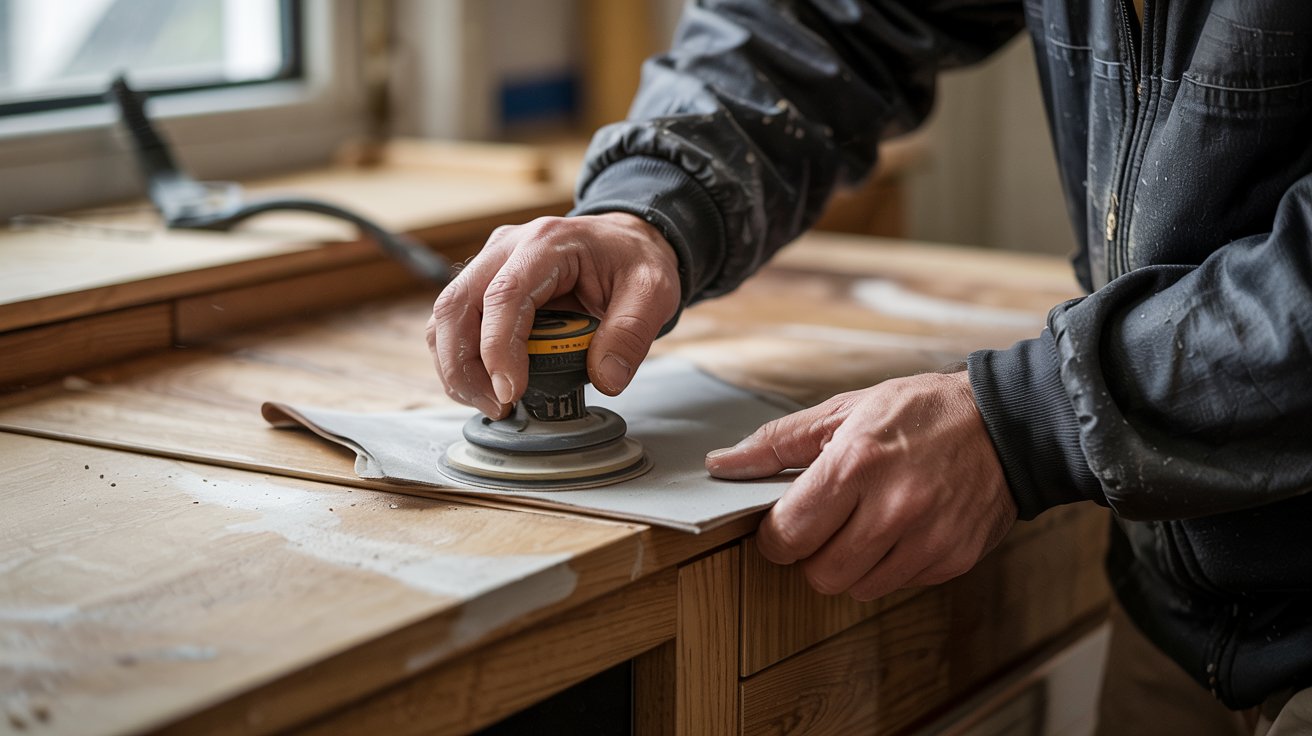
Skipping sanding leaves surfaces too smooth for glue to grip.
How to Avoid It: Clean every surface with a degreaser. Scrub hard, rinse well, and let dry completely. Sand all surfaces with 120-grit sandpaper.
Fill dents with wood filler, let dry, and sand smooth. Remove and label all hardware before starting.
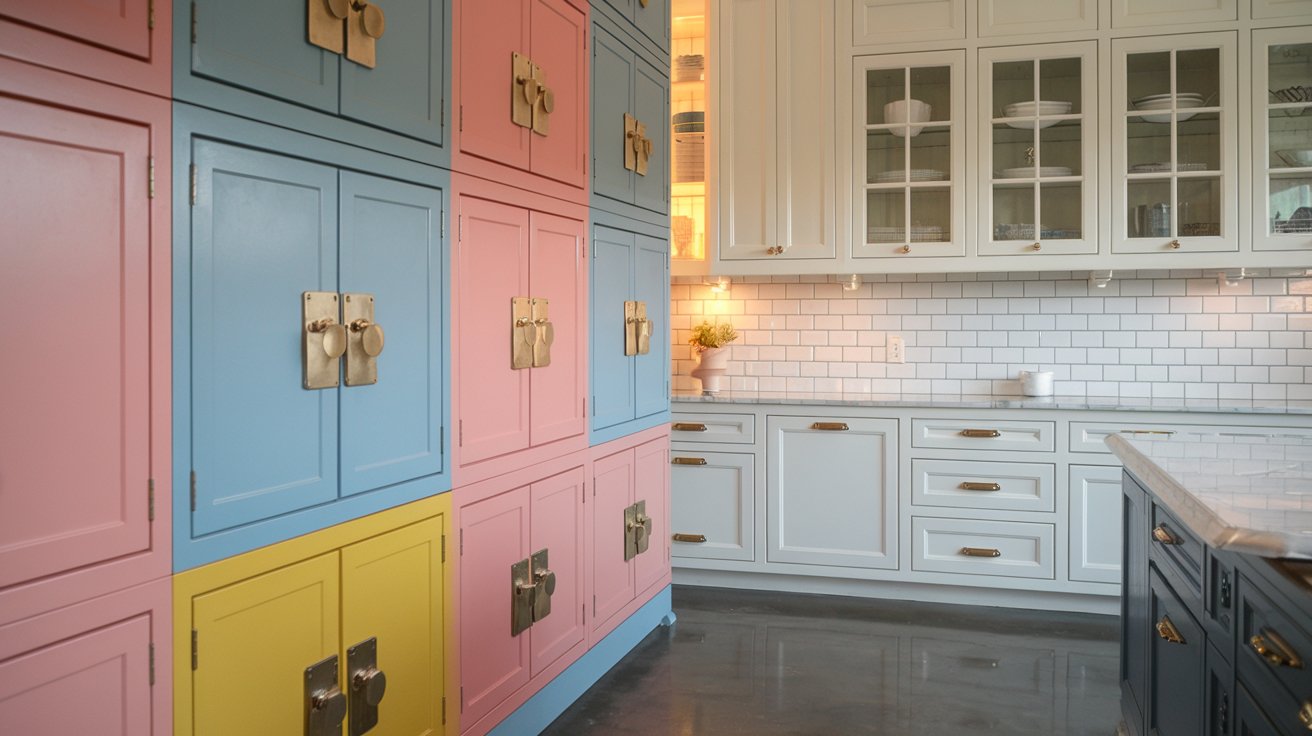
2. Mismatched Colors and Styles
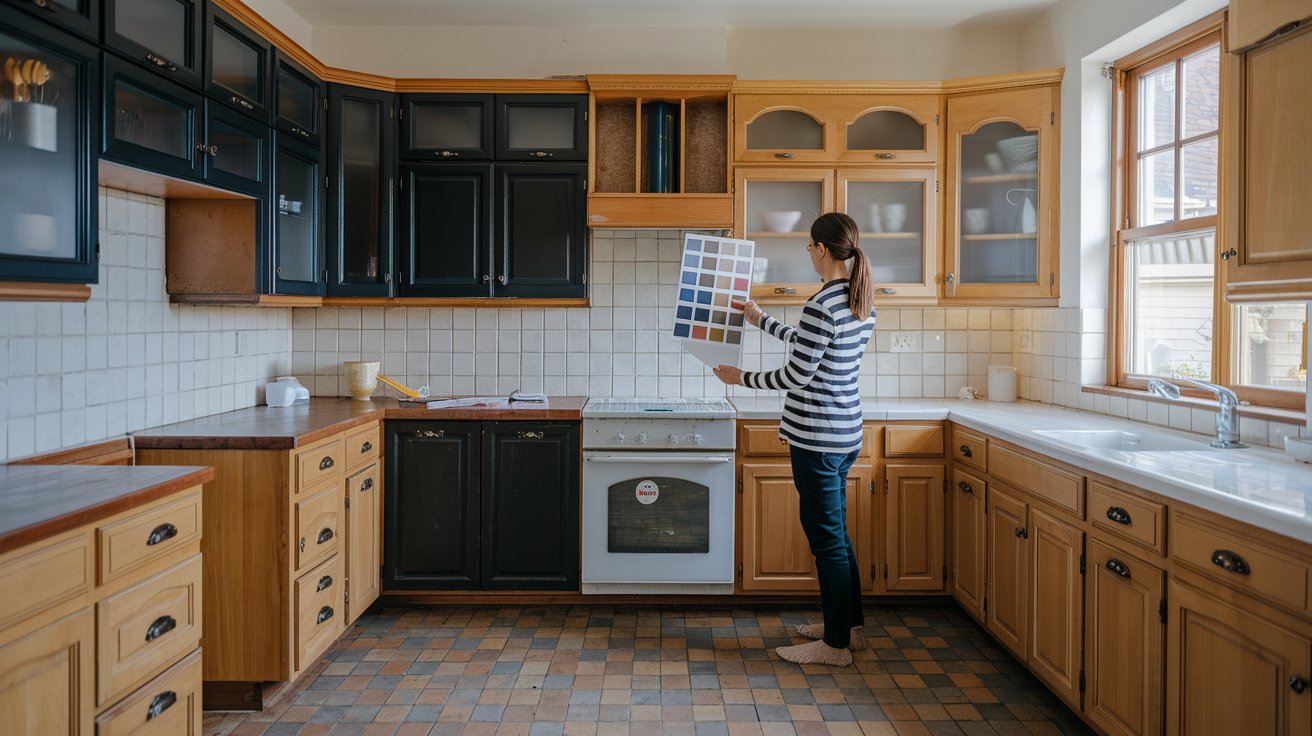
Common Mistake: New cabinet colors clash with countertops or flooring. Modern door styles clash with traditional kitchens. Choosing materials without considering the whole room creates visual problems.
How to Fix It: Bring home samples and test them against counters and backsplash in different lighting.
Match formality levels: traditional kitchens need raised panels, modern spaces suit flat or shaker doors. Choose neutral tones for better resale value.
3. Using Low-Quality Materials
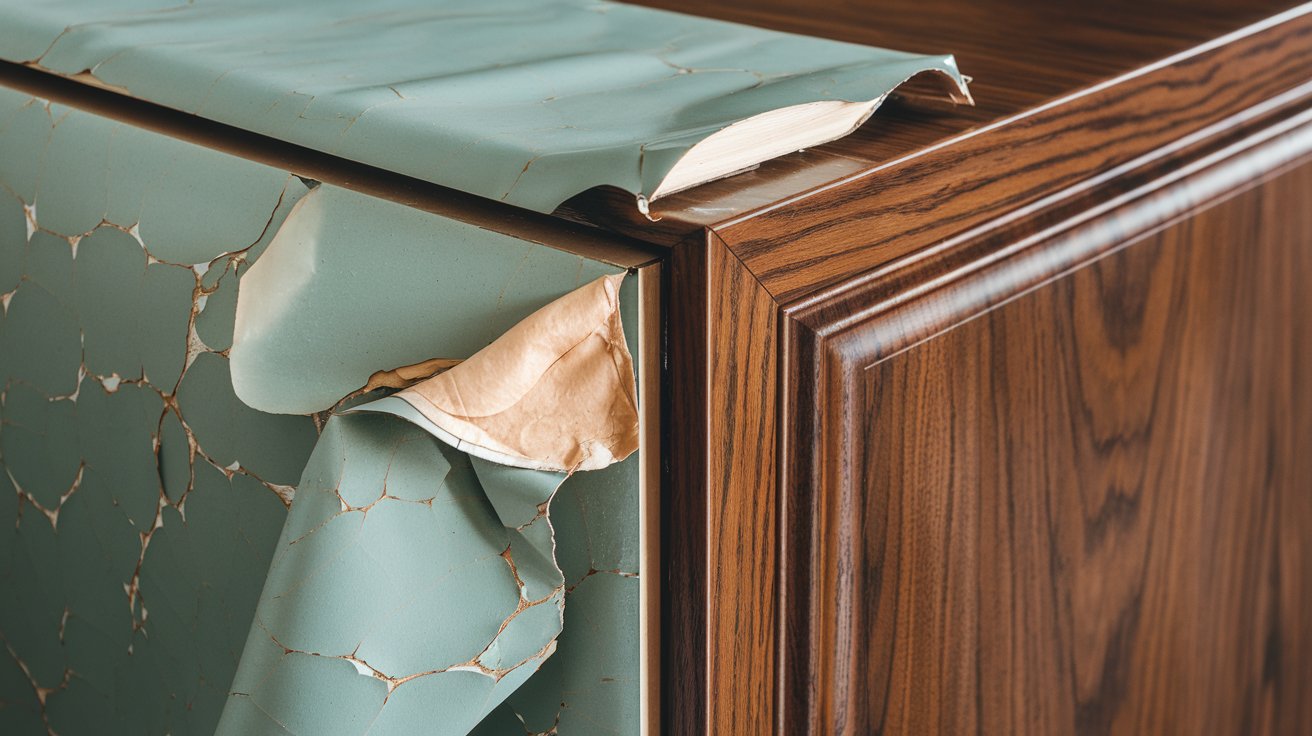
What Goes Wrong: Cheap veneer peels within months. Budget adhesive fails in humid conditions.
Thin laminate shows every surface imperfection. Redoing failed work costs more than buying quality materials initially.
Smart Solution: Buy veneer from cabinet suppliers, not big box stores. Use contact cement made for laminate installation.
Choose doors from reputable manufacturers with solid construction and factory finishes.
4. Skipping Essential Steps in Installation
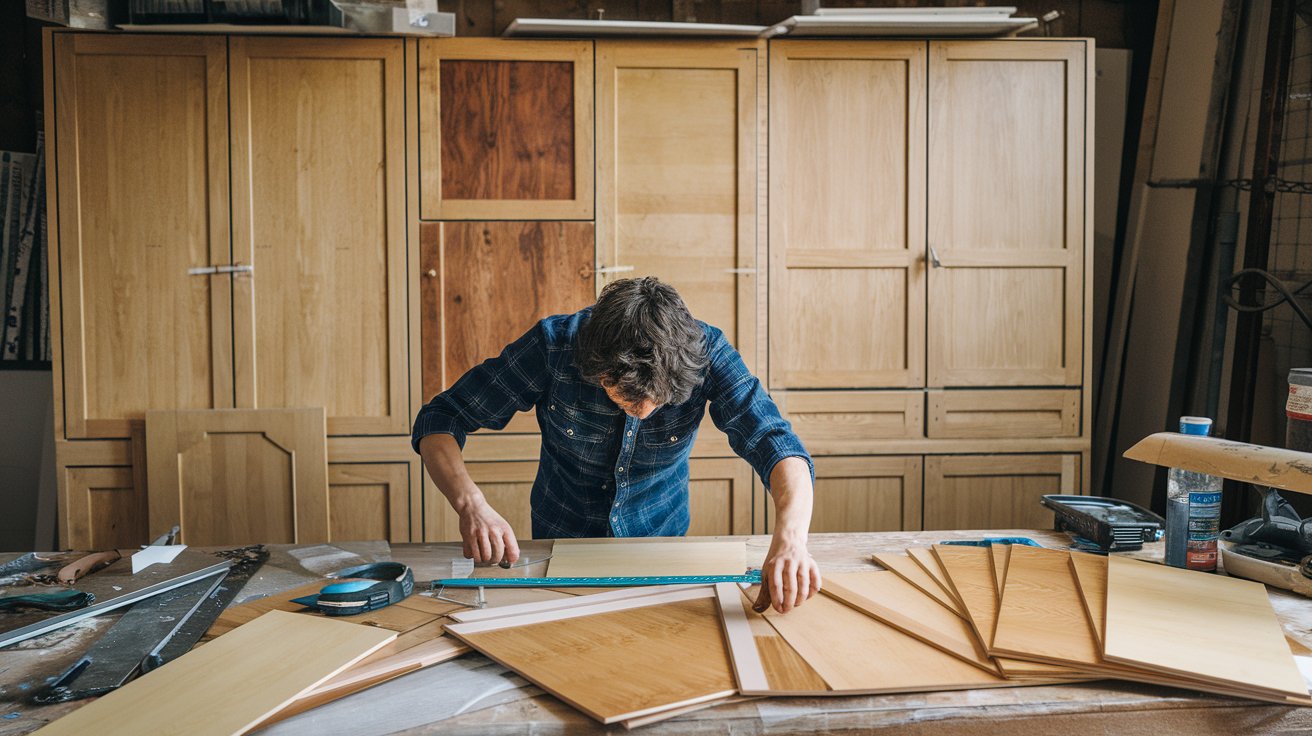
Typical Oversights: Wrong measurements result in short veneer. Rushed adhesive application causes bubbles. Unlabeled cabinet parts create confusion during reinstallation.
How to Fix It: Measure twice before cutting. Add a quarter inch for trimming. Apply adhesive evenly to both surfaces and let it dry to the touch.
Use a J-roller to press out bubbles. Label every door and drawer with tape before removal.
5. Ignoring Long-Term Design Longevity
The Problem: Trendy colors and ultra-modern hardware go out of style quickly. Refacing costs thousands and should look good for ten years minimum.
Better Option: Choose colors with staying power: white, cream, gray, or natural wood. Select simple hardware that works in any kitchen. Neutral cabinets appeal to more buyers if you sell.
6. Underestimating the Project Complexity
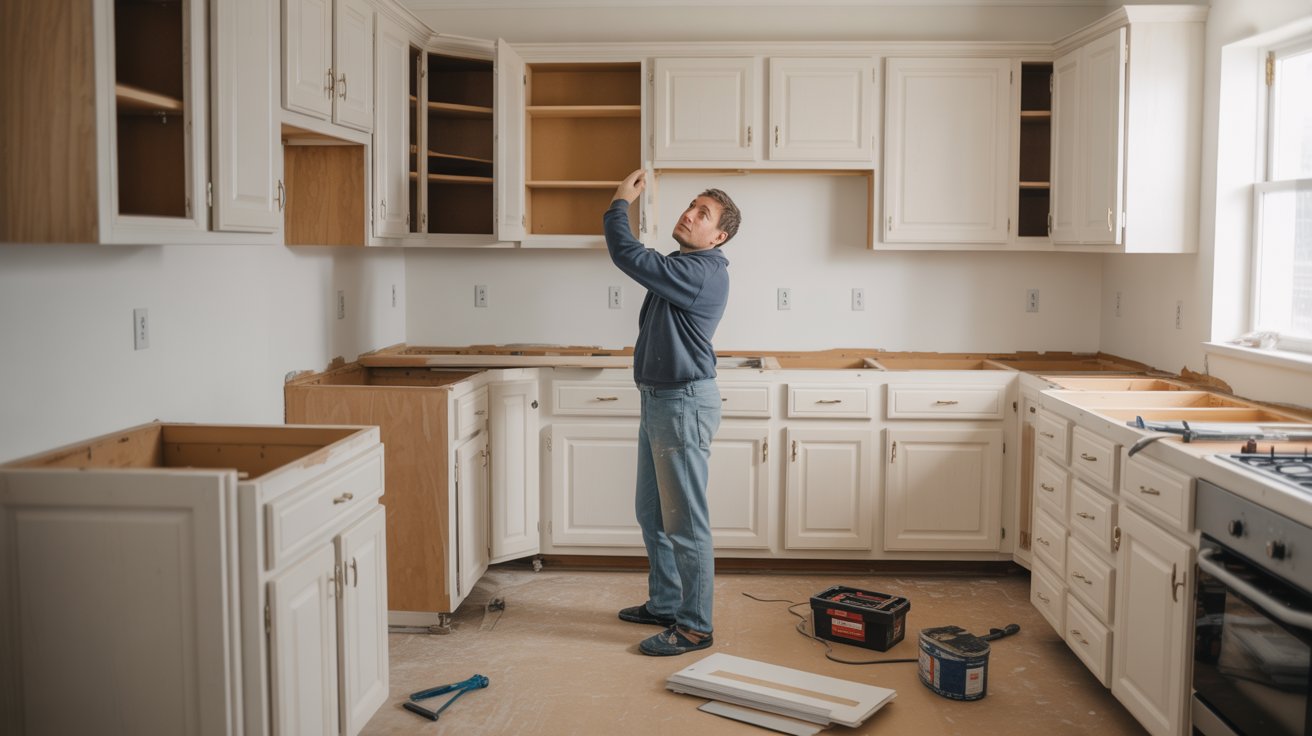
Why It’s a Problem: Refacing requires more skill than DIY videos suggest. Cutting veneer around corners, hanging doors straight, and matching grain patterns take practice.
First-timers often get overwhelmed midway.
Pro Tip: Start with a small area if you’re inexperienced. Call professionals for complex layouts or high-end finishes. Get quotes from refacing companies.
Pros finish in days instead of weeks and may cost less than fixing DIY mistakes.
7. Not Accounting for Hidden Cabinet Damage
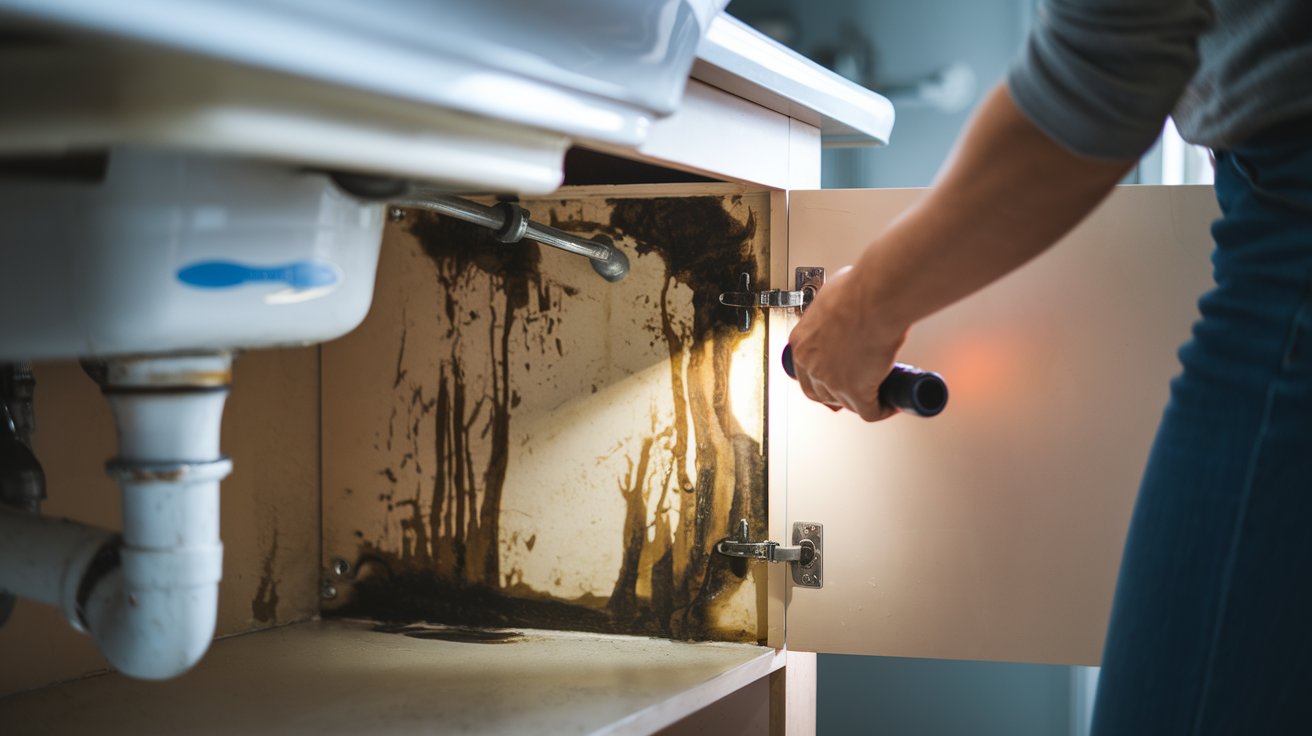
What happens: Water damage or structural problems hide beneath surfaces. New veneer covers problems but doesn’t fix them. You end up with pretty surfaces on failing cabinets.
How to Prevent It: Inspect cabinets thoroughly before ordering materials. Check under sinks for water damage, dark stains, or soft wood.
Wiggle boxes to test for loose joints. Fix damage before refacing or replace badly damaged cabinets entirely.
How to Ensure a Flawless Cabinet Refacing Outcome
Follow these proven steps to get professional results and make your refaced cabinets look like brand new installations.
Check every cabinet box before buying materials. Look for water damage, soft spots, or loose construction. Fix problems immediately.
Follow the correct sequence: clean with degreaser, repair damage, sand with 120-grit paper, apply veneer starting with hidden areas, and trim edges cleanly.
Use quality adhesives and tools. Contact cement bonds better than multipurpose glue. A good J-roller removes air bubbles. Sharp blades make clean cuts.
Take your time. Let the adhesive dry completely. Patient’s work looks professional.
Final Thoughts
After making a hasty first attempt, I discovered the hard way how to reface kitchen cabinets. The difference is enormous when you take the time to prepare and use high-quality materials.
Now you are aware of the seven most common errors and how to prevent them. Start with high-quality materials and a comprehensive inspection. Despite how tedious the preparation work may seem, don’t skip it.
Long-lasting cabinets are a must for your kitchen. You will achieve results you can be proud of if you take your time and adhere to these recommendations.
Do you have inquiries concerning your particular project? Let’s discuss it in a comment.
Frequently Asked Questions
How long does cabinet refacing typically take?
Professional refacing takes three to five days for an average kitchen. DIY projects usually take two to three weeks, working evenings and weekends, depending on your skill level.
Is cabinet refacing cheaper than replacing cabinets?
Yes, refacing costs 30 to 50 percent less than full cabinet replacement. You save on demolition, installation labor, and the cost of new cabinet boxes.
Can I reface cabinets that have laminate surfaces?
Yes, laminate cabinets can be refaced successfully. Clean and sand the surface well so new adhesive bonds properly. Some people add a bonding primer for extra grip.
How long do refaced cabinets last?
Quality refacing with good materials lasts 15 to 20 years or more. The lifespan depends on material quality, installation skill, and how well you maintain them.
Should I reface or repaint my kitchen cabinets?
Reface if your cabinet boxes are solid, but the doors are damaged or outdated. Repaint if you just want a color change, and the doors are in good shape. Refacing gives you new doors and drawer fronts plus updated veneer.