
Growing fresh herbs at home sounds complicated. But it doesn’t have to be.
A pallet herb garden uses old wooden shipping pallets as planters. You turn them vertically and create pockets for your herbs. Simple as that.
Why pick this method? First, it saves money. Pallets cost little or nothing. Second, it saves space. Perfect for small balconies or tiny patios. Third, you’re recycling materials that might end up in landfills.
I’ve built dozens of these gardens. They work great for beginners. You don’t need special skills or expensive tools.
Your herbs will grow in neat rows. Easy to water. Easy to harvest. And they look pretty good too.
Ready to get started? Let’s go through everything step by step.
How to Build a Pallet Herb Garden
Building a pallet herb garden is a simple, budget-friendly way to grow fresh herbs in small spaces. Transform an old wooden pallet into a vertical planter by lining it with landscape fabric to create soil pockets.
With basic materials like potting soil and herb seedlings, you’ll have a space-saving garden perfect for balconies or patios, providing fresh herbs right at your fingertips.
What You’ll Need
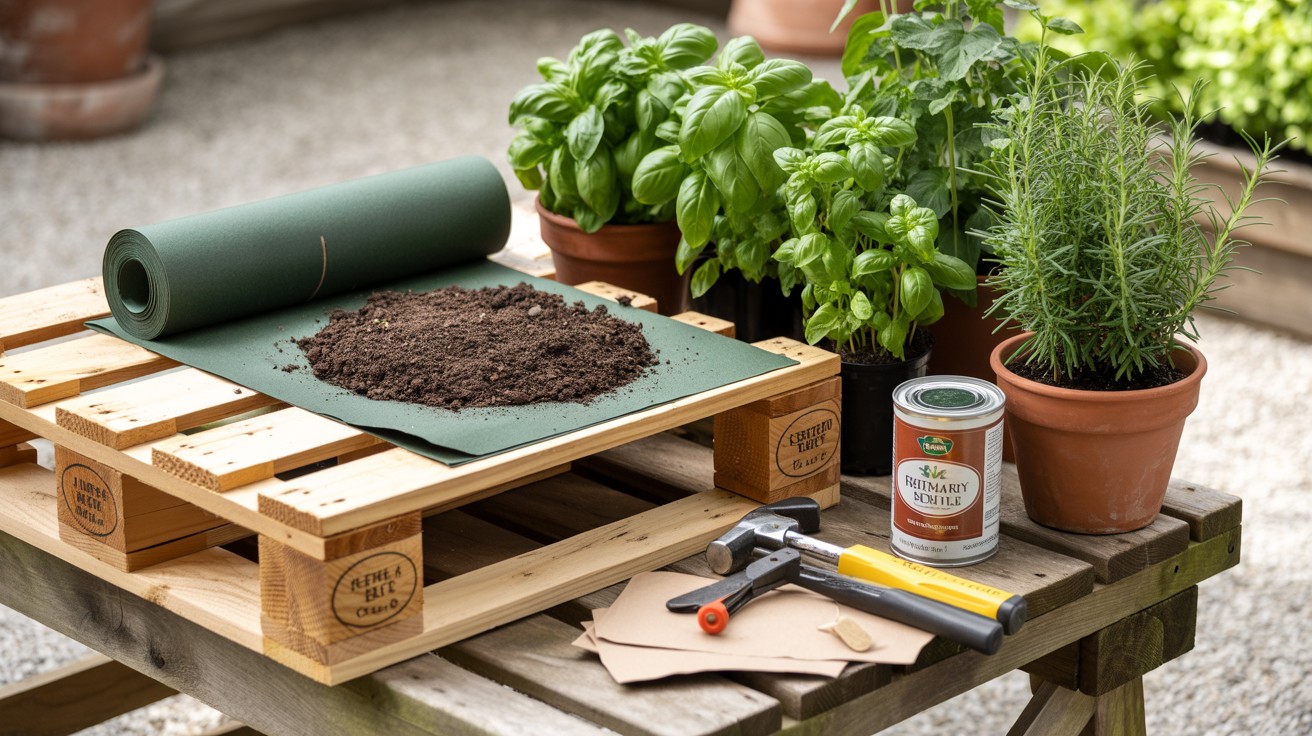
Here’s your shopping list:
Essential Items:
- One wooden pallet (untreated only)
- Sandpaper or an electric sander
- Landscape fabric or heavy garden liner
- Staple gun with staples
- Quality potting soil (2-3 bags)
- Herb seedlings or seeds
Basic Tools:
- Hammer
- Nails or wood screws
- Measuring tape
- Scissors for cutting fabric
Optional Extras:
- Wood stain or sealant
- Extra wooden slats
- Small hand trowel
- Watering can with fine spout
Most items come from your local hardware store. Total cost? Usually under $50. That’s cheaper than buying herbs at the grocery store for a few months.
Choosing the Right Pallet
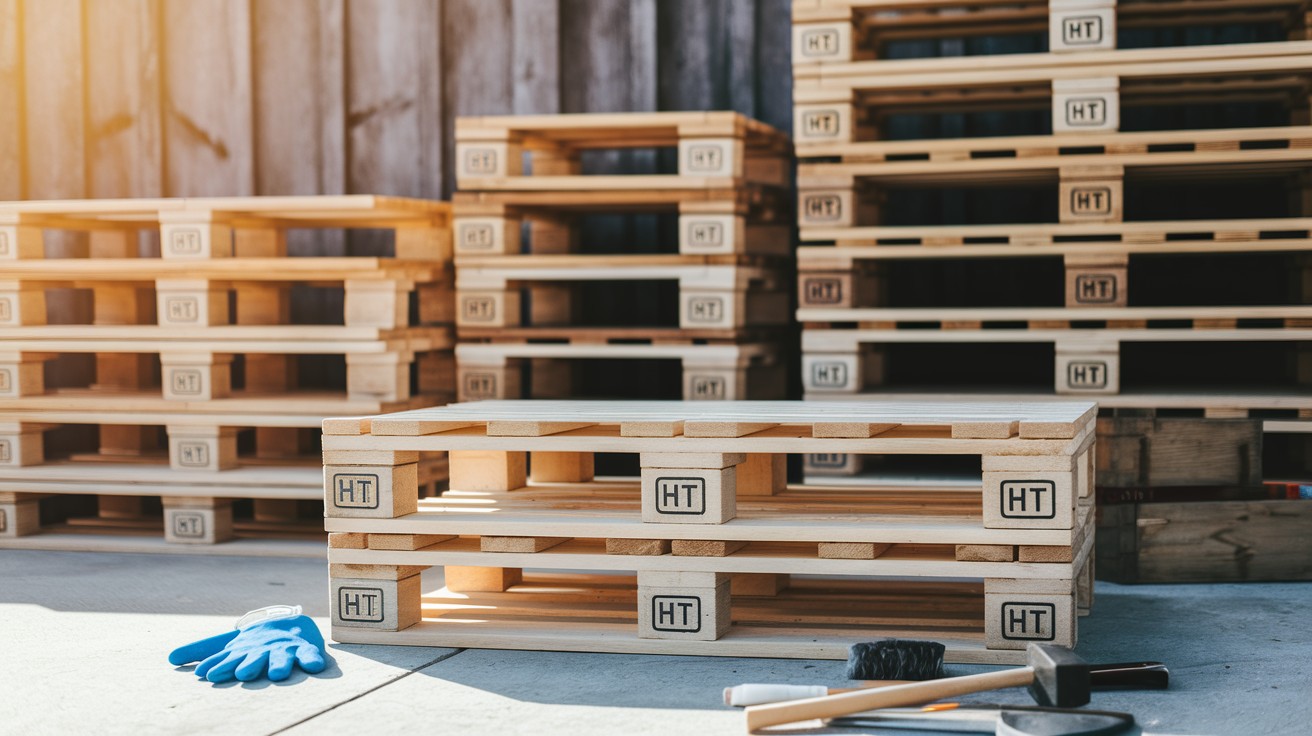
Not all pallets work for gardens. Some contain chemicals that hurt plants.
Where to Find Good Pallets:
- Hardware stores
- Garden centers
- Furniture stores
- Construction sites
- Online marketplaces
Safety Check: Look for stamps on the pallet wood. You want “HT,” which means heat-treated. Avoid “MB” stamps. That means methyl bromide treatment. Bad for plants and people.
Quality Check:
- No broken boards
- No protruding nails
- No deep cracks
- No rotting wood
- Sturdy construction
Standard pallets measure 40 x 48 inches. Perfect size for most spaces.
Prepping the Pallet
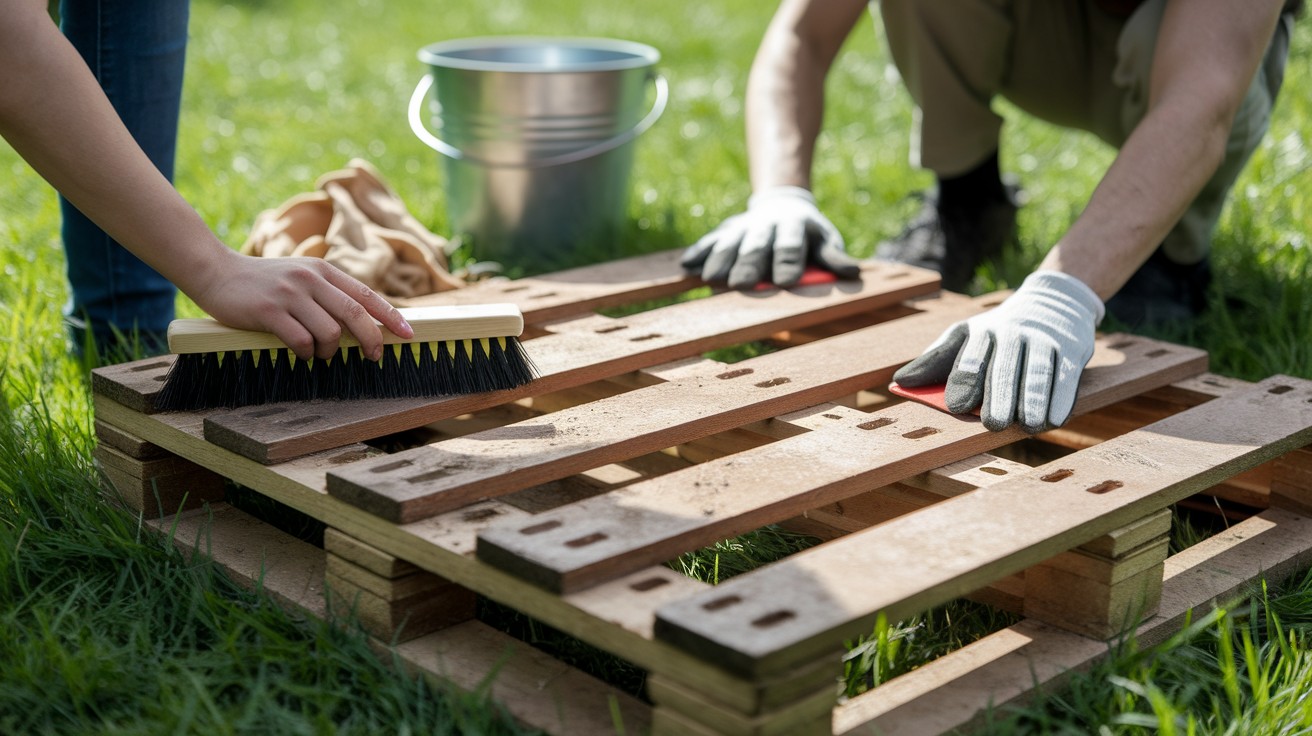
Clean pallets work better and last longer.
Cleaning Steps: Start with a good scrub. Use soap and water. Remove dirt, stickers, and grime. Let it dry completely.
Sanding Process: Sand all rough spots. Pay attention to edges where you’ll handle the pallet. Smooth surfaces prevent splinters. Use 80-grit sandpaper first, then 120-grit for finishing.
Optional Finishing: Want your pallet to last longer? Apply wood stain or clear sealant. Choose outdoor-rated products. Let dry 24 hours before planting.
This step takes patience. But it makes handling safer, and the final product looks professional.
Creating Planting Pockets
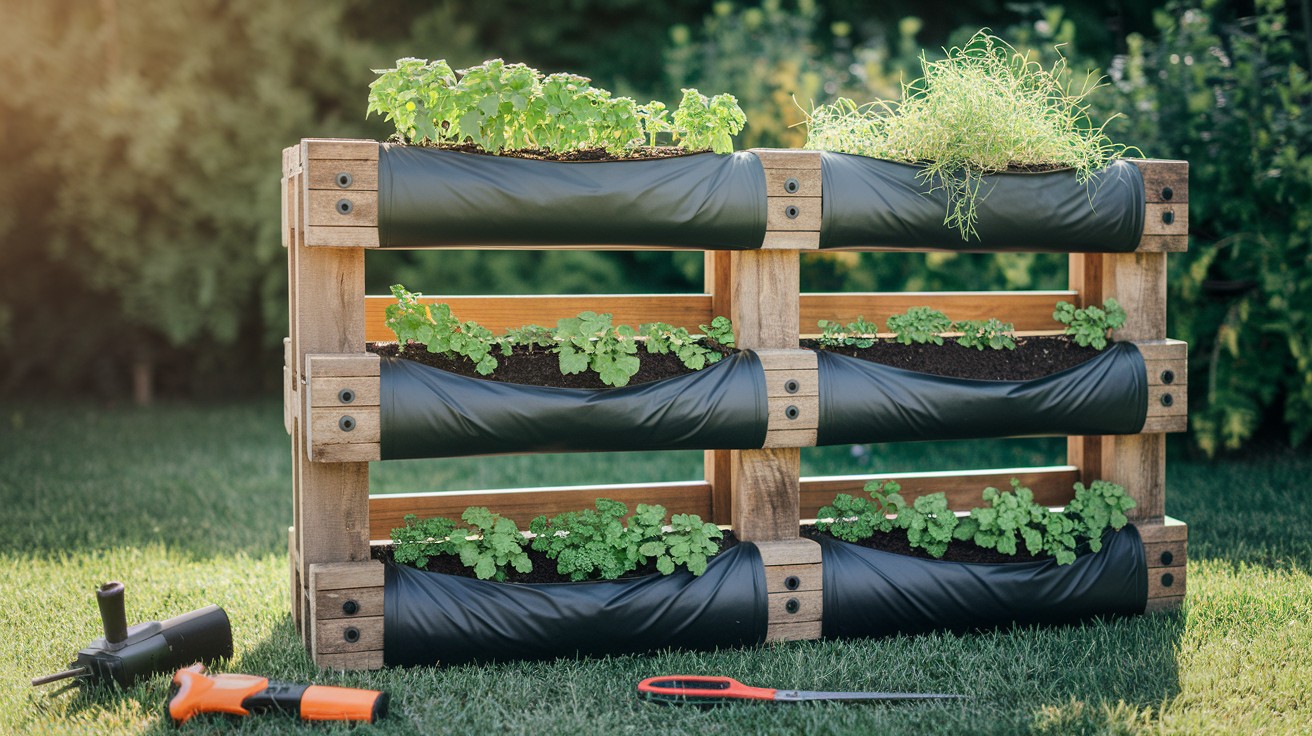
This part transforms your pallet into a planter.
Lining the Back: Lay the pallet face down. Stretch landscape fabric across the entire back. Pull tight and staple every 6 inches along the edges.
Creating Side Walls: Flip the pallet upright. Line the bottom and both sides with fabric. This creates pocket walls to hold soil.
Securing the Fabric: Use heavy-duty staples. Space them close together. The fabric will hold several pounds of wet soil.
Reinforcement Tip: For deeper herbs like rosemary, add thin wooden slats. Nail them horizontally to create stronger pocket bottoms.
The pockets should feel sturdy when you press on them. Weak spots will tear when filled with soil.
Adding Soil and Herbs
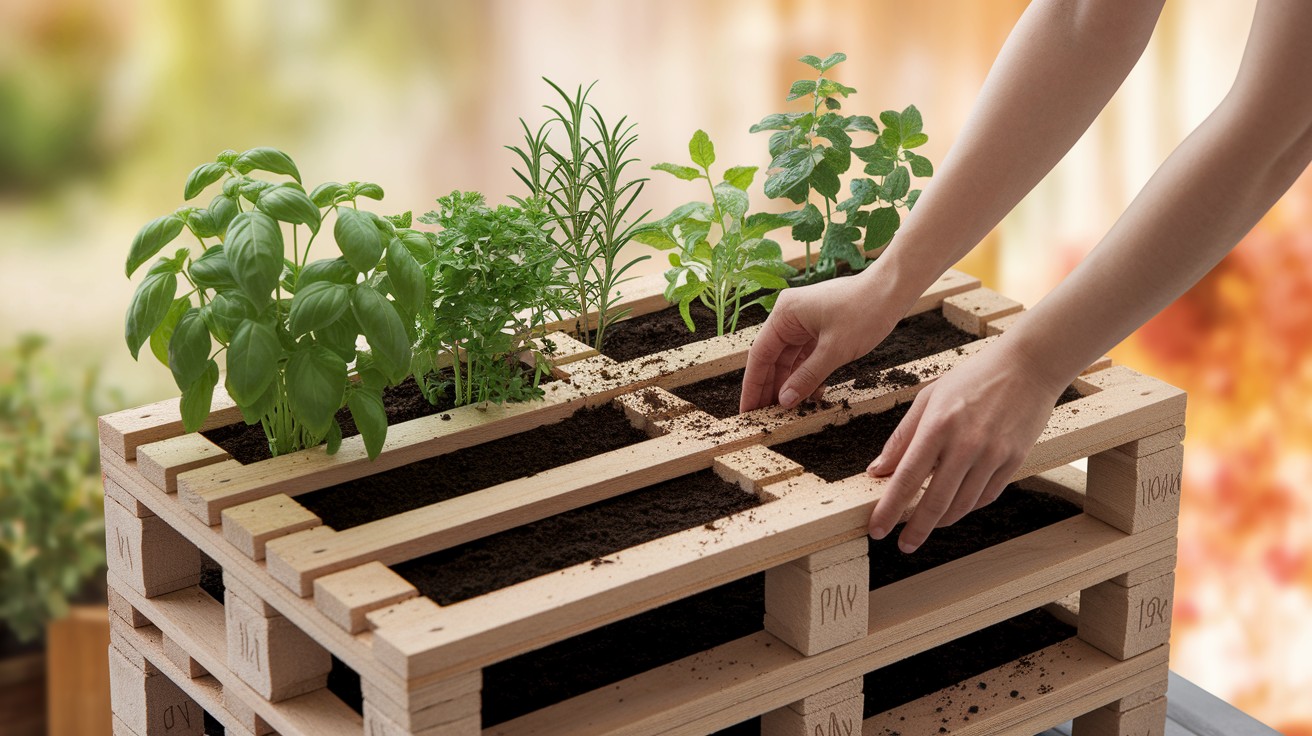
Time for the fun part – planting!
Soil Selection: Use quality potting mix. Not garden soil. Potting mix drains better and weighs less. Fill each pocket about 3/4 full.
Herb Choices for Beginners:
- Basil (loves warm weather)
- Parsley (grows in partial shade)
- Thyme (very low maintenance)
- Mint (grows fast, keep it contained)
- Oregano (hardy and useful)
- Chives (come back every year)
Planting Tips: Start with seedlings, not seeds. They establish faster. Space plants based on their mature size. Basil needs more room than thyme.
Root Care: Gently loosen root balls before planting. This helps roots spread into new soil faster.
Water immediately after planting. But don’t flood the pockets.
Positioning Your Pallet Garden
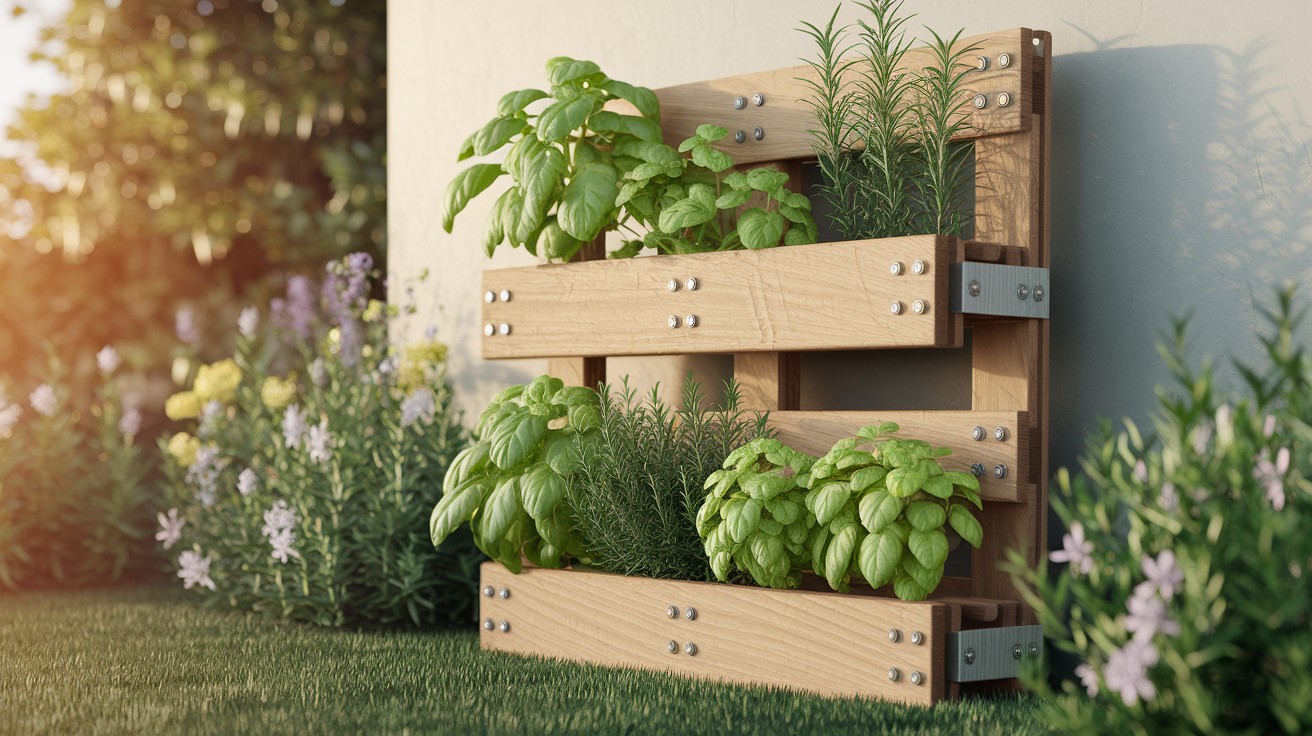
Location makes or breaks your herb garden.
Vertical vs. Horizontal: Vertical saves space but needs wall support. Horizontal sits on the ground but takes up more space. I prefer vertical for small spaces.
Support Methods:
- Lean against a sturdy wall
- Mount with heavy-duty brackets
- Build a simple A-frame stand
- Use fence posts for a freestanding setup
Sunlight Requirements: Most herbs need 6+ hours of direct sun daily. Morning sun is gentlest. Afternoon sun can be too intense in hot climates.
Access Considerations: You’ll water and harvest often. Keep the garden easy to reach. Don’t put it behind other plants or furniture.
Test the stability before adding plants. A wobbly pallet will stress your herbs.
Watering and Maintenance Tips
- Check the soil daily by sticking your finger into the top inch
- Water when the top feels dry, usually every 2-3 days
- Water slowly in the morning so it soaks in
- Use liquid fertilizer once a month during the growing season
- Pinch off flower buds to keep leaves growing
- Pick herbs often – it makes more leaves grow
- Remove yellow or damaged leaves right away
- Spray soapy water on bugs like aphids
- Plant marigolds nearby to keep pests away naturally
Seasonal Care and Replanting
- Move the pallet to a protected area in winter or cover with frost cloth
- Water more often in hot summer weather
- Provide afternoon shade when temperatures get very high
- Replace annual herbs like basil each year
- Perennial herbs like thyme come back on their own
- Add fresh potting soil each spring
- Compost old plants instead of throwing them away
- Take notes about what works best in your area
- Start with fewer herb types and add more as you learn
- Build more pallets when you get comfortable with the first one
Conclusion
You now have everything needed to build your pallet herb garden. It’s simpler than you thought, right?
This project saves money compared to buying fresh herbs. You get a better flavor than store-bought options. Plus, you know exactly how your food was grown.
Start with easy herbs like basil and parsley. Add more varieties as you gain confidence. Soon you’ll have more herbs than you can use.
The best part? You can expand anytime. Build multiple pallets. Try different herb combinations. Share extras with neighbors.
Your cooking will never be the same. Fresh herbs make every meal taste better.
Take a photo when your garden is complete. I’d love to see how yours turns out. Got questions along the way? Don’t hesitate to ask.
Happy gardening!
Frequently Asked Questions
How much does it cost to build a pallet herb garden?
Most pallet herb gardens cost between $30 and $50 to build. The pallet itself is often free or costs $5-10. You’ll spend about $15-20 on potting soil, $10-15 on landscape fabric and staples, and $15-25 on herb plants. Tools like sandpaper and a staple gun might add $20-30 if you don’t already have them. This is much cheaper than buying fresh herbs from the store for just a few months.
Which herbs grow best in pallet gardens?
Start with easy herbs that don’t need deep roots. Basil grows fast and loves warm weather. Parsley works well in partial shade. Thyme needs very little water or care. Oregano is hardy and useful for cooking. Chives come back every year. Mint grows quickly but stays contained in the pockets. Avoid deep-rooted herbs like rosemary unless you reinforce the pockets with extra wooden slats.
How often do I need to water my pallet herb garden?
Check the soil daily by sticking your finger into the top inch. If it feels dry, it’s time to water. This usually happens every 2-3 days in normal weather. Hot summer days might need daily watering. Rainy periods need less. Water slowly in the morning so it soaks in rather than running off. The vertical design drains faster than regular gardens, so you’ll water more often than ground plants.
Can I keep my pallet garden outside during winter?
This depends on your climate and the herbs you grow. Hardy herbs like thyme and oregano can survive light frost. Tender herbs like basil will die when temperatures drop below 50°F. In cold areas, move the pallet to a protected spot like a garage or cover it with frost cloth. You can also bring it indoors near a sunny window. Some people rebuild their gardens each spring with new annual herbs.
How long will a wooden pallet last in a garden?
An untreated pallet typically lasts 2-3 years outdoors before showing signs of rot or weakness. You can extend this by applying outdoor wood stain or sealant before planting. Choose pallets marked “HT” (heat-treated) as they resist decay better than untreated wood. Keep the pallet off direct ground contact and ensure good drainage to prevent rot. When it starts to weaken, you can easily rebuild with a new pallet and reuse your landscape fabric and tools.