
Updating your kitchen doesn’t have to be expensive. It can be budget-friendly! When I wanted a new look for my kitchen, I skipped costly renovations.
Instead, I decided to paint my kitchen cabinets. It was an easy, affordable project that made a big difference.
Watching my old cabinets turn into something fresh and modern felt amazing. This DIY project let me get creative and choose colors that matched my style.
Now, every time I enter my kitchen, I feel proud of what I accomplished with just a little effort and imagination. Let’s go step by step on how I transformed my cabinets and my kitchen.
What Made Me Decide to Paint My Kitchen Cabinets?
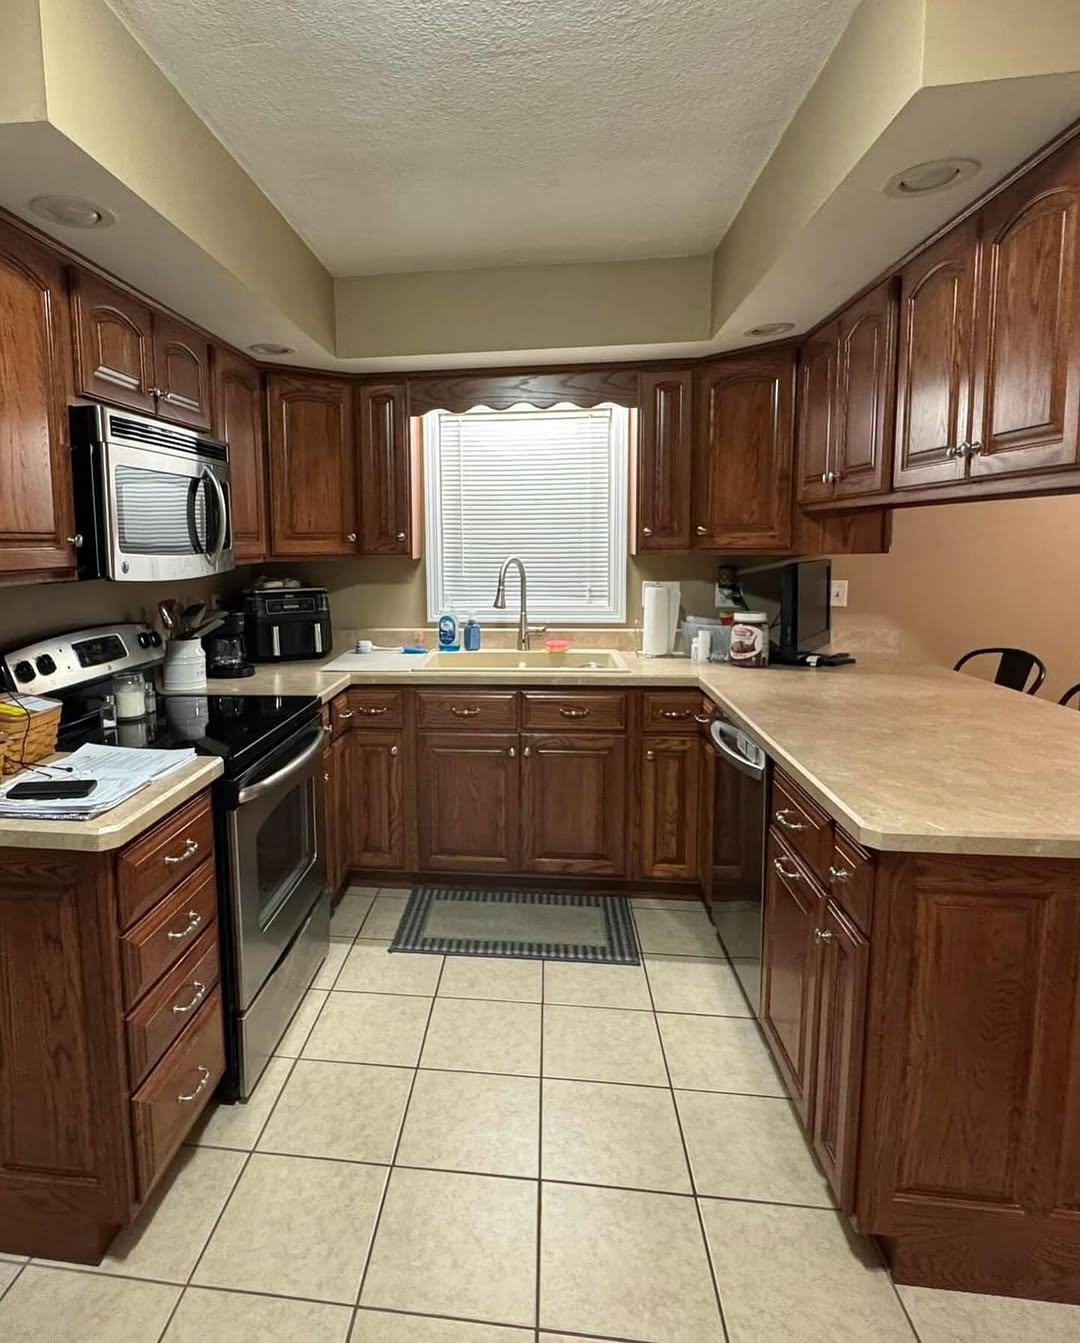
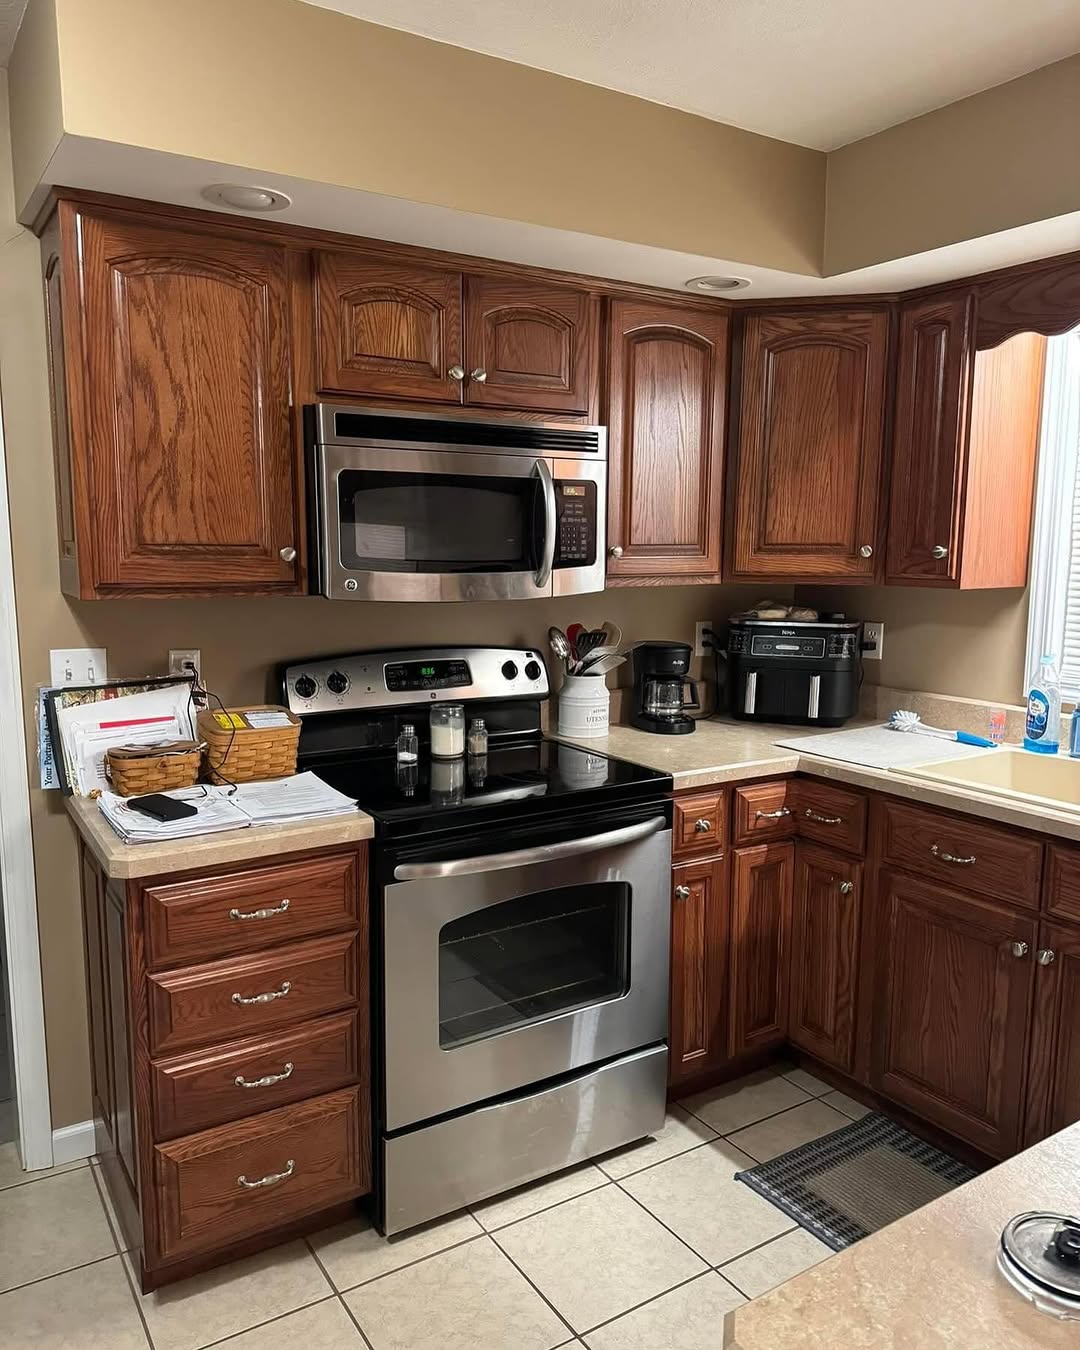
My kitchen was old-fashioned and lifeless-looking due to its dull cabinets. I decided to repaint them instead of replacing them and breathe new life into the space.
I was inspired by the idea of turning them into a bright, bold color that matched my style. The project was budget-friendly, and creative, and allowed me to personalize my kitchen.
The decision to paint also stemmed from my desire to make the space more inviting without undergoing a full renovation. I was so glad to know that it could be a cost-effective means to a stunning transformation. This project was a great balance between cost-effectiveness and creativity.
Tools Needed to Paint Kitchen Cabinets
Here’s the list of everything I used:
- Screwdriver
- Sandpaper (medium and fine grit)
- Degreaser or cleaner
- Painter’s tape
- Drop cloths
- Paint primer
- Paintbrushes (angled and flat)
- Foam rollers
- High-quality cabinet paint
- Tack cloth
- Paint trays
- Dust mask and gloves
- Optional: Electric sander for faster sanding
Having the proper tools is important to obtain a professional finish. I had everything ready beforehand to ensure that the process was smooth.
Investing in quality supplies, especially paint and brushes, made a huge difference in the final product.
Step-by-Step Painting Process of Kitchen Cabinets
1. Remove Cabinet Doors and Hardware
My first move was tackling the hardware. I unscrewed each door and drawer with care. Every knob and hinge went into labeled bags. This simple organization saved me hours later! I snapped quick photos on my phone for reference. A drop cloth underneath caught every tiny screw that tried to escape.
2. Clean Surfaces Thoroughly
Grease is the enemy of good paint. I armed myself with degreaser and went to war against years of cooking residue. The corners needed extra attention. Those sneaky spots hide the most stubborn grime! After a thorough rinse, I let everything dry completely. Clean cabinets create the perfect canvas for transformation.
3. Sand the Surfaces
My sandpaper became my best friend that weekend. I gently roughed up every inch of the smooth surface. My electric sander made quick work of the larger areas. The fine dust disappeared with a swipe of tack cloth. This crucial step creates tiny grooves that help paint grip like a rock climber on a cliff face.
4. Fill Imperfections
Every cabinet tells a story of dropped pots and bumped corners. Wood filler became my time machine. I filled each dent with precision. After drying, I sanded until my fingertips couldn’t detect any difference. The tack cloth swept away the last evidence of past kitchen mishaps.
5. Protect Surrounding Areas
The blue tape became my boundary line. I carefully outlined each cabinet frame. My kitchen floor disappeared under protective clothes. I double-checked every tape edge with my fingernail. This five-minute step saved me hours of cleanup later.
6. Prime the Cabinets
Primer is the unsung hero of cabinet makeovers. I loaded my brush for the detailed spots first. The foam roller glided over flat surfaces like skating on ice. Each cabinet has an even coat. The drying time tested my patience. A light sanding afterward created a surface smoother than a new countertop.
7. Paint the Cabinet Frames
My frames came first while doors waited their turn. The angled brush reached into every corner. My roller created streak-free surfaces with gentle pressure. Small sections kept me focused. The transformation began to take shape before my eyes.
8. Paint the Doors and Drawers
Small painters’ pyramids elevated my doors for all-around access. My foam roller created a finish like silk. Each stroke overlapped slightly for perfect coverage. Thin coats kept drips at bay. The color bloomed with each gentle pass.
9. Apply Multiple Coats
Patience pays off in layers. Each coat dried completely before the next began. The second coat brought the true color to life. A third coat on darker areas ensured perfect uniformity. These thin layers built a finish stronger than a single thick one ever could.
10. Sand Between Coats
My fingertips guided super-fine sandpaper between coats. Just enough pressure smoothed any tiny imperfections. The tack cloth removed invisible particles. This hidden step separates amateur results from professional finishes.
11. Allow Paint to Cure
The hardest part? Waiting. I gave my cabinets a full day to harden. This curing time creates a surface that withstands daily use. The extra hours of patience prevented heartbreaking smudges or scratches. My kitchen remained a work zone a little longer.
12. Reassemble Everything
Finally, assembly day arrived! Each door found its original home. Every hinge aligned perfectly thanks to my labels. Fresh hardware gleamed against the new finish. The blue tape peeled away to reveal crisp edges. A gentle wipe-down removed any fingerprints from my work. My kitchen stood transformed by my own two hands.
Conclusion
Painting the kitchen cabinets was, in my opinion, quite a rewarding DIY project—it transformed the look of my kitchen without spending hundreds of dollars.
It will take time and effort, but it’s definitely worth that minute. If your kitchen needs some refreshment or renewal, then painting the cabinets would be just an ideal solution for you. With some patience and great tools, you can recreate a marvelous transformation in that space.
Trust me, they are worth it I really learned the value of hard work and creativity out of this project, so I could recommend it even more for upgrading a kitchen in anybody’s home.
FAQs
How much does it cost to paint kitchen cabinets yourself?
Painting kitchen cabinets yourself can save hundreds compared to renovations. Budget around $200-300 for quality primer, cabinet-specific paint, brushes, rollers, and sandpaper. Investing in better materials pays off with a more professional finish and greater durability—a small price for transforming your kitchen’s appearance!
How long does the cabinet painting process take?
The process takes about 1-2 weekends. Preparation (removal, cleaning, sanding) and drying time between coats are the most time-consuming parts. Allow a full 24 hours before reassembly. Patience during each step ensures your cabinets will look professional and last for years.
Do I need to remove cabinet doors when painting?
Yes! Removing doors is essential for professional results. It allows complete access to all surfaces, prevents drips, and enables even application. Label each piece for easier reassembly. Though it requires extra effort initially, this step dramatically improves your outcome.
What type of paint works best for kitchen cabinets?
Cabinet-specific paint with a satin finish offers the perfect balance of durability and elegance. These specialized formulations resist scratches, grease, and frequent cleaning crucial for high-traffic areas. Proper cabinet paint prevents peeling and maintains its beauty for years longer.
How do I prevent brush marks when painting?
Achieve a smooth finish by using foam rollers for flat surfaces and high-quality angled brushes for corners. Apply thin, even coats rather than thick ones. Sand lightly between layers with a fine-grit sandpaper. Work in long, consistent strokes and maintain a “wet edge” to prevent visible lines.
Is priming necessary before painting?
Absolutely! Priming creates the perfect bonding surface, blocks stains from bleeding through, and ensures true color vibrancy. Even with “paint+primer” products, using a separate quality primer first dramatically improves adhesion and extends the life of your cabinets.
How do I choose the right color for my cabinets?
Consider your kitchen’s natural light, countertops, backsplash, and overall home aesthetic. Test samples on cabinet backs first. White creates brightness and timelessness, while bold colors like teal or navy can make a stunning statement. Choose what brings you joy—you’ll see these cabinets every day!
How do I prep cabinets with years of grease buildup?
Use a strong degreaser like TSP. Scrub thoroughly, focusing on corners where grease accumulates. Rinse completely and allow to dry fully. This critical step ensures proper adhesion skipping it often leads to peeling and an uneven finish later.