
Looking to refresh your home without a complete renovation? Modern door trim might be exactly what you need.
This simple update can transform ordinary doorways into architectural features that elevate your entire space.
Whether you’re a DIY beginner or a seasoned home improver, installing modern door trim is a weekend project that delivers professional-looking results without breaking the bank.
In this guide, we’ll walk you through each stage of the process – from selecting the right modern door trim style for your home to the final touches that make all the difference.
No complicated jargon, just straightforward steps anyone can follow. Let’s turn those plain doorways into stunning design elements that will impress your guests and bring you joy every day!
What is a Modern Door Trim?

Modern door trim is the decorative molding that frames your doorways. Unlike older, ornate styles, modern trim features clean lines and simple shapes that fit today’s homes.
Door trim serves two main purposes. First, it covers the gap between your wall and door frame, giving a finished look. Second, it adds style to your home without major renovations.
You’ll find modern door trim in various materials like wood, MDF (medium-density fiberboard), or PVC. Each offers different benefits in terms of cost, durability, and ease of installation.
Popular modern trim styles include:
- Flat trim with square edges for a minimalist look
- Slightly rounded trim for a softer feel
- Simple, one-piece designs that install quickly
The right modern door trim can update your entire home’s look. It’s amazing how this small change can make rooms feel fresh and current without breaking your budget or requiring advanced DIY skills.
Before starting your modern door trim project, gather these basic tools and materials to make the job go smoothly:
Essential Tools and Materials

Having everything ready before you start will save you time and help you finish your modern door trim project in one weekend.
Make sure to measure your doorways carefully so you buy the right amount of trim materials.
Tools
- Tape measure for accurate sizing
- Miter saw to cut trim at perfect angles
- Hammer or nail gun to attach trim to wall
- Level to ensure straight installation
- Caulk gun for filling gaps
- Sandpaper (medium and fine grit)
- Putty knife for filling nail holes
- Pencil for marking measurements
Materials
- Modern door trim pieces (enough for top and both sides)
- Finishing nails or brad nails
- Wood filler to cover nail holes
- Painter’s tape for clean paint lines
- Caulk to seal gaps
- Paint or stain for finishing
- Primer of painting
Step-by-Step Guide to Installing Modern Door Trim
Installing modern door trim transforms your doorways with clean, stylish lines. Follow these simple steps to update your home with this popular upgrade. Anyone can achieve professional results with a bit of patience.
Step 1: Remove Old Trim

- Carefully pry off existing trim using a pry bar
- Work slowly to avoid damaging your walls
- Remove any leftover nails or staples
- Clean the surface area around the door frame
Step 2: Measure Your Doorway
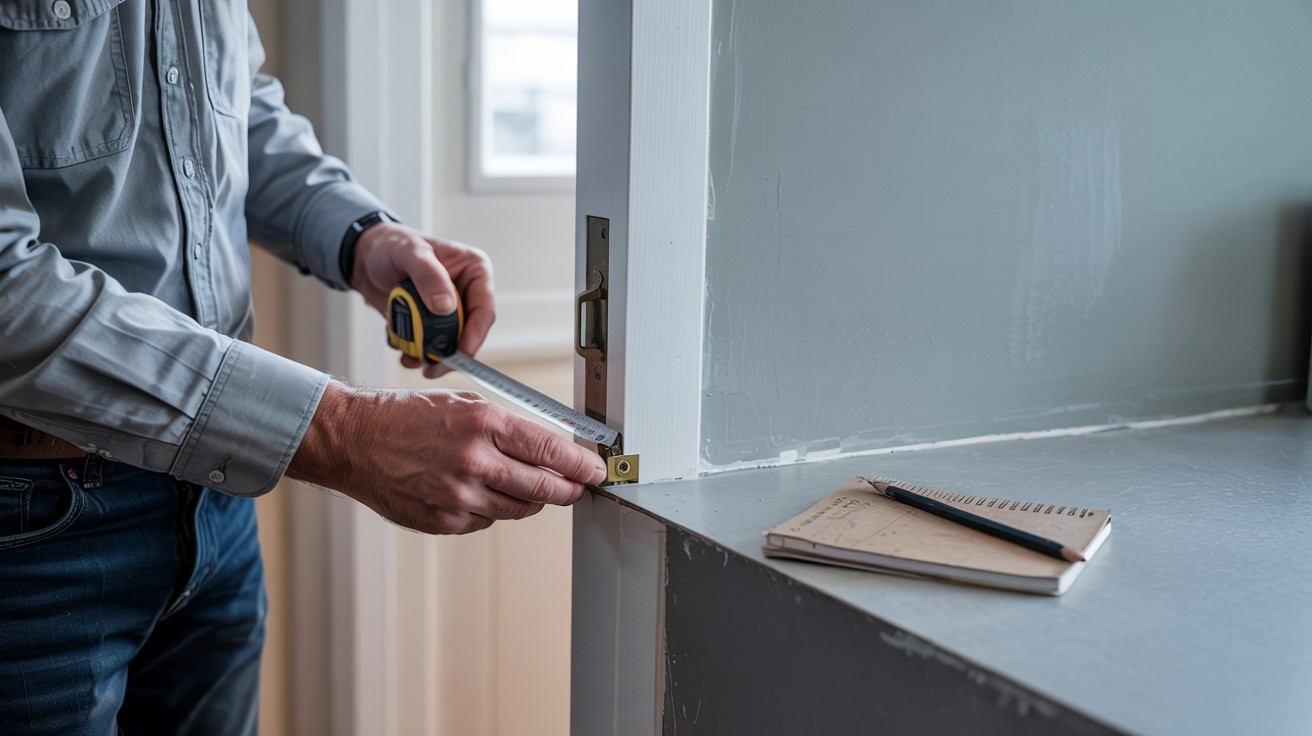
- Measure the height of both sides of the door frame
- Measure the width across the top of the frame
- Add about 1/4 inch to each measurement for overlap
- Write down all measurements for reference
Step 3: Cut Your Modern Door Trim
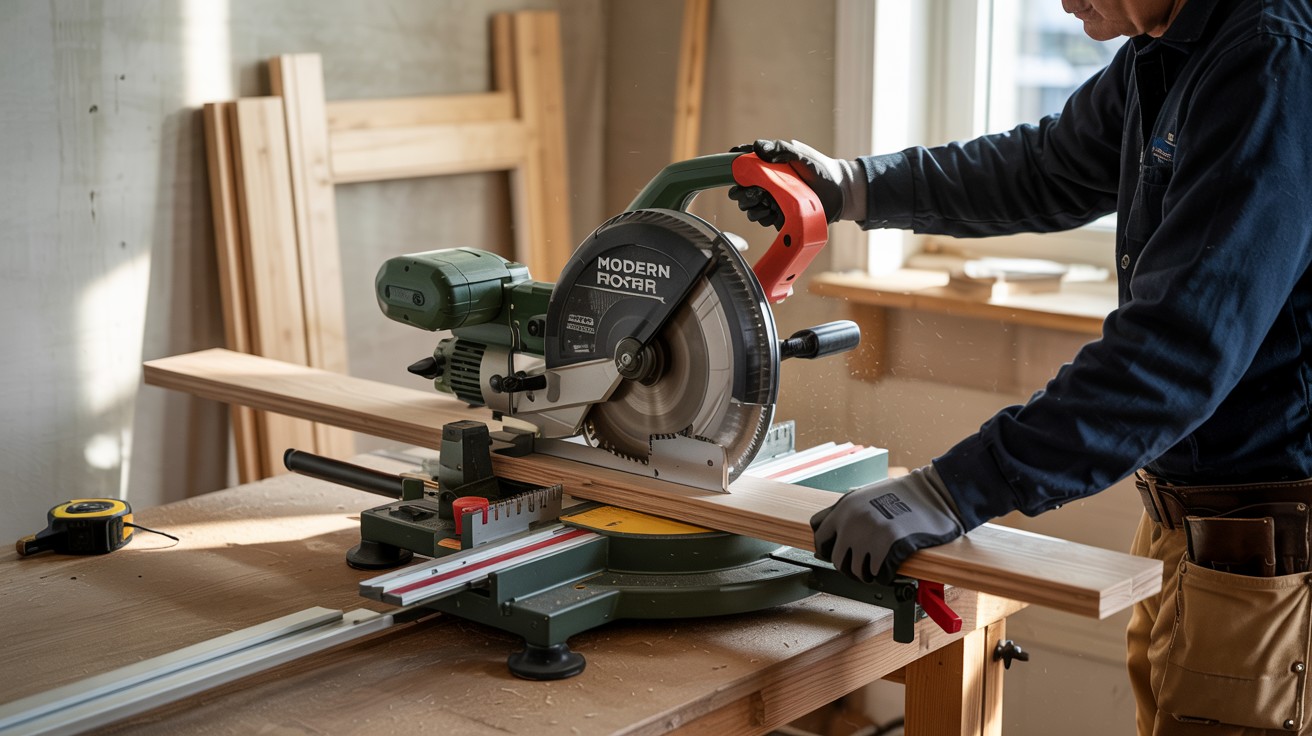
- Set miter saw to 45 degrees for corner joints
- Cut side pieces with angles at the top, straight at bottom
- Cut the top piece with angles at both ends
- Test fit all pieces before attaching
Step 4: Attach Side Pieces First
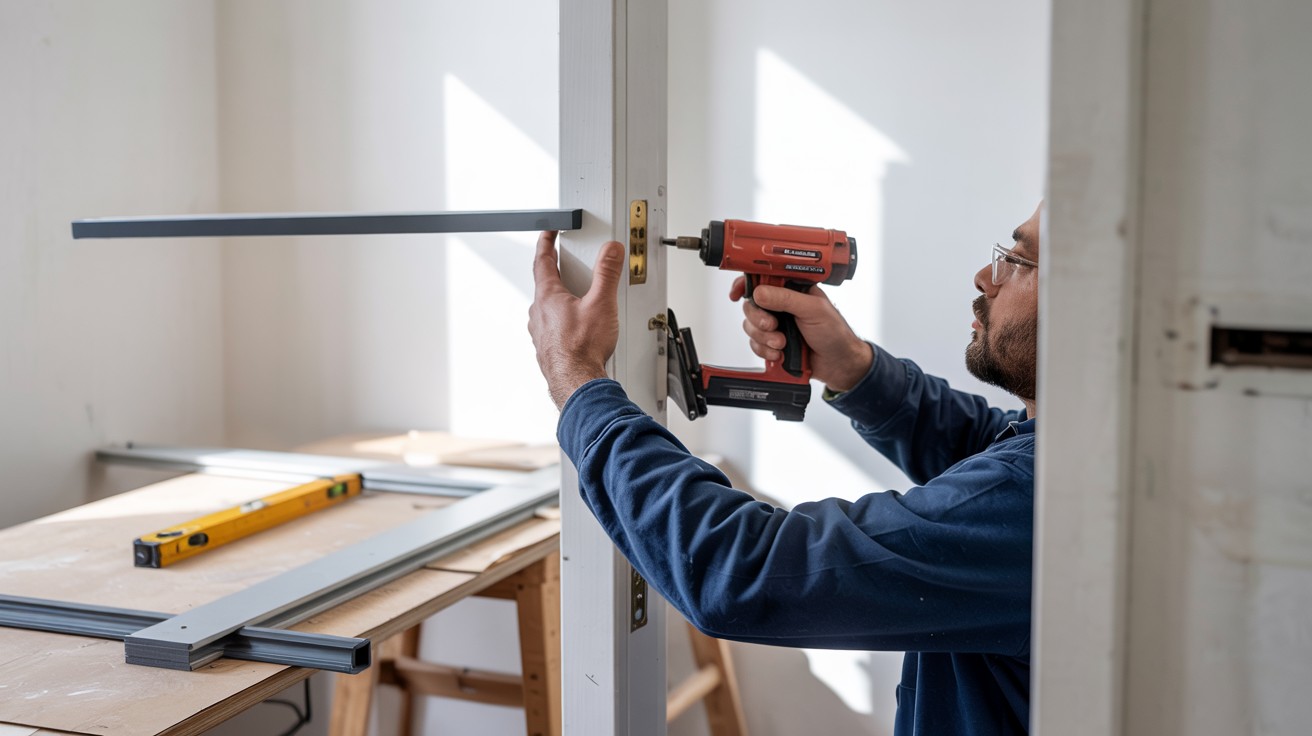
- Position first side piece flush against door frame
- Check for level alignment
- Secure with finishing nails every 16 inches
- Repeat with second side piece
Step 5: Install Top Trim Piece
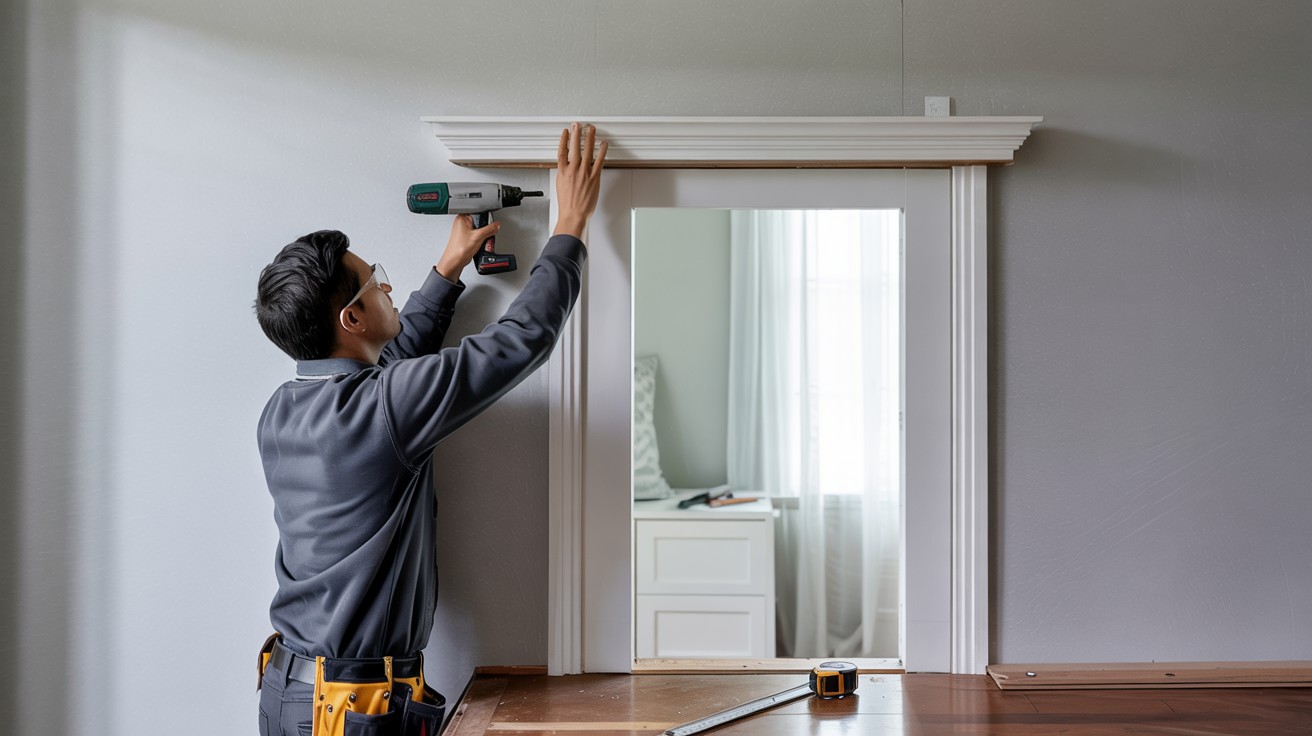
- Place top piece so mitered corners match side pieces
- Ensure fit is snug with no gaps
- Secure with nails through the face of the trim
- Check that all corners align perfectly
Step 6: Fill Holes and Finish
- Use wood filler to cover all nail holes
- Let dry completely, then sand smooth
- Apply caulk to fill any small gaps
- Paint or stain your modern door trim
- Allow adequate drying time
Common Mistakes to Avoid
When installing modern door trim, watch out for these common errors that can affect your final results. Taking time to avoid these mistakes will help ensure your project looks professional.
- Always measure twice and cut once to prevent wasting materials.
- Set your saw to exactly 45 degrees for clean corner joints.
- Test how trim pieces fit together before nailing them in place.
- Space nails about 16 inches apart for secure attachment.
- Fill nail holes completely for a smooth, finished look.
- Wait for wood filler and caulk to dry completely before painting.
- Apply a clean bead of caulk along all edges of your modern door trim.
- Check for level alignment throughout the installation process.
- Use sharp saw blades for cleaner cuts on your trim pieces.
- Remove old trim carefully to avoid wall damage that needs repair.
- Select the right trim thickness for your door frame and wall style.
- Store trim in your home for 48 hours before installing to prevent warping.
Final Thoughts and Styling Tips
Modern door trim adds clean lines and fresh style to your home. Here are some final tips to make the most of your new trim.
|
Trim Style |
Best For |
Paint Recommendation |
|
Flat trim |
Minimal, modern homes |
Semi-gloss white or black |
|
Stepped trim |
Transitional spaces |
Satin finish in wall color |
|
Beveled trim |
Added dimension |
High-gloss accent color |
|
Square edge |
Clean, contemporary look |
Matte neutral tones |
|
Simple rounded |
Softened modern style |
Same color as walls |
The right trim can update your entire home with just a weekend of work, making it one of the most cost-effective upgrades for today’s homeowners.
Conclusion
Installing modern door trim is a simple project that makes a big impact in your home.
We’ve covered everything from choosing the right materials to avoiding common mistakes, giving you all the know-how to tackle this weekend project with confidence.
Modern door trim offers the perfect blend of function and style, covering gaps while adding clean lines to your doorways. Even beginners can achieve professional-looking results by following our step-by-step guide.
Ready to transform your doorways? Gather your tools, follow these steps, and enjoy your updated space. The results will amaze you!
Share your before-and-after photos in the comments below, or tag us on social media. For more home improvement guides, subscribe to our newsletter.
Frequently Asked Questions
How Much Does Modern Door Trim Cost?
Modern door trim typically costs between $1-$5 per linear foot, depending on the material. A complete doorway might run $30-$100 total, making it an affordable update for most homes.
Can I Install Modern Door Trim Myself?
Yes! Modern door trim installation is beginner-friendly. With basic tools and patience, most homeowners can complete this project in a weekend without hiring professionals.
What’s the Difference Between Modern and Traditional Door Trim?
Modern door trim features clean lines, minimal details, and simpler profiles. Traditional trim tends to have more ornate designs, curves, and decorative elements that add a classic look.
How do I Match Modern Door Trim with My Home’s Style?
Choose flat, square-edged trim for contemporary homes. For transitional styles, select slightly more detailed trim. The key is simplicity—modern trim works in almost any space when kept clean and understated.