
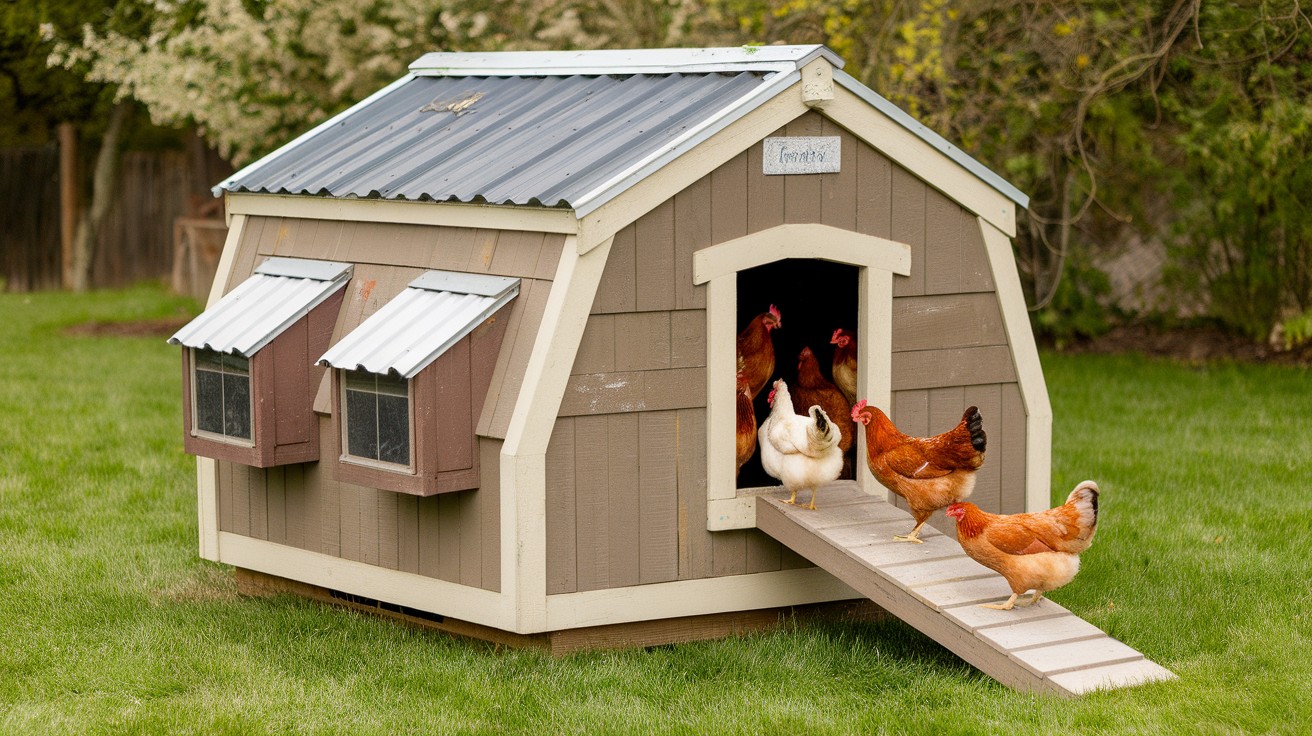
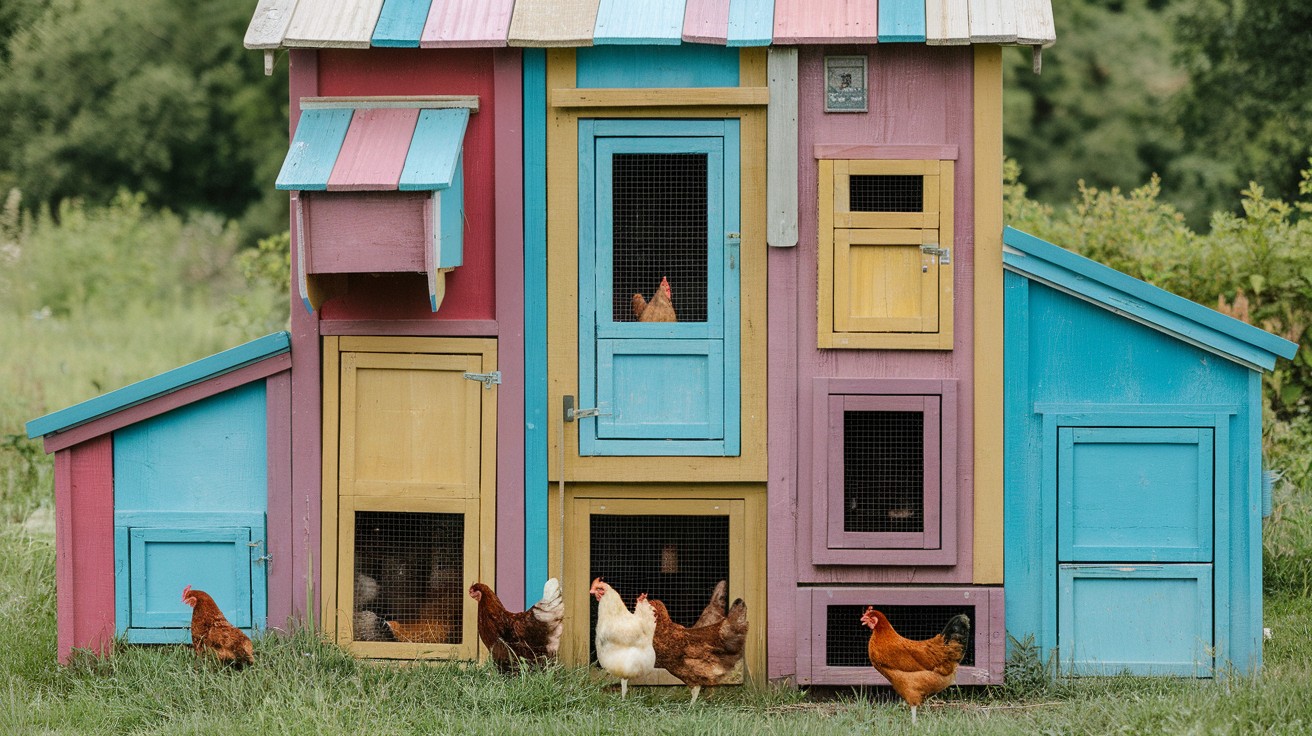
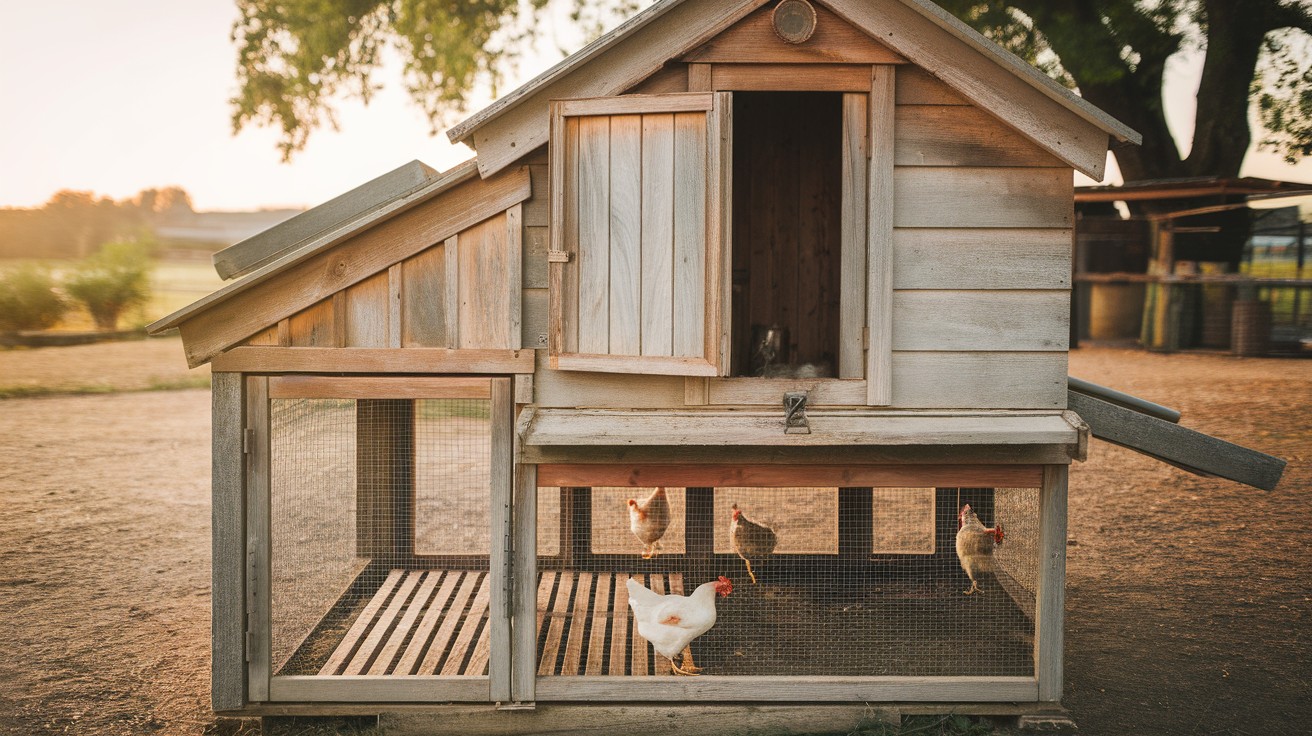
Building a low cost DIY chicken coop shouldn’t cost a fortune. You want to keep chickens happy without emptying your wallet. I get it. Store-bought coops cost $300-800. That’s crazy expensive for most families.
In this guide, you’ll find 19 proven coop designs that cost under $100. I’ll show you exactly which materials to use, where to find them free, and how to avoid costly mistakes.
Here’s my promise: These aren’t Pinterest fantasies. I’ve built these coops myself and helped over 500 families do the same.
You’ll learn:
- Simple designs that work
- Where to find free materials
- Essential features every coop needs
- Common mistakes that waste money
Ready to build? Your chickens are waiting for their new home.
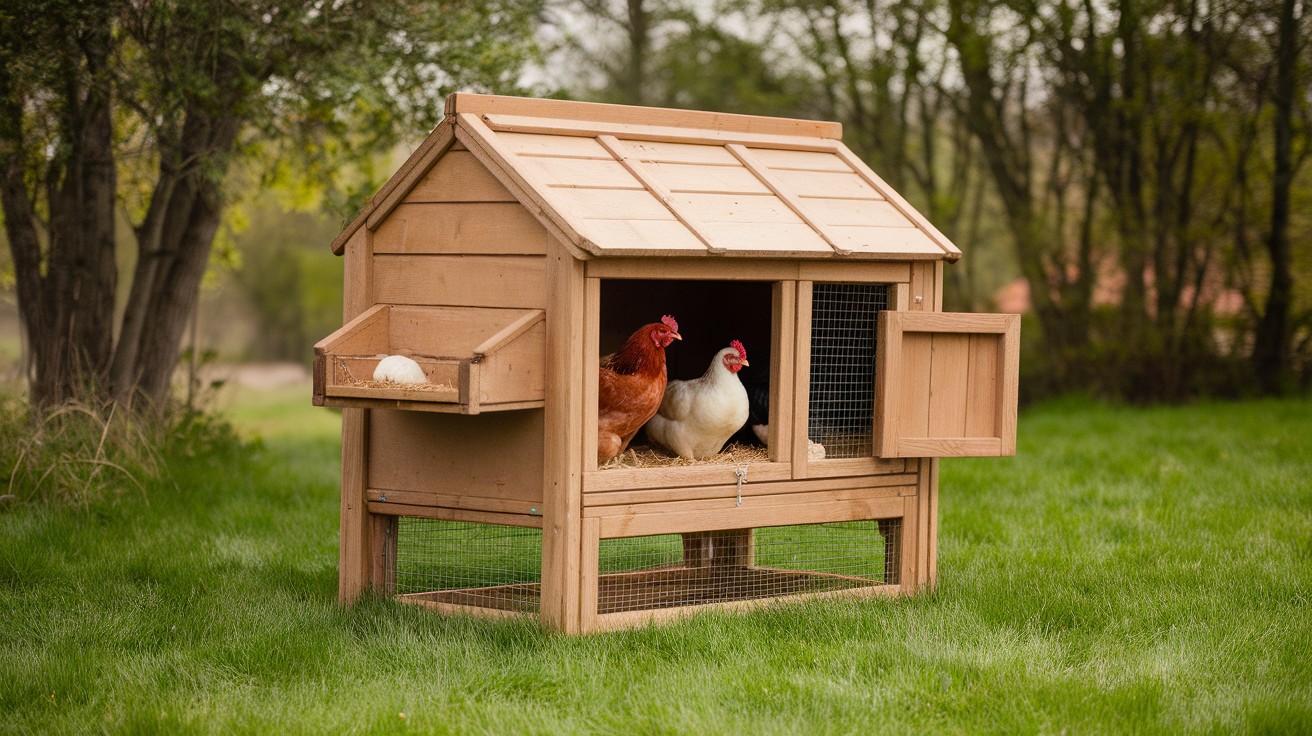
What Makes a Chicken Coop “Low Cost”?
A truly affordable coop uses free or cheap materials you can find anywhere. Think pallets, scrap wood, and items heading to the trash.
The magic happens when you:
- Use recycled materials
- Keep designs simple
- Focus on function over fancy looks
- Buy only essential hardware
Here’s the truth: Your chickens don’t care if their coop looks like a Pinterest photo. They want safety, comfort, and dry shelter.
Tools & Materials to Build on a Budget

You don’t need a workshop full of expensive tools. Here’s what actually matters:
Essential Tools:
- Drill with bits
- Circular saw (borrow one if needed)
- Hammer
- Level
- Measuring tape
Smart Material Sources:
- Craigslist: Search “pallets,” “scrap wood,” “free”
- Construction sites: Ask politely for leftover materials
- Facebook Marketplace: Type “building materials”
- Habitat for Humanity ReStore: Discounted new materials
I found enough materials for a 6-chicken coop for $47 last month. You can too.
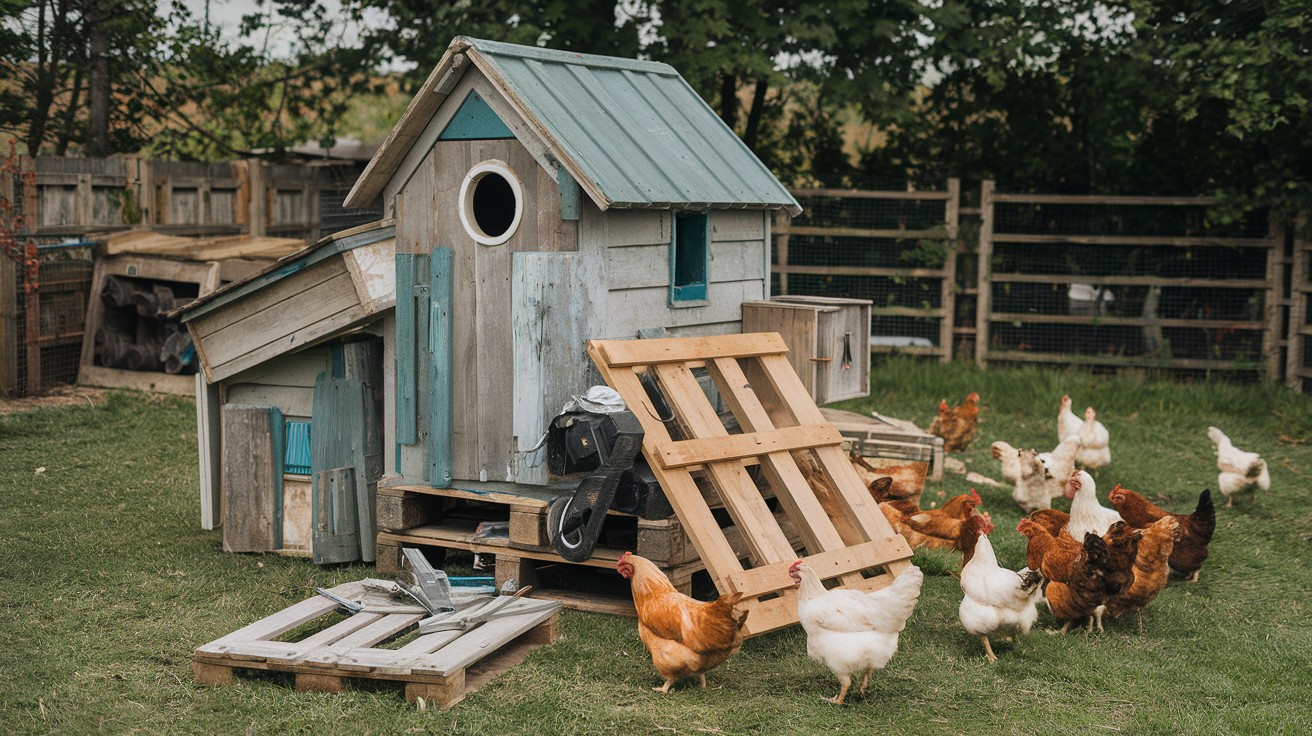
Pallet Wood Chicken Coops
1. Rustic A-Frame Pallet Coop

This design uses just three pallets and creates a sturdy triangular shelter. The steep roof sheds rain perfectly.
You’ll need:
- 3 matching pallets
- Roofing material (metal sheets work great)
- Hinges for access door
- Hardware cloth for ventilation
Pro tip: Sand the pallets lightly to remove splinters. Your hands will thank you.
2. Pallet Coop with Attached Run
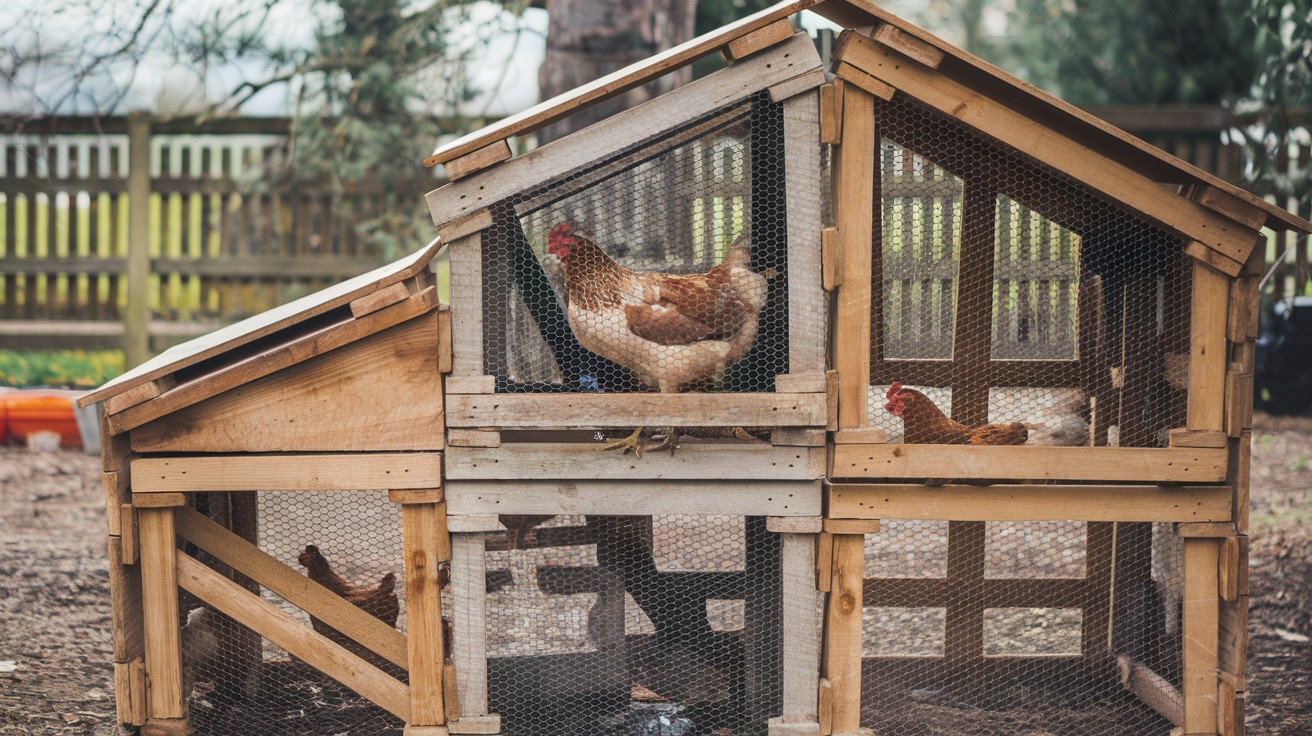
Connect two pallets at a right angle and add a third as the roof. This gives your chickens indoor and outdoor space in one structure.
You’ll need:
- 3 large pallets
- Wire mesh for run walls
- Hinges for doors
- Corner brackets for stability
Pro tip: Use zip ties to attach mesh quickly. They’re cheaper than clips and just as strong.
3. Mini Urban Pallet Coop for 2-3 Chickens
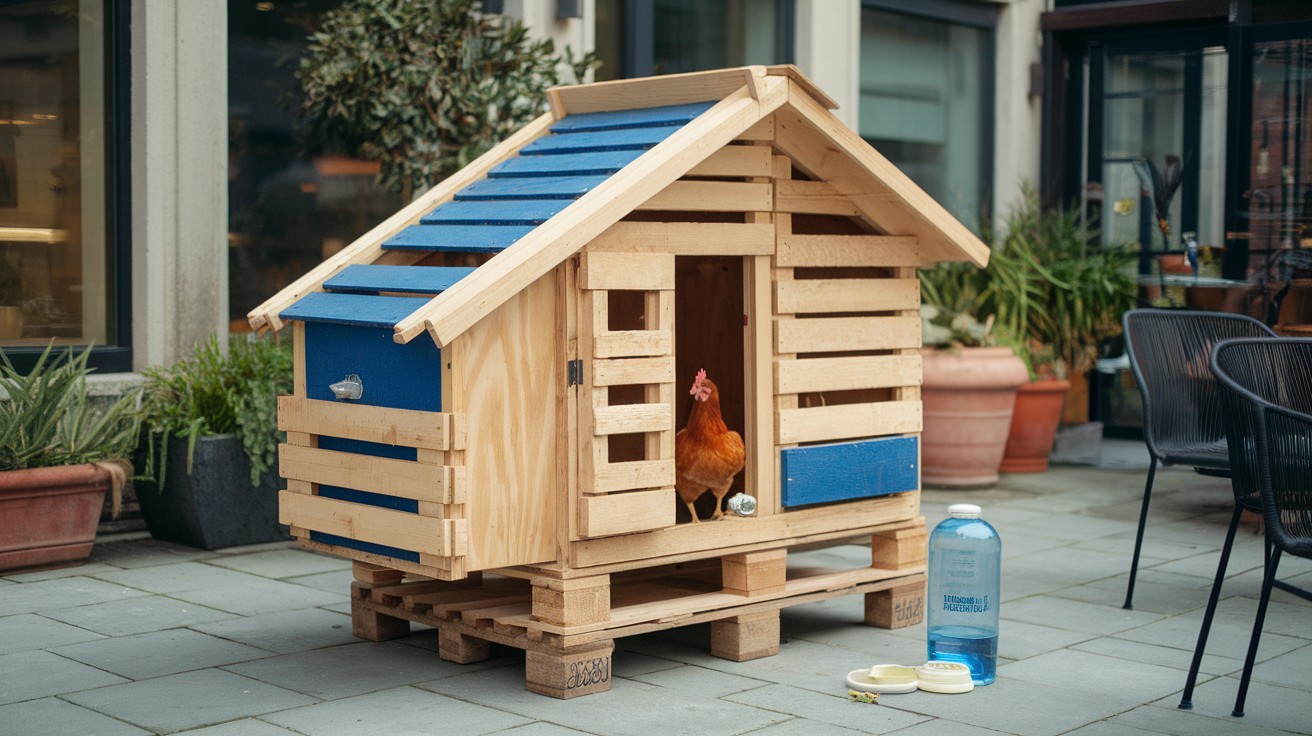
Perfect for city backyards with limited space. Use one pallet as the base and create walls from pallet boards.
You’ll need:
- 2 pallets (one for base, one for boards)
- Small sheet of plywood for roof
- 2-3 hinges for access
- Hardware cloth for ventilation
Pro tip: Raise it on concrete blocks to prevent rot and improve drainage.
Upcycled Furniture Coops
4. Turn a Dresser into a Nesting Box Setup
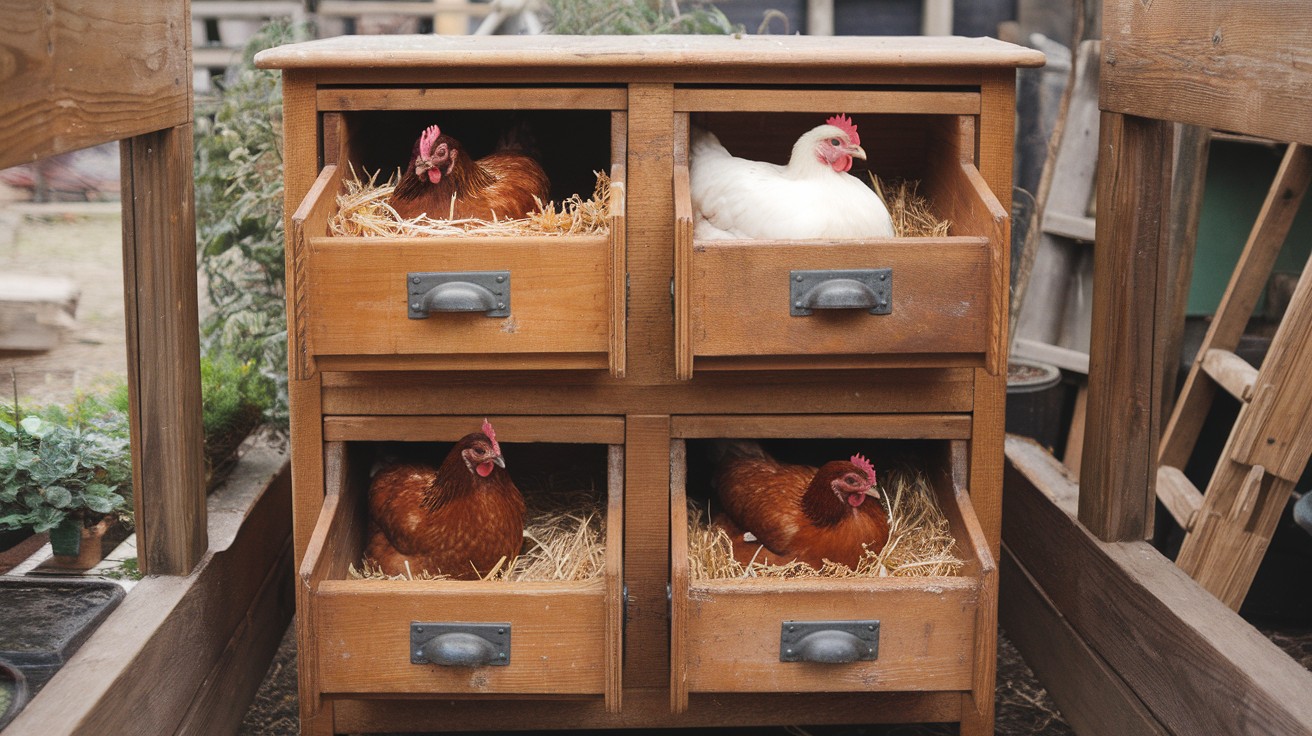
Old dressers make perfect nesting areas with built-in compartments. Remove the top drawers and add perches for a complete setup.
You’ll need:
- Large dresser (4+ drawers work best)
- Roosting bars (1-inch dowels)
- Hardware cloth for ventilation
- Hinges to convert drawers to nesting boxes
Pro tip: The bottom drawers become storage for feed and supplies – double functionality.
5. Repurpose an Old Doghouse
Large doghouses need minimal modifications to become chicken coops. They’re already weatherproof and predator-resistant.
You’ll need:
- Large doghouse (big enough for 2-4 chickens)
- Roosting bars for interior
- Small nesting boxes for the side
- Hardware cloth for ventilation holes
Pro tip: Add a small ramp if the entrance is too high for chickens to hop into easily.
6. DIY Coop from a Baby Crib or Playpen
The existing slats provide natural ventilation while keeping chickens secure. Just add a roof and nesting area.
You’ll need:
- Old crib or large playpen
- Plywood or metal for roofing
- Small wooden boxes for nesting
- Tarp or plastic sheeting for weather protection
Pro tip: Remove any lead paint first – sand and repaint with chicken-safe colors.
7. Old Cabinet with Wire Mesh Door
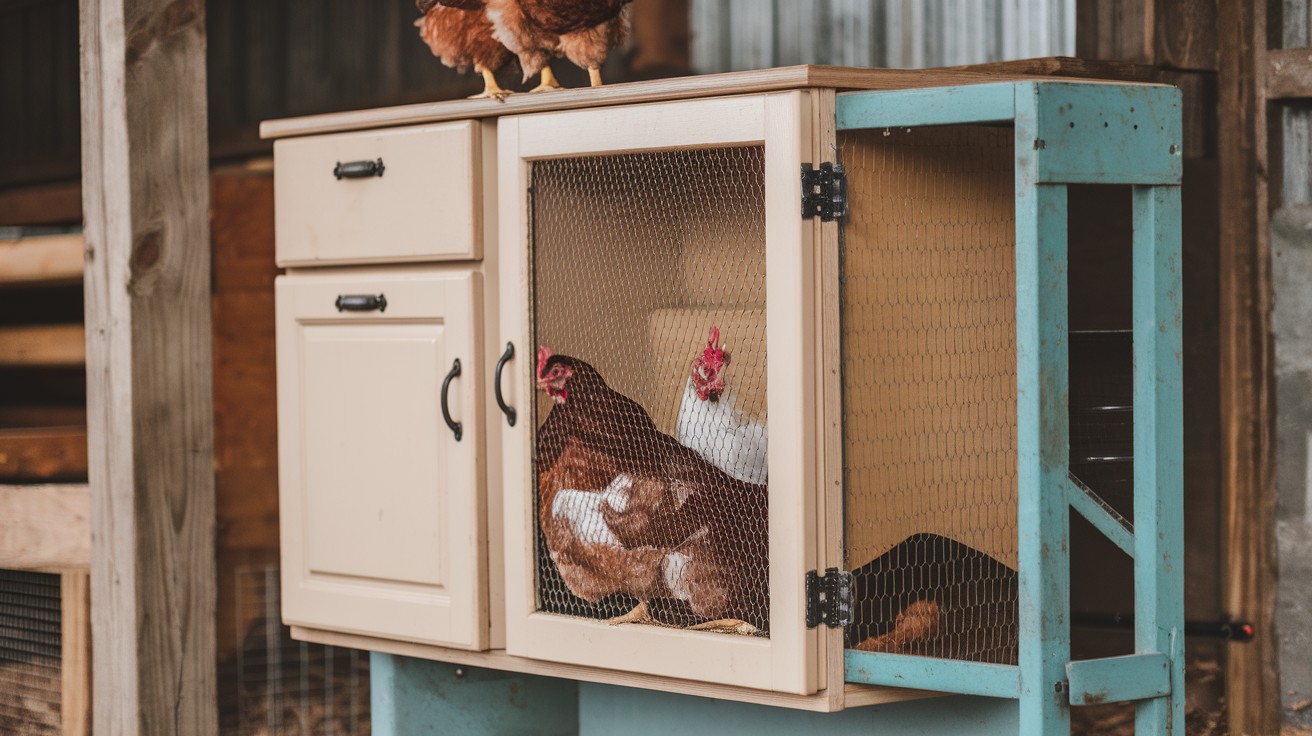
Kitchen cabinets work surprisingly well as small coops. Replace the solid door with mesh for airflow.
You’ll need:
- Large kitchen cabinet
- Hardware cloth for door replacement
- Small hinges for access
- Roosting bar inside
Pro tip: Mount it off the ground on legs or brackets for better predator protection.
PVC & Tarp Mobile Coops
8. Coop with Wheels for Easy Lawn Movement
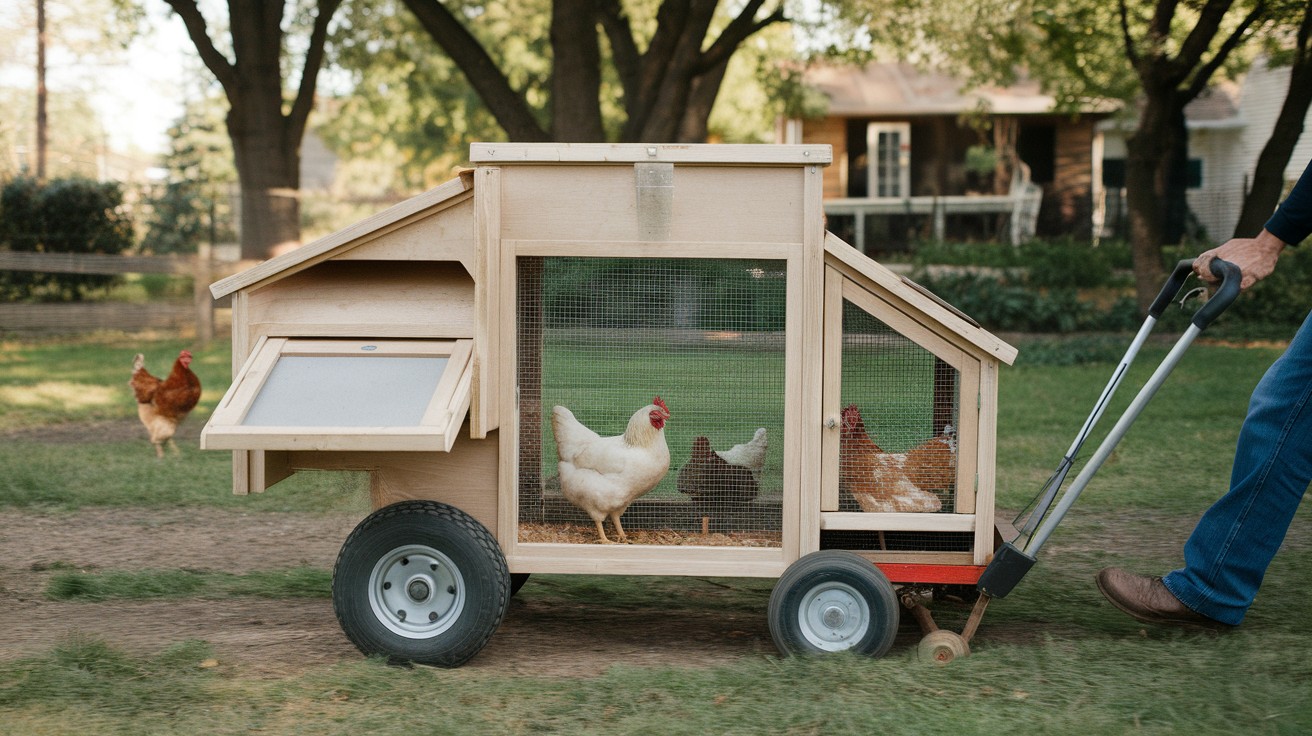
Add lawnmower wheels to any coop design for effortless movement. No more lifting or dragging across the yard.
You’ll need:
- 2 lawnmower wheels (8-inch work well)
- Axle rod or strong dowel
- Metal brackets for wheel mounting
- Handle on opposite end for pulling
Pro tip: Position wheels at the heavy end to balance the weight when moving.
9. Rainproof Tarp Roofing System

Create weatherproof shelter using tarps and simple techniques. This method keeps costs low while protecting chickens.
You’ll need:
- Heavy-duty tarp (12oz minimum weight)
- Bungee cords for securing
- Grommets for reinforcement
- PVC or wooden frame for support
Pro tip: Secure tarps with zip ties through grommets – they won’t snap like bungee cords.
10. Portable Chicken Tunnels (Chunnels)
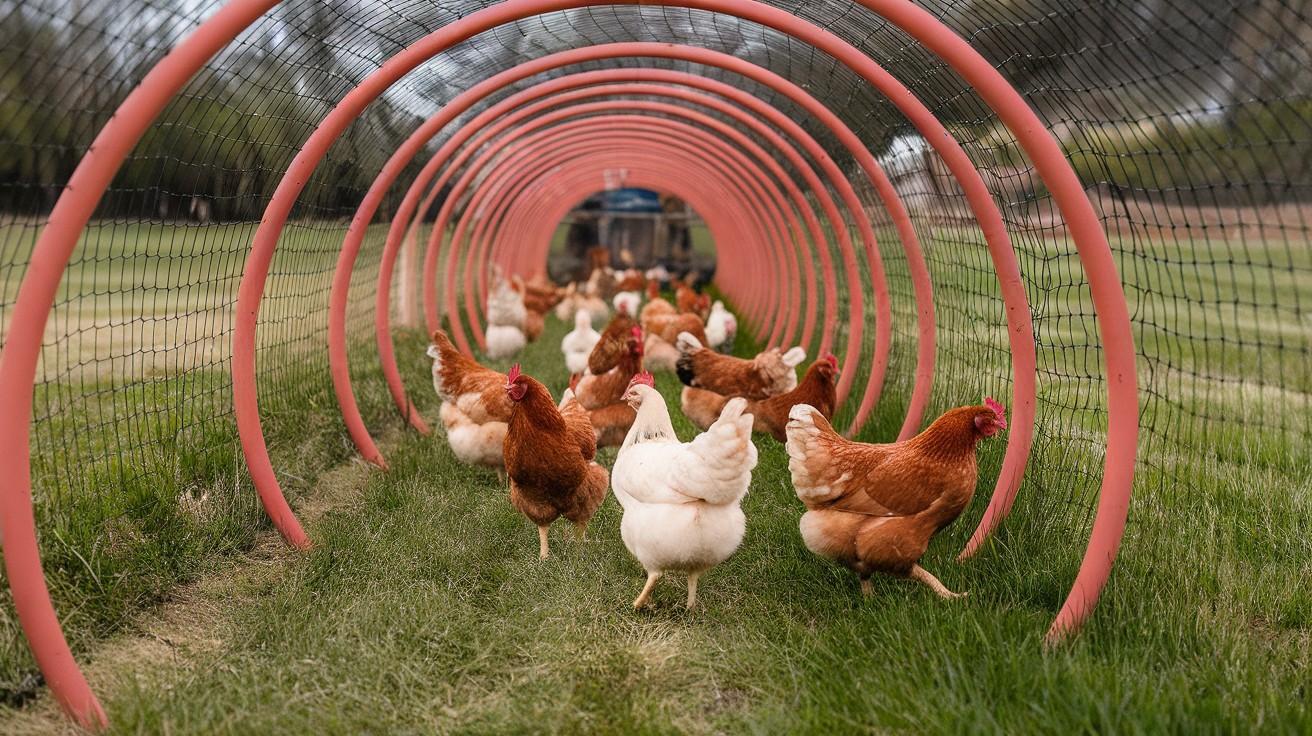
Connect PVC hoops with chicken wire to create safe exploration tunnels. Chickens can roam while staying protected from predators.
You’ll need:
- PVC pipes bent into hoops
- Hardware cloth or chicken wire
- Ground stakes or tent pegs
- Zip ties for connections
Pro tip: Make sections that disconnect easily for storage and cleaning.
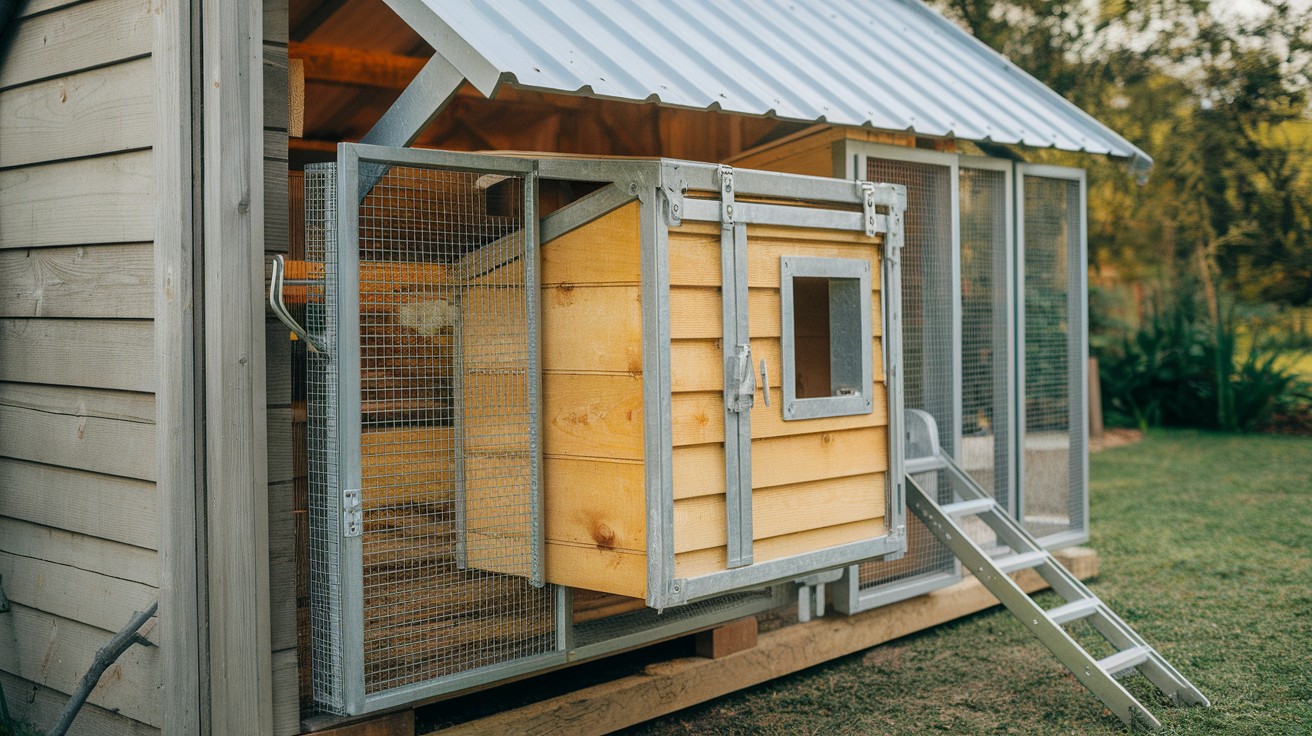
Scrap Wood + Roofing Coops
11. Mixed-Material Coop with Leftover Fence Boards
Combine different wood types for walls and paint everything the same color. It looks intentional instead of scrappy.
You’ll need:
- Various fence boards and scrap lumber
- Exterior paint (one color unifies the look)
- Roofing material (metal or shingles)
- Basic hardware (screws, hinges, latches)
Pro tip: Sort wood by thickness first – use thicker pieces for the frame and thinner for siding.
12. DIY Gabled Roof with Old Sheet Metal
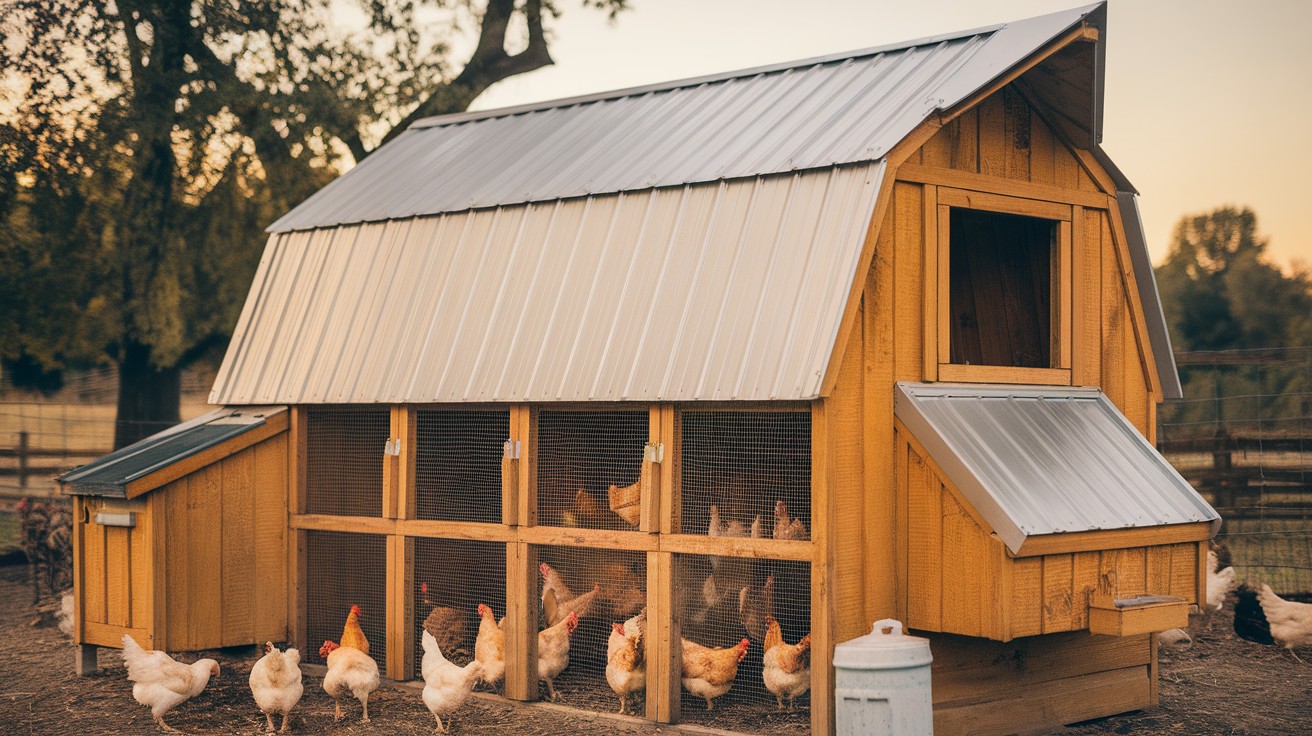
Metal roofing lasts decades and gives your coop a classic barn look. Check construction sites for leftover pieces.
You’ll need:
- Sheet metal roofing (corrugated works great)
- Wooden frame for roof structure
- Metal roofing screws with rubber washers
- Ridge cap for the peak
Pro tip: Overlap sheets by at least 6 inches and seal with roofing caulk to prevent leaks.
13. Rain Gutter Nesting Box Hack
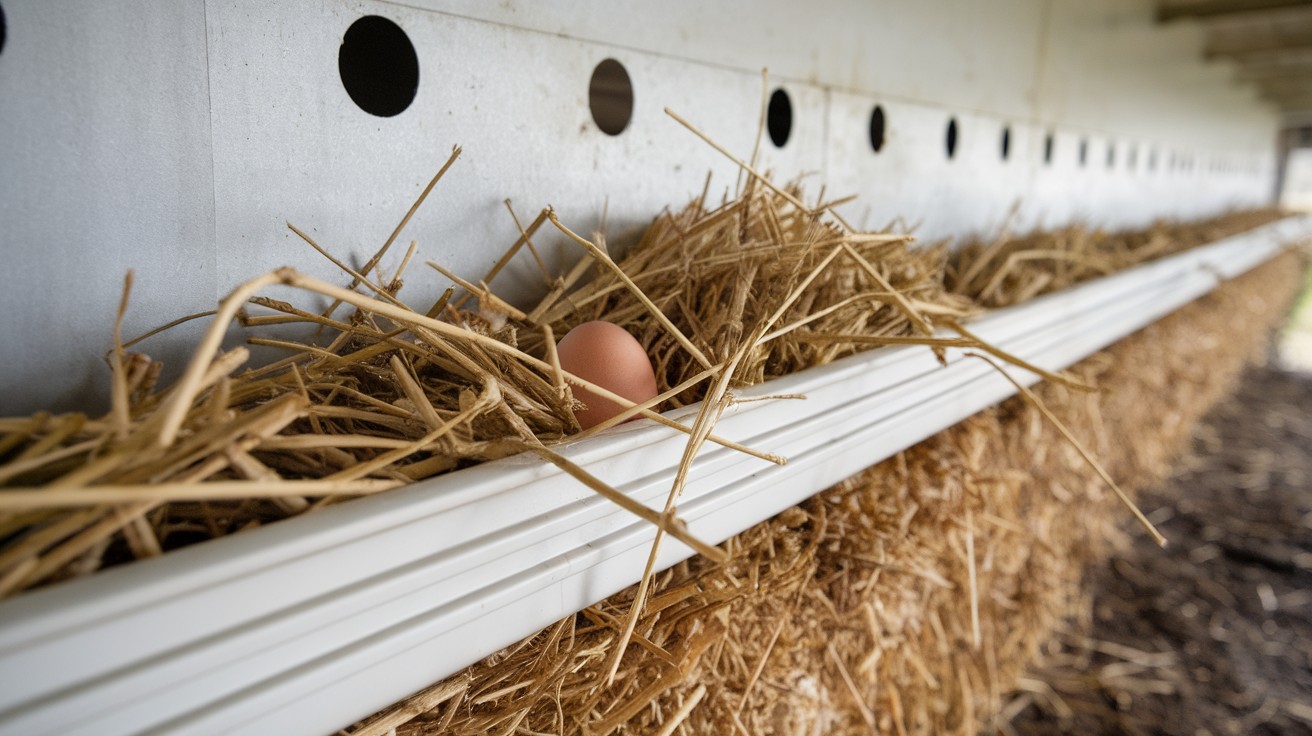
Mount gutters horizontally as ready-made nesting boxes. They’re the perfect size and slope slightly for egg rolling.
You’ll need:
- Vinyl or aluminum rain gutters
- End caps for gutters
- Mounting brackets
- Straw or wood shavings for lining
Pro tip: Use 6-inch gutters – they’re deeper than 4-inch and more comfortable for hens.
14. Coop Made from Reclaimed Barn Wood
Old barns being demolished often have free weathered wood available. The aged look is beautiful and authentic.
You’ll need:
- Reclaimed barn boards (various sizes)
- Basic framing lumber for structure
- Metal roof to complement the rustic look
- Hardware cloth for predator protection
Pro tip: Call local demolition companies – they often let you take wood for free.
Small-Space & Urban Coops
15. Balcony Coop with Secure Wire Mesh
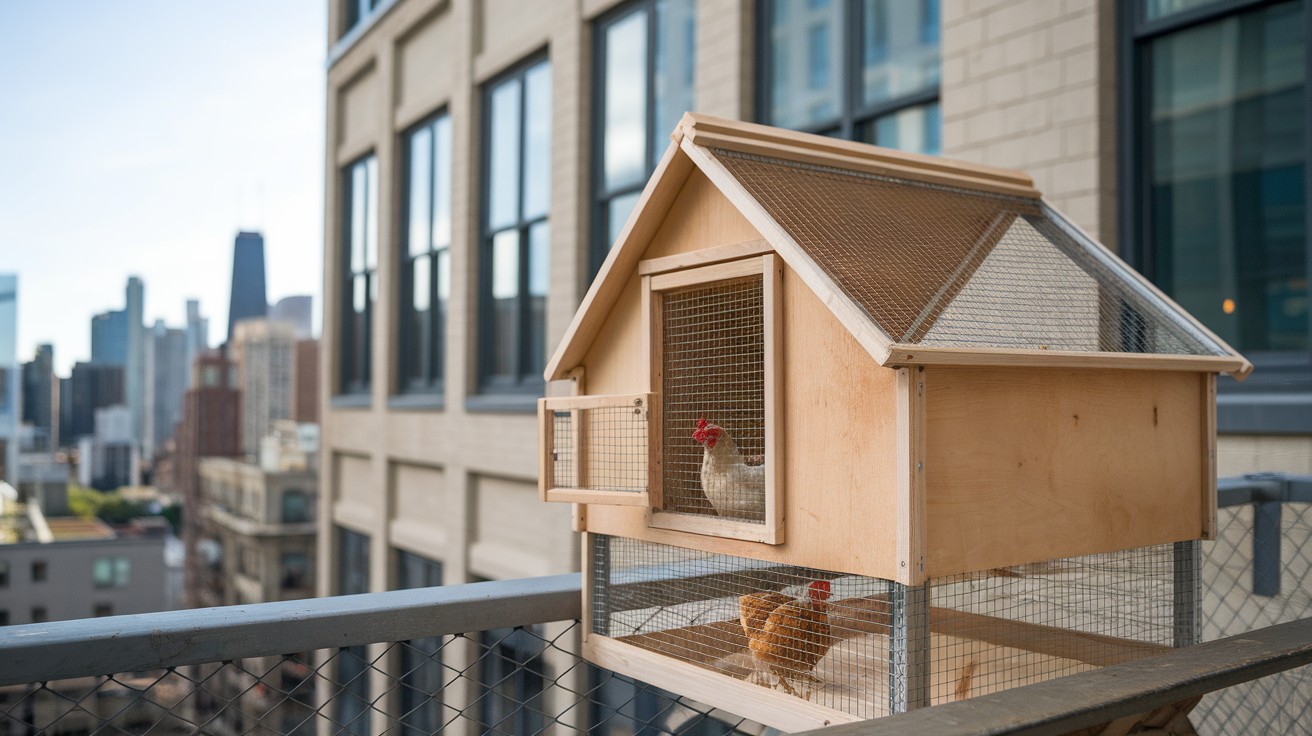
Apartment dwellers can raise chickens too with this compact design. Build a secure coop that fits small outdoor spaces.
You’ll need:
- Plywood base and frame pieces
- Hardware cloth for all sides
- Small hinges for access doors
- Waterproof roofing material
Pro tip: Check local laws first – many cities allow 2-3 hens but prohibit roosters.
16. DIY Vertical Coop with Stacked Nesting Areas
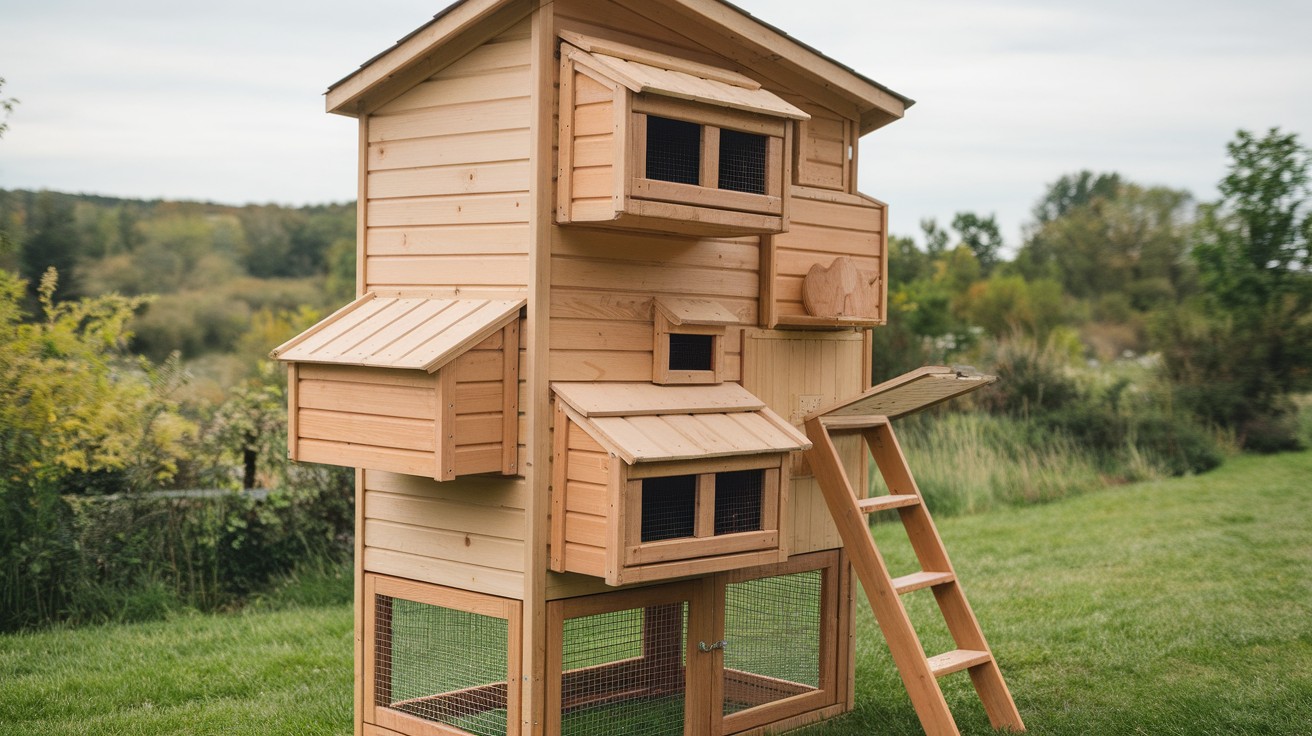
Build up instead of out to save ground space. Stack nesting boxes vertically for maximum efficiency.
You’ll need:
- Plywood for main structure
- Individual nesting boxes (wood or plastic)
- Ladder or ramp for access
- Roosting bars at different levels
Pro tip: Make each level accessible from outside for easy egg collection.
17. Fold-Out Wall-Mounted Mini Coop
Attach hinges to fold the coop flat against a wall when not in use. Perfect for tiny yards with multiple uses.
You’ll need:
- Heavy-duty hinges (4-6 depending on size)
- Wall-mounting brackets and screws
- Lightweight materials (avoid heavy wood)
- Locking mechanism to keep it secure
Pro tip: Use a pulley system to make folding easier – especially helpful for larger coops.
18. Coop Made from Stacked Milk Crates
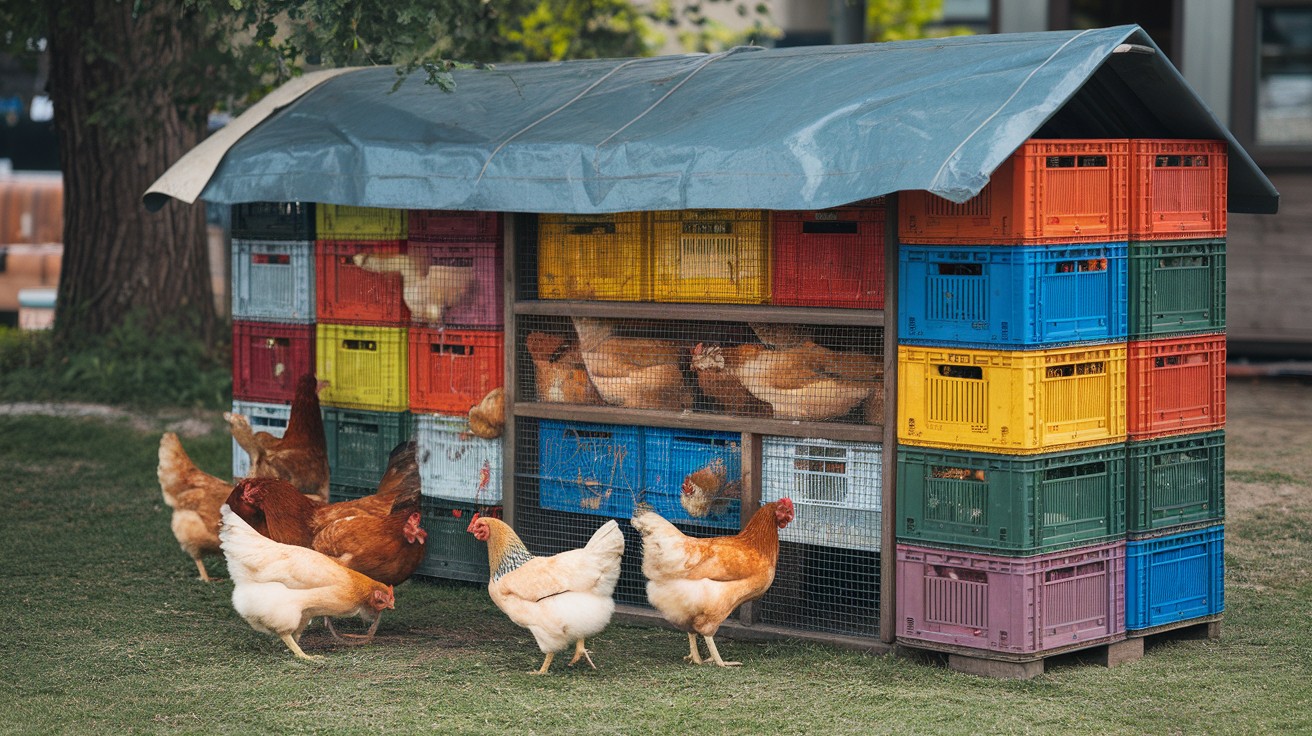
Plastic milk crates stack perfectly and have built-in ventilation holes. Secure with zip ties for a quick coop.
You’ll need:
- 6-8 plastic milk crates
- Heavy-duty zip ties
- Tarp or plastic for roof covering
- Small wooden boards for roosting
Pro tip: Use different colored crates to create a fun pattern while keeping costs down.
19. Convertible Greenhouse Coop
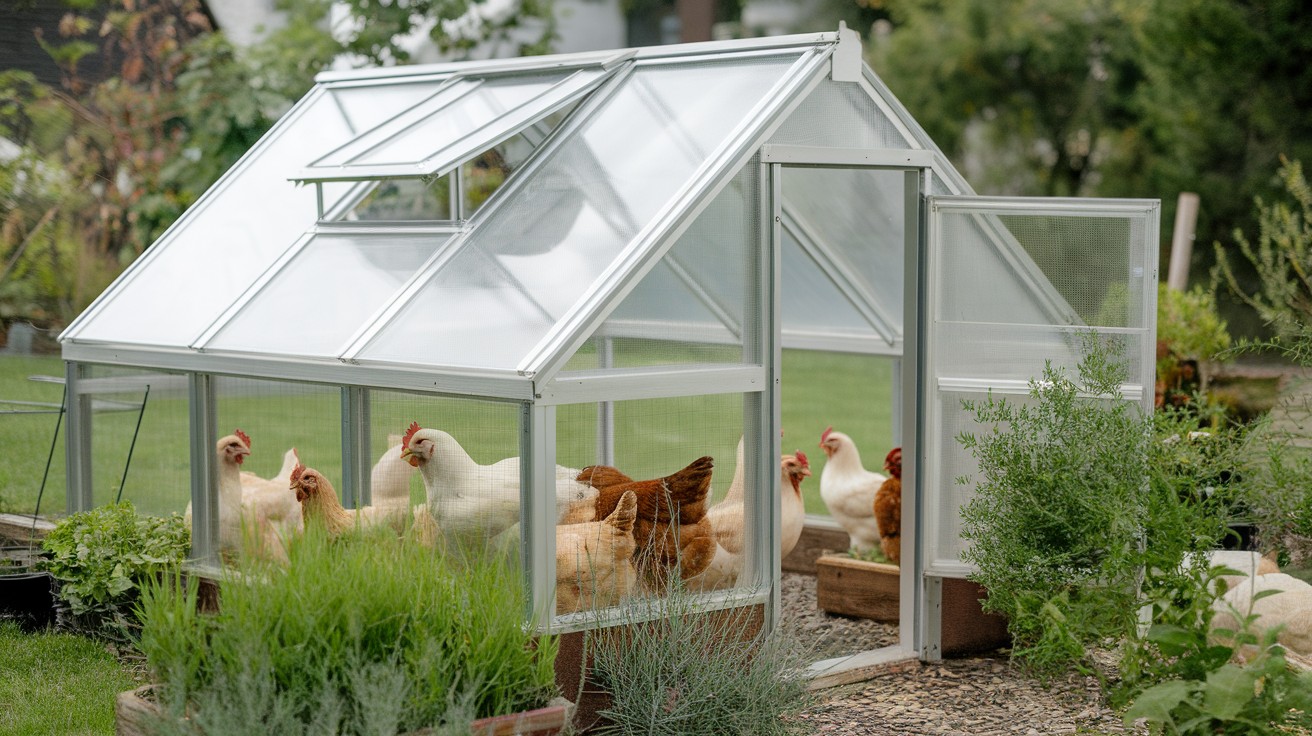
Use an old mini greenhouse frame for dual purpose – chickens in winter, plants in summer when chickens are outside.
You’ll need:
- Mini greenhouse frame (glass or plastic panels)
- Roosting bars that remove easily
- Removable nesting boxes
- Easy-clean flooring material
Pro tip: Choose a greenhouse with a door on each end for better airflow and easier cleaning.
Plans & Tutorials for Beginners
Start with simple rectangle designs. Master basic construction before attempting complex shapes. Draw your plan on paper first. Measure twice, cut once.
Free plans online:
- BackyardChickens.com has thousands of member-submitted designs
- YouTube channels show step-by-step building videos
- Local extension offices often provide basic coop plans
Begin with a coop for 4-6 chickens. You can always expand later.
Common Mistakes to Avoid When Building on a Budget
- Making the coop too small: Chickens need 4 square feet each inside, 10 square feet in the run.
- Using chicken wire for protection: Raccoons tear through it easily. Use hardware cloth instead.
- Forgetting about ventilation: Poor airflow creates respiratory problems.
- Skipping the planning phase: Measure your materials before designing.
- Buying new when used works: Check used building materials first.
- Building too low: You’ll clean this regularly. Make it comfortable to access.
I’ve seen people rebuild coops because they ignored these basics. Learn from their mistakes.
Final Thoughts
You now have 19 proven ways to build a low cost DIY chicken coop. Each design costs under $100 and keeps your chickens safe and comfortable.
Remember the basics:
- Use free materials first
- Focus on function over looks
- Include proper ventilation
- Don’t skip predator protection
Your chickens don’t care about fancy designs. They want dry shelter, fresh air, and safety from predators. Start with one simple design. Build your confidence. You can always upgrade later.
The hardest part? Taking that first step. Pick your favorite design from this list. Gather your materials this weekend. Your chickens are counting on you.
You’ve got this. Thousands of families have built these coops successfully. You’re next.
Frequently Asked Questions
Do I need a permit to build a backyard chicken coop?
Most cities don’t require permits for small coops under 120 square feet. Check your local building codes first to avoid surprises.
What time of year is best to build a chicken coop?
Spring and fall offer the best weather for outdoor building projects. Avoid summer heat and winter cold when possible.
How do I make my DIY coop predator-proof on a budget?
Use hardware cloth instead of chicken wire – it’s stronger and keeps raccoons out. Bury it 6 inches deep around the coop perimeter.
Can I move my low cost chicken coop to different locations?
Yes, add wheels or skids to any design for easy movement. PVC and pallet coops work best for portable setups.
What’s the biggest mistake beginners make with budget coops?
Building too small is the #1 error – cramped chickens get sick and fight more. Always plan for 4 square feet per bird minimum.