Planning a kitchen renovation can feel overwhelming without proper organization and guidance.
A kitchen remodel represents one of the most significant home improvement investments you’ll make, affecting both your daily life and property value.
Success depends on careful planning, realistic budgeting, and systematic execution of each project phase.
This comprehensive kitchen remodel checklist provides the structured approach you need to transform your cooking space efficiently and effectively.
From initial goal-setting and budget allocation to final styling touches, we’ll guide you through ten essential steps that ensure nothing gets overlooked.
You’ll learn when to hire professionals versus handling tasks yourself, how to avoid common renovation mistakes, and practical strategies for staying on schedule and within budget throughout your renovation process.
Why You Need a Kitchen Remodel Checklist
A structured checklist keeps your renovation organized, prevents costly mistakes, maintains budget control, and ensures successful project completion from start to finish.
Stay on Budget and Timeline
A comprehensive kitchen remodel checklist serves as your financial roadmap, helping you allocate funds appropriately across all project phases.
It prevents costly oversights and keeps you accountable to your original budget by outlining every expense from materials to labor costs.
Avoid Common Remodeling Mistakes
Following a structured checklist helps you sidestep frequent renovation pitfalls like inadequate electrical planning, poor workflow design, or forgetting permit requirements.
This systematic approach ensures you consider all aspects before making irreversible decisions that could impact your project’s success.
Ensure Every Detail Is Covered
A thorough checklist guarantees that no important element gets overlooked, from initial measurements to final inspections.
It serves as your comprehensive guide through each phase, ensuring proper sequencing of tasks and preventing the frustration of realizing missed steps after work has already begun.
Step-by-Step Guide to a Dream Kitchen
Follow this comprehensive ten-step process to plan, budget, and execute your kitchen renovation project successfully from initial concept to completion.
Step 1 : Plan Your Kitchen Remodel
Define Your Goals and Priorities
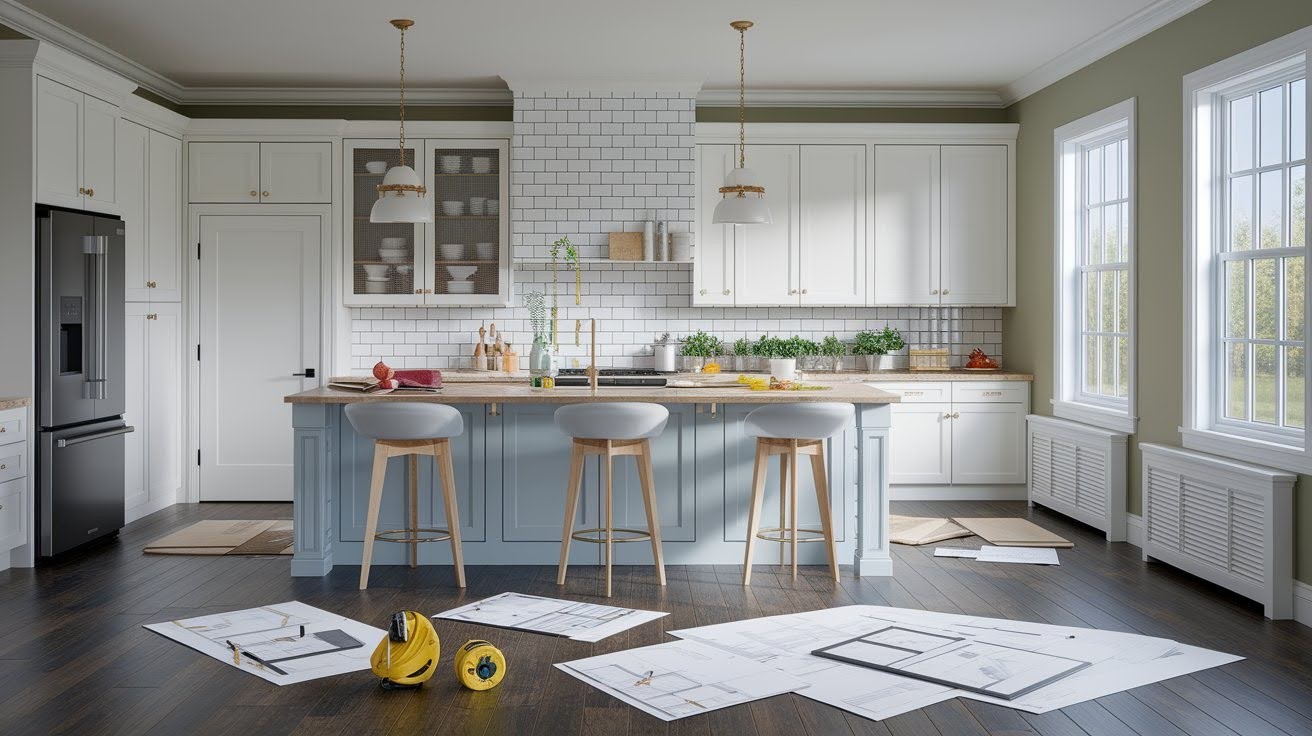
Start by identifying what you want to achieve with your kitchen renovation, whether it’s better functionality, increased storage capacity, an open layout design, or improved resale value.
Write down your must-haves versus nice-to-haves to help guide decision-making throughout the project and keep you focused on what matters most to your household’s daily needs.
Evaluate What Works in Your Current Kitchen
Take an honest assessment of your existing kitchen’s strengths and weaknesses, examining the current layout efficiency, lighting adequacy, appliance performance, and cabinet storage capacity.
This evaluation helps you determine what elements to keep, modify, or completely replace, potentially saving money while building on functional aspects that already serve you well.
Set Realistic Expectations
Establish reasonable expectations for your project by carefully considering the time commitment, financial investment, and scope of work involved in your renovation.
Research typical timelines for similar projects and factor in potential delays, ensuring your expectations align with your budget constraints and lifestyle requirements during the construction period.
Step 2 : Set a Kitchen Remodel Budget
Understand Cost Ranges
Kitchen renovation costs vary significantly based on project scope, with minor updates typically ranging from $14,000 to $20,000 for cosmetic improvements like paint and hardware.
Major remodels involving layout changes, new appliances, and custom features generally cost $40,000 to $70,000 or more, depending on material choices and regional labor rates.
Allocate for Unexpected Expenses
Always include a contingency fund of 15 to 20 percent above your planned budget to handle unforeseen issues that commonly arise during renovation projects.
This buffer protects you from financial stress when contractors encounter hidden problems like outdated wiring, plumbing issues, or structural complications that require additional work.
Budget Categories
Distribute your budget across major categories including cabinets (typically 35-40% of total cost), countertops, flooring, appliances, labor, permits, lighting, and plumbing modifications.
Understanding these proportions helps you make informed decisions about where to splurge and where to save while maintaining overall project balance and functionality.
Step 3 : Hire Professionals or DIY?
When to Call a Contractor
Professional expertise is essential for complex tasks like plumbing modifications, electrical work, custom cabinetry installation, and full demolition projects that require permits and safety considerations.
These specialized jobs require proper licensing, insurance, and experience to ensure code compliance and prevent costly mistakes that could affect your home’s safety and value.
Tips for Hiring a Kitchen Remodeler
Research potential contractors thoroughly by verifying their licenses and insurance coverage, reading online reviews, and requesting references from recent clients with similar projects.
Review their portfolios to ensure their style matches your vision, and obtain detailed written estimates from multiple contractors before making your final selection decision.
DIY-Friendly Tasks
Homeowners can safely handle certain tasks like painting walls and trim, replacing cabinet hardware, and basic demolition work that doesn’t involve utilities or structural elements.
These projects can provide significant cost savings while allowing you to contribute personally to your renovation without requiring specialized skills or professional licensing.
Step 4 : Choose a Kitchen Layout
Common Layout Options
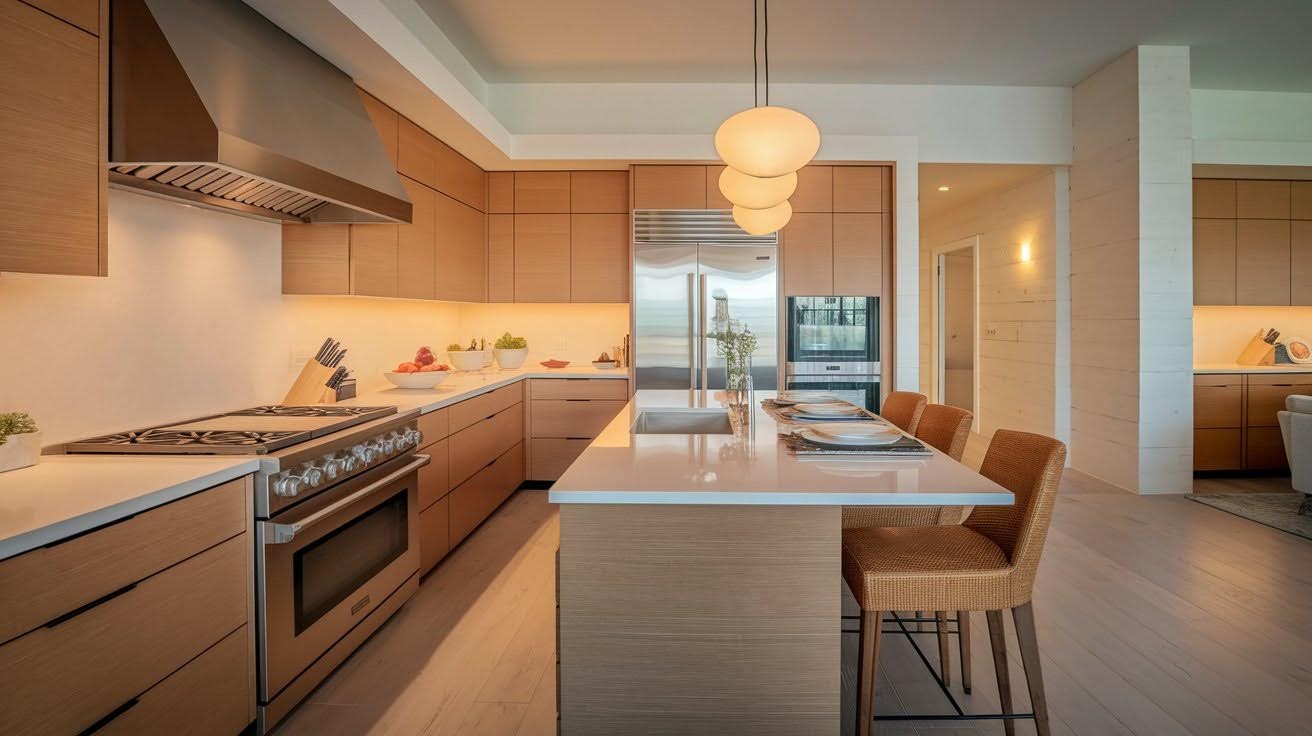
Popular kitchen configurations include L-shaped designs that maximize corner space, U-shaped layouts that provide ample counter and storage areas, efficient galley kitchens perfect for narrow spaces, island designs that add workspace and seating, and open-concept plans that connect to living areas.
Each layout offers distinct advantages depending on your space dimensions and lifestyle preferences.
Optimize Workflow (The Work Triangle)
Create an efficient work triangle by positioning your stove, sink, and refrigerator within easy reach of each other, typically 4-9 feet apart for optimal functionality.
This classic design principle minimizes unnecessary steps during food preparation and cooking while ensuring smooth traffic flow through your kitchen workspace.
Consider Multicook and Entertaining Needs
Plan your layout to accommodate multiple cooks working simultaneously and entertaining guests comfortably by including adequate counter space, multiple prep areas, and clear sight lines to adjacent rooms.
Consider adding features like a secondary sink, additional counter space, or a kitchen island that doubles as a serving area for social gatherings.
Step 5 : Select Appliances and Fixtures Early
Measure Before Ordering
Accurate measurements are crucial before ordering appliances to ensure proper fit and avoid costly returns or modifications during installation.
Document exact dimensions for appliance openings, door clearances, and utility connections while considering ventilation requirements and accessibility for future maintenance needs.
Appliance Options
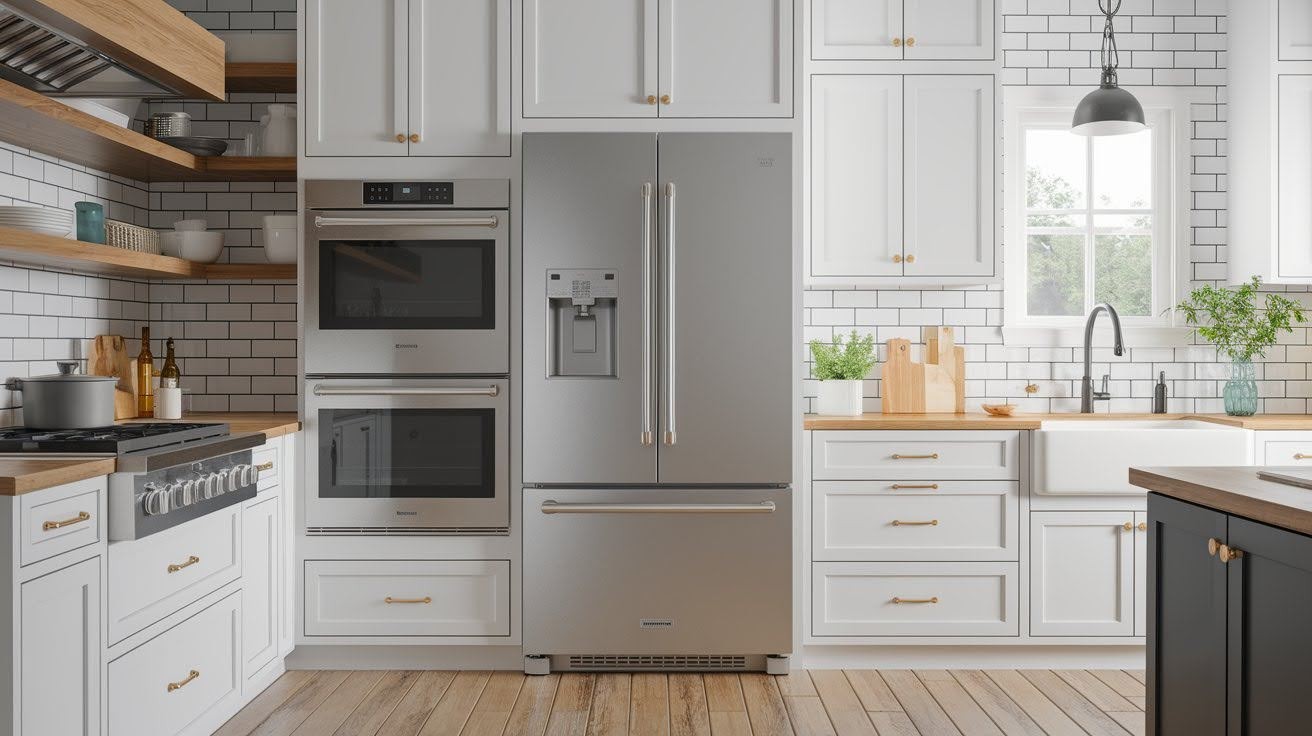
Modern kitchens offer appliance upgrades like professional-grade ovens that provide restaurant-quality cooking performance, double dishwashers for large families or frequent entertainers, and smart refrigerators with internet connectivity and advanced temperature control features.
These investments can significantly improve both functionality and home value.
Fixture Styles
Contemporary fixture options include farmhouse sinks that provide deep basins and rustic charm, touchless faucets for improved hygiene and convenience, pot fillers that eliminate heavy lifting near the stove, and pull-down sprayers that offer versatile cleaning capabilities.
Choose fixtures that complement your overall design while enhancing daily functionality.
Step 6 : Flooring, Backsplash & Countertops
Flooring Materials
Kitchen flooring options include durable tile that resists moisture and stains, luxury vinyl that mimics natural materials at lower costs, engineered wood that provides warmth with improved stability, practical laminate with realistic textures, and traditional hardwood that adds timeless value.
Consider maintenance requirements, comfort underfoot, and compatibility with your lifestyle when making selections.
Countertop Choices
Popular countertop materials include engineered quartz that offers consistent patterns and low maintenance, natural granite with unique veining and heat resistance, warm butcher block that provides cutting surfaces, durable soapstone with natural antimicrobial properties, and classic marble that creates luxurious focal points.
Each material offers distinct benefits in terms of durability, maintenance, and visual impact.
Backsplash Ideas
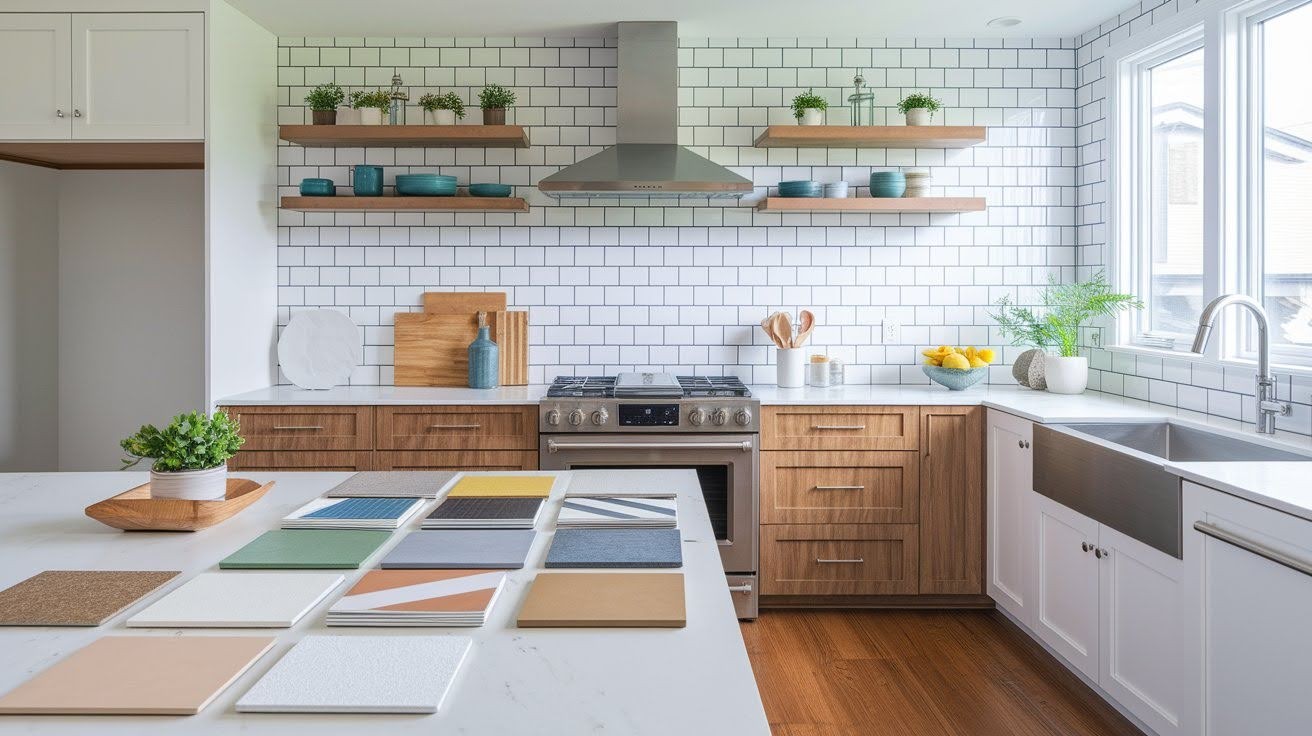
Backsplash designs range from classic subway tile that provides timeless appeal, colored or textured glass that reflects light and adds personality, intricate mosaic patterns that create visual interest, to statement stone slabs that extend countertop materials vertically.
Your backsplash choice can serve as either a subtle complement or bold focal point in your overall design scheme.
Step 7 : Cabinets and Storage Solutions
Cabinet Types
Cabinet options include custom designs built specifically for your space and preferences, semi-custom units that offer modifications to standard sizes and features, and stock cabinets that provide cost-effective solutions with limited customization options. Your choice depends on budget constraints, timeline requirements, and desired level of personalization for your specific storage needs.
Functional Storage Ideas
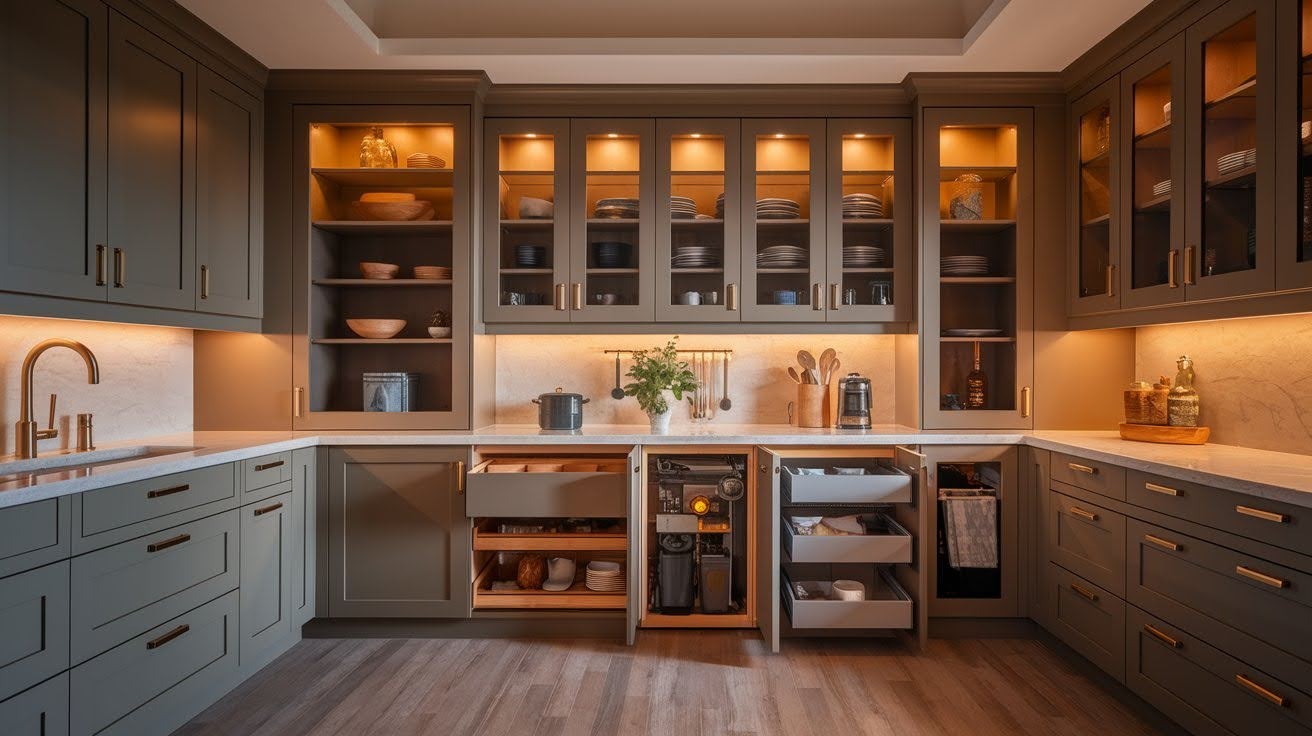
Maximize kitchen efficiency with pull-out shelves that provide easy access to deep cabinets, lazy Susans that utilize corner spaces effectively, drawer dividers that organize utensils and small items, and appliance garages that hide countertop clutter while maintaining accessibility.
These solutions help create organized, functional spaces that work with your cooking and storage habits.
Cabinet Finishes and Hardware
Cabinet door styles include clean-lined Shaker designs that suit various decor themes, modern slab doors that create sleek contemporary looks, and traditional inset doors that provide custom-built appearance with precise craftsmanship.
Hardware choices like warm brass, modern matte black, or classic chrome finishes can dramatically impact your kitchen’s overall style and personality.
Step 8 : Lighting and Electrical Planning
Layered Lighting Design
Effective kitchen lighting combines ambient lighting for overall illumination, task lighting for specific work areas like food prep and cooking zones, and accent lighting that highlights architectural features or creates mood.
This layered approach ensures adequate visibility for all activities while creating a welcoming atmosphere for both daily use and entertaining.
Popular Fixtures
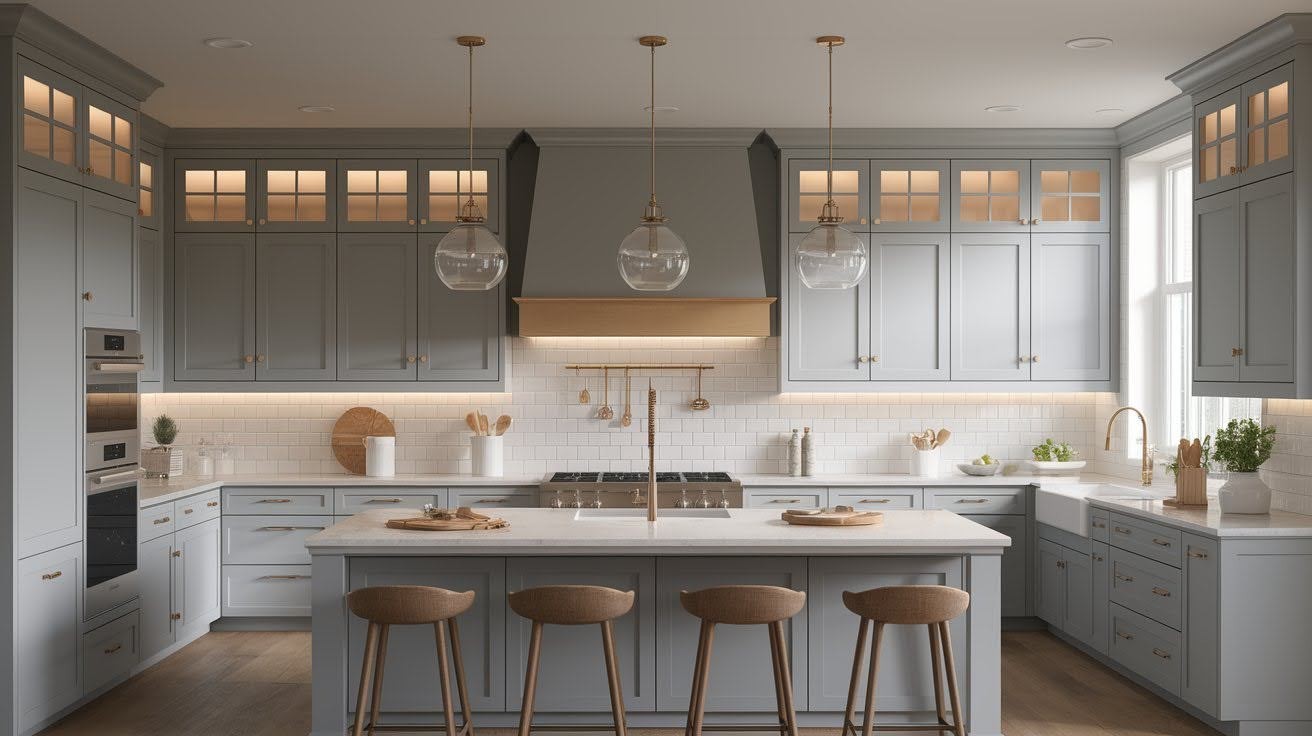
Contemporary lighting options include pendant lights that provide focused illumination over islands and peninsulas, under-cabinet LED strips that eliminate shadows on work surfaces, and recessed lighting that offers clean, unobtrusive general illumination throughout the space.
These fixtures can be combined strategically to create both functional and visually appealing lighting schemes.
Upgrade Electrical as Needed
Modern kitchens require adequate electrical capacity, so consider adding outlets for small appliances, convenient USB charging ports for devices, and GFCI upgrades that meet current safety codes.
These electrical improvements ensure your kitchen can handle today’s technology needs while providing safe, code-compliant power distribution throughout the space.
Step 9 : Timeline and Construction Phases
Typical Kitchen Remodel Timeline
Kitchen renovations typically require 2 to 6 weeks for planning and design phases, followed by 6 to 12 weeks for actual construction work depending on project complexity and scope.
Factors like permit approval times, material availability, and contractor schedules can affect these timelines, so build flexibility into your expectations and temporary living arrangements.
Project Phases
Construction follows a logical sequence: demolition of existing elements, rough-in work for plumbing and electrical systems, drywall installation and finishing, cabinet installation, countertop fabrication and installation, backsplash work, painting, flooring installation, and final appliance placement.
Understanding this sequence helps you coordinate deliveries and prepare for each phase’s specific requirements and disruptions.
Create a Temporary Kitchen
Set up a functional temporary cooking area in another room with essential appliances like a microwave, coffee maker, and small refrigerator to maintain basic meal preparation capabilities.
Include paper goods, simple utensils, and easy-to-prepare foods to minimize disruption to your daily routines during the construction period.
Step 10 : Final Touches & Personalization
Add Personality with Decor
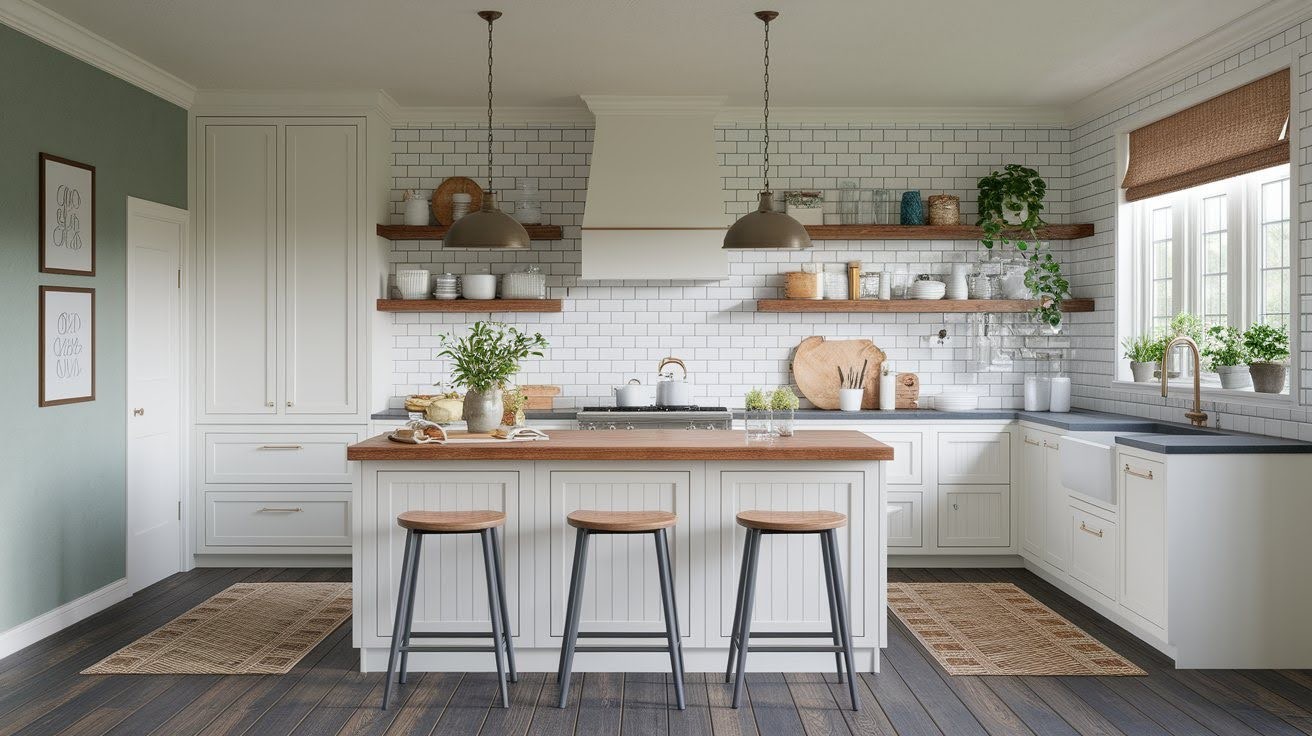
Personalize your completed kitchen with decorative elements like open shelving that displays favorite dishes or glassware, fresh plants that add natural color and life, curated cookbook collections that reflect your cooking interests, and meaningful artwork that makes the space feel uniquely yours.
These finishing touches transform a functional kitchen into a welcoming heart of your home.
Styling Your Space
Complete your kitchen’s look with carefully chosen accessories like comfortable bar stools that invite casual dining and conversation, area rugs that add warmth and define spaces, and window treatments that provide privacy while allowing natural light.
These elements should complement your overall design while adding comfort and personality to the finished space.
Final Walkthrough and Punch List
Conduct a thorough final inspection with your contractor to identify any incomplete work, touch-up needs, or issues requiring attention before project completion.
Create a detailed punch list of items that need correction or finishing, and establish a timeline for addressing these final details to ensure your satisfaction with the completed renovation project.
Bonus Tips to Avoid Kitchen Remodel Pitfalls
- Always obtain required permits for structural changes, electrical work, plumbing modifications, and major renovations to ensure code compliance and protect your investment. Skipping permits can lead to safety issues and legal problems during home sales.
- Take precise measurements multiple times before ordering cabinets, appliances, and countertops to prevent expensive mistakes and project delays. Have measurements verified by professionals when possible to avoid costly returns or modifications.
- Plan adequate lighting for all work areas and incorporate sufficient storage solutions from the beginning rather than treating them as afterthoughts. Poor lighting makes cooking unsafe while inadequate storage leads to cluttered, inefficient spaces.
- Prioritize practical functionality alongside visual appeal when selecting materials, layouts, and features to ensure your kitchen serves your daily needs effectively. Beautiful but impractical choices can create long-term frustration and reduce overall value.
Conclusion
As your kitchen remodel progresses through demolition, rough-ins, and installation phases, you may find that appliances, cabinetry, or other fixtures need to be moved out temporarily to protect them from dust, damage, or interference with contractors’ workflows.
In such cases, renting self storage like the storage units Chestermere offers a practical interim solution—these units give you a safe, clean space to store bulky or sensitive items until they’re ready to be reinstalled. Be sure to choose a facility with climate control, solid security, and easy access, so retrieving and returning your belongings doesn’t become an added hassle amid the renovation.
A comprehensive kitchen remodel checklist serves as your roadmap to success, keeping you organized throughout every phase of your renovation project.
From initial planning and budgeting to final styling touches, this systematic approach prevents costly mistakes, ensures nothing gets overlooked, and helps you stay on track with both timeline and budget goals.
Use this detailed list as your guide to coordinate each step effectively, from selecting appliances and materials to managing construction phases.
Remember that while many tasks can be handled independently, complex work involving plumbing, electrical systems, and structural changes requires professional expertise.
Don’t hesitate to consult qualified contractors when needed – their experience can save you time, money, and potential safety issues while ensuring your dream kitchen becomes a beautiful, functional reality.
Frequently Asked Questions
How long does a typical kitchen remodel take?
Most kitchen renovations require 2-6 weeks for planning and design, followed by 6-12 weeks for actual construction work. The timeline depends on project complexity, permit approval times, material availability, and contractor schedules.
What’s the most important step in kitchen remodeling?
Planning is the most critical phase, as it determines your budget, timeline, and project scope while preventing costly mistakes. A detailed plan helps you make informed decisions about layout, materials, and hiring professionals versus DIY tasks.
How much should I budget for unexpected expenses?
Always include a contingency fund of 15-20% above your planned budget to handle unforeseen issues that commonly arise during renovations. This buffer protects you from financial stress when contractors encounter hidden problems like outdated wiring or plumbing complications.
Which kitchen remodel tasks require professional help?
Complex work involving plumbing modifications, electrical systems, custom cabinetry installation, and full demolition projects require licensed professionals for safety and code compliance. Leave structural changes and utility work to qualified contractors while handling simpler tasks like painting yourself.
What’s the biggest mistake homeowners make during kitchen remodels?
Choosing style over functionality is the most common error, leading to beautiful but impractical kitchens that don’t serve daily needs effectively. Always prioritize workflow efficiency, adequate storage, and proper lighting alongside visual appeal for long-term satisfaction.

