
Your kitchen island does not just take up space within the center of your kitchen, it is where you prepare food, eat with family and sometimes have breakfast on-the-go.
Consider how many hours you spend in each room. Reflect on that duration.
Your kitchen is not unique if it is boring or old-fashioned, a simple change can transform it into a completely new environment.
Here are 31 ways through which you can breathe new life into your island, from cheap fixes to the more stylish of touches.
Let’s make your island work better for you.
Why a Kitchen Island Makeover Matters
A good makeover makes your island work harder for you. Add more storage, better lighting, and smarter layouts. When your island functions well, cooking becomes easier and more enjoyable.
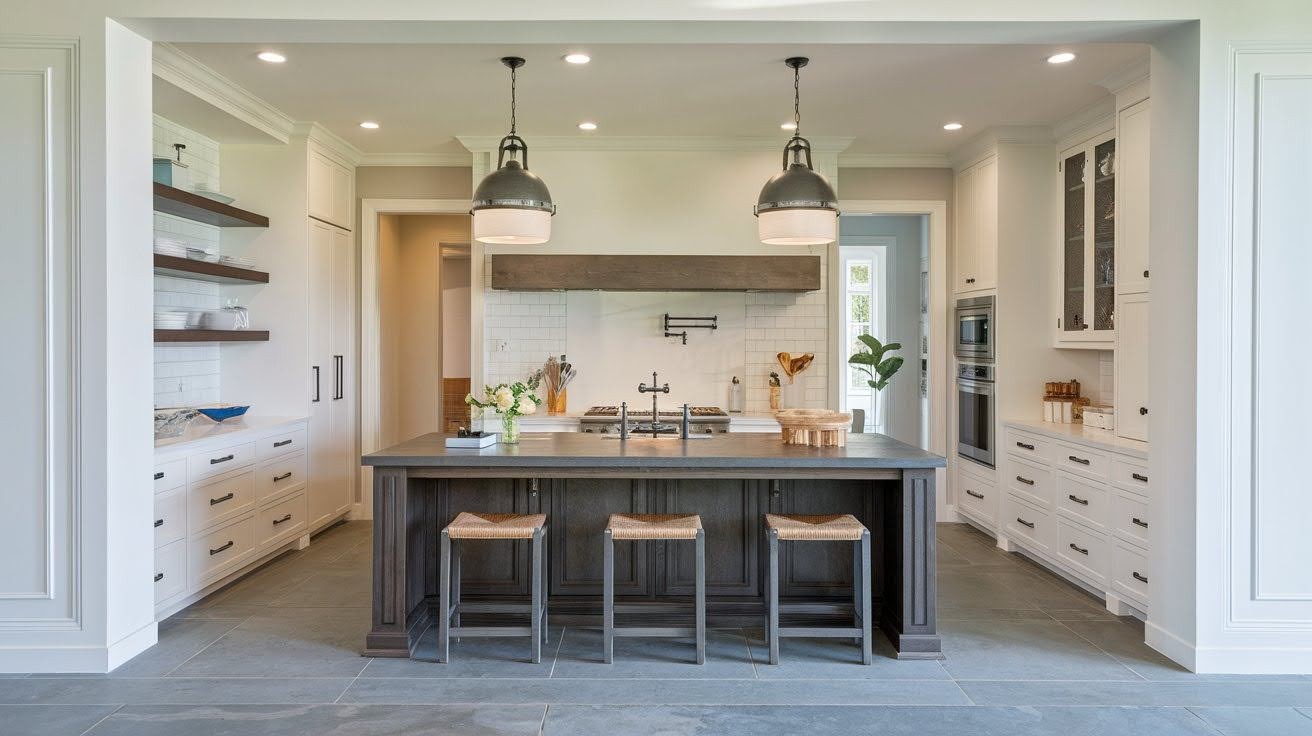
Your island sets the tone for the entire kitchen. A fresh coat of paint can brighten the room instantly. New hardware and countertop materials bring personality and color. When your island looks good, your whole kitchen feels more inviting.
Buyers notice updated kitchens first. A modern island makes your home stand out. Functional upgrades like extra seating appeal to families. This investment often pays off when it’s time to sell.
List of 31 Creative Kitchen Island Makeover Ideas
Refresh your kitchen island from ordinary to outstanding with these creative makeover ideas that fit any style, budget, and skill level.
Painting and Color Transformations

- Bold color paint: Give your island a fresh identity with a vibrant color. Deep blues, rich greens, or warm terracotta make it stand out. This simple change takes just a weekend and costs very little. Your island becomes the room’s main focus instantly.
- Two-tone island design: Paint the base one color and the top another for visual interest. Try white cabinets with a dark countertop or navy below with wood above. This technique adds depth and breaks up large spaces. It works in both modern and traditional kitchens.
- Chalkboard paint: Turn one side of your island into a functional chalkboard. Write grocery lists, meal plans, or let kids draw while you cook. It’s practical and fun for the whole family. Plus, it adds a unique touch that guests always notice.
- Pastel shades: Soft pinks, mint greens, or pale yellows create a calming atmosphere. Pastels work well in kitchens with lots of natural light. They make the space feel larger and more open. This approach suits cottage and farmhouse styles perfectly.
- Contrasting accent panels: Add decorative panels in a different color or finish to your island sides. This creates dimension without a full renovation. Mix smooth and textured panels for extra visual appeal. It’s an easy way to add character to a plain island.
Material and Surface Upgrades
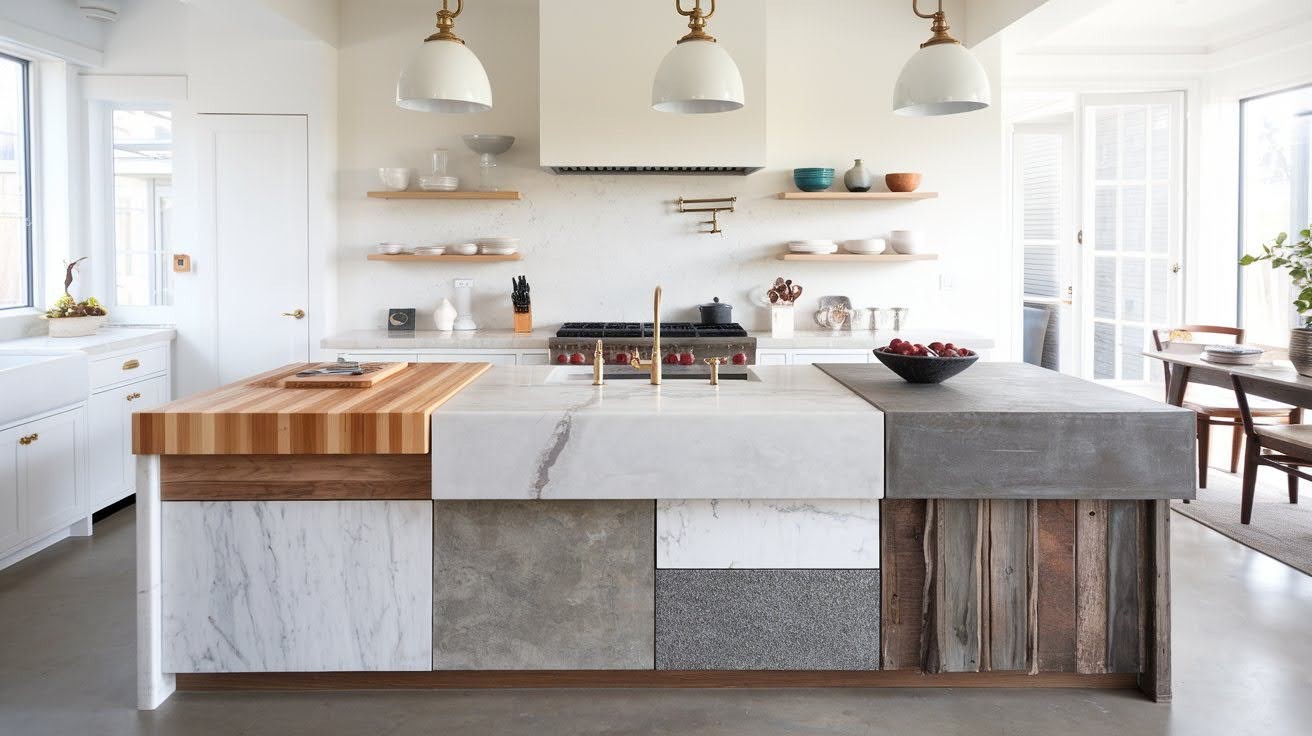
- Butcher block countertop: Wood countertops bring warmth and natural beauty to your island. They’re perfect for food prep and add a rustic feel. Butcher block needs regular oiling but ages beautifully over time. It pairs well with both light and dark cabinetry.
- Marble countertop: Marble adds luxury and timeless style to any kitchen. Its natural veining makes each piece unique and special. While it requires careful maintenance, the look is worth the effort. Marble keeps the space feeling cool and sophisticated.
- Granite countertop: Granite offers durability and comes in countless colors and patterns. It resists heat and scratches, making it ideal for busy kitchens. This material lasts for decades with minimal care. Granite adds both beauty and practical value to your island.
- Concrete countertop: Industrial-style concrete brings a modern edge to your kitchen. You can customize the color, texture, and finish to match your style. It’s heat-resistant and incredibly durable for daily use. Concrete works well in contemporary and minimalist spaces.
- Reclaimed wood surface: Old barn wood or salvaged timber tells a story on your island. Each piece has unique grain patterns and weathering. This eco-friendly option reduces waste while adding character. Reclaimed wood brings history and warmth into your kitchen.
Storage Solutions
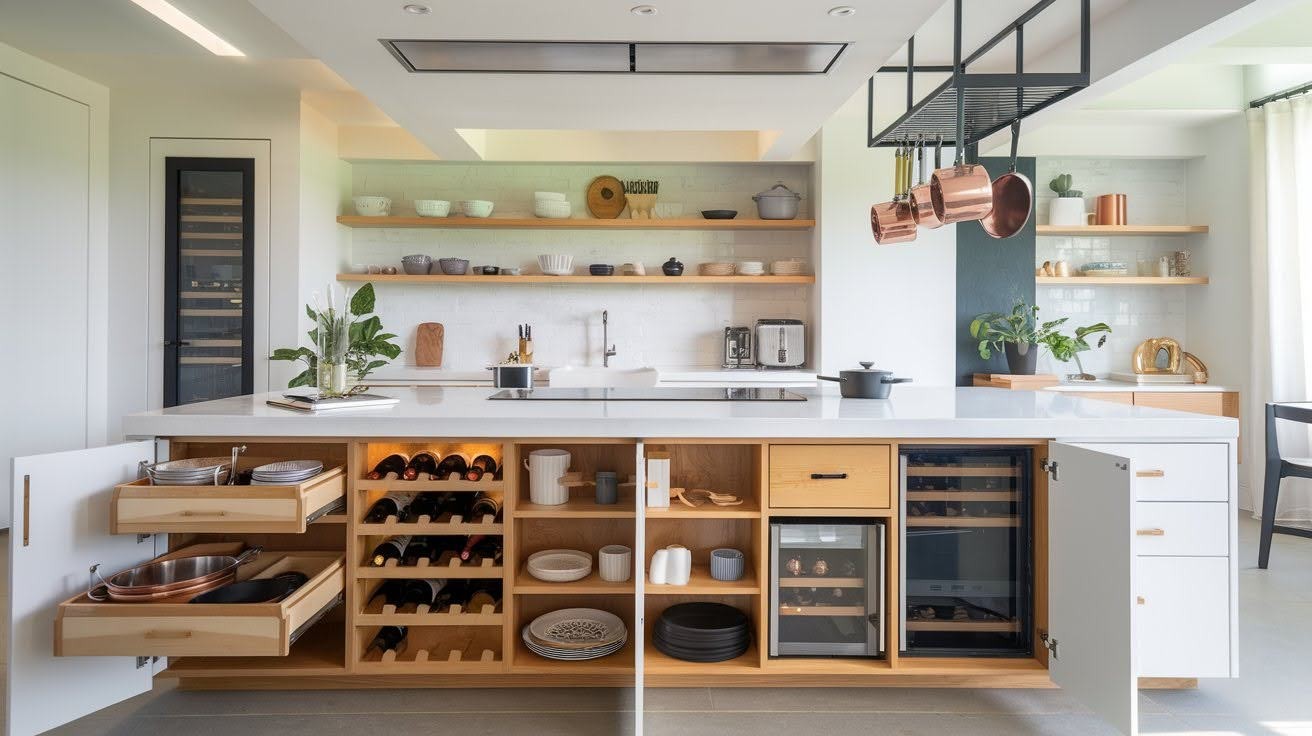
- Pull-out drawers: Deep drawers make accessing pots and pans much easier than cabinets. Install soft-close mechanisms for a high-end feel. Organize with dividers to maximize every inch of space. These drawers keep everything visible and within reach.
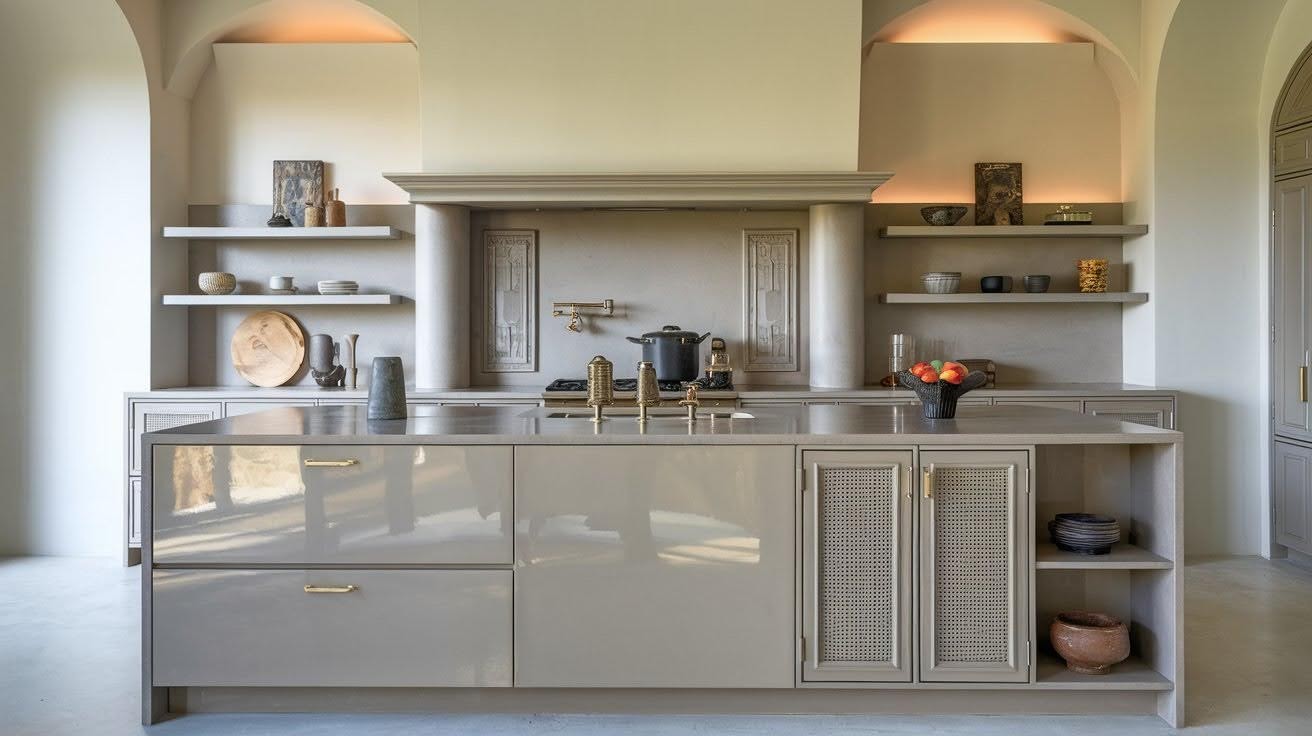
- Open shelving: Remove cabinet doors to create an airy, open look. Display your prettiest dishes, cookbooks, or decorative items. Open shelves make small kitchens feel less cramped. Just be prepared to keep items organized and dust-free.
- Built-in wine rack: Add a dedicated spot for your wine collection inside the island. Horizontal storage keeps bottles at the proper angle. This feature impresses guests and saves counter space. It’s perfect for wine lovers and entertainers.
- Hidden storage compartments: Install secret drawers or pull-out sections for valuable items. Hide appliances like mixers or blenders when not in use. These compartments keep counters clear and clutter-free. Your kitchen looks tidy while everything stays accessible.
- Hanging pot racks: Mount a rack above your island to store pots and pans. This frees up cabinet space and adds visual interest. Copper or stainless steel pots become part of your decor. Everything you need is right where you’re cooking.
Seating and Dining Enhancements
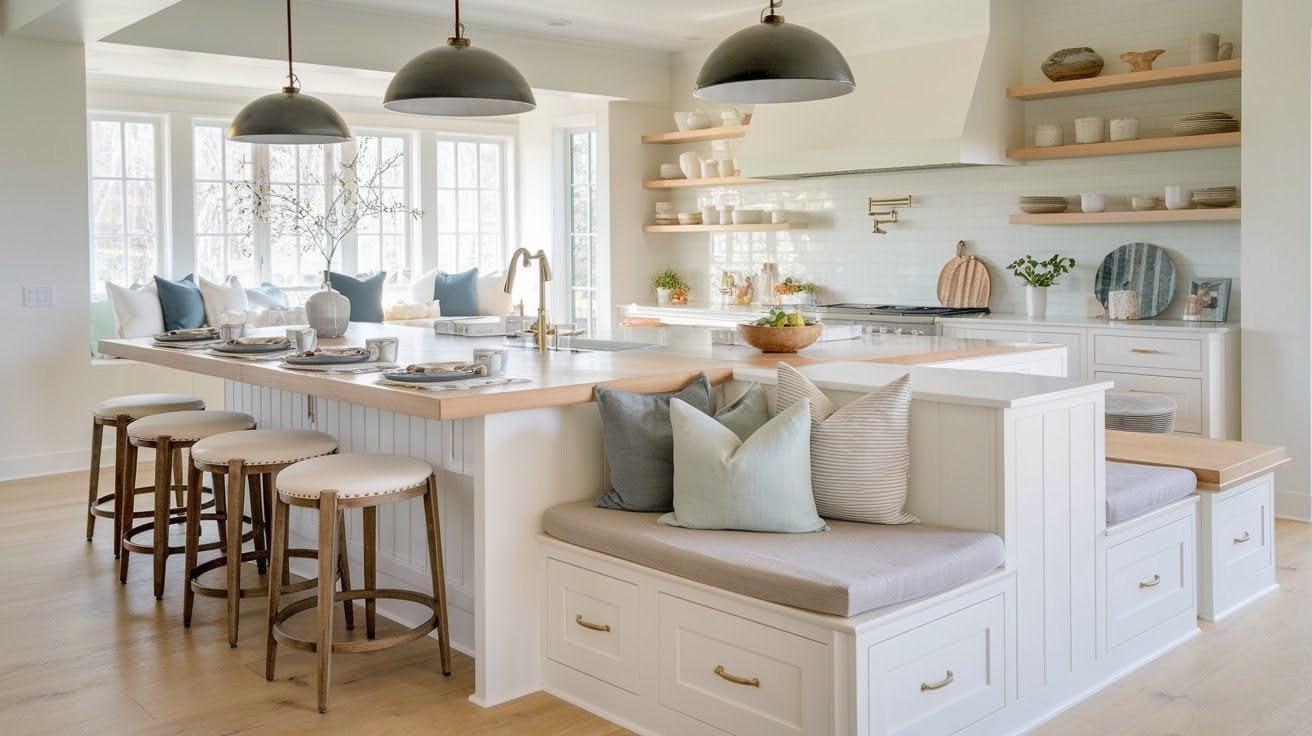
- Bar stools: Add comfortable seating for quick meals and casual conversations. Choose stools that match your kitchen style and island height. Swivel seats make it easy to turn and chat. This turns your island into a social hub.
- Breakfast nook extension: Extend one end of your island to create a cozy eating area. This works great for morning coffee and light meals. Add cushioned seating for extra comfort. It saves space compared to a full dining table.
- Overhanging countertop for seating: Extend the countertop past the base to create legroom underneath. This allows people to sit comfortably at the island. A 12 to 15 inch overhang works best for most spaces. It’s a simple addition with a big impact.
- Built-in bench seating: Install a bench along one side of your island for family-style dining. Add cushions and pillows for comfort and color. Benches seat more people than individual stools. This creates a casual, welcoming atmosphere.
- Multi-level countertop: Create different heights on your island for various uses. A raised section hides prep mess from guests. Lower sections work better for kids or baking tasks. This design adds functionality and visual dimension.
Lighting and Fixtures
- Pendant lights: Hang stylish pendant lights above your island for focused task lighting. Choose fixtures that match your kitchen’s personality. Space them evenly for balanced illumination. Good lighting makes prep work safer and easier.
- Under-counter lighting: Install lights beneath the countertop overhang to brighten the seating area. This creates a warm, inviting glow for evening gatherings. LED strips are energy-efficient and long-lasting. Under-counter lighting adds ambiance without taking up space.
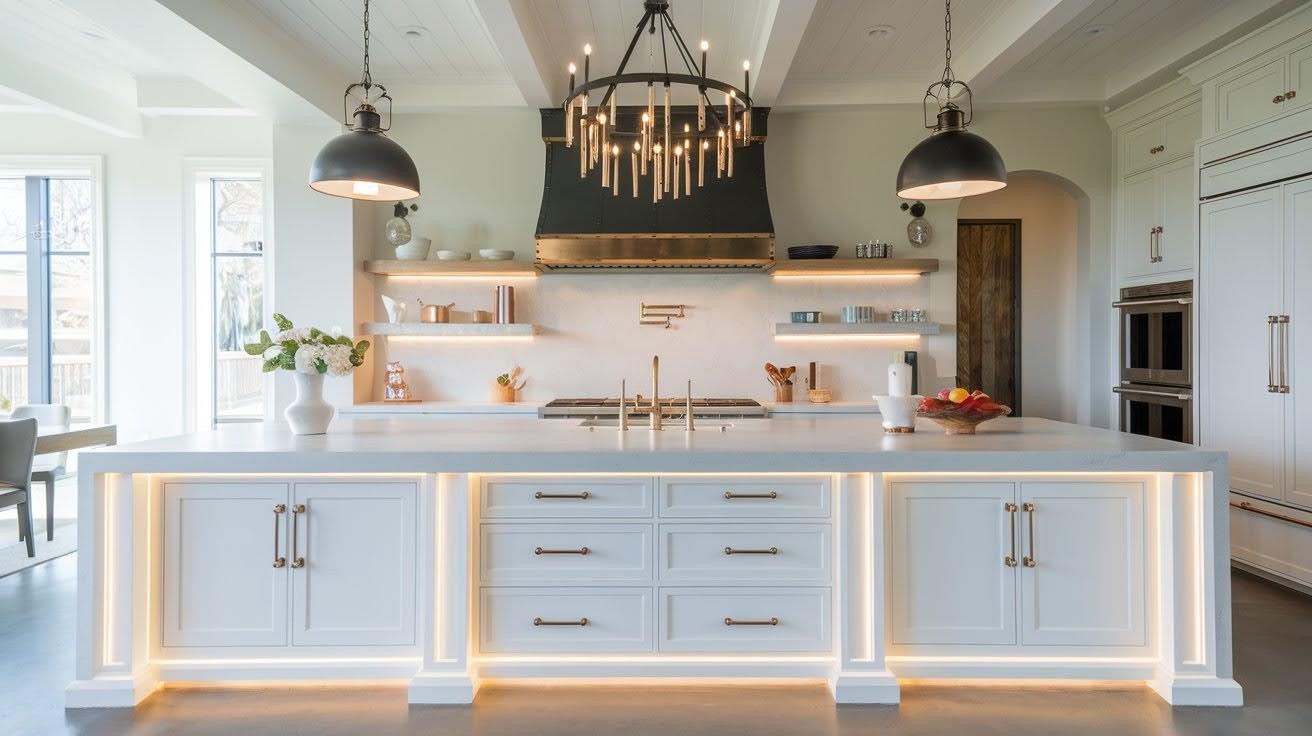
- LED strip lights: Add LED strips along the base or edges of your island. These lights create a modern, floating effect at night. Choose colors that change to match your mood. They’re affordable and easy to install yourself.
- Unique hardware and handles: Replace basic knobs with interesting handles that show your personality. Brass, copper, or matte black finishes make big statements. Leather pulls or ceramic knobs add artisan touches. Hardware is jewelry for your kitchen.
- Statement chandelier above island: Install a dramatic chandelier to make your island the star. This works especially well in kitchens with high ceilings. Choose a fixture that complements your overall design. A chandelier adds both light and luxury.
Decorative and Functional Accents
- Backsplash integration: Extend your wall backsplash down the sides of your island. This creates a cohesive look throughout the kitchen. Use tile, stone, or the same material as your walls. It protects the island while adding style.
- Decorative panels: Add ornamental panels or beadboard to plain island sides. These details bring texture and traditional charm. Paint them in contrasting colors for more impact. Decorative panels make basic islands look custom-built.
- Contrasting textures: Mix smooth surfaces with rough ones for visual interest. Pair glossy cabinets with matte countertops. Combine wood with metal or stone with glass. Different textures make your island more dynamic and interesting.
- Indoor plants or herb garden: Place potted herbs on your island for fresh cooking ingredients. Basil, rosemary, and mint grow well indoors with enough light. Plants add life, color, and fresh scents. They’re both decorative and functional additions.
- Floating shelves on island sides: Attach open shelves to the ends or sides of your island. Use them for cookbooks, decorative bowls, or everyday items. This adds storage without making the island feel heavy. Floating shelves keep things accessible and visible.
- Statement centerpiece or sculpture: Place a large bowl of fresh fruit or an art piece on your island. This draws the eye and adds personality. Change it seasonally to keep your kitchen feeling fresh. A good centerpiece makes your island feel complete and intentional.
Maintenance Tips After Your Kitchen Island Makeover
- Wipe marble with pH-neutral cleaners to avoid etching. Use mineral oil on butcher block monthly to prevent drying and cracking.
- Clean granite with warm water and mild soap only. Concrete needs sealing every few years to resist stains and damage.
- Use cutting boards instead of cutting directly on surfaces. Wipe up spills immediately to prevent staining and water damage.
- Place hot pots on trivets rather than directly on countertops. Reseal stone surfaces annually to maintain their protective barrier.
- Wipe down handles and knobs weekly with a soft cloth. Use appropriate cleaners for each metal type to avoid tarnishing.
- Clean light fixtures monthly to maintain brightness. Tighten loose screws on handles before they cause bigger problems.
Conclusion
Kitchen islands can serve a collection of functions, from lively pops of color to clever storage.
Here are 31 kitchen island ideas to inspire yours. Some take just a weekend to complete while others need a little more planning and budget.
Either way, you can combine any of these ideas together at will.
Start with one or two changes. These should excite you most.
Your island needs to work for how you cook and live. It should function, it should be beautiful, and it should be yours.
Frequently Asked Questions
How much does a kitchen island makeover typically cost?
Costs vary widely based on your choices. A simple paint job can cost under $100, while new countertops and major upgrades can run several thousand dollars.
Can I makeover my kitchen island without professional help?
Many projects like painting, adding hardware, or installing shelves are DIY-friendly. More complex work like plumbing, electrical, or stone installation may need a professional.
What’s the easiest way to update my kitchen island quickly?
Paint is your fastest option for a big visual change. New hardware, pendant lights, or bar stools also make immediate impacts with minimal effort.
How do I choose the right countertop material for my island?
Consider your cooking habits, maintenance preferences, and budget. Butcher block suits avid cooks, while granite or quartz work well for busy families needing durability.
Should my island match the rest of my kitchen cabinets?
Not necessarily. Many modern kitchens use contrasting island colors or materials as a focal point. Choose what feels right for your space and personal style.