
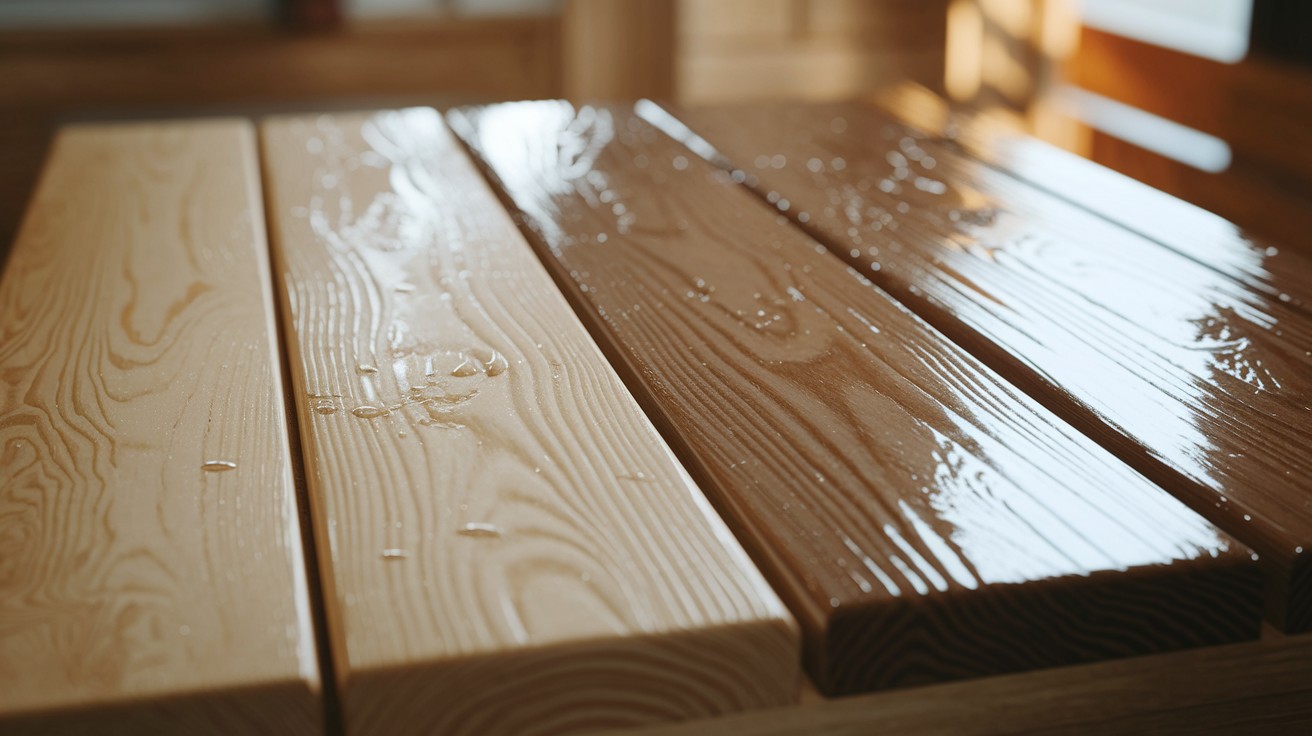
Whitewashing is a painting technique that creates a soft, weathered appearance while allowing natural wood grain to show through.
Pine wood provides an excellent base for this finish due to its light color and prominent grain patterns.
When you apply whitewash to pine, you create furniture or accents with timeless appeal that works wonderfully in various design styles, from farmhouse to coastal to minimalist spaces.
This method offers significant advantages: it brightens rooms without hiding wood’s natural beauty, creates a soft, muted look, and costs very little compared to other finishing techniques.
You can achieve this effect using basic materials like watered-down latex paint or specialized chalk paint formulations.
The process is straightforward, making it perfect for both beginners and experienced DIYers looking to refresh wooden elements in their homes.
Before You Begin – Know Your Wood
Why Pine Wood?
Pine works wonderfully for whitewashing projects. Its light color and prominent grain patterns create beautiful results with minimal effort.
The natural warmth of pine shows through the whitewash, adding depth and character to your finished piece. This affordable, common wood takes whitewash treatments well because of its porous surface, making it a smart choice for both small accents and larger furniture items.
What Finish Does Your Wood Have?
Check your pine surface before starting. Is it raw wood or does it have an existing finish? Run your hand across, smooth and slick suggests varnish or paint, while rough texture indicates raw wood.
Water droplets will bead on sealed surfaces but soak into unfinished wood. This matters because existing finishes block whitewash from penetrating properly.
Understanding what you’re working with helps you prepare correctly and achieve consistent, attractive results without surprising problems later.
Supplies You’ll Need
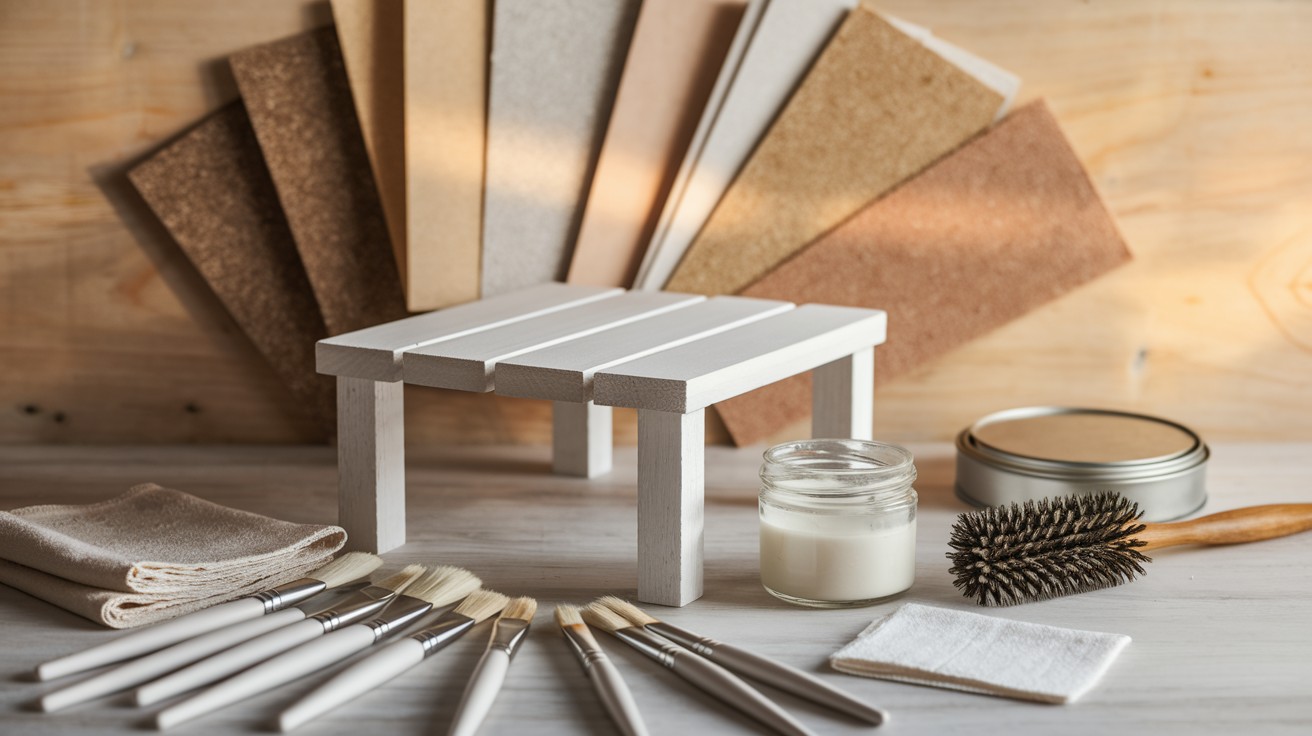
Essential Materials
Getting ready for your whitewashing project is simple. You’ll need a pine wood item—whether that’s a table, shelf, or cabinet, as your starting point.
For the whitewash itself, gather either white chalk paint or latex paint, plus water for thinning. A glass jar or plastic tray works well for mixing your whitewash solution to the right consistency.
Application tools include quality paintbrushes (synthetic for latex paint) and several lint-free cotton cloths.
Don’t forget sandpaper in various grits: coarse (80) for initial preparation, medium (120) for smoothing, and fine (240) for finishing touches. A wire brush can be helpful for creating more texture in the wood grain if you want that effect.
Consider adding a protective layer once your whitewash dries. Clear furniture wax adds subtle sheen and protection for items with light use, while polycrylic sealer offers stronger defense for surfaces that see more action, like tabletops or shelves.
Step-by-Step Guide to Whitewashing Pine Wood
Step 1 – Clean the Surface

Start with a thoroughly clean surface. Any dirt, dust, or grease will prevent the whitewash from adhering properly.
Wipe down your pine piece with a mild cleaner and water solution, focusing on areas that might have finger oils or residue.
For older pieces, a bit of mineral spirits on a rag helps remove decades of buildup. Allow the wood to dry completely before moving to the next step.
This simple preparation makes a big difference in your final results.
Step 2 – Sand the Wood

If your pine has an existing finish, begin with 80-grit sandpaper to break through it. Work in the direction of the wood grain to avoid cross-scratches.
Once the shiny coating is gone, switch to 120-grit to smooth the surface, then finish with 240-grit for a silky feel. For raw pine, you can start with 120-grit.
After sanding, clean away all dust with a soft brush or vacuum, followed by a slightly damp cloth. Let the wood dry completely.
This step creates the perfect canvas for your whitewash to penetrate evenly.
Step 3 – Mix Your Whitewash Solution
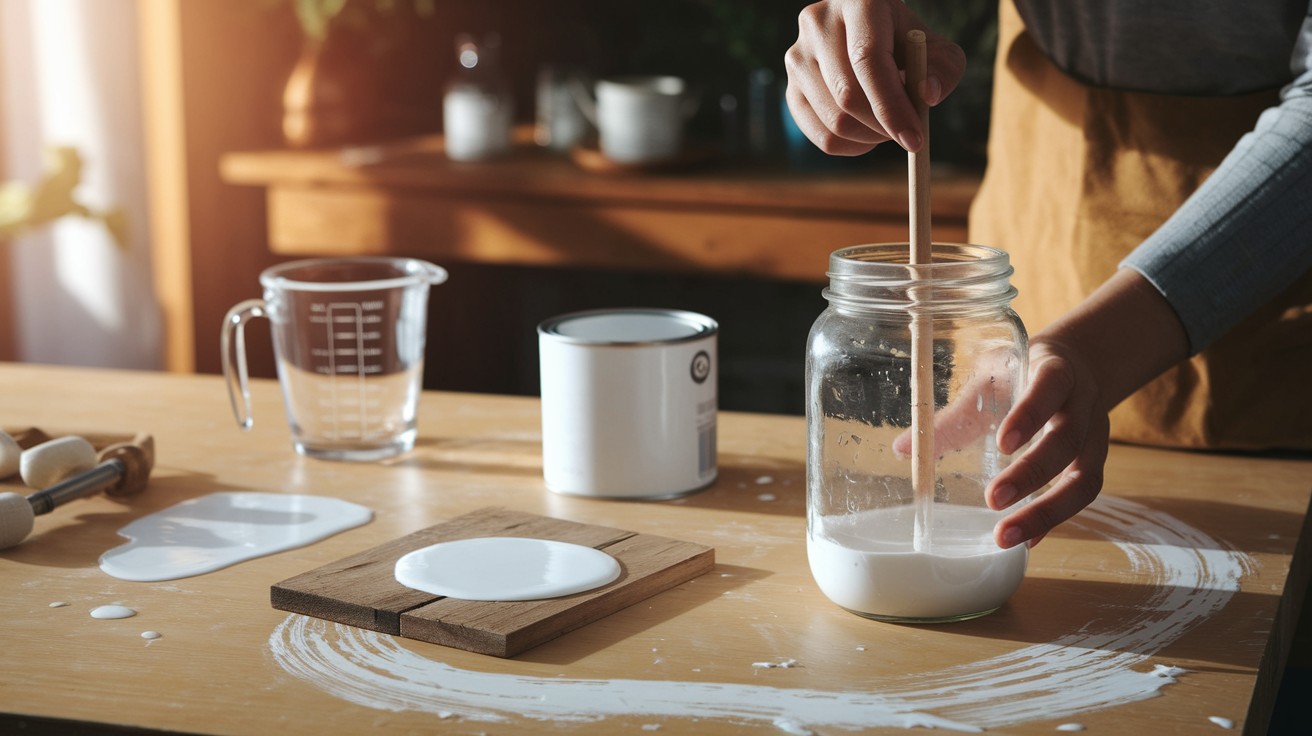
For latex paint whitewash, combine equal parts paint and water in a glass jar or plastic container. Stir until smooth with no lumps.
This creates a milky consistency that allows wood grain to show through.
With chalk paint, use a much thinner mix—about 1 tablespoon paint per cup of water, adjusting to your preference. Chalk paint naturally creates a more matte, vintage look.
Test your mixture on a scrap piece of pine or an inconspicuous area to check the opacity before applying it to your entire project.
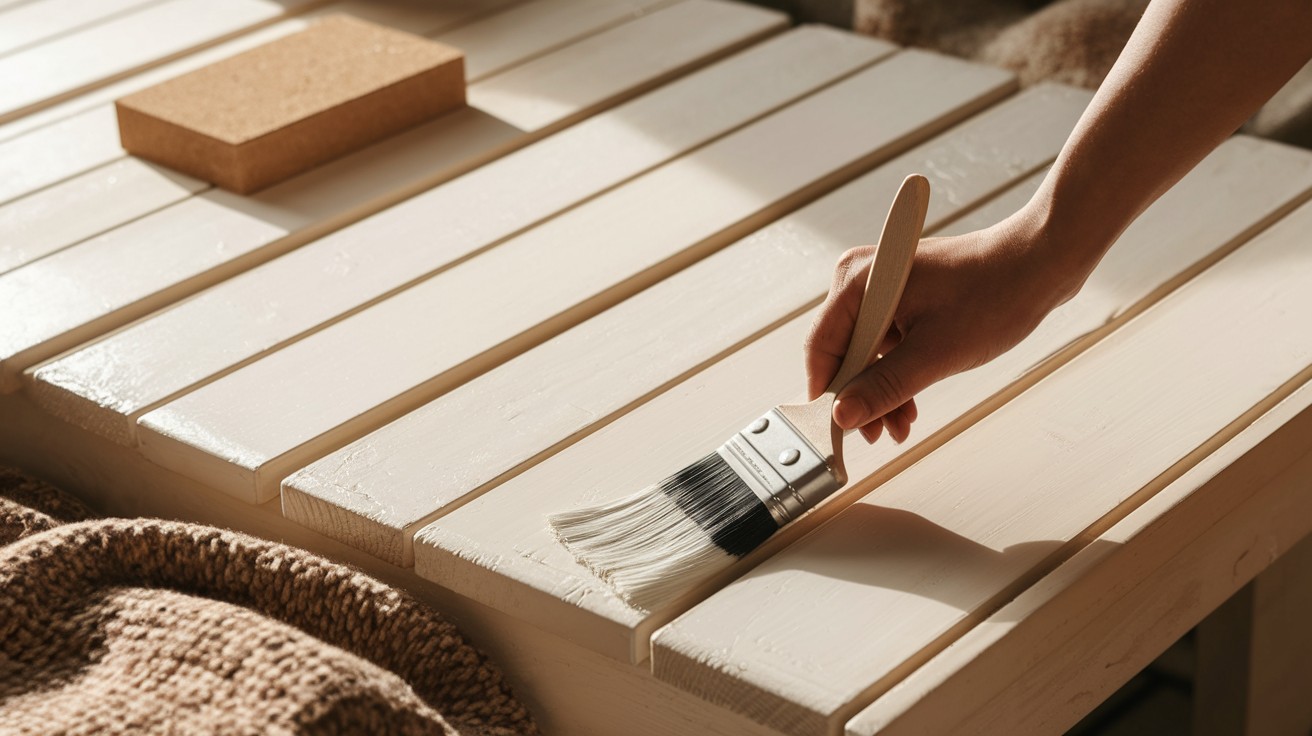
Step 4 – Apply the Whitewash
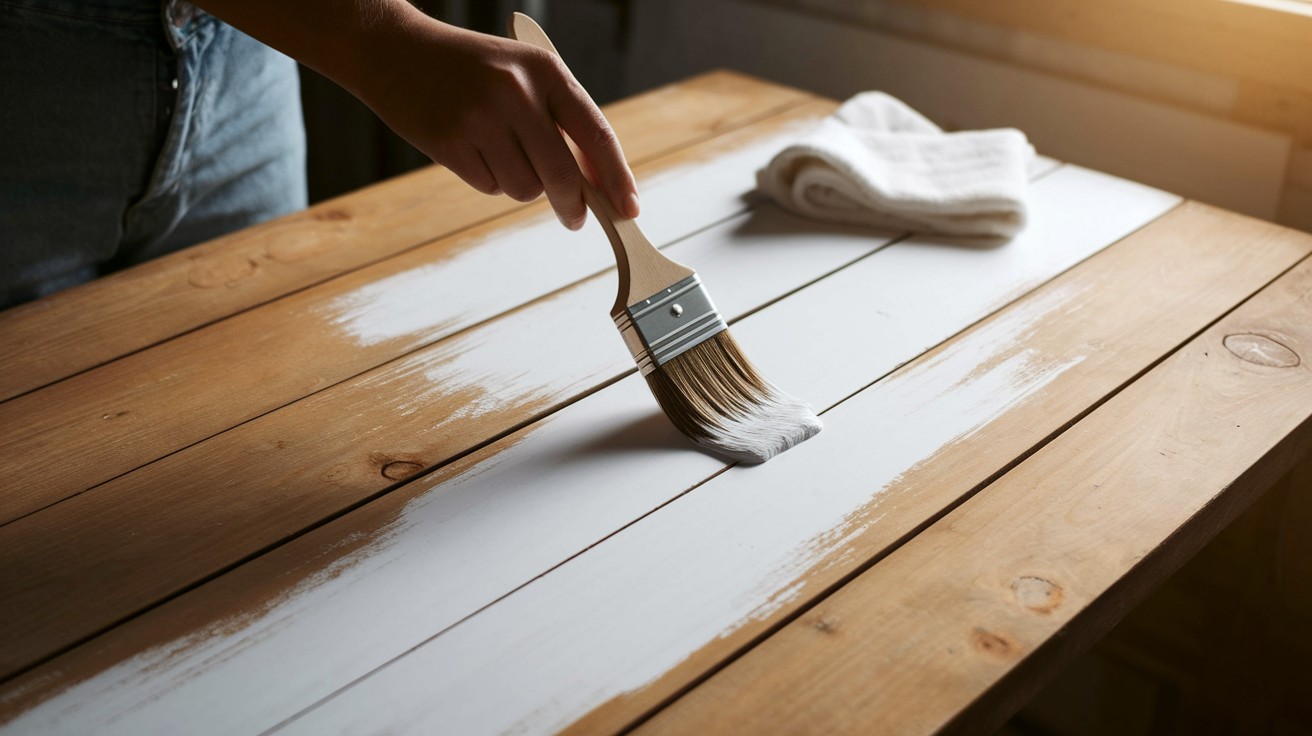
For a light, subtle whitewash: Apply the mixture with a brush, then quickly wipe away excess with a clean cloth, working in small sections.
This technique highlights the grain while allowing the natural warmth of pine to show through.
For more coverage: Apply with a brush and leave more of the mixture on the wood, blending as you go. Always brush with the grain for a natural appearance.
If your mixture dries too quickly, keep a spray bottle with water nearby to mist the surface and maintain workability.
Step 5 – Apply Additional Coats
After your first coat dries, assess the look. Pine often needs 2-3 coats to tone down its natural yellow-orange hues.
Each additional coat builds opacity while still maintaining some wood grain visibility.
Let each layer dry completely before applying the next—chalk paint whitewash typically dries in 30 minutes, while latex mixtures may take 1-2 hours.
Sand very lightly with fine-grit paper between coats if you notice any roughness.
Finishing the Whitewashed Wood
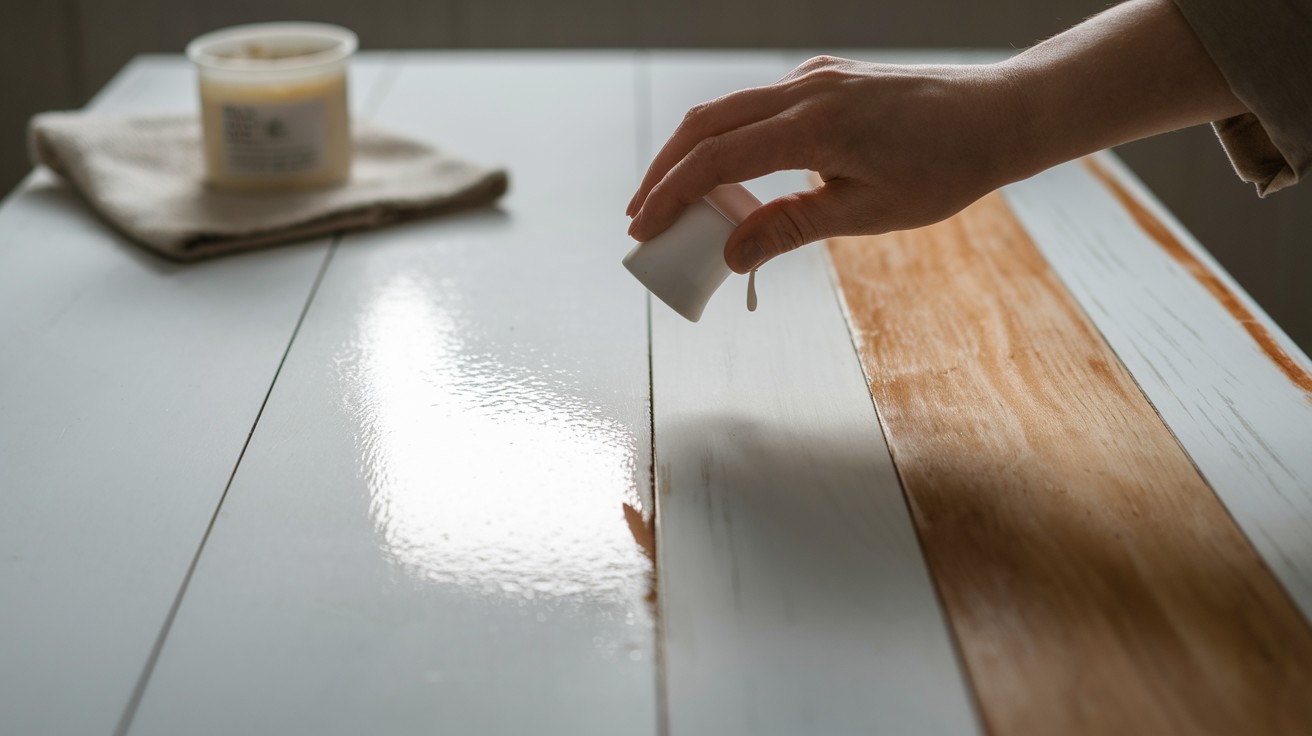
Choose Your Sealer
Protect your newly whitewashed pine with the right sealer. For surfaces that face heavy use, like tabletops or kitchen items, apply water-based polycrylic in 2-3 thin coats. This clear finish resists water spots and scratches without yellowing your whitewash.
For decorative or light-use pieces, clear furniture wax offers a softer touch. Simply apply a thin layer with a cloth using circular motions, then buff after 15 minutes. Wax maintains the matte, subtle look of whitewashed wood while providing basic protection.
For special projects, you can combine both: first apply polycrylic for protection, then add wax for a smooth feel. This works well for medium-use furniture like coffee tables or consoles.
Tips & Troubleshooting
Common Issues
When whitewashing dries too quickly, keep a spray bottle filled with water nearby. A light mist helps maintain workability, giving you time to blend properly without leaving brush marks. This is especially helpful on warm days or in dry rooms.
For spots with uneven coverage, wait until everything dries completely, then sand lightly with fine-grit sandpaper. Apply another thin coat of whitewash to that area, feathering the edges to blend with surrounding surfaces. Take your time with this touch-up process.
If you notice too much of pine’s natural orange tone showing through, you have options. Add another coat of whitewash using a slightly higher ratio of paint to water. For particularly stubborn areas, try a spot treatment with less diluted paint, focusing just on those sections that need more coverage.
Conclusion
Whitewashing pine wood creates beautiful, light-filled spaces with character and charm that commercial finishes simply can’t match.
The process we’ve outlined transforms ordinary pine into a statement piece that works with many decorating styles.
This approach gives you control over the final appearance—from subtle washes that highlight natural grain to more opaque finishes that minimize pine’s yellow tones.
Best of all, this technique requires minimal investment in materials while producing professional-quality results.
With proper sealing, your whitewashed pine pieces will remain beautiful for years.
We hope this guide inspires you to try this simple yet effective finishing method on your next wood project, bringing new life to your home with classic, understated style.
Frequently Asked Questions
What type of paint works best for whitewashing pine?
Both latex and chalk paint work effectively for whitewashing pine. Latex paint provides more durability and coverage, while chalk paint creates a more matte, vintage appearance with less prep work required.
How many coats of whitewash does pine typically need?
Pine usually requires 2-3 coats of whitewash to adequately tone down its natural yellow-orange hues. Apply thin coats and assess after each one dries, adding more as needed to achieve your desired look.
Do I need to sand pine before whitewashing it?
Yes, sanding is essential before whitewashing pine. It removes any existing finish that would block absorption and creates a smooth surface that accepts the whitewash evenly for better results.
Can I whitewash pine furniture that’s already stained or varnished?
You can whitewash previously finished pine, but you must first sand down to raw wood or at least break through the existing finish. The whitewash needs to penetrate the wood surface to create the proper effect.
How long does whitewashed pine last before needing refinishing?
With proper sealing using polycrylic or furniture wax, whitewashed pine can maintain its appearance for 3-5 years in normal conditions. High-traffic items may need touch-ups sooner, while decorative pieces often last much longer.