
Kitchen renovations can be expensive, but updating your existing cabinets offers a smart, budget-friendly alternative to complete replacement.
Cabinet makeovers provide significant cost savings compared to buying new units, often costing 50-80% less than full replacement projects.
Beyond the financial benefits, refreshing your cabinets allows for complete personalization of your kitchen space.
You can choose colors, finishes, and hardware that match your style preferences perfectly.
Additionally, updated cabinets boost your home’s value and appeal to potential buyers.
This approach transforms your kitchen’s appearance without the mess, time, and expense of major construction work, making it an ideal solution for homeowners seeking maximum impact with minimal investment.
Prep Before You Begin
Proper preparation is the foundation of any successful cabinet makeover project. Taking time to evaluate your cabinets and organize your materials will save you frustration later and ensure professional-looking results.
Assess Your Cabinets’ Condition
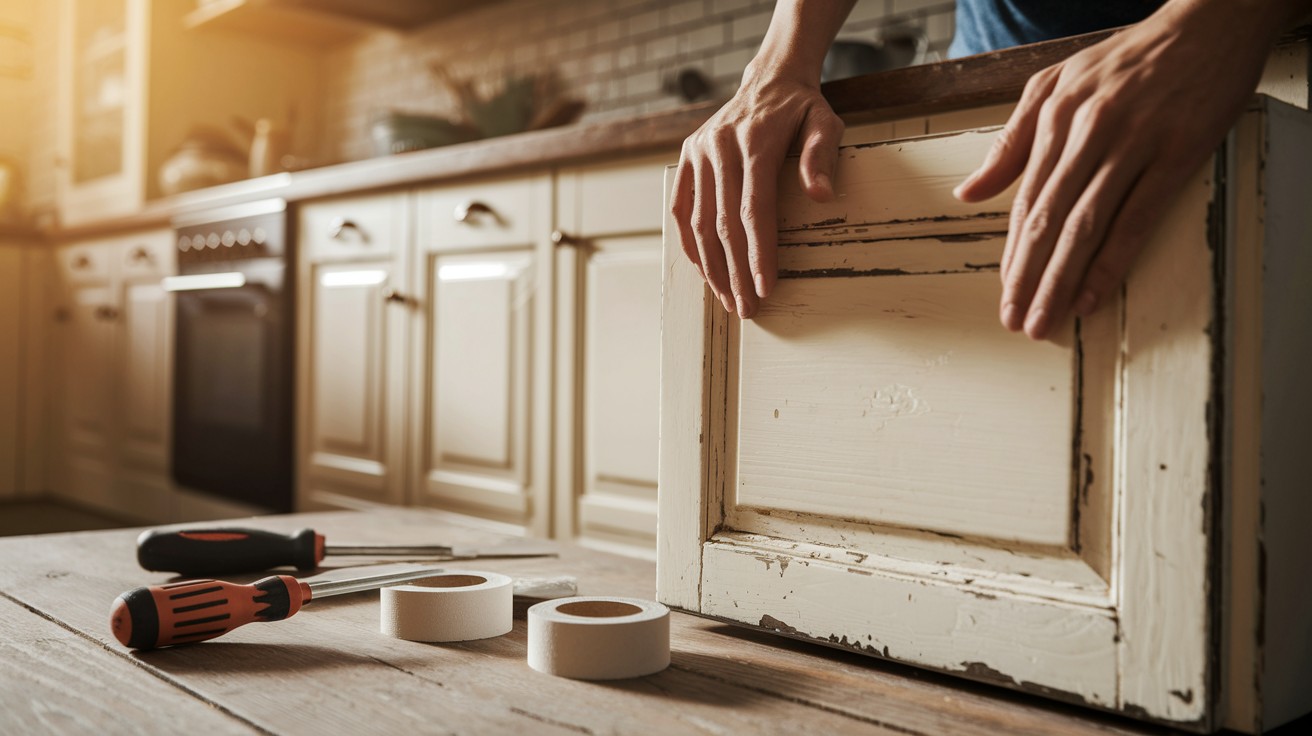
Before starting any cabinet update project, examine your cabinets thoroughly to ensure they’re suitable for renovation.
Check the structural integrity by opening and closing doors, testing hinges, and looking for loose joints or damaged frames.
Inspect the cabinet boxes for water damage, warping, or significant wear that might affect the final result.
Determine if your cabinets are good candidates for painting or refinishing. Solid wood cabinets typically accept paint and stain well, while laminate surfaces may require special primers or different techniques.
Check for any previous paint layers that might need removal, and test a small hidden area to see how well your chosen finish adheres.
Gather Tools and Materials
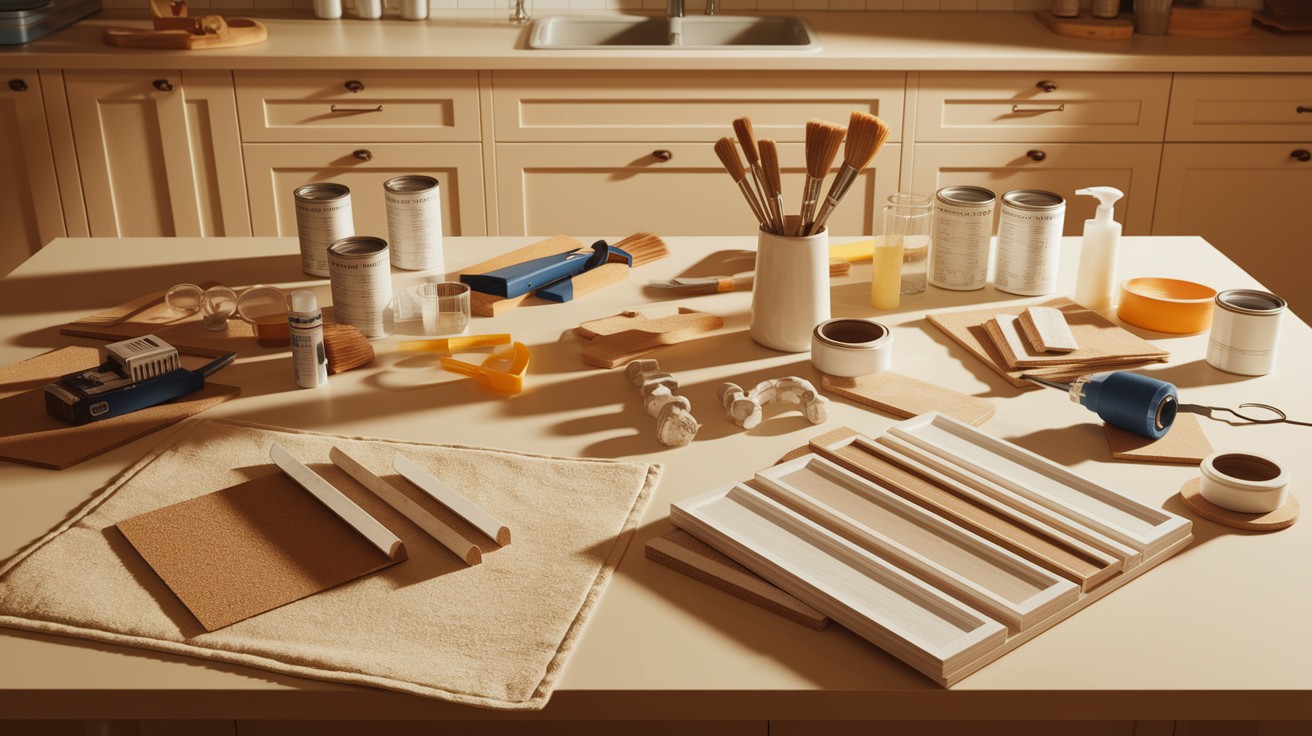
Success depends on having the right supplies ready before you start.
Basic materials include various grits of sandpaper (120, 220, and 320), wood adhesive for repairs, high-quality primer and paint, brushes and rollers, and stencils if you plan decorative touches.
Don’t forget drop cloths, cleaning supplies, and painter’s tape.
For more advanced updates, consider specialty tools like routers for adding decorative edges, trim pieces for a custom look, and decorative panels to transform flat doors into raised-panel styles.
Paint and Finish Transformations
A fresh coat of paint is one of the most dramatic ways to transform your kitchen cabinets. The right color and finish can completely change your kitchen’s mood and style, from modern and sleek to warm and traditional.
Repaint with Bold or Neutral Colors
Choosing the right paint finish is crucial for kitchen cabinets.
Semi-gloss paint offers superior durability and easy cleaning, making it ideal for high-use areas.
Satin finish provides a good balance between durability and appearance, hiding imperfections while still being washable.
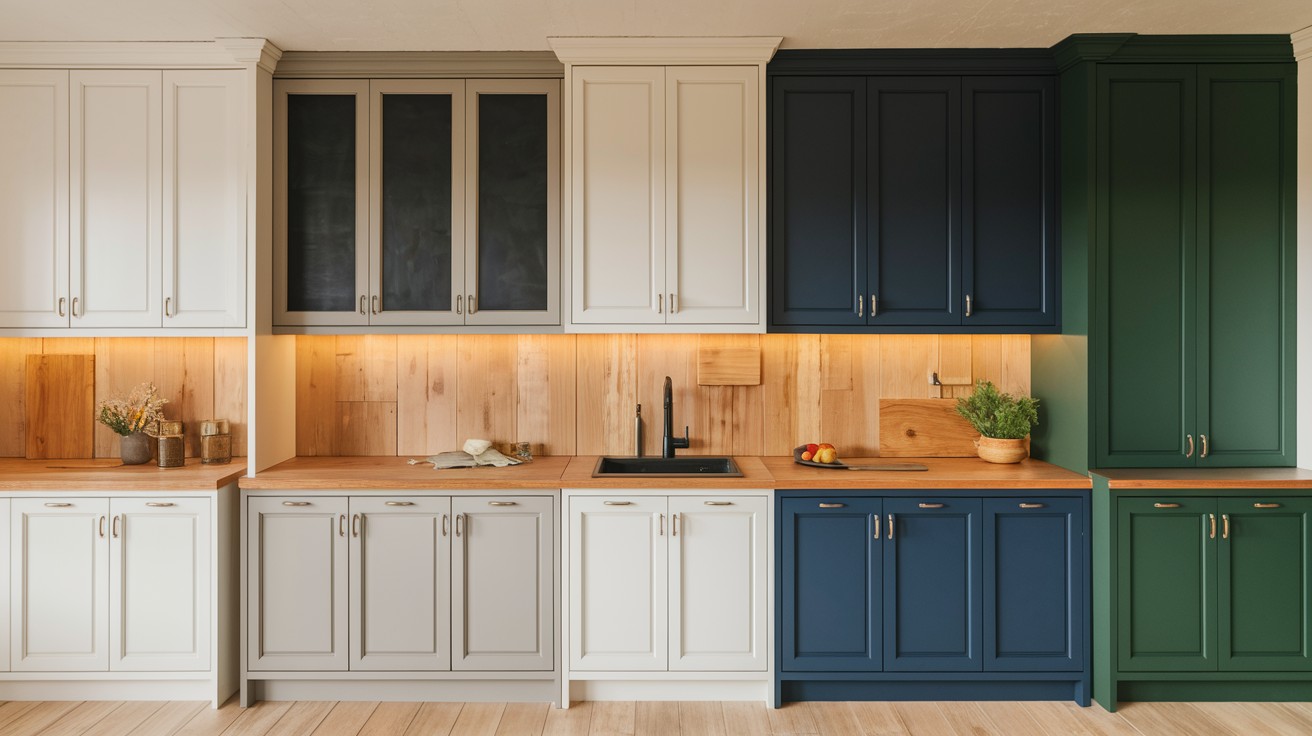
Popular cabinet paint colors include timeless whites like Pure White and Cloud White for a clean, classic look.
Gray tones such as Agreeable Gray and Charcoal create sophisticated, modern kitchens.
Bold choices like navy blue, forest green, or even black can make striking statements, while two-tone combinations add visual interest.
Chalkboard Paint for Functionality
Chalkboard paint adds both style and practicality to your kitchen cabinets.
It’s perfect for creating surfaces where you can write shopping lists, meal plans, or inspirational quotes.
The recessed panel sections of traditional cabinet doors are ideal spots for chalkboard paint application.
The paint applies easily with a foam roller and requires minimal prep work beyond light sanding.
Create an Aged or Distressed Look
For a vintage or farmhouse aesthetic, distressed finishes add character and charm.
The layering technique involves applying a base coat, then a contrasting top coat, followed by strategic sanding to reveal the underlying color.
Focus on areas that would naturally show wear, like edges and corners.
Glazing creates authentic antique effects by adding depth and highlighting details.
Apply glaze over your base paint color, then wipe away excess to settle in grooves and corners.
Add Texture and Pattern
Adding texture and pattern to your cabinet doors creates visual interest and transforms plain surfaces into focal points. These techniques allow you to introduce personality and style that reflects your taste while keeping costs minimal.
Wallpaper or Fabric Inserts
Adhesive wallpaper offers an easy way to add instant pattern and color to recessed cabinet panels.
Clean the surface thoroughly, measure carefully, and apply slowly to avoid air bubbles. Peel-and-stick varieties work best for this application.
Fabric inserts bring warmth and softness to kitchen cabinets. Use spray adhesive or decoupage medium to attach fabric to panel areas.
Choose materials that complement your kitchen’s color scheme – linen adds rustic charm, while geometric prints create modern appeal.
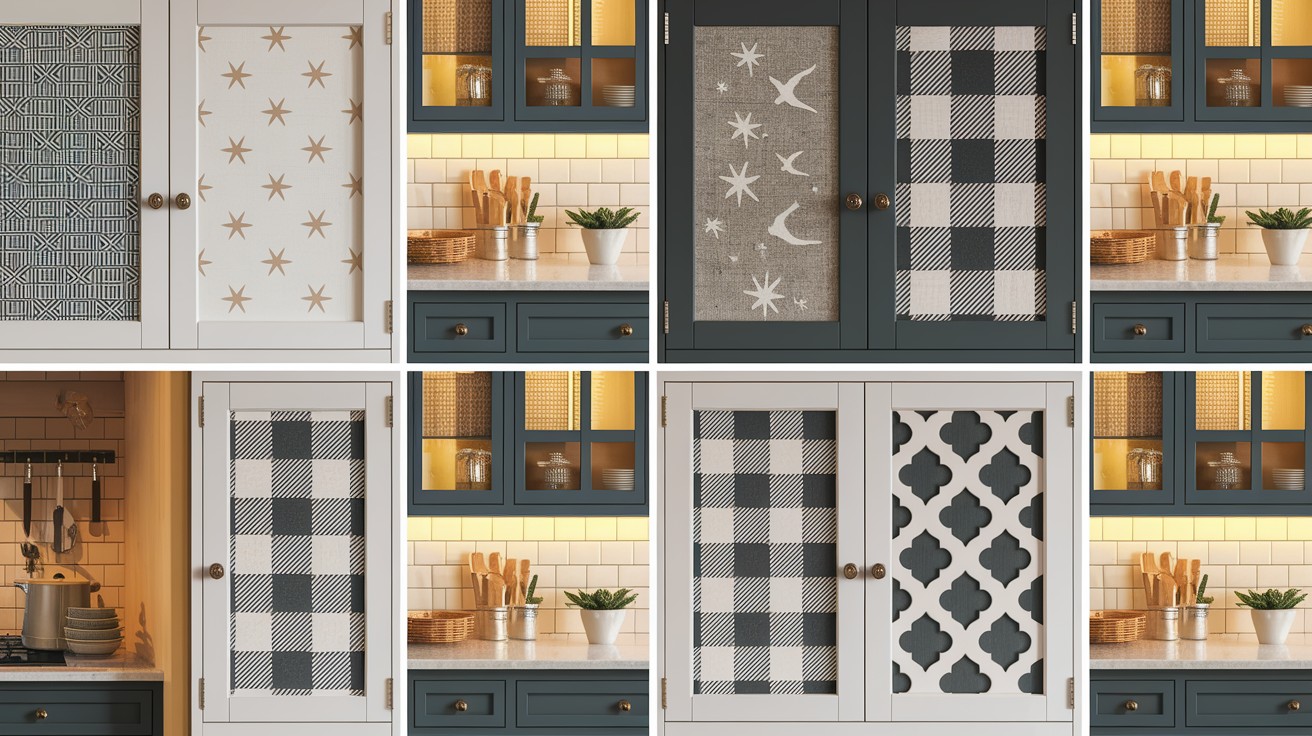
Stenciling for Custom Designs
Stencils provide professional-looking results without artistic expertise. Star patterns create whimsical charm, while bird motifs add natural beauty.
Position stencils carefully using painter’s tape, and apply paint with a foam pouncer or stencil brush using light, dabbing motions.
For crisp application, use minimal paint on your brush and build up color gradually. Remove stencils while paint is still slightly wet to prevent peeling.
Painted Patterns
Buffalo check patterns bring farmhouse style to kitchen cabinets. Start with a light base coat, then use painter’s tape to create a grid.
Paint alternating squares with darker paint, removing tape while the paint is still tacky for clean lines.
Lattice designs add sophisticated geometric interest. Apply your base color first, then use painter’s tape to create diamond or square patterns.
Paint over the tape with a contrasting color, then remove tape to reveal the underlying pattern.
Structural and Trim Updates
Structural modifications can dramatically change your cabinets’ appearance without requiring complete replacement. These updates add architectural interest and can transform basic flat-panel doors into sophisticated, custom-looking features.
Apply Trim or Molding
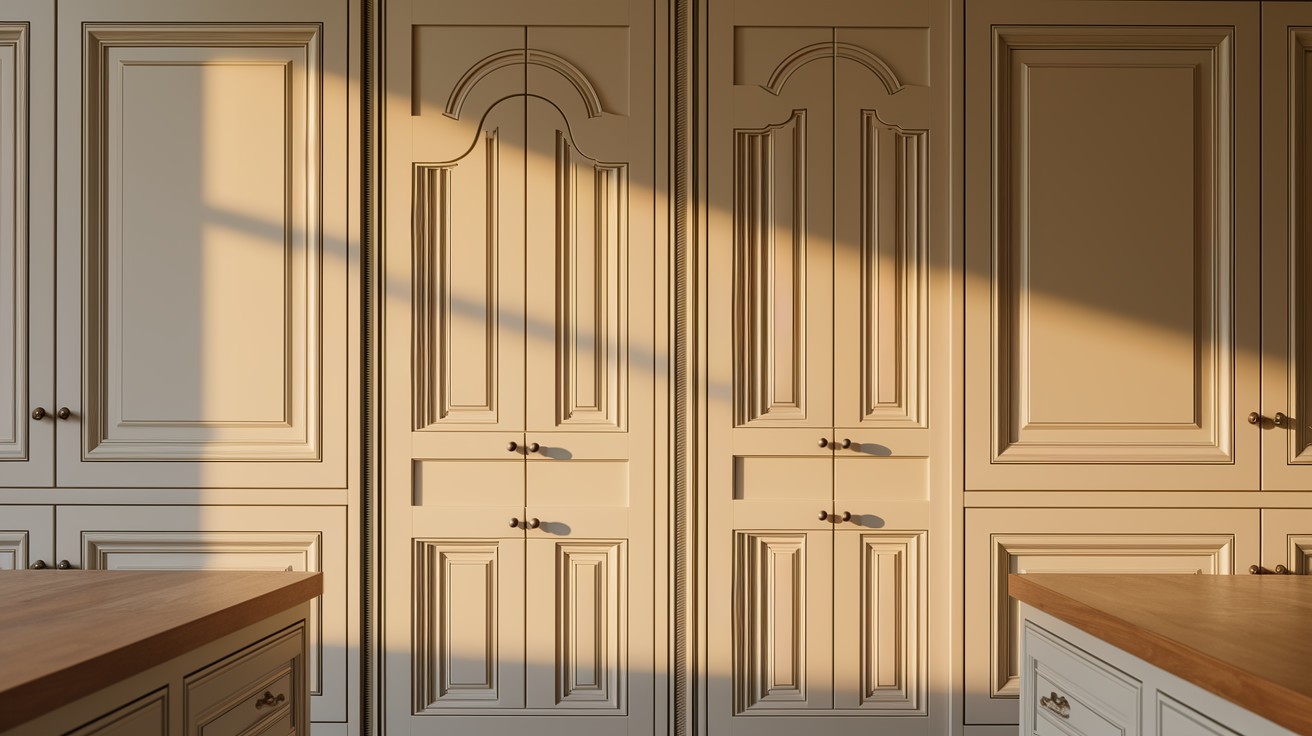
Layering trim creates depth and visual interest that mimics expensive custom cabinetry.
Start with simple quarter-round or flat trim pieces, building up layers for a more complex, high-end appearance.
This technique works particularly well for creating vintage-inspired looks or adding traditional charm to plain doors.
For farmhouse style, use wider, flat trim pieces arranged in rectangular patterns.
Attach trim with wood glue and small finish nails, then fill nail holes and sand smooth before painting.
DIY Farmhouse or Barn Door Look
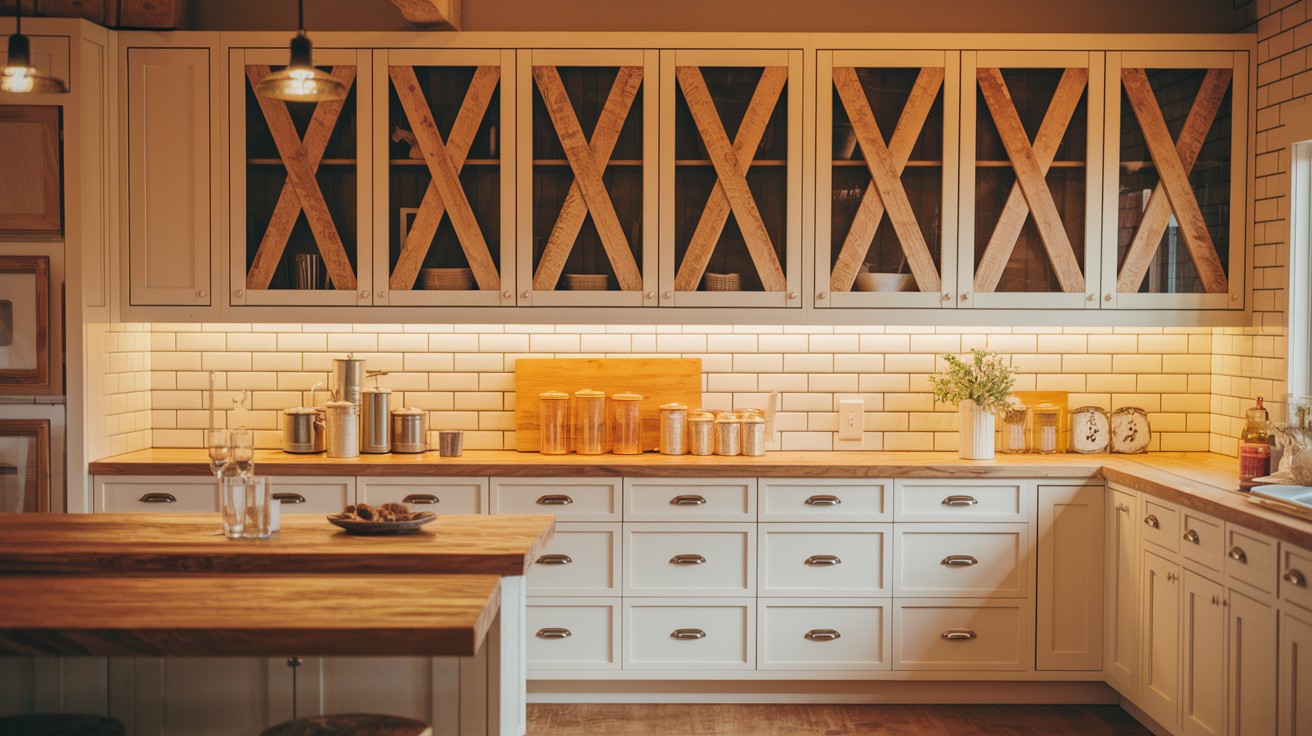
Wood strips can transform flat cabinet doors into rustic, farmhouse-style features.
Create X-frame designs by cutting strips to fit diagonally across door panels, or build cross patterns with horizontal and vertical elements.
Use 1×2 or 1×3 inch pine strips for authentic proportions.
Apply wood glue generously and clamp pieces in place while drying. Sand all surfaces smooth, paying special attention to joints where strips meet.
Add Shutter or Beaded-Board Details
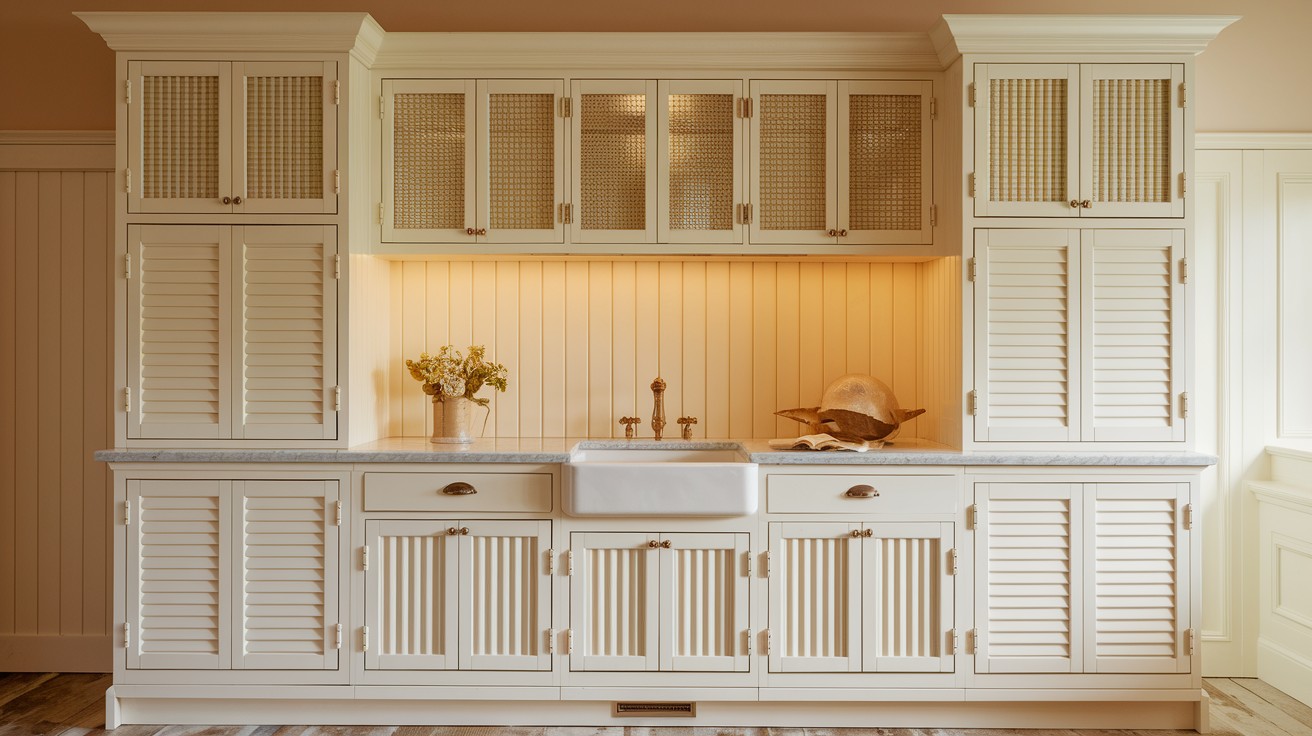
Faux shutter doors bring cottage charm to any kitchen. Use thin craft boards or wood strips arranged vertically with small gaps between them.
Attach horizontal support strips on the back for stability.
Beaded-board panels replace flat inset areas with textured, vertical-lined surfaces that add rustic appeal.
Remove existing panels carefully, measure the opening, and cut beaded-board pieces to fit. Secure with wood glue and small brads, then paint to match your color scheme.
Insert Panels and Inlays
Replacing cabinet door centers with decorative inserts transforms your kitchen while keeping existing structures. These updates add texture and visual interest at a fraction of replacement costs.
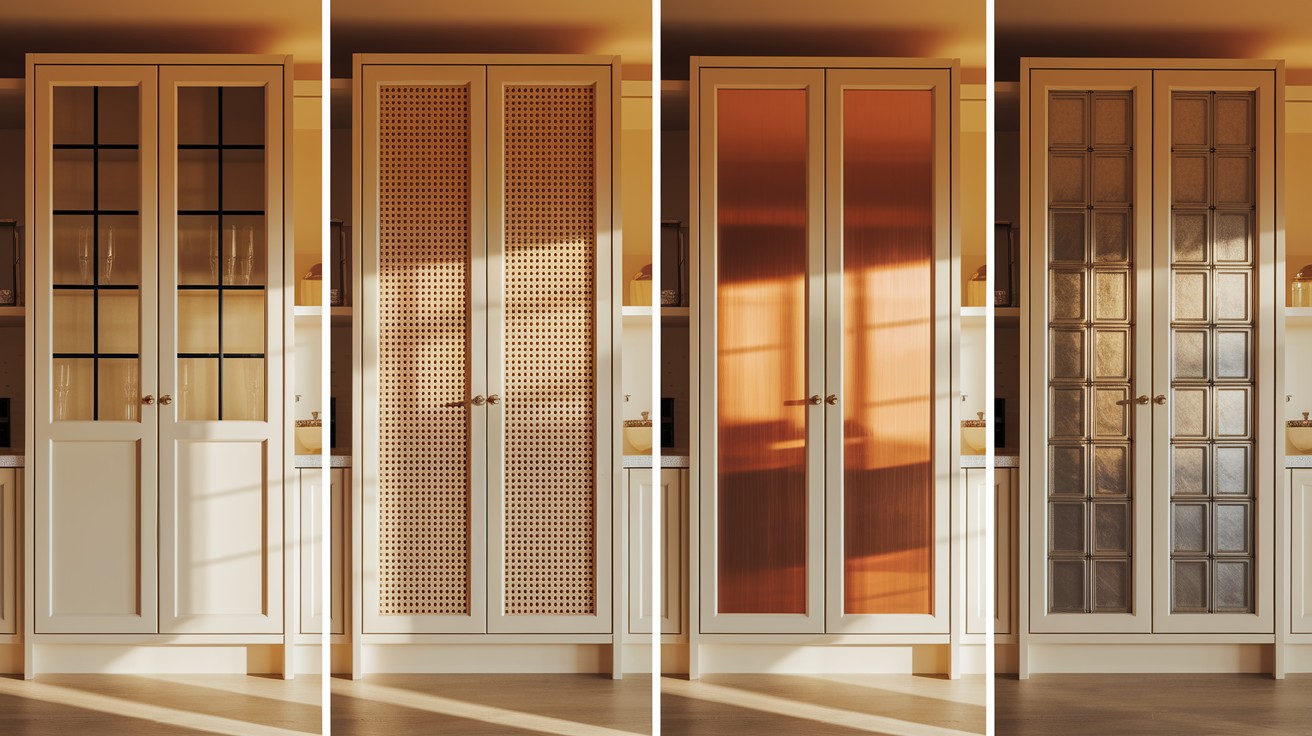
Glass Door Inserts
Glass panels create openness and showcase dishes. Clear glass maximizes visibility, frosted provides privacy, and ribbed adds vintage charm.
Remove door centers with a jigsaw, leaving half-inch borders. Order custom-cut glass and secure it with glazing compound or thin wood strips.
Caned and Copper Inlays
Cane webbing adds natural cottage appeal. Cut pre-woven cane larger than openings, install backing boards, and attach with staples or adhesive.
Cover edges with thin molding. Copper sheets create warm metallic accents – cut to fit, secure with screws or adhesive, and allow natural patina development over time.
Tin Tiles or Sheet Metal Accents
Repurposed ceiling tiles make unique cabinet inserts with pressed patterns. Clean thoroughly and paint if needed.
Sheet metal creates industrial appeal – use galvanized steel for modern looks or paint to match your scheme. Frame all metal inserts with painted trim for professional results.
Functional Additions
Transform your cabinets into functional workspaces by adding practical elements that serve daily needs.
Corkboard inserts turn cabinet doors into message centers – simply cut cork sheets to fit recessed panels, secure with adhesive, and frame edges with thin molding.
These work perfectly on pantry doors for posting grocery lists and meal plans.
Photo embellishments add personal touches by installing narrow ledges or mounting small frames directly to door surfaces.
Display family photos, children’s artwork, or seasonal decorations to make your kitchen feel more like home while serving as conversation starters for guests.
Conclusion
Small changes can create remarkable transformations in your kitchen without the expense of full cabinet replacement.
From fresh paint and decorative hardware to structural additions like trim and glass inserts, these techniques prove that creativity and effort produce professional-looking results on any budget.
Mix and match different approaches to create a fully custom cabinet makeover that reflects your personal style – combine painted finishes with new hardware, add textured panels alongside functional corkboard inserts, or layer multiple techniques for maximum impact.
Remember that each project builds your confidence and skills, making future home improvements easier and more rewarding.
For step-by-step tutorials and additional DIY support, consult online guides and video resources that can walk you through specific techniques in detail.
Frequently Asked Questions
How much money can I save by updating cabinets instead of replacing them?
Cabinet updates typically cost 50-80% less than full replacement projects. This approach can save thousands of dollars while still achieving a dramatic transformation that boosts your home’s value.
What type of cabinets work best for DIY updates?
Solid wood cabinets accept paint and stain most easily, making them ideal for updates. Laminate cabinets can also be updated but may require special primers and different techniques for best results.
How long does a typical cabinet makeover project take?
Most cabinet update projects can be completed over a weekend or within 3-5 days, depending on the techniques used. This timeline includes prep work, painting, and installing new hardware or decorative elements.
Can I update my cabinets if they have existing damage?
Minor damage like loose hinges or small scratches can often be repaired during the update process. However, cabinets with significant water damage, warping, or structural issues may not be good candidates for updating.
Which cabinet update technique provides the biggest visual impact?
Fresh paint combined with new hardware typically provides the most dramatic transformation for the least cost. Adding decorative trim or glass inserts can further enhance the custom, high-end appearance.