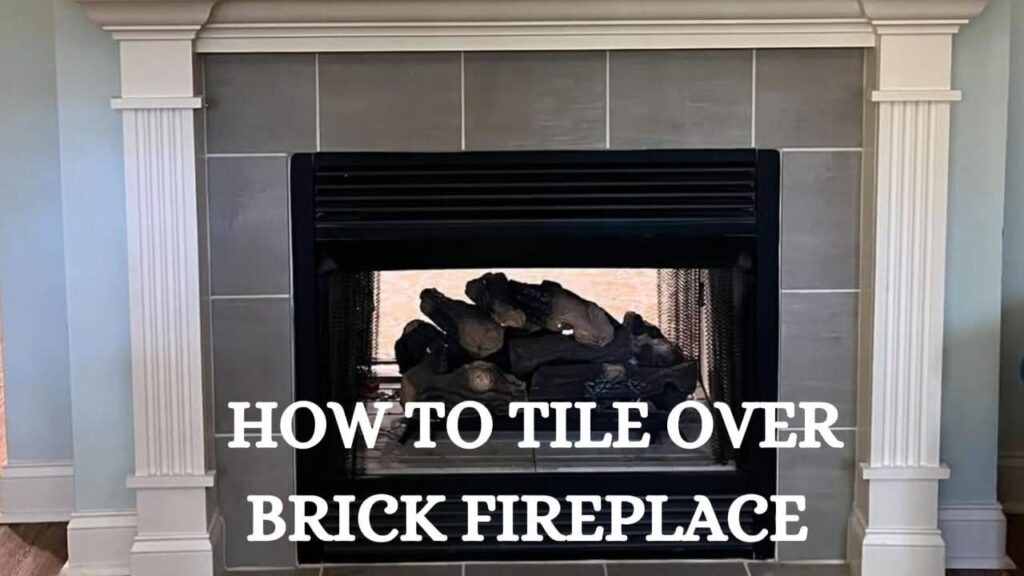
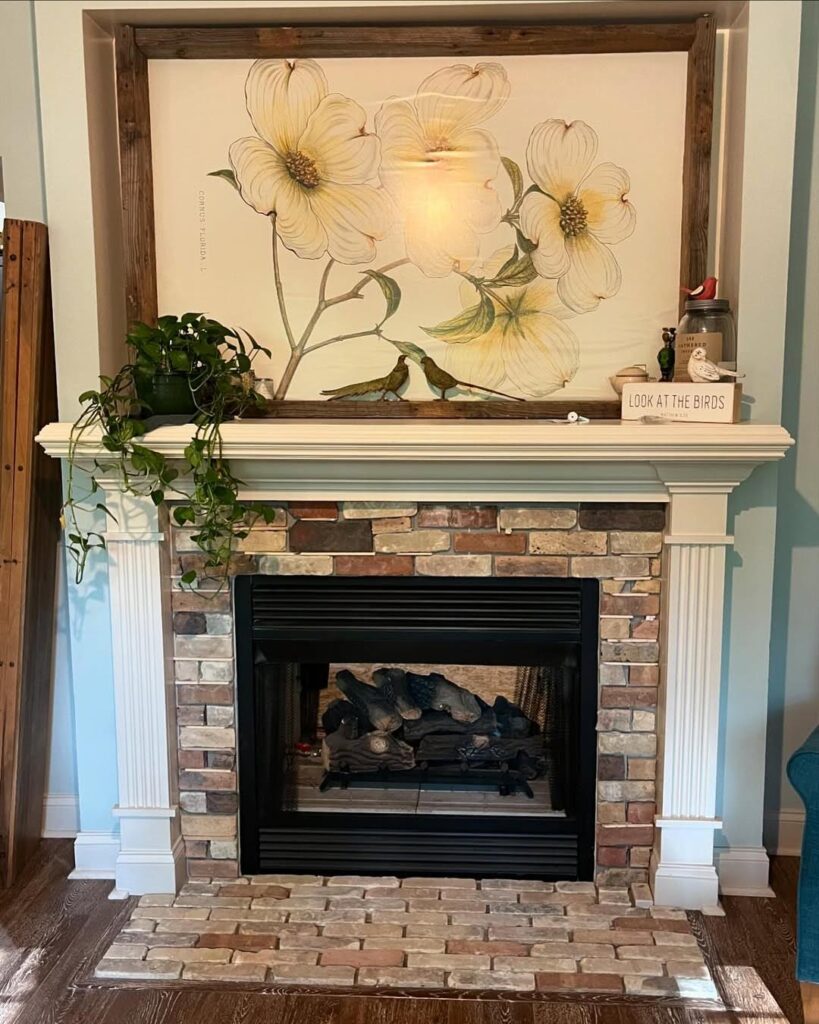
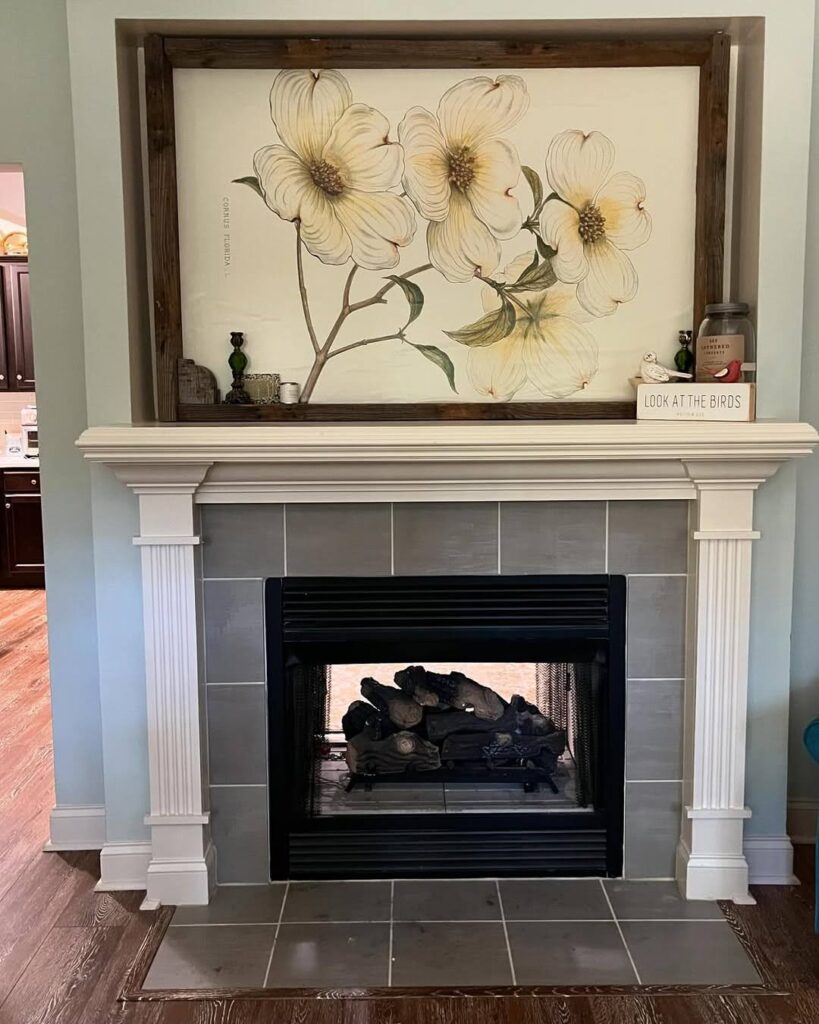
In this blog, I’ll walk you through everything you need to know about how to tile over a brick fireplace, turning that eye-sore into a stunning focal point of your room.
Is your brick fireplace looking a little tired and outdated? You love the warmth it provides, but the rough, rustic brick no longer fits with your home’s style. Tiling over that old brick might just be the game-changer you need, but where do you even start? How do you make sure the tiles stay put and look polished? Don’t worry—I’ve got you covered!
Ready to transform your space? Let’s dive in!
How to Choose the Right Tile for Your Fireplace
When I first decided to tile over my fireplace, I quickly realized there are so many options out there, and each one seems to promise a different look, feel, and vibe.
After experimenting with different tiles and learning from a few mistakes, here’s what I wish I had known from the start: It’s all about balance. The right tile can elevate your entire room, but you want to make sure it complements your style, fits the mood you’re going for, and is practical for the heat your fireplace generates.
Here’s what I learned through trial and error that could save you time and energy:
- Consider Your Room’s Style: First and foremost, think about your existing decor. Are you going for a rustic farmhouse look, or is your style more modern and sleek? I found that a tile with a subtle pattern worked well with my minimalist space, while a more ornate design would have looked too busy.
- Durability is Key: You need a tile that’s not only heat-resistant but also tough enough to stand up to everyday use. I opted for porcelain because it’s easy to maintain and doesn’t absorb moisture, which was crucial given the fireplace’s heat.
- Tile Size and Layout: Here’s where I went wrong at first—I picked tiles that were too large, thinking they’d look more impressive. But they ended up overwhelming the space! Smaller tiles or even a subway pattern can offer a cleaner, more balanced look. Plus, they’re much easier to cut to fit snugly around the fireplace edges.
- Don’t Forget the Grout: Trust me, grout color can make or break your project. I learned that the hard way when I went too dark and it clashed with my lighter tiles. A neutral grout worked wonders for a seamless finish.
Materials and Tools Needed to Tile a Brick Fireplace
Here’s a list of materials and tools you’ll need for tiling over your brick fireplace.
Materials:
- Tiles – Choose ceramic, porcelain, or stone tiles (whichever fits your style and budget).
- Thinset Mortar – A modified thinset mortar (like Mapei Thinset Mortar) for better adhesion to the brick.
- Bonding Primer – A masonry bonding primer (e.g., Zinsser B-I-N or MasonrySaver) to help the adhesive stick better.
- Grout – Choose sanded grout for ceramic tiles or unsanded grout for porcelain tiles.
- Grout Sealer – To protect your grout from moisture and stains (a water-based grout sealer works great).
- Tile Adhesive – If you’re not using a thin-set, an adhesive like Loctite can work for smaller projects.
- Caulk – For sealing any gaps around the edges of the fireplace after tiling.
Tools:
- Notched Trowel – For spreading thin set evenly on the brick surface.
- Tile Cutter or Wet Saw – A tile cutter for small cuts or a wet saw for larger, tougher cuts.
- Level – To ensure your tiles are even and aligned.
- Tile Spacers – To maintain consistent grout lines between tiles.
- Rubber Float – For spreading and pressing grout into the gaps between tiles.
- Sponge – For cleaning excess grout off the tiles as you work.
- Measuring Tape – To measure and cut tiles accurately.
- Pencil – To mark reference lines on the wall and tiles for placement.
- Bucket – For mixing grout and thin set.
- Rubber Gloves – To protect your hands from adhesives, grout, and sealers.
- Microfiber Cloth – For buffing the tiles and removing grout haze after sealing.
A Step By Step Guide
Step 1: Clean and Prep the Brick Surface
Before you do anything, you need to ensure the brick surface is free from dirt, soot, and debris. I made the mistake of not cleaning my fireplace thoroughly at first, and it made a difference in how well the tiles adhered.
You can scrub the brick with a stiff-bristle brush and a mixture of water and mild soap. If your brick is especially dirty, you can use a power washer on a low setting.
A clean surface is crucial for the thinset to bond properly. If you have any holes, cracks, or chips in the brick, now is the time to fill them in with a masonry filler or patching compound.
Let the brick dry completely before moving on to the next step to avoid trapping moisture underneath.
Step 2: Apply a Bonding Primer
Applying a bonding primer might seem like an extra step, but trust me—it’s essential! Since brick is porous, a bonding primer helps create a solid foundation for the adhesive (thinset) to bond with the surface.
You can use a masonry bonding primer like Zinsser B-I-N or MasonrySaver. Apply it evenly over the brick surface using a paintbrush or roller. Make sure every area of the brick is coated. Follow the manufacturer’s instructions for drying time, which typically ranges from 1-2 hours.
The primer ensures the thinset adheres well to the brick, especially since brick tends to be more porous and uneven than drywall or other materials.
Step 3: Choose and Mix Thinset Mortar
Selecting the right adhesive for tiling over brick is key to ensuring your tiles stay in place. I initially underestimated how important this step was, but using the wrong type of mortar can lead to tiles slipping or not bonding well.
I suggest you choose modified thinset mortar, like Mapei Thinset Mortar, which is specifically designed to bond well to porous surfaces like brick.
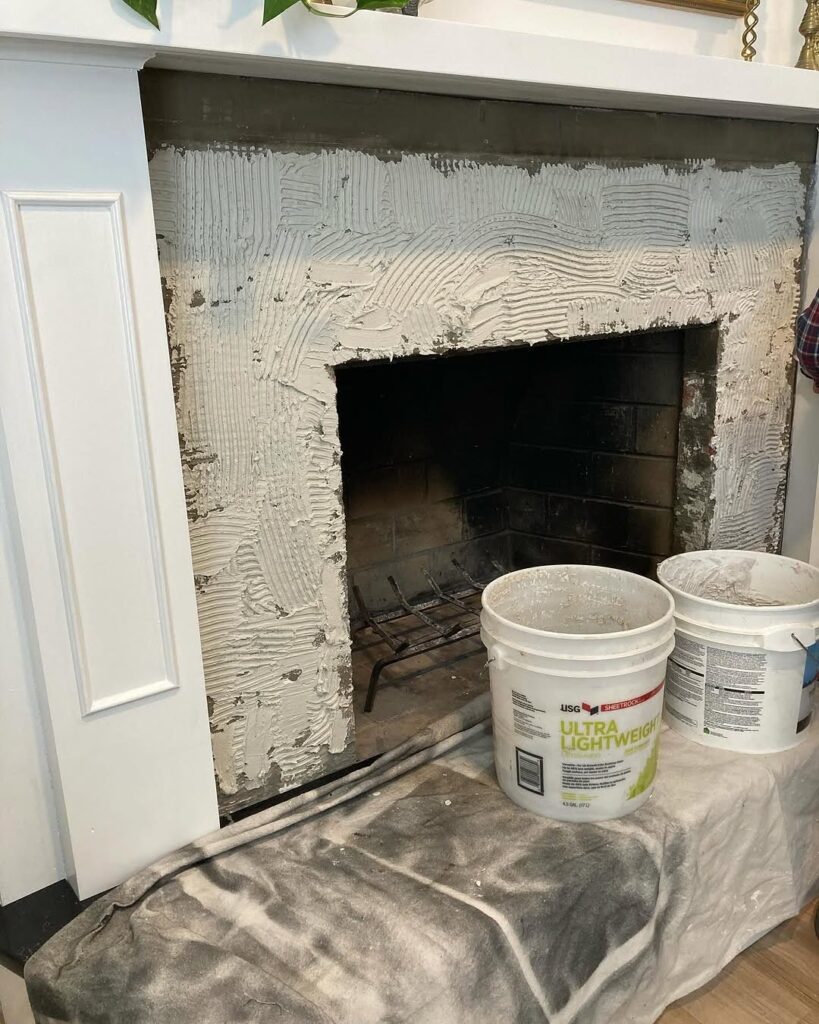
You’ll need to mix the thinset in a bucket according to the manufacturer’s instructions, adding water gradually and stirring until you get a smooth, peanut butter-like consistency.
Thinset is a strong adhesive that will help your tiles bond securely to the brick. Make sure to apply it evenly and smoothly to ensure your tiles are level and won’t shift.
Step 4: Plan Your Tile Layout
This is where I spent the most time because a good layout can make or break the final look. Planning out your tile arrangement on the floor first gives you a better idea of how the tiles will fit and how they’ll look together.
Lay the tiles on the floor in front of your fireplace, arranging them in the pattern you want. For a more traditional or symmetrical look, start with the center of the fireplace and work your way out. For a more organic or rustic feel, you can arrange tiles at a slight angle or in a staggered pattern.
This step ensures you don’t have awkward tile cuts on visible edges and that your pattern flows naturally.
Use a level and a pencil to mark a horizontal reference line across the center of the fireplace. This ensures your tiles stay straight as you work upward.
Step 5: Apply Thinset and Begin Tiling
Now the fun part begins—laying the tiles! I was a little nervous about getting everything even, but once I started, it was surprisingly easy with the right technique.
You can use a notched trowel to spread a layer of thin set onto the brick surface, working in small sections. Hold the trowel at a 45-degree angle to create even ridges of mortar. Once you’ve applied the thinset, start placing your tiles, pressing them firmly into the mortar.
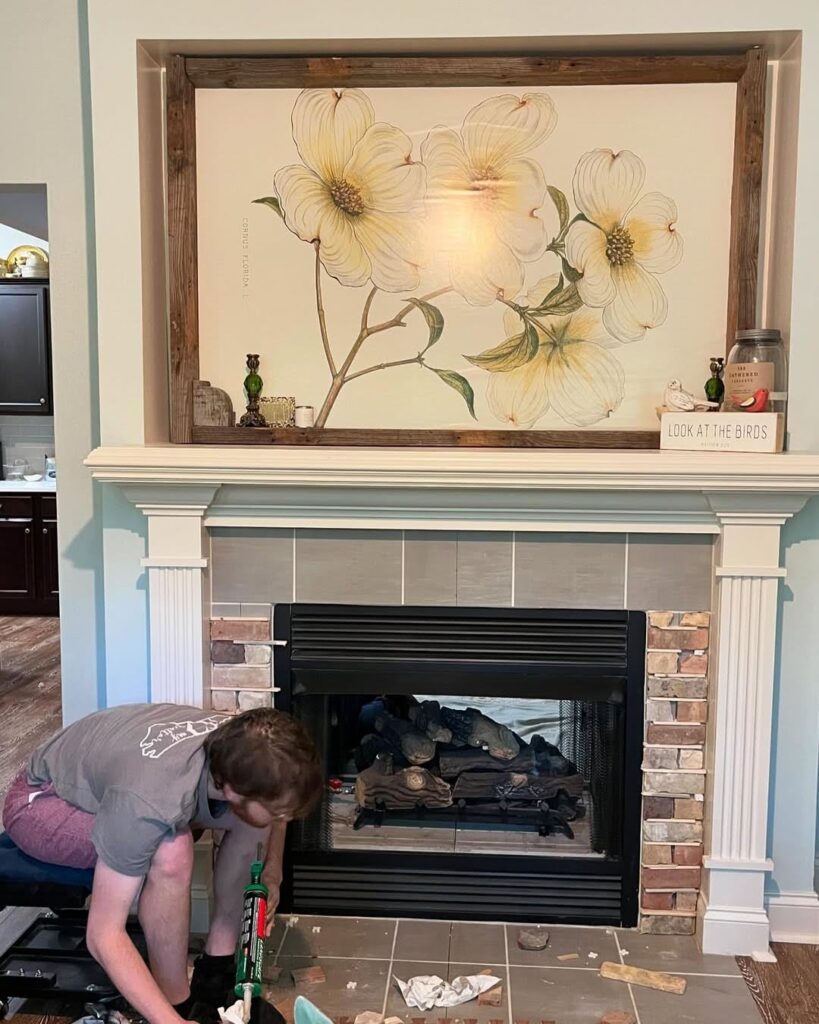
Leave a small gap between each tile using tile spacers. The size of the spacers will depend on your desired grout line. For standard tiles, 1/8-inch spacers work well, while larger tiles may require larger spacers.
Step 6: Cutting Tiles for the Edges and Corners
Most likely, you’ll need to cut tiles to fit around the edges of the fireplace or any other obstacles (like mantels or light fixtures). Don’t worry—this is easier than it seems!
Measure the space where the tile needs to be cut, mark the tile using a pencil, and cut it with a tile cutter for smaller cuts.
For more complicated cuts (like around outlets or corners), you’ll need a wet saw, which cuts through tile easily and accurately.
Always measure twice before cutting—it’s better to be precise than to end up with pieces that don’t fit!
Step 7: Let the Tiles Set and Dry
Patience is key here! I was eager to see the final result, but giving the tiles enough time to set will ensure they stay secure.
Allow the tiles to dry for at least 24 hours before moving on to the grouting process. The thinset needs time to fully cure before you can safely grout.
Rushing this step could lead to tiles shifting or becoming dislodged when grouting.
Resist the urge to touch or adjust any tiles during this drying time. They’re delicate while the adhesive is setting!
Step 8: Grouting the Tiles
Grouting can feel like the most satisfying part because it fills in the gaps and gives your fireplace that finished look.
After the tiles have been set, mix your grout according to the manufacturer’s instructions. Apply the grout with a rubber float, pushing it into the spaces between the tiles. Hold the float at a 45-degree angle and work in small sections.
The grout fills in the gaps and helps hold the tiles in place. Be sure to press it firmly into the spaces to ensure there are no air pockets.
After applying the grout, use a damp sponge to gently wipe away excess grout. Be sure to clean the surface without pulling grout out of the joints.
Step 9: Seal the Grout
Once the grout has dried (usually 24-48 hours), you’ll want to seal it to protect it from stains and moisture.
You shouldapply a grout sealer to the grout lines using a small brush or applicator. This step is important for fireplaces because the heat and occasional moisture can wear down grout over time.
Don’t over-apply the sealer—just a thin coat will do the job.
Step 10: Final Touches and Clean-Up
Now that the grouting and sealing are done, it’s time to admire your work and give everything a final polish.
You canuse a microfiber cloth to buff the tiles and remove any remaining grout haze. Clean up any stray grout or thinset around the edges.
This final touch ensures your fireplace looks clean and polished, with a professional finish.
After all this double-check for any gaps around the edges and fill them with caulk for a seamless look.
Conclusion
Tiling over a brick fireplace may seem challenging, but with the right tools and a little patience, it’s a manageable DIY project that can completely transform your space. By following these steps—cleaning, priming, applying thin set, and grouting—you’ll achieve a beautiful, durable result.
Whether you prefer a modern or rustic style, tiling your fireplace adds elegance and longevity. Take your time, enjoy the process, and soon your fireplace will be a stunning centerpiece in your home. Happy tiling!
FAQs
Can I tile directly over my brick fireplace without prepping the surface?
No, it’s important to clean and prep the surface first. Brick is porous, so without proper cleaning and priming, the adhesive may not bond well. A bonding primer helps ensure the thinset adheres securely to the brick.
Can I use regular grout for my fireplace tiles?
For most tiles, yes, but be sure to choose the appropriate grout for your tile type (sanded grout for ceramic and unsanded grout for porcelain). You’ll also need to seal the grout to protect it from moisture and heat.
How do I ensure my tiles are level while installing them?
Use a level to check that each row is straight as you go. You can also use a reference line drawn on the wall for additional guidance. Tile spacers will help maintain even gaps between the tiles for a uniform look.
Is tiling over a brick fireplace a DIY project or should I hire a pro?
If you’re comfortable with DIY home improvement projects and have some patience, tiling over a brick fireplace is doable! With the right tools, materials, and guidance (like this blog), you can achieve great results. However, if you’re unsure about cutting tiles or working with thinset, hiring a pro can save you time and stress.
Can I change the tile design later if I get bored with it?
While you can always replace the tiles later, tiling over a brick fireplace is a big commitment. The tiles are designed to be durable, but changing the design would require removing the old tiles and redoing the whole process. If you’re someone who likes frequent changes, consider a removable design option like a tile decal or a more neutral tile choice that blends with different decors.
Do I need to worry about grout joints expanding or contracting with heat?
Good question! Grout can expand and contract with temperature changes, so it’s a good idea to leave a small gap between the tiles and the fireplace’s edges, filling it with caulk rather than grout. This will allow for the natural movement of heat without causing damage to your grout lines.
Will tiling over a brick fireplace increase the resale value of my home?
Yes, it could! A stylish, updated fireplace can make a significant impact on potential buyers. It not only adds a modern, clean look but can also become a focal point in your living space, making your home feel more inviting and well-maintained.

