
Removing vinyl plank flooring doesn’t have to be overwhelming.
I’ve helped my neighbors and family tackle this project more times than I can count. Some had click-lock floors that came up easily. Others dealt with stubborn glue-down planks that required patience.
Here’s what you’ll learn: how to identify your flooring type, what tools you actually need, step-by-step removal methods for both types, and how to protect your subfloor from damage.
I’ll walk you through proven techniques that work in real homes. No complicated methods or expensive tools. Your goal is getting that vinyl up safely without ruining what’s underneath. That’s exactly what this guide delivers.
Ready to start your flooring project? Let’s get going.
Understanding Vinyl Plank Flooring Types Before Removal
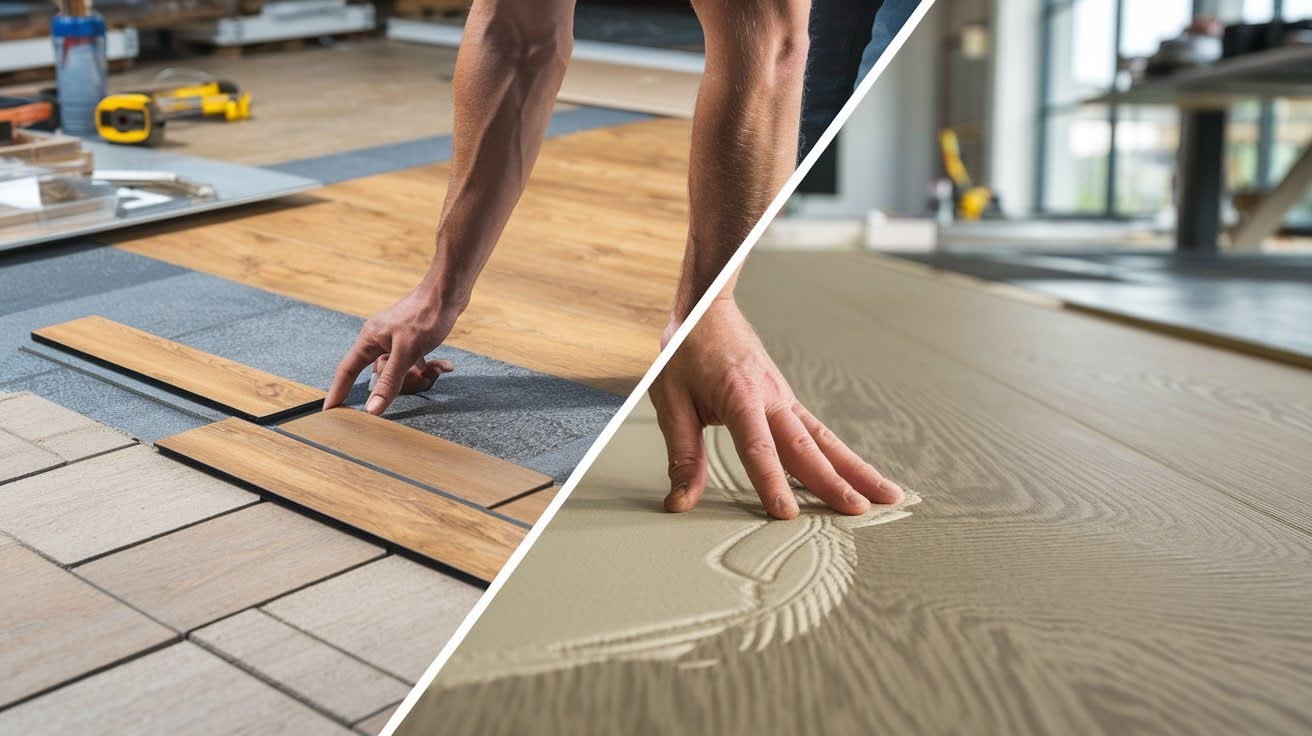
Not all vinyl plank flooring comes out the same way. You need to know what you’re dealing with first.
You’ve got two main types:
Click-lock vinyl planks float on top of your subfloor. They snap together like puzzle pieces. These are much easier to remove because there’s no adhesive holding them down.
Glue-down vinyl planks are stuck directly to your subfloor with strong adhesive. These require more time and effort to remove properly.
How do you tell which one you have? Try lifting a corner in a closet or under an appliance. If it comes up easily, you’ve got click-lock. If it feels permanently attached, it’s glue-down.
Tools & Materials You’ll Need
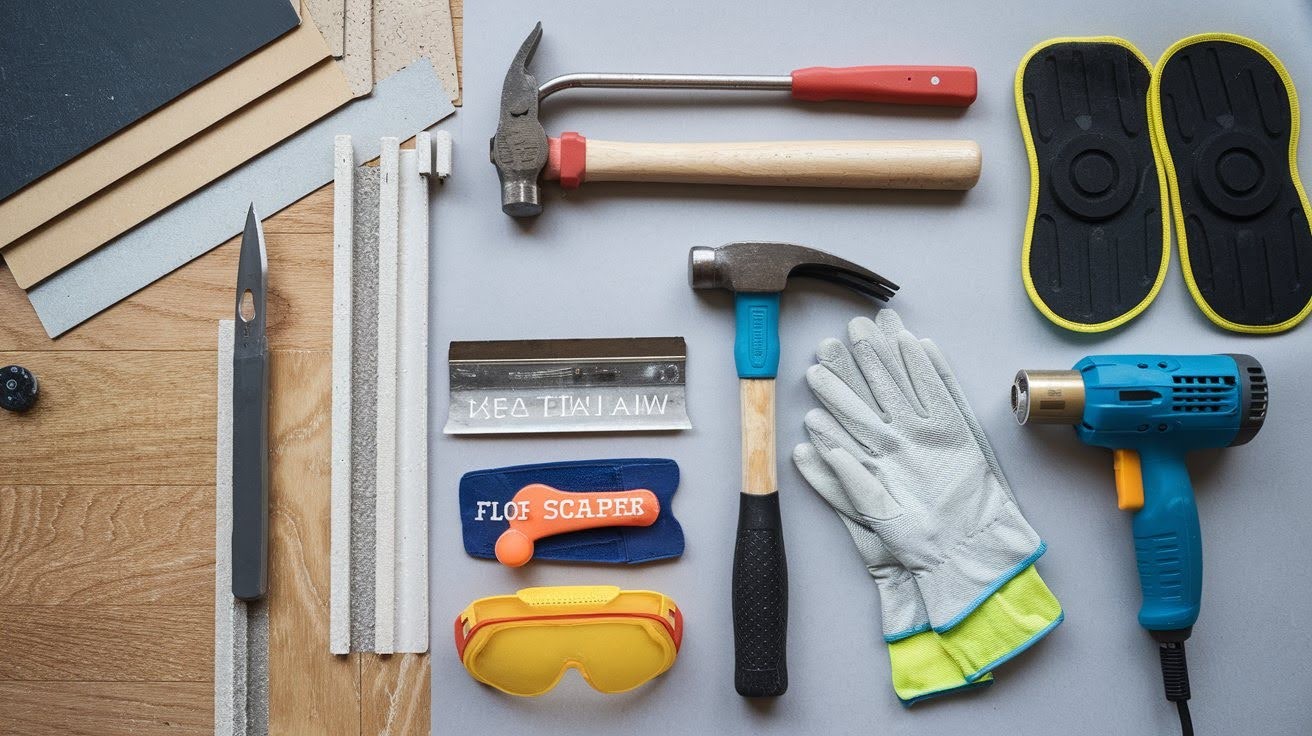
I learned the hard way that having the right tools saves hours of frustration.
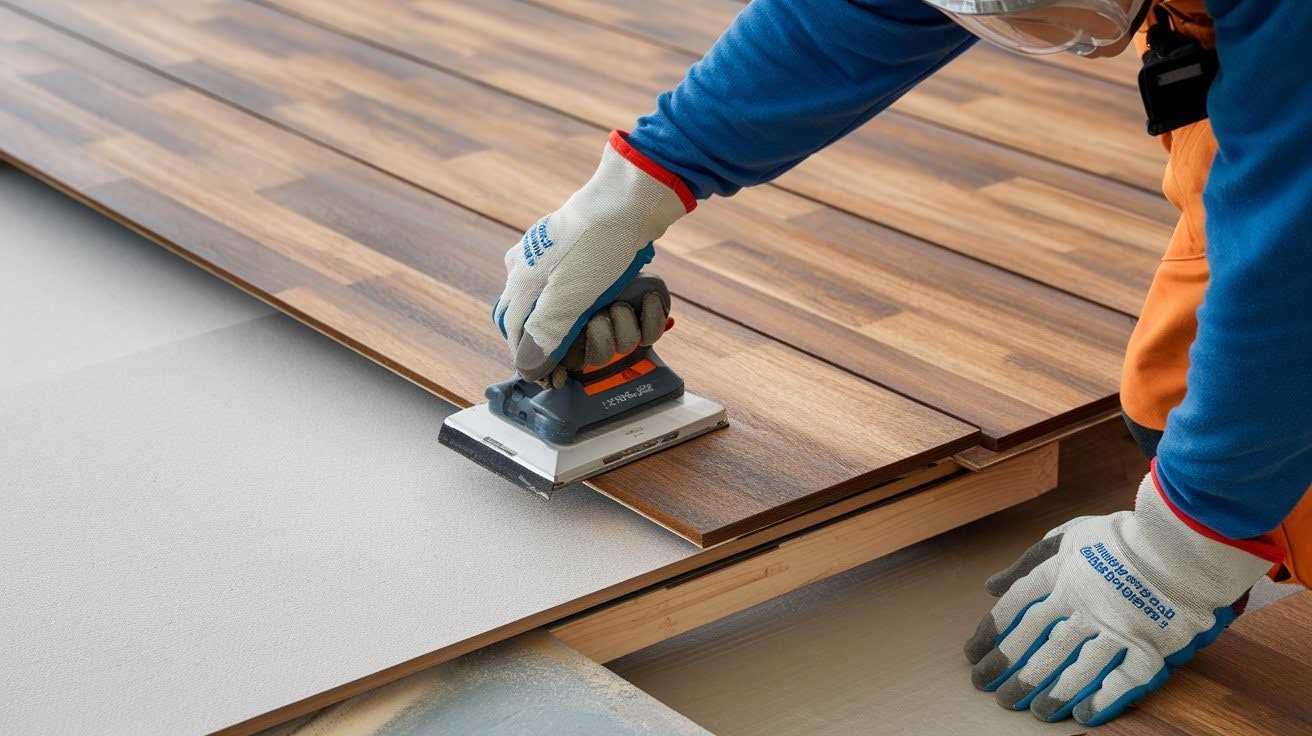
You’ll need these basics: utility knife, pry bar, hammer, and knee pads.
For glue-down floors, add a heat gun, floor scraper, and adhesive remover. Don’t forget safety glasses, work gloves, and trash bags.
Trust me on the knee pads. Your knees will thank you later.
Step-by-Step Guide: How to Remove Vinyl Plank Flooring
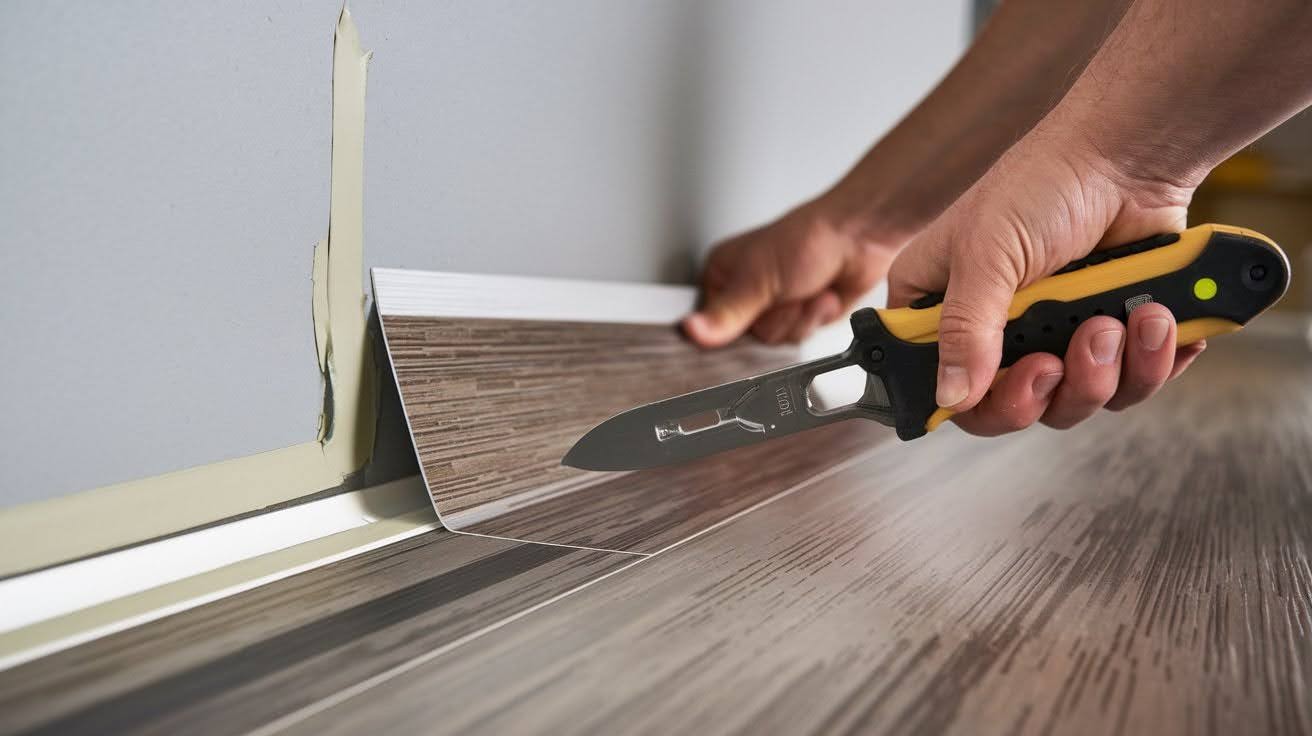
1. Preparing Your Workspace
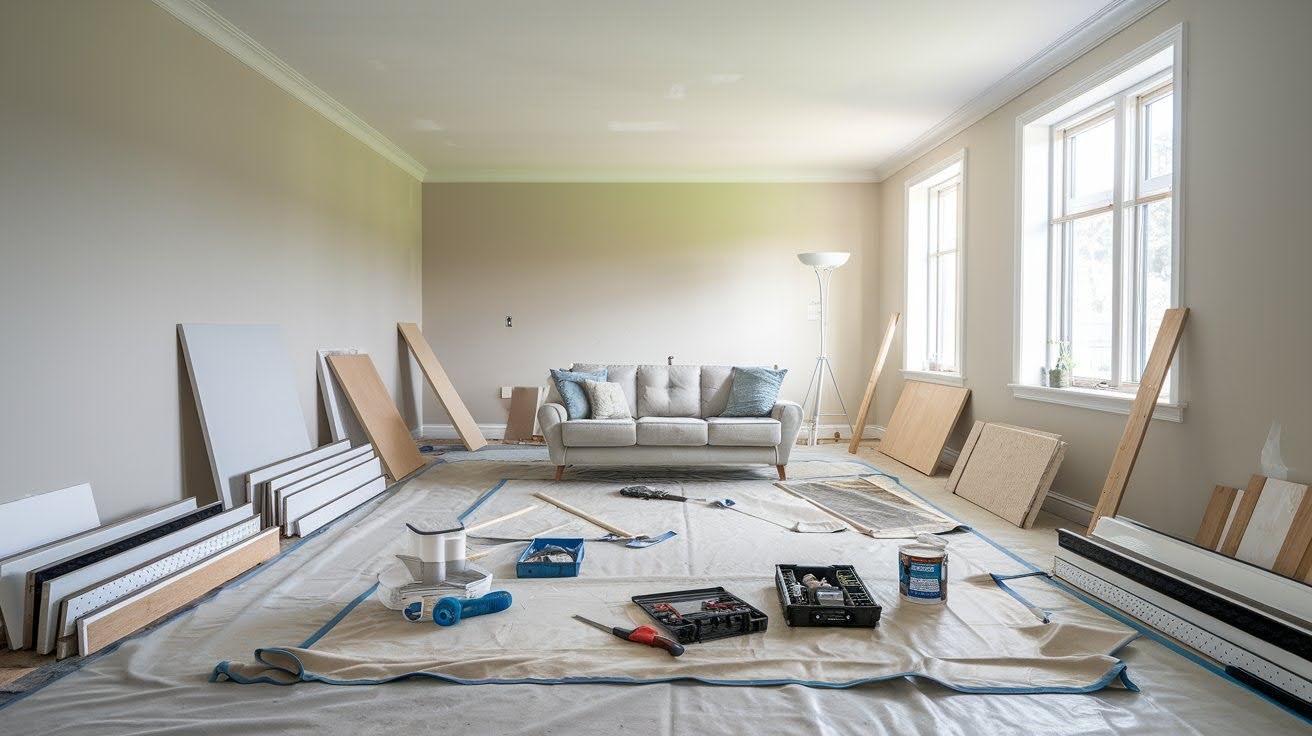
Clear everything out and remove baseboards carefully. Take photos before starting so you remember how things fit back together.
- Remove all furniture and decorations
- Take off baseboards and quarter round molding
- Cover nearby surfaces with drop cloths
- Turn off heating and cooling systems
2. Removing Click-Lock Vinyl Plank Flooring
Start at the longest wall where planks have groove edges. Cut through any caulk, then use your pry bar to lift the first plank.
- Begin at the groove edge, not tongue edge
- Cut caulk along walls with utility knife
- Lift first plank with pry bar
- Work row by row until finished
3. Removing Glue-Down Vinyl Plank Flooring
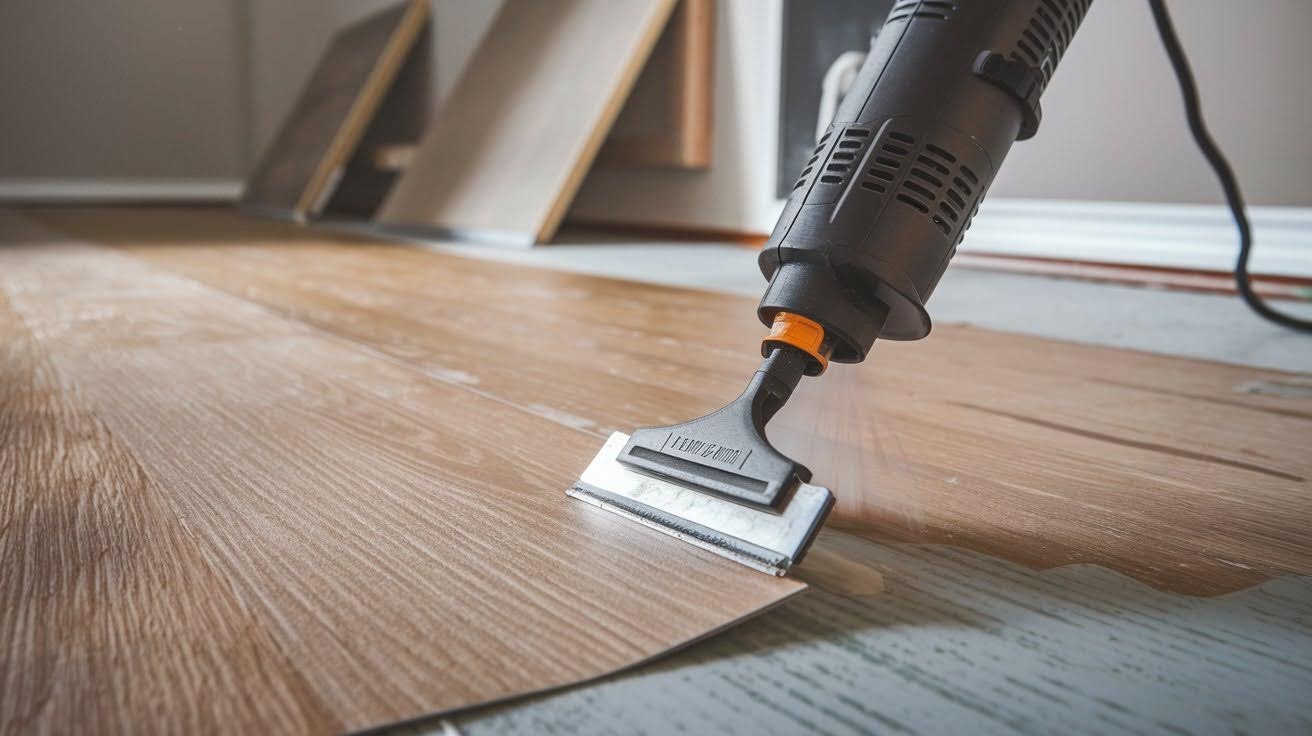
Use heat to soften the adhesive, then scrape up small sections. Work slowly and reheat as needed.
- Heat small sections with heat gun
- Keep heat gun moving constantly
- Scrape at shallow angles while warm
- Apply adhesive remover for stubborn spots
How to Remove Vinyl Plank Flooring Without Damaging Subfloor
Your subfloor is expensive to replace, so protecting it matters. Go slow. Rushing leads to gouges, scratches, and costly repairs.
Keep your scraper blade sharp. Dull blades require more force and cause more damage to the wood underneath.
Work at a low angle. Don’t dig your tools straight down into the subfloor. Test your technique in a corner first. Get comfortable with the process before tackling the whole room.
If you’re using a heat gun, keep it moving constantly. Too much heat in one spot can warp or burn your subfloor. Use plenty of adhesive remover for glue-down floors. It’s much cheaper than replacing damaged subfloor boards.
How to Dispose of Old Vinyl Plank Flooring
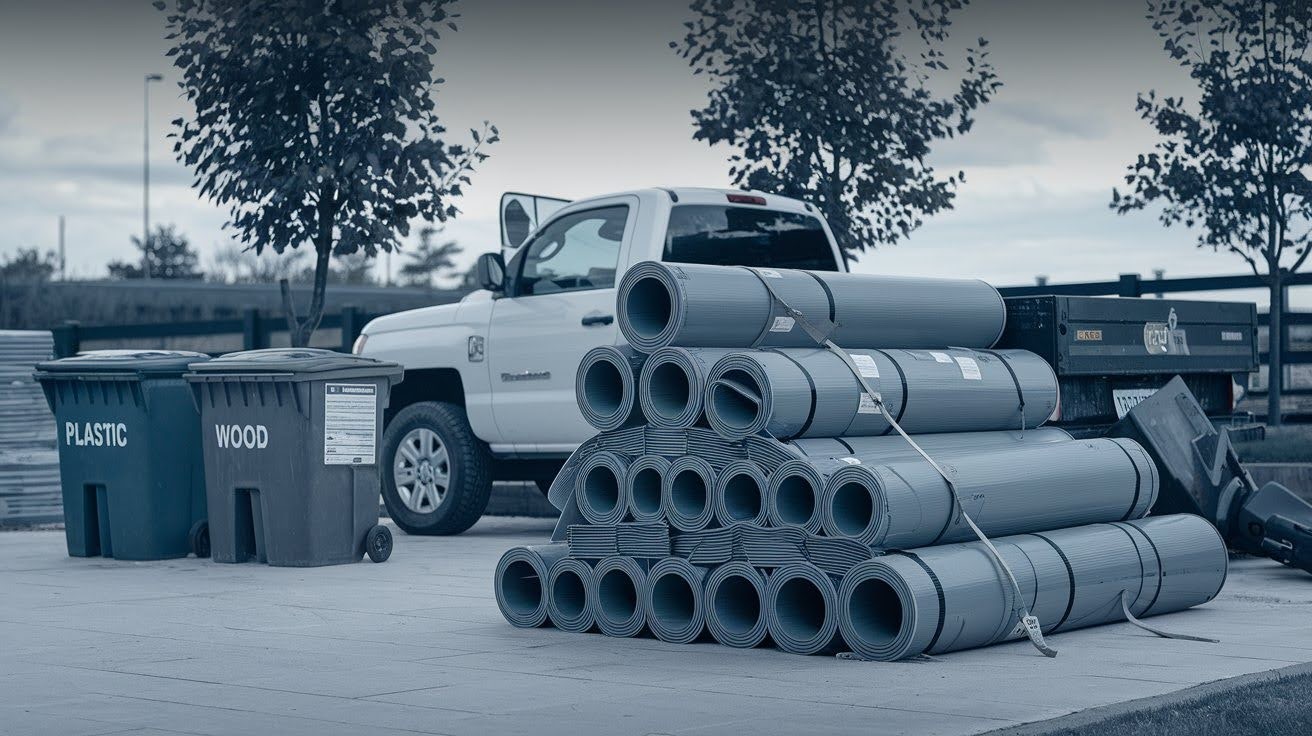
You can’t just toss vinyl flooring in your regular trash in most areas.
Check with your local waste management company first. They’ll tell you the specific rules for your area. Many places require vinyl flooring to go to special disposal sites because older vinyl can contain harmful chemicals.
Some home improvement stores have recycling programs. Call ahead to see if they accept old flooring. Donation centers sometimes take flooring in good condition if someone else can use it.
Construction debris companies will haul it away for a fee if you have a large amount. Roll up the planks before disposal. This saves space in your vehicle and makes handling easier.
Common Mistakes to Avoid When Removing Vinyl Plank Flooring
I’ve watched people make these same mistakes repeatedly:
- Starting in the middle instead of at the edges
- Using too much heat too quickly on glue-down floors
- Skipping safety gear like glasses and gloves
- Trying to remove huge sections at once
- Not having a disposal plan before starting
Final Tips & Next Steps
Take breaks regularly. This job is hard on your body.
Work when you have good lighting. You need to see clearly to avoid damaging your subfloor.
Once your vinyl is gone, inspect your subfloor for squeaks, loose boards, or damage that needs repair.
Clean thoroughly before installing new flooring. Any leftover debris will show through your new floor.
Vinyl plank removal takes time, but it’s straightforward. Use the right approach and you’ll have that old flooring out safely.
Conclusion
You now have everything you need to remove vinyl plank flooring successfully.
I’ve shared the methods that worked for me and my family when we tackled this project. You know how to identify your flooring type and use the right tools for each situation.
The key is taking your time and following the steps I’ve outlined. Click-lock floors come up easily once you get started. Glue-down floors need patience and heat.
Remember to protect your subfloor and plan for disposal ahead of time.
This project might take a weekend, but it’s completely doable. I’ve seen regular homeowners handle it without any problems.
Your old vinyl is ready to come up. Get your tools together and start in one corner.
What are you waiting for? Your new floors are just underneath.
Frequently Asked Questions
Can I remove vinyl plank flooring myself?
Yes, removing vinyl plank flooring is definitely a DIY project most homeowners can handle. Click-lock flooring is especially straightforward for beginners, while glue-down requires more patience and the right tools.
How long does it take to remove vinyl plank flooring?
A typical 200 square foot room takes about 4-6 hours for click-lock and 8-12 hours for glue-down flooring. Your experience level and how stubborn the adhesive is will affect the timing.
Will removing vinyl planks damage my subfloor?
Not if you use proper technique and don’t rush the process. Keep scraper blades sharp, work at shallow angles, and use heat plus adhesive remover for glue-down floors.
Can I install new flooring right after removal?
You should inspect and clean your subfloor thoroughly before installing anything new. Look for damage, squeaks, or leftover adhesive that needs to be addressed first.
Do I need special tools to remove glue-down vinyl planks?
Yes, glue-down removal requires a heat gun, floor scraper, and adhesive remover for best results. Click-lock floors only need basic tools like a pry bar and sharp utility knife.