
Shiplap is a wooden board siding where each board overlaps the one below it, creating distinct horizontal lines in your walls. Getting the paint job right on shiplap is crucial for that clean, professional look that makes rooms feel larger and more put-together.
In this article, you’ll learn exactly how to prepare, prime, and paint your shiplap walls for professional-looking results. We’ll walk through each step of the process, from choosing the right tools to applying the final coat with techniques that prevent drips and ensure even coverage.
As home improvement experts with over 15 years of experience painting thousands of shiplap walls, we understand the common problems and how to fix them. Our step-by-step approach works for both beginners and experienced DIYers.
If you’re looking to transform your shiplap from plain to perfect, this comprehensive guide has all the answers you need.
Tools & Materials You’ll Need
Tools:
- 2-inch angled brush for grooves
- Small roller (1/4 inch nap)
- Paint sprayer (optional)
- Sandpaper (120 and 220 grit)
- Caulking gun and putty knife
- Tack cloth, drop cloths, painter’s tape
Materials:
- High-quality stain-blocking primer
- Interior latex or acrylic paint
- Caulk for seams
- Wood filler for nail holes
I recommend spending more on quality brushes and paint. You’ll need fewer coats and get better results.
Prepping Shiplap for Painting
Good prep work is the secret to a perfect finish. I’ve seen many paint jobs fail because someone rushed this step. Don’t skip this part!
Clean the Surface
Shiplap collects more dust than you think, especially in the grooves.
- Wipe down all boards with a damp cloth
- For kitchen shiplap, use a degreaser to cut through cooking residue
- Let everything dry completely
Ever tried painting over dust? It creates tiny bumps that ruin your smooth finish.
Fill Gaps and Nail Holes
Those little gaps and holes make a big difference in the final look.
- Use wood filler for nail holes and dents
- Press it in firmly with your putty knife
- Apply caulk in gaps between boards (if you want to minimize the groove lines)
- Wipe away excess with a damp finger.
Wait until everything is fully dry before moving on. I usually give it at least 2 hours.
Sand the Boards
Light sanding helps the paint stick better.
- Use 120-grit sandpaper for rough spots
- Switch to 220-grit for a final pass
- Focus on glossy areas where paint might peel later
- Sand with the grain, not against it
After sanding, wipe everything down with a tack cloth. This picks up all the fine dust regular clothes miss.
Protect Surroundings
This takes just 15 minutes but saves hours of cleanup.
- Cover floors with drop cloths (canvas works better than plastic)
- Tape off trim, ceiling edges, and outlets
- Remove switch plates and outlet covers
- Cover furniture that can’t be moved
My biggest time-saver? Use green painter’s tape labeled “for delicate surfaces” – it won’t pull off any existing paint when you remove it.
Remember: The time you spend prepping now will save you from touch-ups later.
Choosing the Right Paint and Finish
The paint you pick affects how your shiplap looks for years. I’ve tried dozens of options on my own projects, and here’s what works best.
Paint Type
Latex and acrylic paints win for shiplap. Here’s why:
- They dry faster than oil-based paints
- Clean up with just soap and water
- Don’t yellow over time
- Less smell during application
Have you ever used oil-based paint? The fumes can be strong, and cleanup requires chemicals. Stick with latex or acrylic for an easier job.
For high-moisture areas like bathrooms, look for paints labeled “kitchen and bath” or “moisture resistant.”
Finish Options
The finish determines how light bounces off your shiplap.
- Flat/matte: Hides wall flaws but marks easily
- Eggshell: Slightly washable but still soft-looking
- Satin: The sweet spot for most shiplap
- Semi-gloss: Very washable, reflects more light
I always use satin or semi-gloss on shiplap. Why? The slight shine makes the boards look crisp and clean. These finishes also wipe down easily when dirty.
Semi-gloss works best in kitchens and bathrooms where you need to clean walls often.
Choosing a Color
Your color choice sets the mood of the entire room.
Popular options that always work:
- Pure white: Clean and modern
- Off-white: Softer, warmer feel
- Light gray: Subtle modern touch
- Greige (gray-beige mix): Warm but current
- Navy blue: Bold statement for accent walls
Want to test colors first? Paint small sections of your shiplap with samples. Check how they look at different times of day, morning light versus evening light can completely change how a color feels.
Remember: Darker colors will make the grooves between boards less noticeable, while bright whites create stronger shadow lines.
Step-by-Step: How to Paint Shiplap
Now for the main event – actually painting your shiplap! I’ve refined this process over many projects, and these steps will help you get professional results.
Step 1 – Prime the Surface
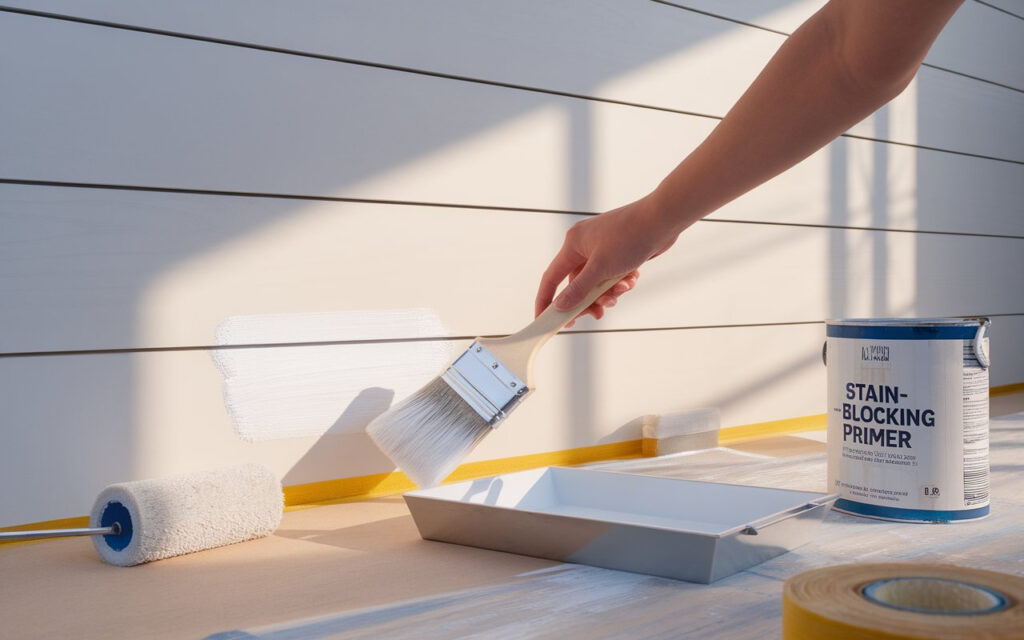
Don’t skip priming. It’s the foundation of a good paint job.
- Stir your primer well before starting
- Pour some into a paint tray
- Use an angled brush to get primer into all the grooves
- Follow with a small roller for the flat areas
Need to cover dark wood or stains? Use a stain-blocking primer. It costs a bit more but saves you from doing extra coats later.
Let the primer dry completely. This usually takes 1-2 hours, but check your calendar for exact times. Rushing this step can ruin your finish.
Step 2 – Cut In Grooves and Edges
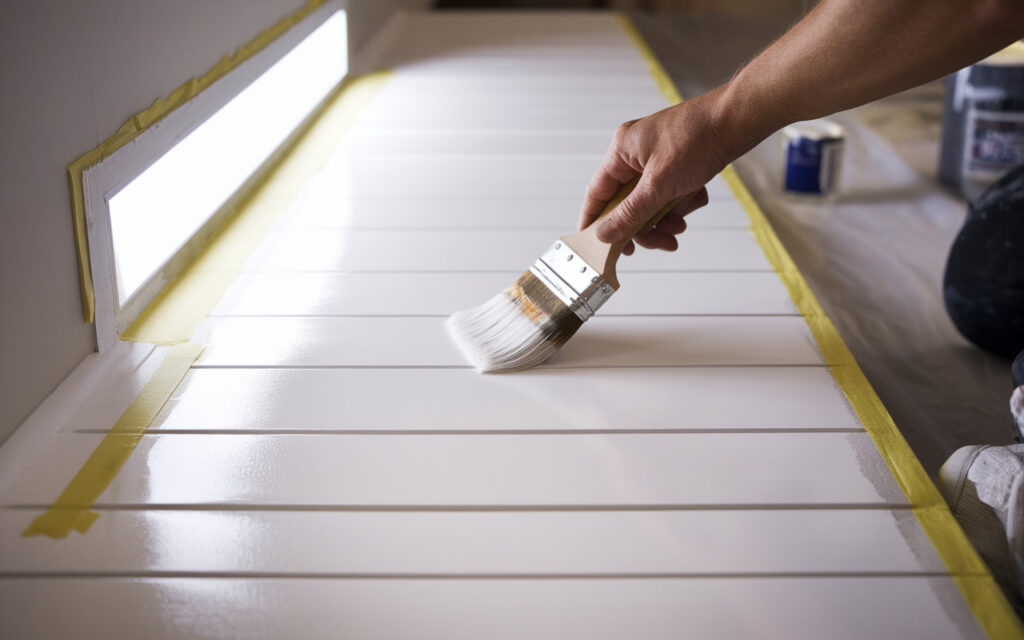
The grooves between shiplap boards need special attention.
- Start with your angled brush in each groove
- Work in sections about 4 feet wide
- Paint along the ceiling edges and corners
- Get around outlets and switches
I find it helpful to shine a bright light across the surface as I work. This shows any spots I might have missed in the grooves.
Take your time here. These details make the difference between an okay job and a great one.
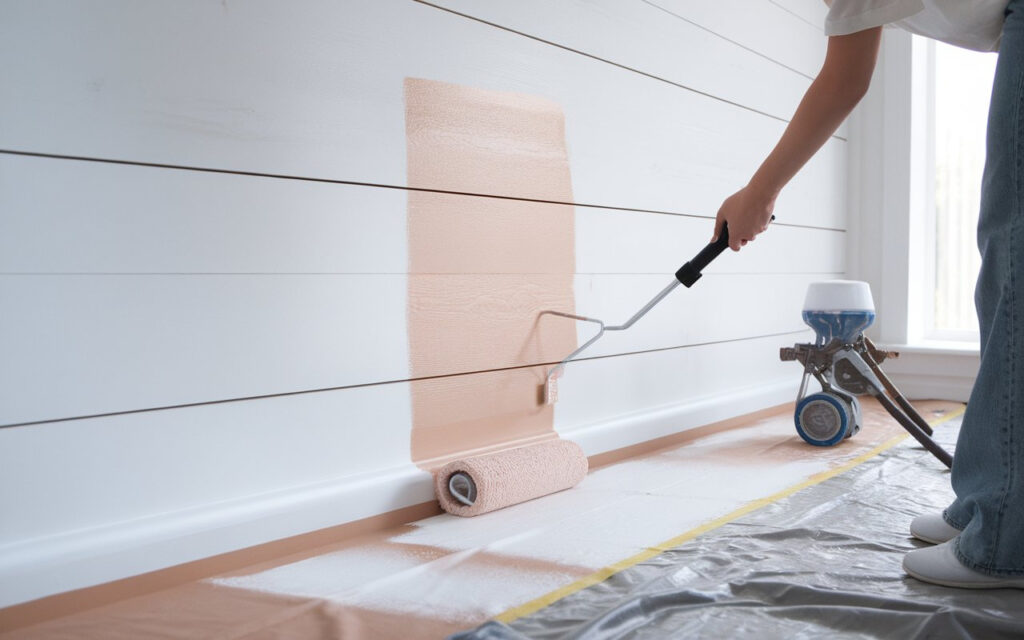
Step 3 – Roll or Spray Paint
Once all edges and grooves are done, it’s time for the main surfaces.
For rolling:
- Use a short-nap roller (1/4 inch)
- Roll horizontally along each board
- Keep a wet edge to avoid lap marks
- Apply with light to medium pressure
For spraying:
- Hold the sprayer 8-12 inches from the surface
- Move in steadily, even passes
- Overlap each pass by about 30%
Have you tried both methods? Rolling takes longer but gives you more control. Spraying is faster but requires more skill and setup.
Step 4 – Apply a Second Coat
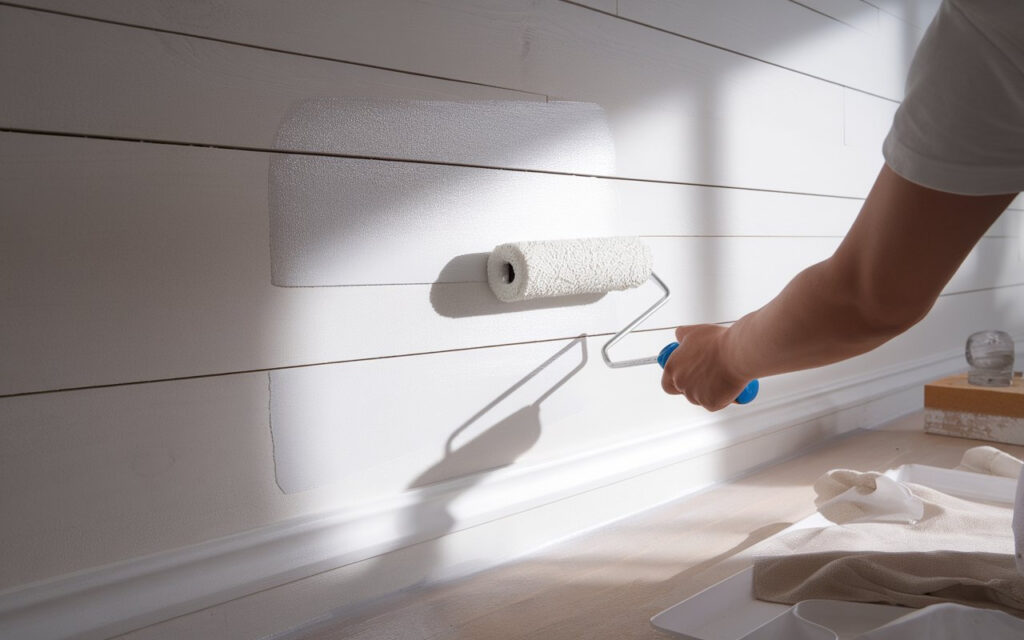
Almost all shiplap needs two coats for the best look.
- Let the first coat dry completely (usually 2-4 hours)
- Look for thin spots by shining a light across the surface
- Sand lightly with 220-grit paper if you see drips or rough spots
- Clean off any dust with a tack cloth
- Apply the second coat using the same method as the first
The second coat fills in any missed spots and creates a smooth, even finish. For white paint covering a dark color, you might even need a third coat.
Pro tip: Schedule your second coat for early in the day so everything can dry before dust settles in the evening.
Finishing Touches and Clean-Up
Inspect and Touch Up:
- Use a flashlight at an angle to spot drips or missed areas
- Check grooves between boards carefully
- Touch up problem spots while the paint is still fresh
- Look at the walls from different angles to catch all flaws
Allow Paint to Cure:
- Wait 24 hours before hanging items on walls
- Give high-traffic areas 48 hours if possible
- Avoid cleaning the surface for 7-14 days
- Remember: Paint that feels dry isn’t fully hardened yet
Clean Your Tools:
- Rinse brushes and rollers until the water runs clear
- Use mild soap for thorough cleaning
- Reshape the brush bristles and hang them to dry
- Store leftover paint in sealed containers labeled with color and room
FAQs
Do you need to prime shiplap before painting?
Yes. Primer ensures better adhesion, prevents stains from bleeding through, and helps your topcoat look smoother with fewer coats.
What type of paint works best on shiplap?
Latex or acrylic paint in satin or semi-gloss finish works best, offering durability and easier cleaning in the grooves.
How do you avoid visible brush strokes or roller lines?
Use quality tools, thin coats, proper technique (light pressure), and paint with appropriate flow. Sand lightly between coats.
Can you paint shiplap that’s already installed?
Yes, installed shiplap can be painted. Just protect surrounding surfaces, clean thoroughly, and ensure access to all boards.
What’s the best way to paint shiplap grooves?
Use a 2-inch angled brush to carefully cut in all grooves before rolling the flat surfaces. Work in small sections.
Should you use a brush, roller, or sprayer for a smooth finish?
Combination works best: angled brush for grooves and corners, short-nap roller for flat areas. Sprayer optional for large projects.
How many coats of paint do I need for a flawless look?
Two coats minimum after primer. Dark colors or covering existing dark paint may require three coats for even coverage.
Do I need to sand pre-finished or primed shiplap?
Yes, light sanding with 220-grit creates tooth for better adhesion. Always sand factory-primed boards before painting.
Conclusion
Painting shiplap takes time and care, but creates a striking look that enhances any room. Focus on thorough preparation, use quality materials, and follow the steps we’ve covered.
Your patience will be rewarded with clean lines and a smooth finish that lasts for years. The transformation will be well worth the effort, giving you a fresh space that feels both classic and current.