
Old homes have character that modern construction just can’t match, and those original plaster walls are a big part of that charm. If you’re staring at cracked, peeling, or dingy plaster walls in your home, you might be tempted to tear them down and start fresh. But hold on – I’m here to show you why keeping those walls is one of the best decisions you’ll make.
I’ve helped countless homeowners breathe new life into their plaster walls through proper painting techniques. Trust me, I know what works and what doesn’t. In this guide, I’ll walk you through everything you need to know about painting plaster walls, from understanding why they’re worth preserving to the specific benefits you’ll gain from giving them a fresh coat of paint.
Ready to fall in love with your walls again? Let’s get started.
Understanding Plaster Walls Before Painting
Before we grab those brushes, let me help you understand what you’re working with.
Types Of Plaster: Old Vs. New
Here’s what I’ve learned from years of working with different plaster types.
Old plaster (pre-1950s) was made with lime and horsehair. Yes, you read that right – actual horse hair! This stuff is tough as nails but can be tricky to work with. It’s usually thicker and has more texture.
New plaster uses gypsum instead of lime. It’s smoother and easier to paint, but it doesn’t have the same durability as the old stuff.
How do you tell them apart? Old plaster feels grittier when you touch it. New plaster is smoother to the touch.
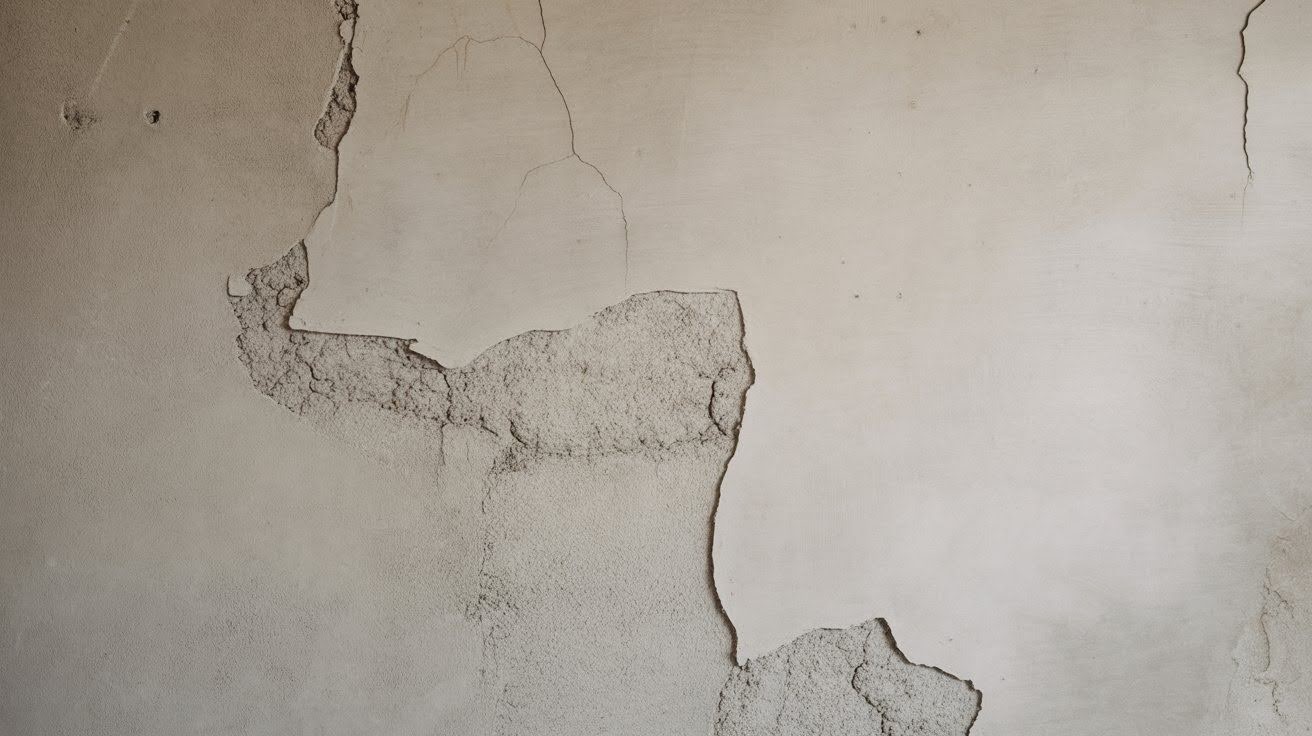
Common Issues With Plaster Walls (Cracks, Dust, Dampness)
I wish I could tell you plaster walls are perfect, but they come with their own set of problems.
Cracks are the most obvious issue. They happen when houses settle or when moisture gets in. Small hairline cracks are normal. Large cracks? That’s a bigger problem.
Dust is another headache. Old plaster loves to shed tiny particles. You’ll notice white powder on your furniture if this is happening.
Dampness is the worst enemy of plaster walls. It makes the plaster soft and can cause it to crumble. Check for dark spots or a musty smell.
The good news? Most of these issues are fixable before you paint.
Tools And Materials Needed For Painting Plaster Walls
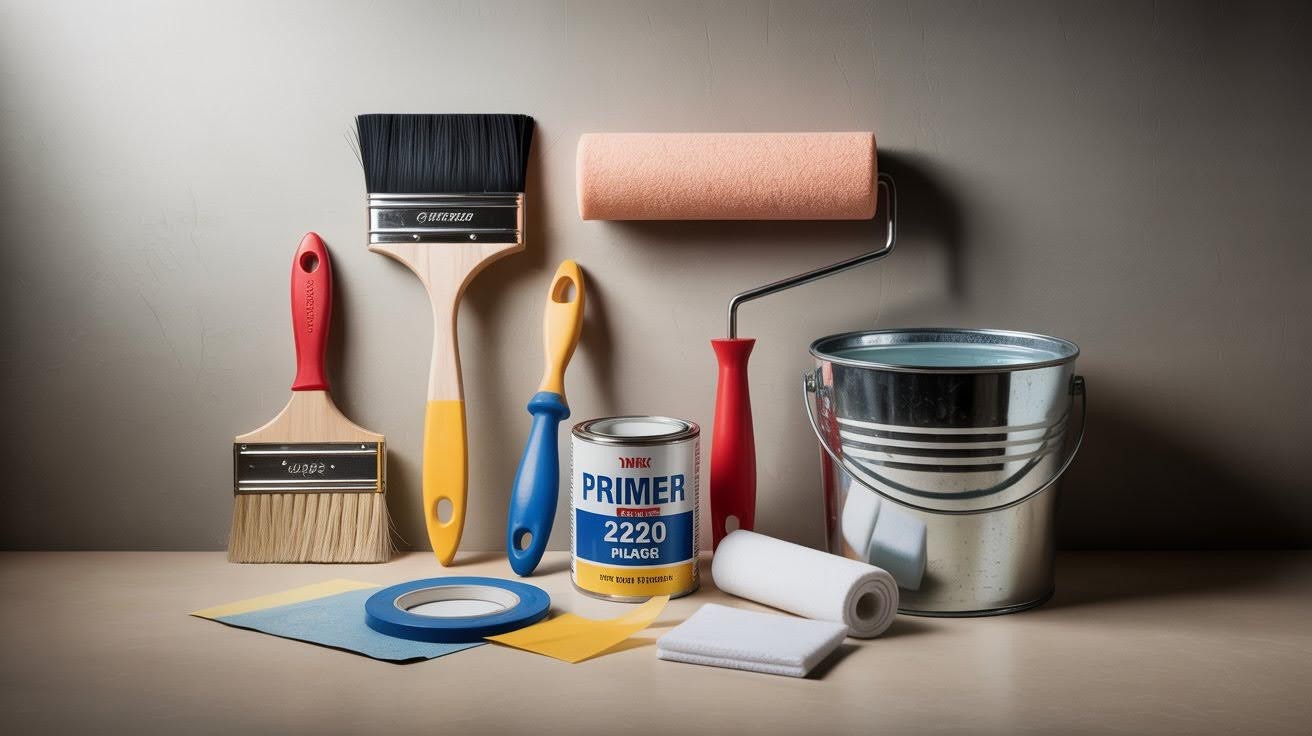
Let me share the exact tools and materials that will make your plaster painting project a success.
Essential Tools You’ll Need
I’ve made the mistake of starting projects without the right tools. Don’t be like me.
Brushes are your best friends here. Get a 2-inch angled brush for cutting in edges. A 4-inch flat brush works great for larger areas. Cheap brushes will leave streaks on plaster.
Rollers should have a medium nap (3/8 to 1/2 inch). This thickness helps fill in the texture of plaster walls. Smooth rollers won’t work well.
Sandpaper in 120 and 220 grit will handle most smoothing jobs. You’ll need both – trust me on this one.
Wait, there’s more equipment you absolutely need.
Drop cloths will save your floors. Plastic ones are cheap but cloth ones stay in place better. Painter’s tape keeps your lines clean. Get the good stuff, not the dollar store version.
Materials For The Job
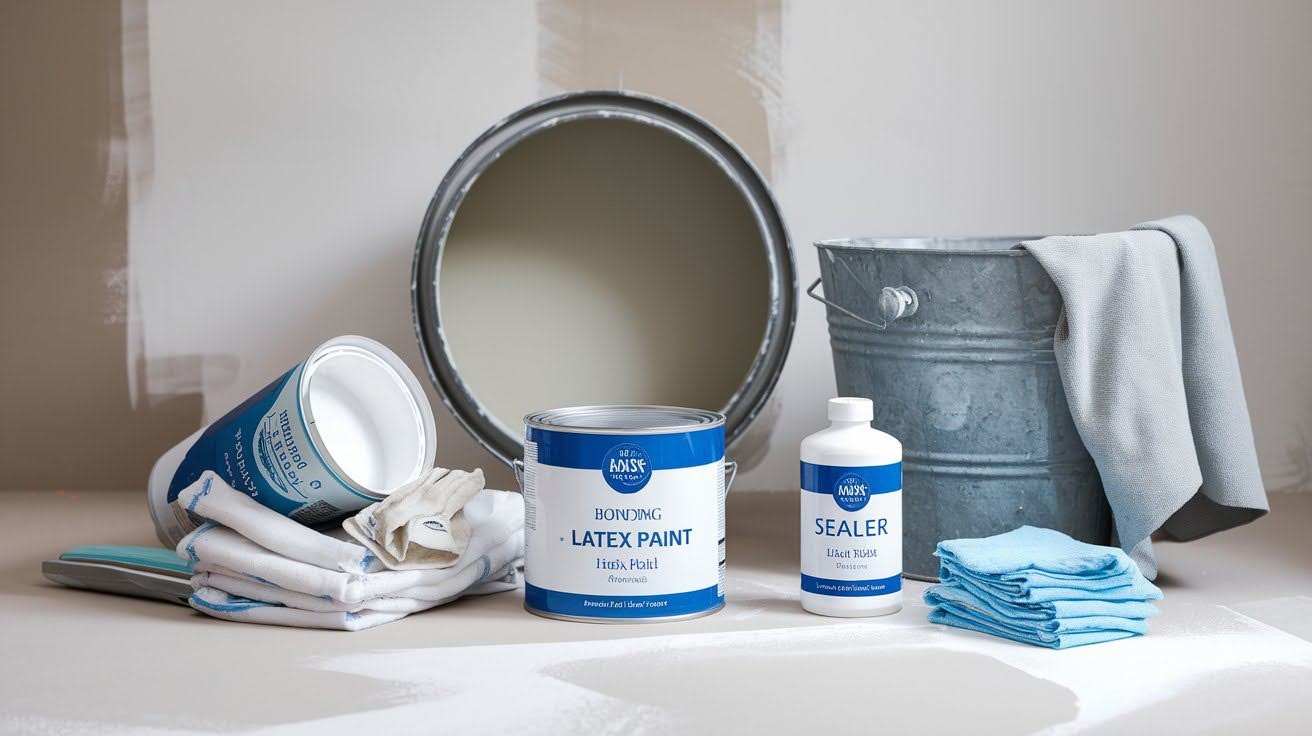
Here’s what goes on your shopping list.
Primer is non-negotiable with plaster walls. I recommend a high-quality bonding primer. It helps paint stick to old plaster surfaces.
Paint should be high-quality latex. Cheap paint looks cheap on plaster. Spackle fills small cracks and holes. Get the lightweight kind – it’s easier to sand.
Sealer might be needed if your plaster is really old or dusty. This step prevents the wall from absorbing too much paint.
Don’t forget rags for cleanup and a bucket for water. You’ll use both more than you think.
Step-by-Step Guide: How To Paint Plaster Walls
Follow these five simple steps to get professional results on your plaster walls.
Step 1: Clean And Dust The Wall
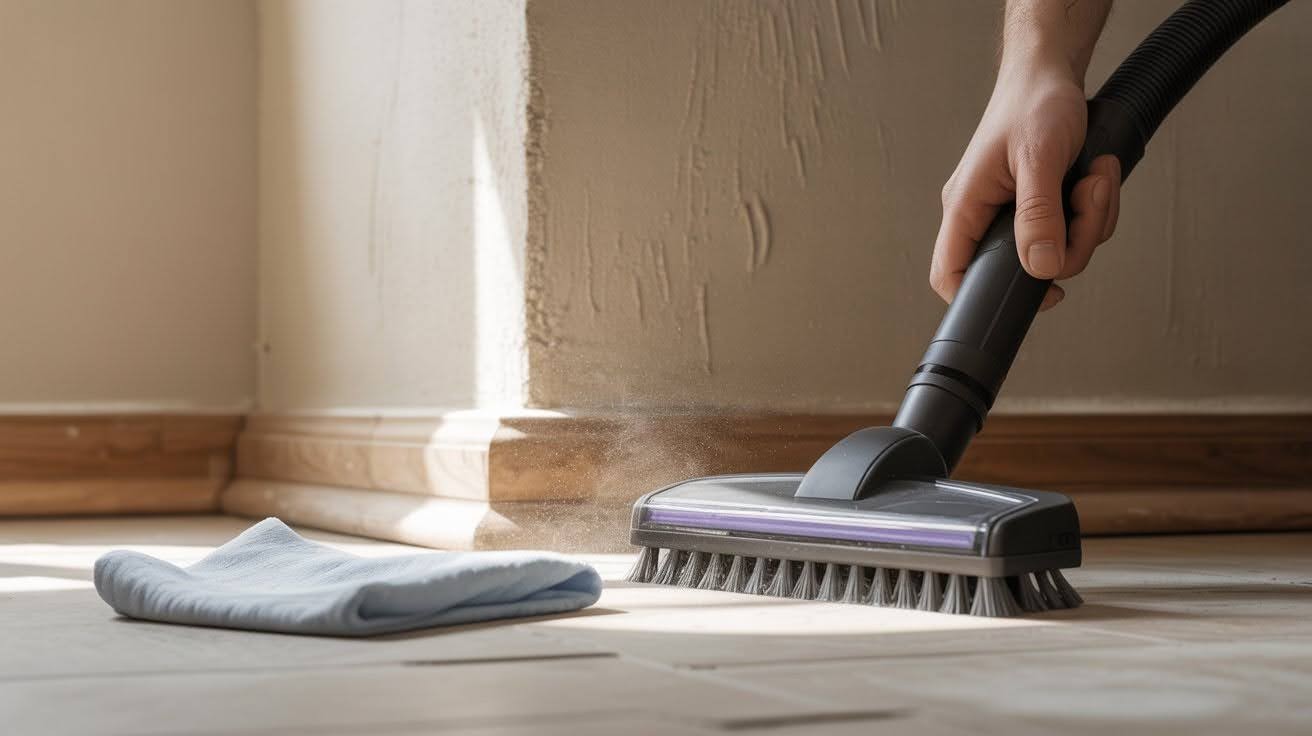
Start with a clean surface – this is where most people go wrong.
Vacuum the wall first using a brush attachment. Old plaster sheds dust constantly, and you need to get rid of it all. Pay extra attention to corners and baseboards where dust collects.
Wipe down with a damp cloth after vacuuming. Use clean water and wring out the cloth well. Too much water can damage old plaster.
Let the wall dry completely before moving to the next step. This usually takes about an hour.
Step 2: Fill Cracks And Imperfections
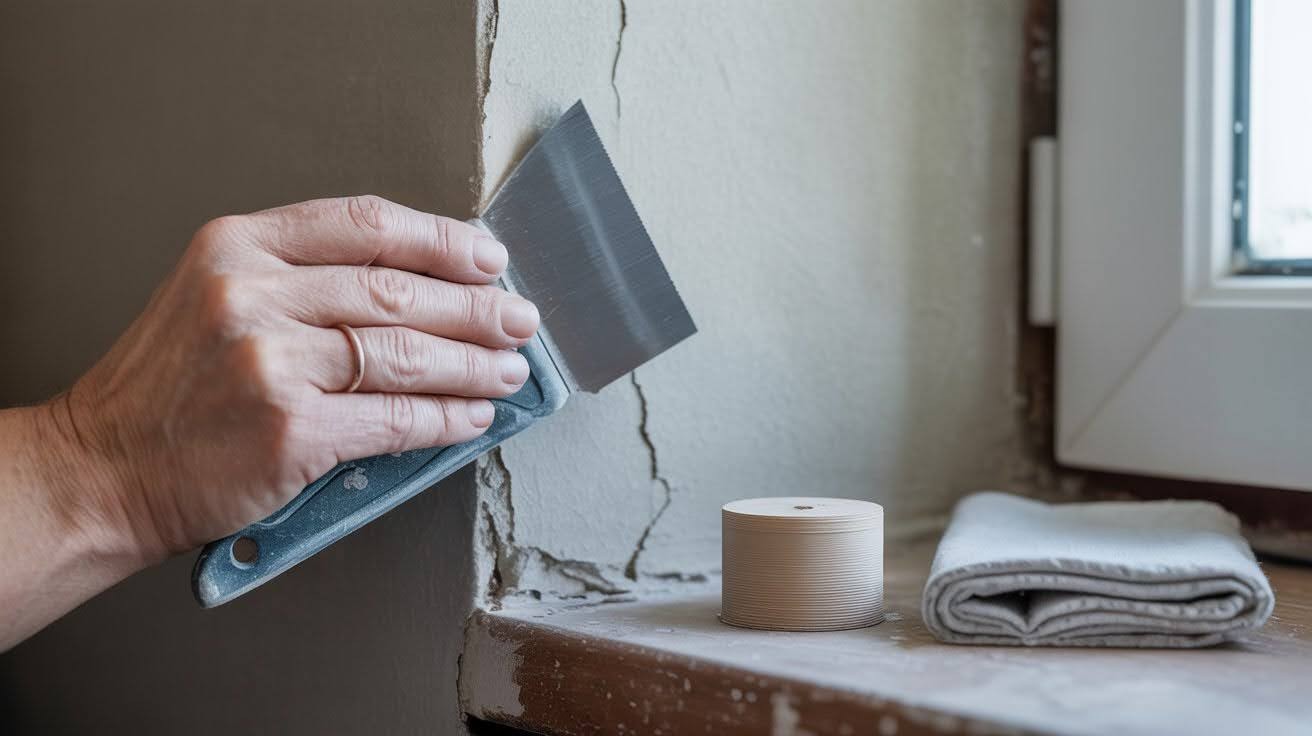
Now we fix the problem spots.
Check every inch of your wall for cracks, holes, and chips. Use your finger to feel for rough spots you might have missed visually.
Apply spackle with a putty knife, pressing firmly into each crack. Scrape off excess spackle so the repair is level with the wall surface.
Wait, here’s the part everyone rushes.
Let it dry overnight even if the package says it dries faster. Plaster walls need extra time, and rushing this step ruins everything that comes after.
Sand smooth with 220-grit sandpaper once dry. Wipe away all dust with a clean cloth.
Step 3: Apply A Primer Coat
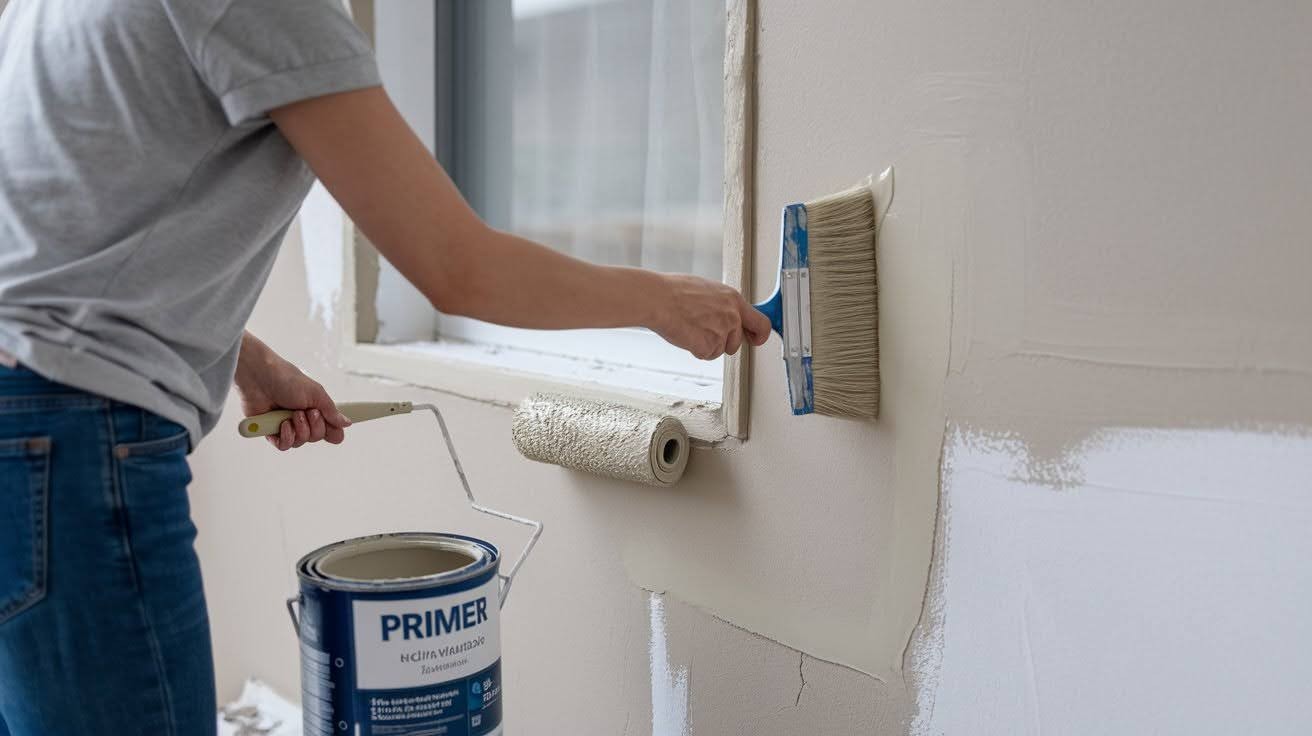
This step makes the difference between good and great results.
Stir your primer thoroughly before opening. Don’t just shake the can – use a stir stick to mix it properly.
Start with edges using your angled brush. Cut in around windows, doors, and trim first. Work in sections about three feet long.
Roll the main areas with your medium-nap roller. Don’t press too hard – let the roller do the work. Old plaster can be fragile.
Watch for dry spots where the primer soaks in fast. These areas might need a second coat of primer.
Step 4: Apply The First Layer Of Paint
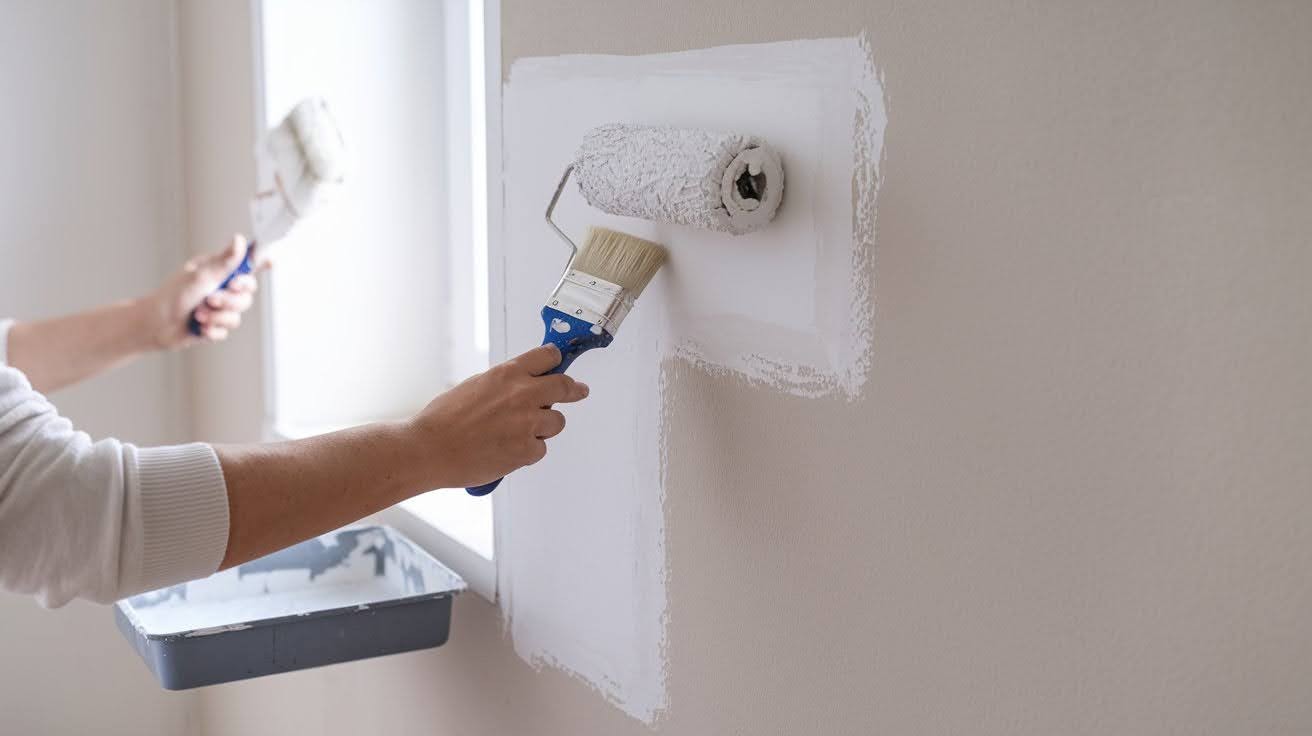
Time to see some real progress.
Cut in first just like you did with primer. Keep your brush strokes smooth and don’t go back over areas that are starting to dry.
Roll in small sections working from top to bottom. Maintain a wet edge as you work to avoid lap marks.
Don’t overwork the paint – plaster shows brush marks and roller marks more than smooth walls do.
The coverage might look uneven after the first coat. That’s normal with plaster walls.
Step 5: Apply The Second Coat And Finish
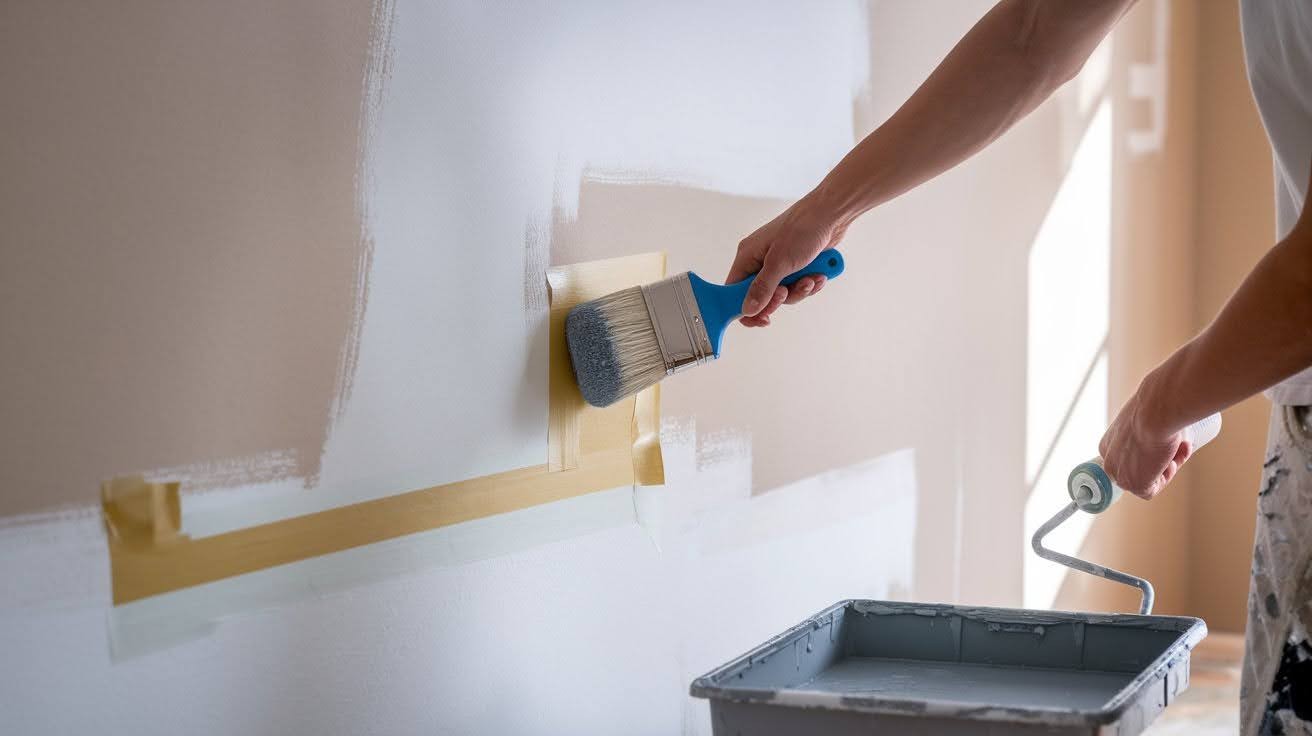
The final coat brings everything together.
Wait at least four hours before applying the second coat. Check that the first coat is completely dry by touching it lightly.
Repeat the cutting and rolling process using the same technique as the first coat. The second coat should go on more evenly.
Inspect for missed spots while the paint is still wet. Touch up any thin areas right away.
Remove tape while the paint is slightly tacky for the cleanest lines. Pull it away at a 45-degree angle.
Your plaster walls should now look smooth and professional.
Tips
Here are my best tips to make your plaster painting project go smoothly:
- Test your primer on a small hidden area first to see how much the plaster absorbs
- Work in cooler temperatures when possible – hot weather makes paint dry too fast on plaster
- Keep your brushes damp between sections to prevent them from drying out
- Don’t overload your roller with paint – plaster texture can cause drips easily
- Use a spray bottle to lightly mist dusty plaster before cleaning
- Check for lead paint in homes built before 1978 – test kits are cheap and important
- Buy extra paint – plaster walls often need more paint than smooth surfaces
- Clean your tools immediately after use – dried paint is harder to remove from brushes
- Open windows for ventilation but avoid direct airflow on wet paint
- Take photos of problem areas before you start so you remember where they are
- Plan for two days minimum – rushing leads to poor results on plaster
- Keep some leftover paint for future touch-ups in small containers
Conclusion
Painting plaster walls doesn’t have to be overwhelming when you follow the right steps. We covered how to identify your plaster type, gather the proper tools, and work through each phase from surface prep to final coats. The key is taking your time with preparation and using quality materials.
My final advice? Don’t rush the process. Let primer and paint dry completely between coats. Use thin layers rather than trying to cover everything at once. Keep some extra paint for future touch-ups because plaster walls can develop small cracks over time.
With patience and the right approach, your plaster walls will look amazing and last for years. The extra effort you put in now will pay off with results you’ll be proud to show off.
Frequently Asked Questions
Can I Paint Over Old Plaster Without Primer?
No, you should never skip primer on plaster walls. Old plaster is very porous and will absorb paint unevenly, leading to blotchy results and poor coverage.
How Do I Know If My Plaster Wall Is Too Damaged To Paint?
If large sections sound hollow when tapped or if cracks are wider than a quarter inch, you may need professional repair first. Small hairline cracks and minor chips are fine to fix yourself before painting.
What Type Of Paint Works Best On Plaster Walls?
High-quality latex paint is your best choice for plaster walls. It’s durable, easy to clean, and allows the plaster to breathe properly without trapping moisture.
How Long Should I Wait Between Coats On Plaster?
Wait at least 4 hours between coats, but longer is better. Plaster takes more time to dry than drywall, so don’t rush the process or you’ll get poor results.
Why Is My Paint Peeling Off My Plaster Walls?
Peeling usually happens when moisture gets behind the paint or when you skip primer. Make sure walls are completely dry and always use a bonding primer before painting plaster.