
Want to give old furniture new life? Painting furniture is one of the smartest DIY projects you can do. It saves money, lets you create a custom look, and keeps good pieces out of landfills.
This guide walks you through every step of painting furniture correctly. You’ll learn what supplies to buy, how to prep surfaces, and application techniques that work.
Perfect for complete beginners. Also great for renters who need removable updates and DIY fans wanting professional results.
We’ve used these methods on hundreds of furniture pieces. From nightstands to kitchen cabinets, these steps deliver smooth, lasting finishes every time.
You’ll solve common problems like paint that chips, streaks that show, and finishes that look amateur. By following this process, your painted furniture will look store-bought.
Ready to modify that tired dresser or outdated table?
What You’ll Need: Tools & Materials

Getting the right supplies makes all the difference. You don’t need everything at once, but having quality tools saves time and frustration.
Paint & Primer:
- High-quality furniture paint
- Primer
- Paint thinner or water for cleanup
Sanding Supplies:
- 120, 150, and 220 grit sandpaper
- Sanding blocks or an electric sander
- Dust mask
Application Tools:
- 2-inch angled brush for detail work
- 4-inch brush or roller for large areas
- Paint tray and liners
Cleaning Supplies:
- Mild detergent or degreaser
- Clean rags or paper towels
- Screwdriver for removing hardware
Step 1: Clean and Prep the Furniture
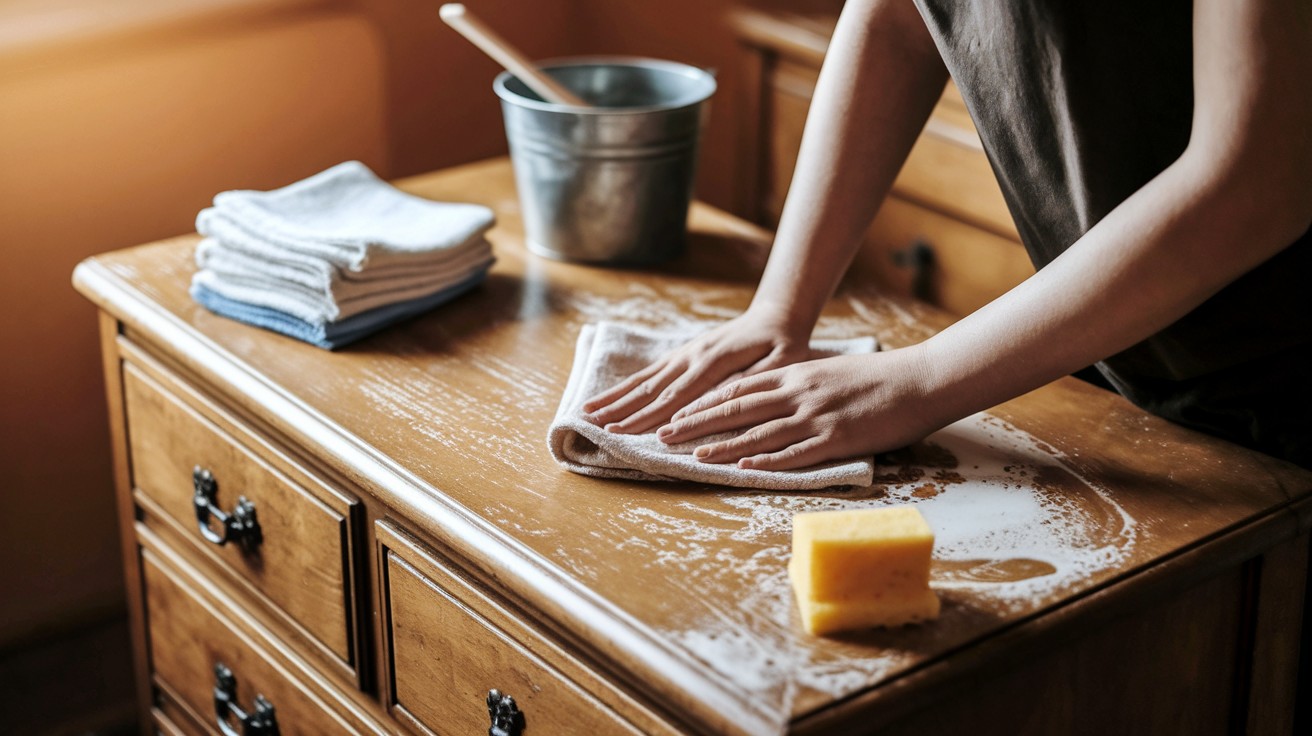
Start with a clean surface. I can’t stress this enough – dirty furniture won’t hold paint well.
Why cleaning matters so much:
- Grease and grime create barriers
- Old wax finishes repel new paint
- Dust causes bumpy, rough results
Use warm water mixed with mild dish soap. For really grimy pieces, try a degreaser like TSP (trisodium phosphate). Apply with a clean cloth, working in small sections.
Don’t rush this step. Scrub gently but thoroughly. Pay extra attention to areas you touch frequently, such as handles, edges, and tops.
Let everything dry completely. I mean bone dry. Wait at least 2 hours, longer if it’s humid. Wet wood and paint don’t mix.
Step 2: Sanding the Surface
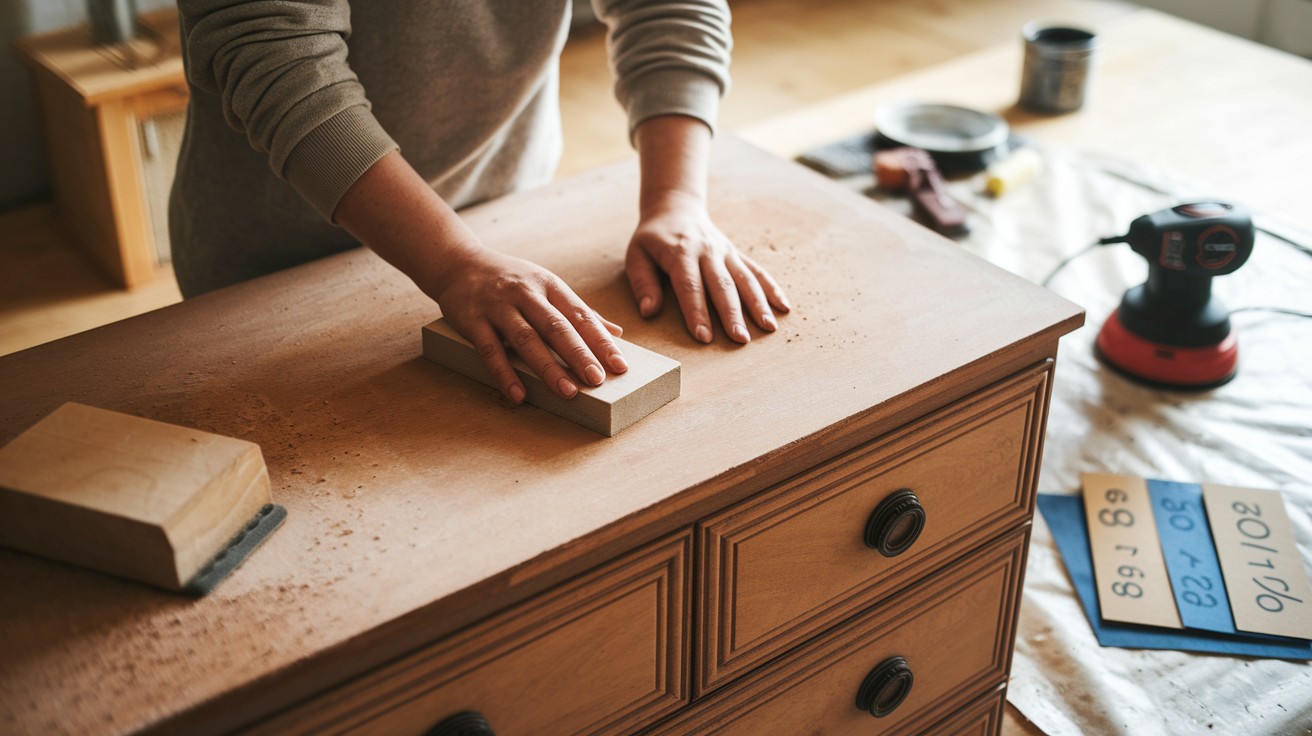
Think of sanding as creating tiny scratches. These give paint something to grip onto.
Why you need to sand:
- Removes old finish layers
- Smooths out imperfections
- Creates better paint adhesion
- Prevents peeling later
Hand sanding vs. electric sanders:
Hand sanding works great for small pieces and detail work. Use sanding blocks for flat surfaces – they prevent uneven spots.
Electric sanders save time on large pieces. Orbital sanders work best for beginners. They’re harder to mess up with.
Grit guide:
- 120 grit – Removes old paint and heavy scratches
- 150 grit – General sanding for most furniture
- 220 grit – Final smoothing before paint
Always sand with the grain on wood. Wipe away all dust with a tack cloth when done.
Step 3: Apply Primer
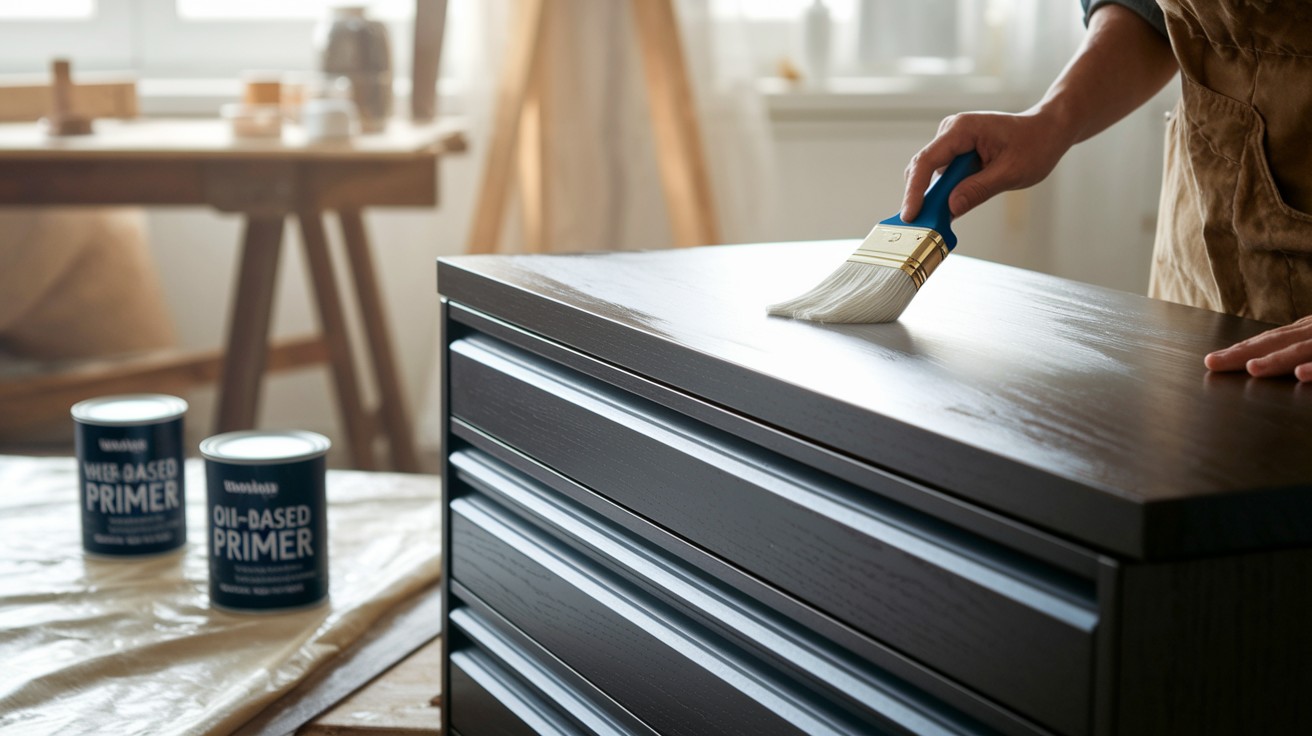
Skip primer and you’ll regret it. Trust me on this one.
When primer is essential:
- Dark furniture going light
- Glossy surfaces
- Bare wood showing through
- Stained or marked surfaces
Water-based primer dries fast and cleans up easily. Great for most projects. Use it when painting with latex or acrylic paint.
Oil-based primer blocks stains better. Takes longer to dry, but creates an incredibly strong base. Perfect for problem surfaces.
Apply primer just like paint – thin, even coats work best. Use a brush for detailed areas, roller for large flat surfaces.
Drying time varies:
- Water-based: 1-2 hours
- Oil-based: 6-8 hours
Don’t rush. The primer needs to cure completely before painting.
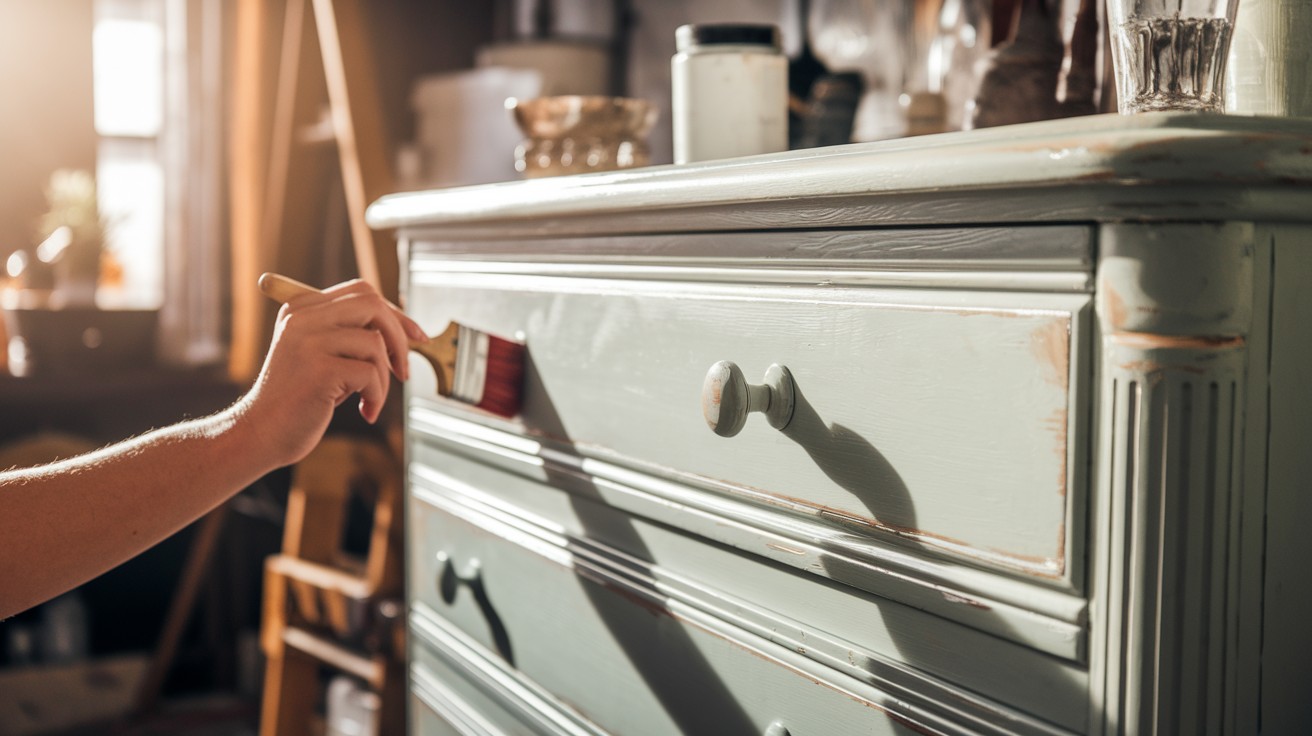
Step 4: Paint Like a Pro
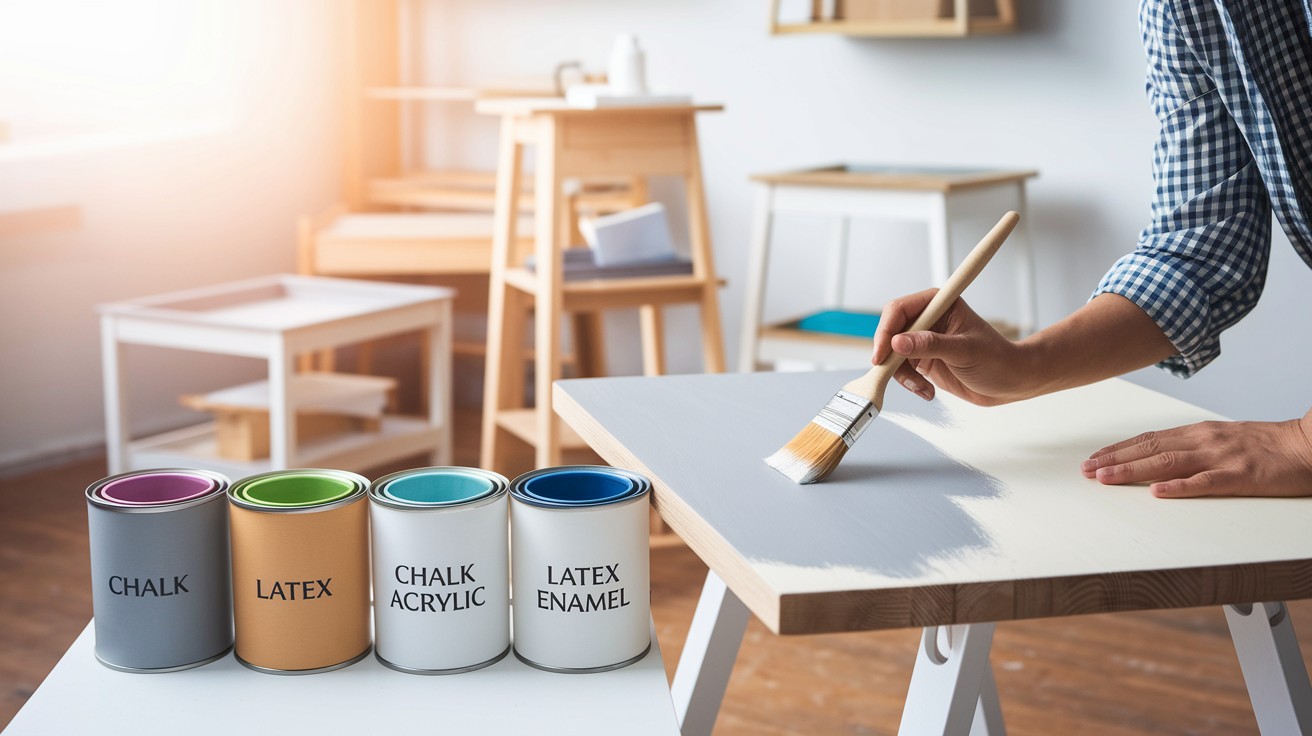
Choose your paint type carefully. Each has different strengths.
Paint options:
- Chalk paint – No primer needed, gives a vintage look
- Acrylic paint – Water-based, easy cleanup, good durability
- Latex paint – Great coverage, widely available
- Enamel paint – Super durable, perfect for high-use pieces
How many coats? Usually, two thin coats beat one thick coat every time. Thick paint drips, shows brush marks, and takes forever to dry.
Wait between coats. Check the paint can for exact times. Usually 2-4 hours for water-based, longer for oil-based.
Brush, roller, or sprayer:
Brushes give you the most control. Use high-quality synthetic brushes for water-based paint, and natural bristles for oil-based paint.
Rollers cover large flat areas quickly. Use foam rollers for super smooth finishes, fabric rollers for slight texture.
Sprayers create the smoothest finish but require more setup and practice.
Step 5: Add Finishing Touches
Want that worn, vintage look? Distressing adds character.
Sand lightly at edges and corners where natural wear happens. Use 220 grit sandpaper. Go slowly – you can always sand more, but you can’t put it back.
Protect your hard work with a topcoat. This step separates amateur jobs from professional-looking results.
Topcoat options:
- Polyurethane – Extremely durable, slight yellow tint
- Polycrylic – Clear, water-based, easy application
- Paste wax – Soft sheen, needs reapplication over time
Apply a topcoat with light, even strokes. Two thin coats work better than one thick coat.
Hardware makes a huge difference. New knobs and handles can completely change a piece’s look.
Remove old hardware before painting. Fill holes with wood filler if changing to different sizes. Paint or replace hinges for a complete transformation.
Pro tip: Keep one old knob when shopping for replacements. It’s easier to match sizes and styles in person.
Quick Tips for Better Results
These tips are going to help you:
- Remove all hardware before starting since painting around knobs looks amateur.
- Test paint colors on a hidden spot first because lighting changes how colors appear.
- Clean furniture twice if dirty because grease prevents paint from sticking.
- Sand with the grain to prevent scratches that show through paint.
- Apply thin coats since thick paint drips and shows brush marks.
- Keep a wet edge while painting to avoid visible overlap lines.
Conclusion
You now have everything you need to paint furniture like a pro. These techniques work on any piece, from small nightstands to large dining tables.
The key is patience. Take time with cleaning and prep work. Apply thin, even coats. Wait for proper drying between steps. These basics separate amateur jobs from professional-looking results.
Start with a practice piece if you’re nervous. An old stool or picture frame works great for testing your skills.
Remember that painted furniture gets better with time. Small imperfections become less noticeable as the paint cures and hardens.
Your first project might not be perfect, but that’s okay. Each piece you paint teaches you something new. Soon you’ll be transforming furniture with confidence.
Frequently Asked Questions
Do I need to use a primer before painting?
Not always, but primer helps in most cases. Use primer on glossy surfaces, when going from dark to light colors, or on bare wood. Chalk paint is one exception that usually doesn’t need primer. When in doubt, prime it.
How long should I wait between coats of paint?
Check your paint can for exact times. Most water-based paints need 2-4 hours between coats. Oil-based paints take 6-8 hours or overnight. Humid weather increases drying time. The paint should feel dry to the touch before applying the next coat.
Can I paint over old paint without sanding?
It depends on the existing finish. You can paint over flat or satin paint with light cleaning. Glossy or semi-gloss surfaces must be sanded for proper adhesion. When unsure, do a light sanding – it only takes a few minutes and prevents problems later.
What’s the difference between chalk paint and regular paint?
Chalk paint goes on without primer and gives a matte, vintage look. It’s more forgiving for beginners but needs a protective topcoat. Regular paint is more durable but requires more prep work. Choose based on your desired look and how much the piece gets used.
How do I fix brush marks in my paint?
Prevention works best – use quality brushes and don’t overwork the paint. If you already have brush marks, lightly sand with 220 grit paper when completely dry, then apply another thin coat. Adding paint conditioner to your next coat also helps reduce brush marks.