
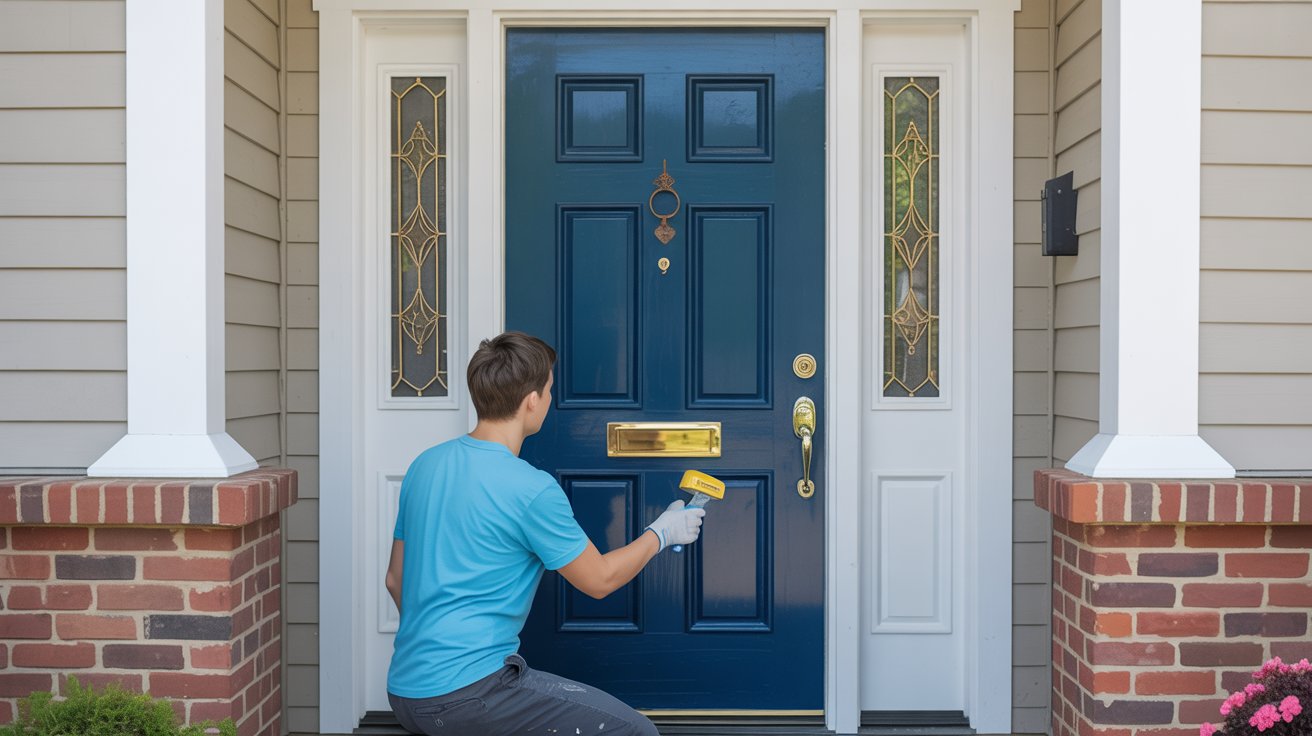
Your front door is the first thing people see upon your home when they come.
Is a current change in appearance desired?
A little paint changes the look of your house from the outside. The door sometimes can remain.
I will walk you through the tools, the door prep, and the paint techniques you need to know. This will allow you to finish your front door off.
Then it will look as if it came straight from a professional. Let’s get started. Let’s do this together.
Why Paint Your Front Door Without Removing It?
Taking a door off its hinges sounds like a lot of work, right? That’s because it is. When you paint your door in place, you save yourself hours of effort and skip all the heavy lifting.
You don’t have to worry about getting the door back on straight. Those hinges can be tricky to line up again. Plus, leaving your door on means your home stays secure the whole time.
This approach is perfect for a weekend project. You can finish everything in a day or two without spending extra money on tools or help. If you’re looking for a quick home refresh that doesn’t drain your time or wallet, this is the way to go.
Supplies and Tools You’ll Need
Getting the right supplies makes all the difference. Here’s what you need to grab before you start painting.
Essential Materials
- Exterior paint made for doors (latex works great for most projects)
- Primer (especially if you’re going from dark to light colors)
- Painter’s tape to protect areas you don’t want painted
- Drop cloths to keep your porch or floor clean
- Use sandpaper in 120 to 220 grit to smooth the surface
- Degreaser or cleaning solution for prep work
- Paint brushes and a mini roller for applying paint
- Screwdriver to remove hardware like doorknobs and knockers
Optional Tools for a Smoother Finish
- Paint sprayer for a factory-smooth finish
- Tack cloth to remove dust after sanding
- Foam brush for getting into carved details
- Door stopper to keep your door from moving while you work
Step-by-Step Guide: How to Paint a Front Door Without Removing It
Follow these seven simple steps to paint your front door while it stays on its hinges and get professional results every time.
Step 1 – Prep Your Workspace

Prop your door open and lay a drop cloth underneath. Remove all hardware like doorknobs, hinges, and house numbers. If something won’t come off, cover it with painter’s tape.
Clean the entire door with soap or degreaser to remove dirt and oils. A clean surface helps paint stick better and look smoother when finished.
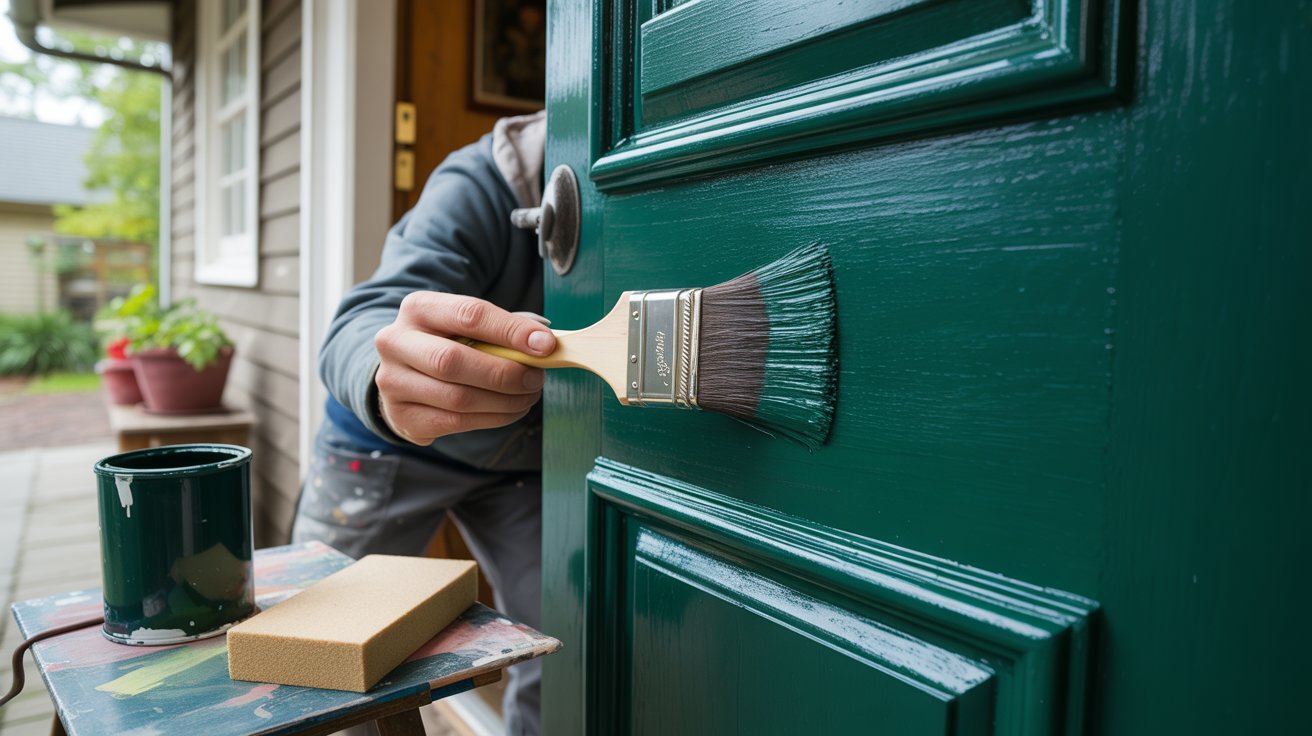
Step 2 – Lightly Sand the Door
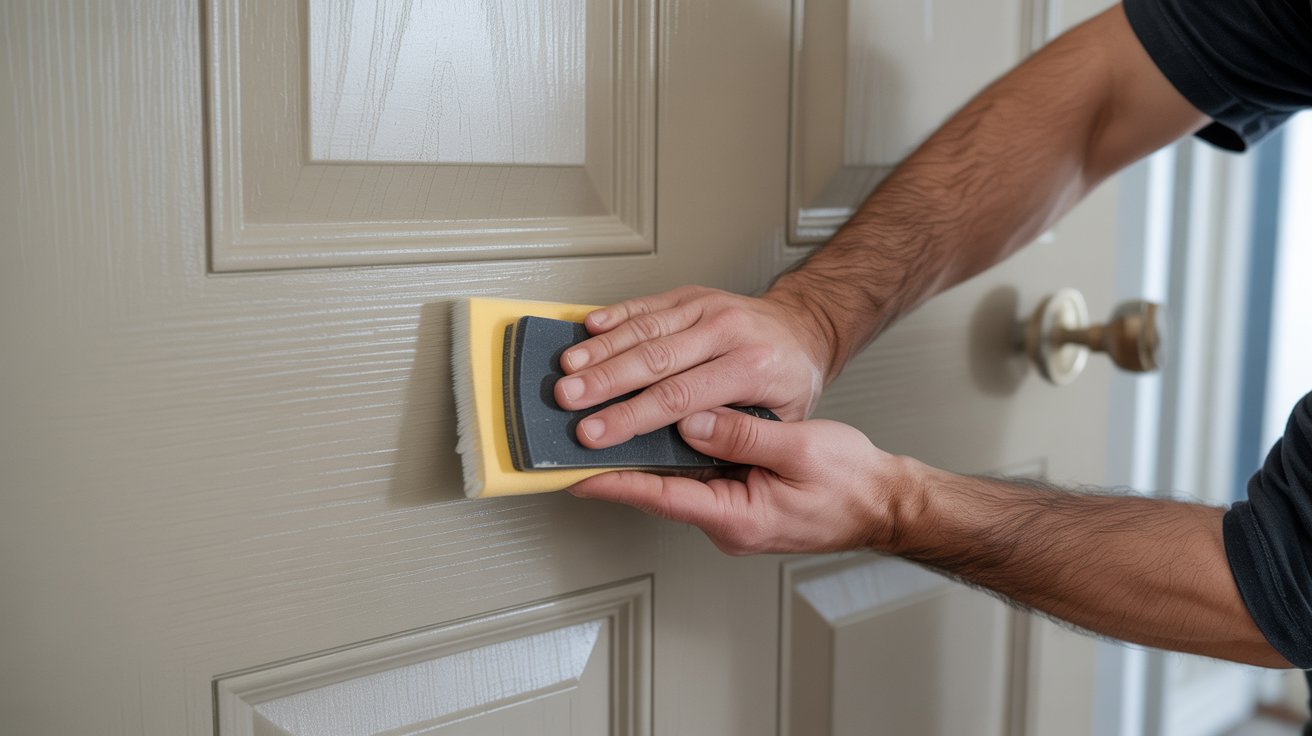
Sand the entire door surface to remove any glossy finish. This helps new paint grip properly. Use smooth, even strokes across all areas.
When you’re done sanding, wipe everything down with a tack cloth. This removes all the dust particles so your paint goes on clean without any bumps or rough spots underneath.
Step 3 – Tape and Protect Surrounding Areas
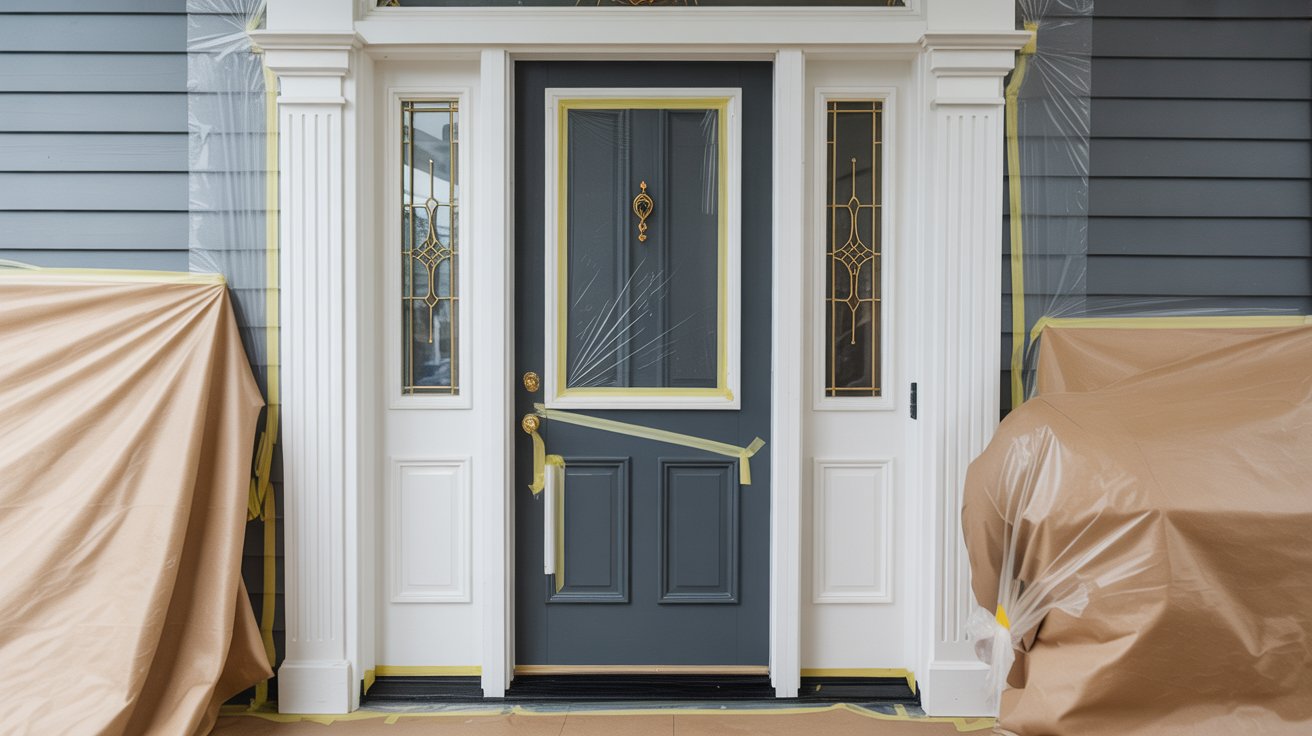
Apply painter’s tape carefully around glass panels, trim, and edges where the door meets the frame. Take your time with this step because good taping creates cleaner lines.
Cover nearby walls and flooring with drop cloths. This protection saves you from cleaning up accidental paint splatters later. A little extra prep goes a long way here.
Step 4 – Apply Primer (If Needed)
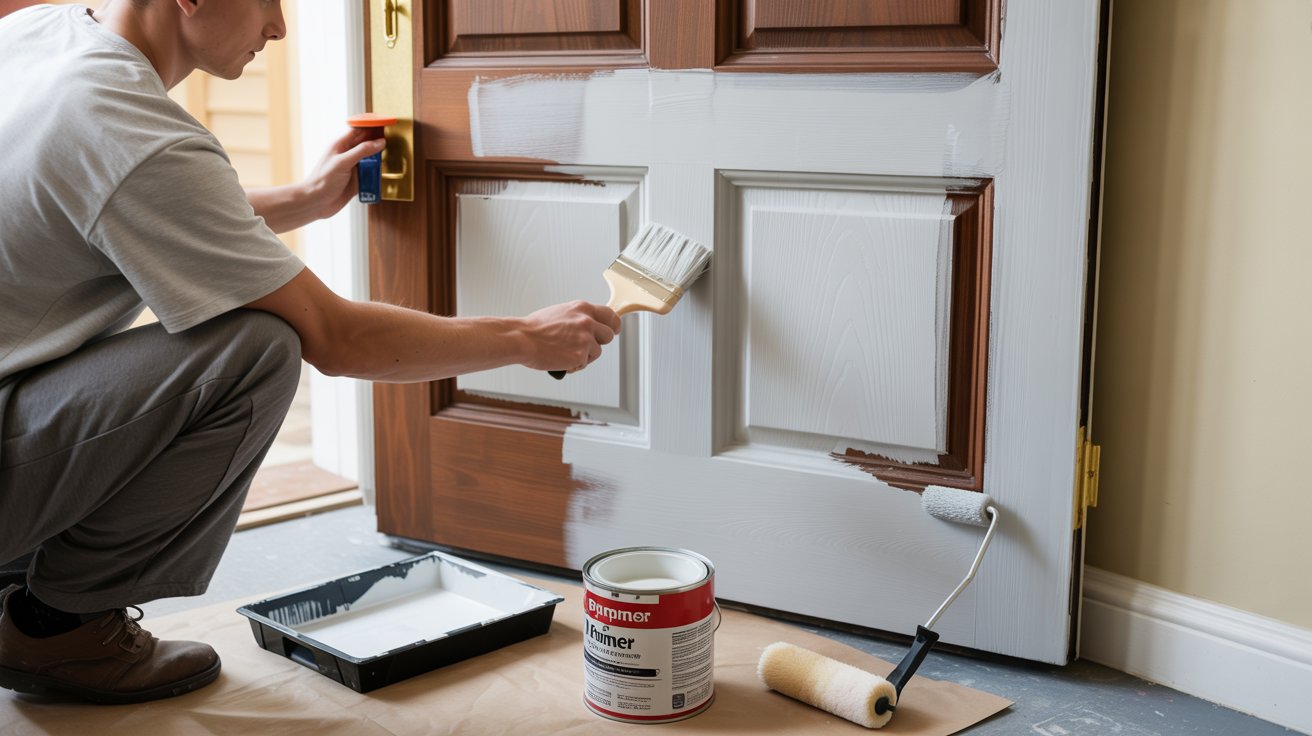
If you’re making a big color change or painting an unpainted door, use primer first. Apply it evenly with your brush and roller across the whole surface.
Dark colors will show through lighter paint without primer. Let it dry completely before moving forward. Check your primer can for exact drying times before starting the next step.
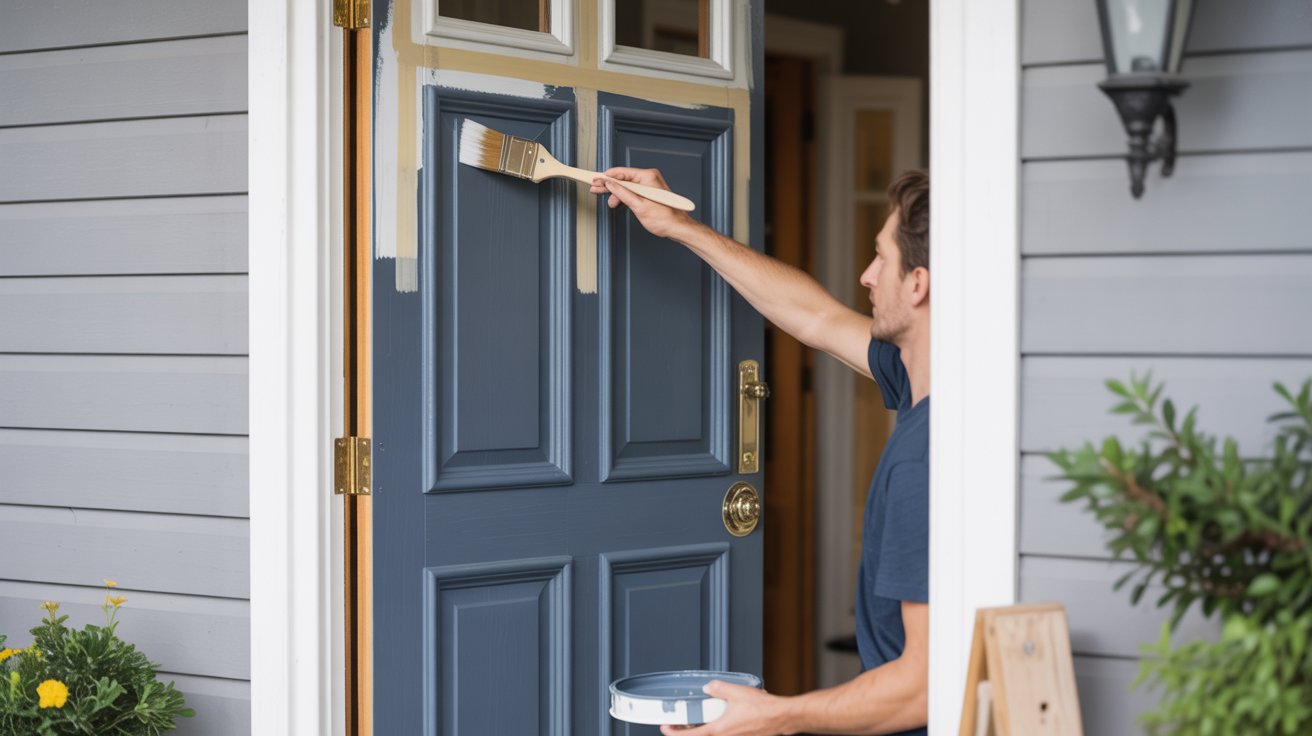
Step 5 – Start Painting (Top to Bottom)
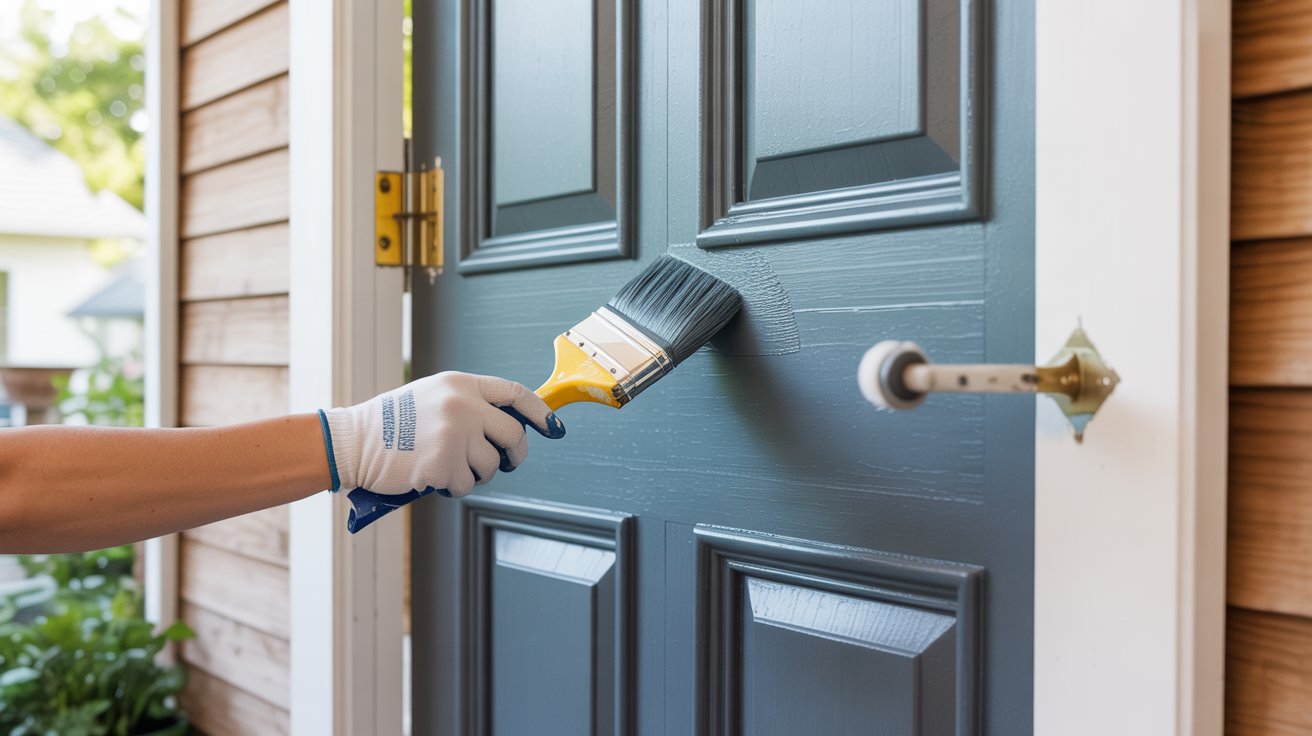
Start at the top and work downward. Use a brush for recessed panels and detailed areas first. Switch to your roller for flat sections.
Always follow the wood grain direction for the smoothest appearance. Let each coat dry for 2 to 4 hours. Don’t rush this part or you’ll end up with smudges and uneven coverage.
Step 6 – Apply the Second Coat
One coat rarely gives full coverage. Lightly sand the first coat if it feels rough to the touch. Apply your second coat the same way as the first, keeping it thin and even.
This layer adds richness to the color and makes your paint job last much longer. Two coats create a professional look that holds up better.
Step 7 – Let It Dry and Reattach Hardware
Wait a full 24 hours before closing the door completely. This prevents smudging or sticking. Once totally dry, reinstall all your hardware.
Screw in doorknobs, locks, and decorative pieces you removed earlier. Step back and check out your work. Your front door should look fresh and professionally done now. You did it without removing anything.
Expert Tips for a Flawless Finish
- Pick a warm, dry day with low humidity for the best results. Moisture in the air makes paint dry slowly or look cloudy.
- Don’t paint when the sun is hitting your door directly. Direct sunlight makes paint dry too fast and creates streaks you can’t fix easily.
- Invest in high-quality brushes. Cheap brushes leave marks and bristles in your paint. Good brushes give smoother coverage and make the job easier.
- Go with a satin or semi-gloss finish for your door. These finishes are easy to clean and hold up better against weather and daily use.
Common Mistakes to Avoid
- Skipping prep or sanding. This is the biggest mistake people make. If you don’t clean and sand properly, your paint won’t stick well and will peel off sooner.
- Applying paint too thickly. Thick coats look tempting but they drip, sag, and take forever to dry. Thin, even layers always work better and look smoother.
- Not allowing enough drying time between coats. Rushing this step ruins everything. Wet paint under a new coat stays soft and can peel or bubble later on.
- Forgetting to check weather conditions. Rain, high humidity, or extreme heat will ruin your hard work. Always check the forecast before you start painting your door.
Conclusion
How much easier was it to paint your front door without removing it?
You saved yourself time, energy and the pain of rehanging. And hey, you also have a skill to call upon in times of need from now on.
Show your personality using bright colors. Bright red, dark blue, classic black, or cheerful yellow will completely transform the outside of your house with color.
These choices offer a total makeover. I’d love to see what you create. Remember to snap a before-and-after photo and share them with your friends or on social media afterward.
Share this helpful guide to someone who could use a home refresh. Enjoy painting it, congratulations on the entryway that is new!
Frequently Asked Questions
Can I paint my front door without taking it off the hinges?
Yes, you can absolutely paint your door while it’s still hanging. Just prop it open, prep the surface properly, and use the right techniques. You’ll get professional results without the hassle of removing it.
How long does it take for front door paint to dry completely?
Most exterior paints dry to the touch in 2 to 4 hours between coats. However, wait a full 24 hours before closing the door completely. This prevents the paint from sticking or getting damaged.
What type of paint should I use on my front door?
Use exterior-grade paint designed for doors, preferably in a satin or semi-gloss finish. Latex paint works well for most doors. If you’re changing colors drastically, apply a primer coat first for better coverage.
Do I need to sand my door before painting it?
Yes, sanding is an important step you shouldn’t skip. It removes the glossy finish and helps new paint stick properly. Use 120 to 220 grit sandpaper and wipe away all dust before you start painting.
What’s the best weather for painting a front door?
Choose a warm, dry day with low humidity and temperatures between 50 and 85 degrees. Avoid painting in direct sunlight or when rain is expected. Good weather conditions help paint dry evenly and last longer.