
A well-organized cleaning supply system forms the foundation of efficient home maintenance.
Without proper organization, cleaning supplies often become scattered across multiple locations, creating confusion when you need specific products most.
This disorganization leads to several common problems: cluttered storage areas that make finding items difficult, inefficient cleaning routines that waste valuable time, and potential safety risks when hazardous chemicals are improperly stored or mixed.
Implementing a structured approach to organizing your cleaning supplies offers significant advantages.
You’ll save considerable time by knowing exactly where each product belongs, reduce daily stress through streamlined cleaning processes, and achieve more effective results with readily accessible, properly maintained supplies.
A systematic organization transforms cleaning from a frustrating chore into a manageable, efficient routine.
Steps to Organize Your Cleaning Supplies
Simple steps to sort, store, and arrange cleaning products efficiently for better home maintenance and streamlined cleaning routines.
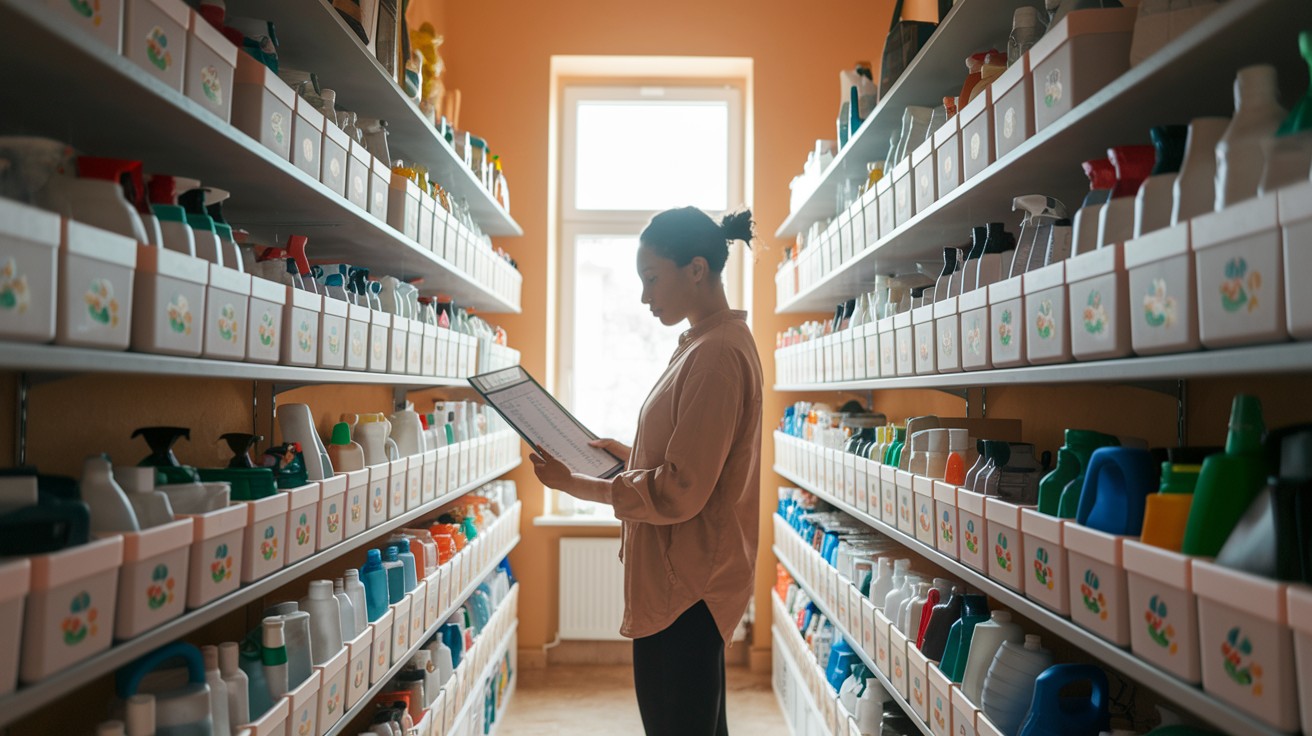
Step 1 – Take Inventory of Your Cleaning Supplies
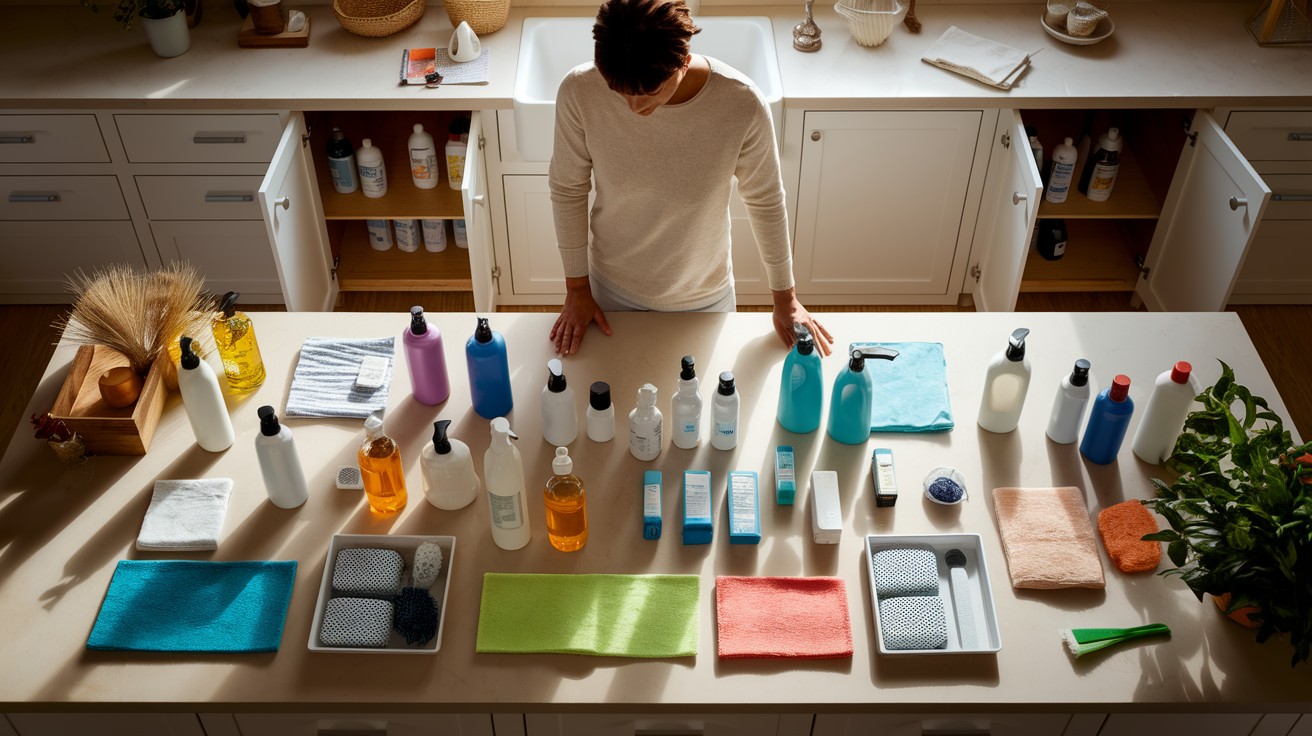
Begin by collecting every cleaning product from throughout your home, checking under sinks, inside closets, and storage areas.
You’ll likely find forgotten items scattered in unexpected places. Once gathered, sort products into categories: bathroom cleaners, kitchen cleaners, floor care products, multi-surface sprays, and tools like sponges and brushes.
Check expiration dates on each product, as expired cleaners lose effectiveness and may become unsafe.
Look for signs of separation, unusual odors, or color changes indicating spoilage.
Consolidate duplicate products when possible and consider donating unopened extras to local shelters or community centers.
Step 2 – Choose a Dedicated Cleaning Storage Area
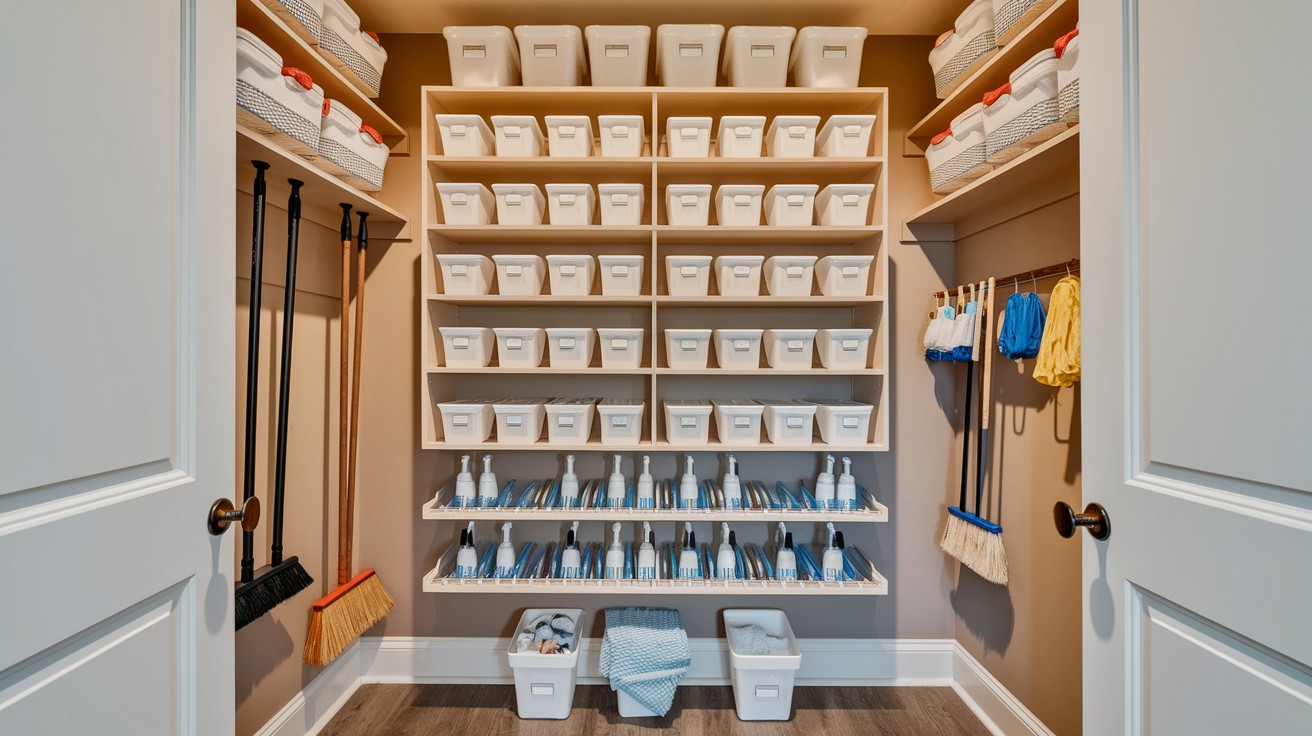
Select a central, accessible location for your main storage area. Under-sink cabinets, laundry rooms, and utility closets work well, offering convenience while keeping products out of sight.
For larger homes, consider multiple cleaning stations on different floors to eliminate carrying supplies up and down stairs constantly.
Maximize your chosen space by installing adjustable shelving systems and wall-mounted racks.
Utilize cabinet doors with slim organizers for cleaning cloths, gloves, or small bottles, transforming unused space into functional storage.
Step 3 – Safely Store Cleaning Chemicals
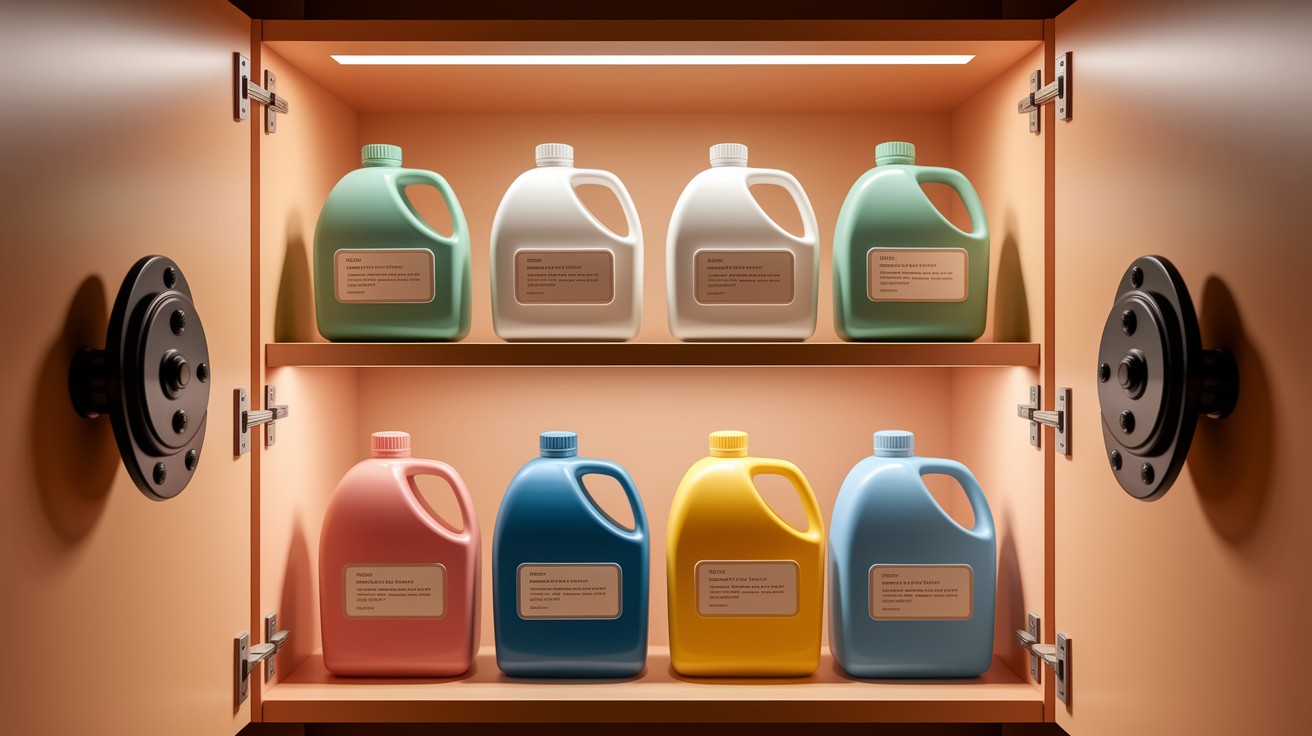
Always keep products in their original containers to maintain access to safety information, usage instructions, and ingredient lists.
Original packaging is designed specifically for safe chemical storage. Install childproof cabinet locks in homes with children or pets, even in seemingly inaccessible locations.
Avoid storing chemicals in high-heat areas like garages or near boiler rooms, as temperature extremes can alter chemical composition and create safety hazards.
Choose storage areas with stable, moderate temperatures to maintain product integrity throughout their shelf life.
Step 4 – Organize Microfiber Cloths and Towels
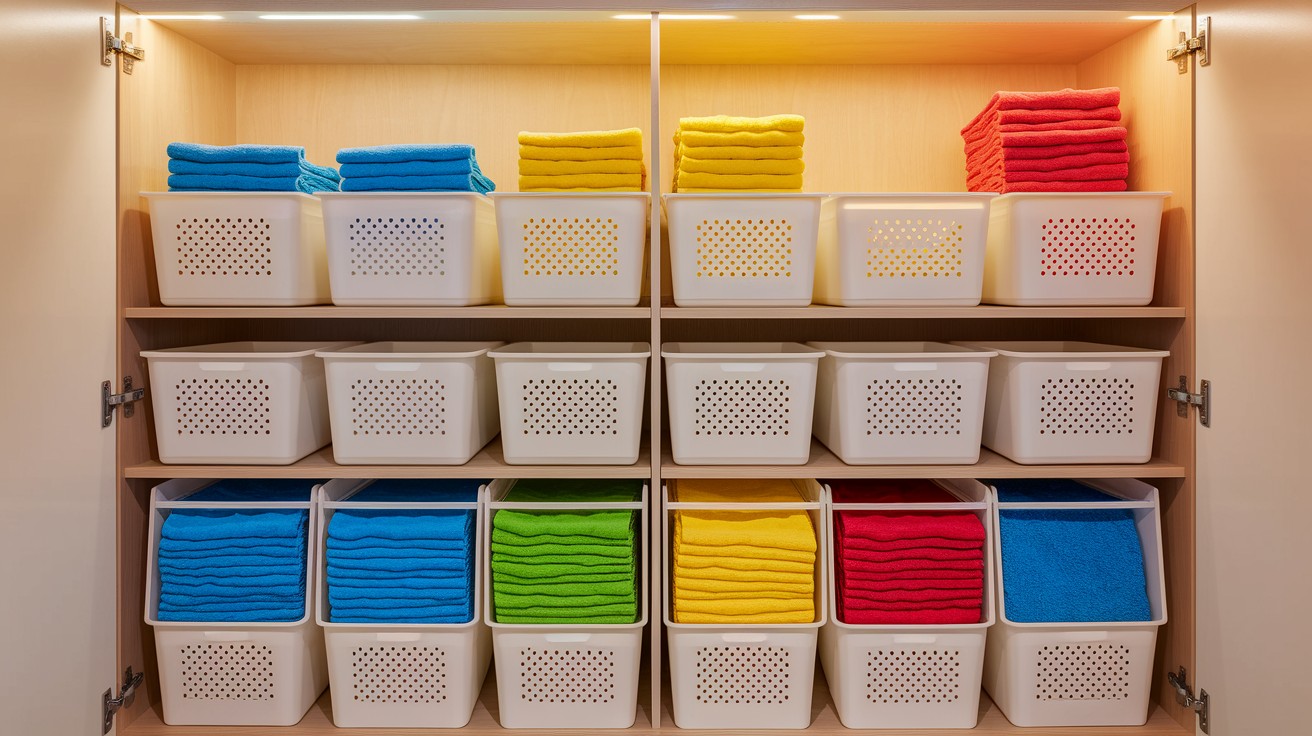
Implement a color-coding system to prevent cross-contamination: blue for bathrooms, yellow for kitchens, green for dusting, and red for heavily soiled areas.
This ensures clothes used on toilets never accidentally clean kitchen counters.
Store clean, dry clothes in dedicated bins with ventilation holes, drawer systems with dividers, or portable caddies.
Use clear labels and dividers to maintain organization and make selection quick and easy.
This systematic approach reduces time spent searching for appropriate cloths while maintaining hygiene standards.
Step 5 – Manage Bulky Tools Like Mops and Vacuums
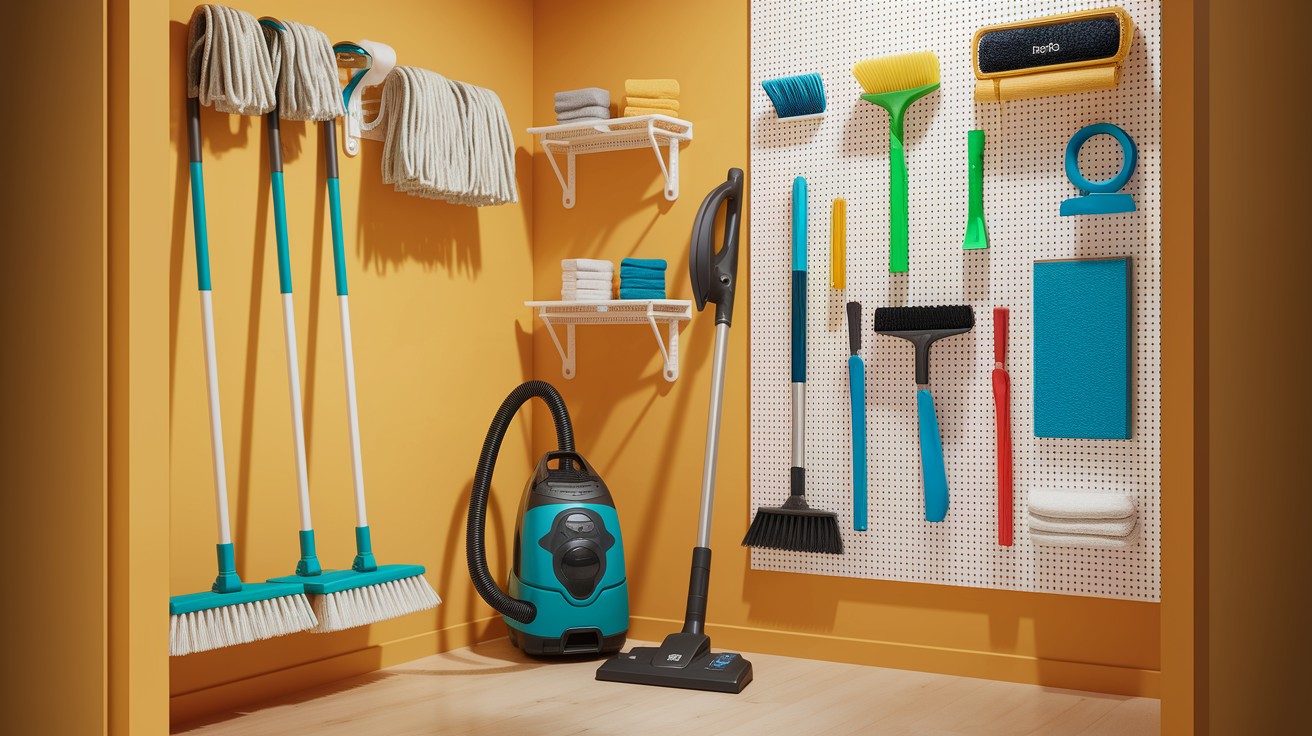
Install wall-mounted organizers for mops and brooms to save floor space and prevent tripping hazards.
Designate a specific spot for your vacuum cleaner with cords wrapped neatly and attachments stored nearby on hooks or small shelves.
Use pegboard systems or hook arrangements for smaller tools like scrub brushes, dusters, and squeegees.
This keeps tools visible, accessible, and prevents them from getting lost in drawers while maintaining an organized storage area appearance.
Step 6 – Use a Cleaning Caddy for Mobility
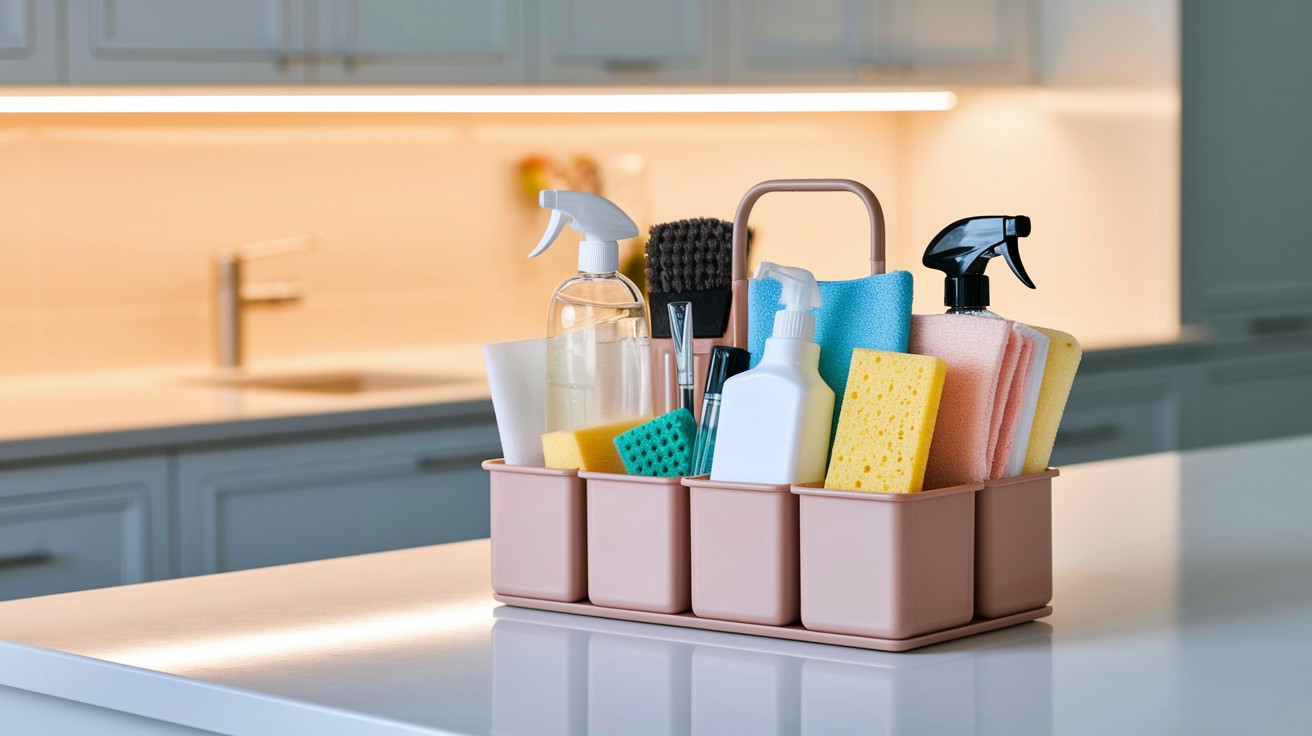
Choose a caddy with multiple compartments to organize different products and tools efficiently.
Stock it with essentials only: all-purpose cleaner, glass cleaner, microfiber cloths, scrub brush, and frequently used specialized products.
Keep it lightweight by avoiding overloading. Consider creating separate caddies for different areas, a bathroom caddy with toilet bowl cleaner and shower spray, and a kitchen caddy with degreasers and countertop cleaners.
This specialization ensures you have appropriate products for each area without carrying unnecessary items.
Step 7 – Invest in Smart Cleaning Storage Solutions
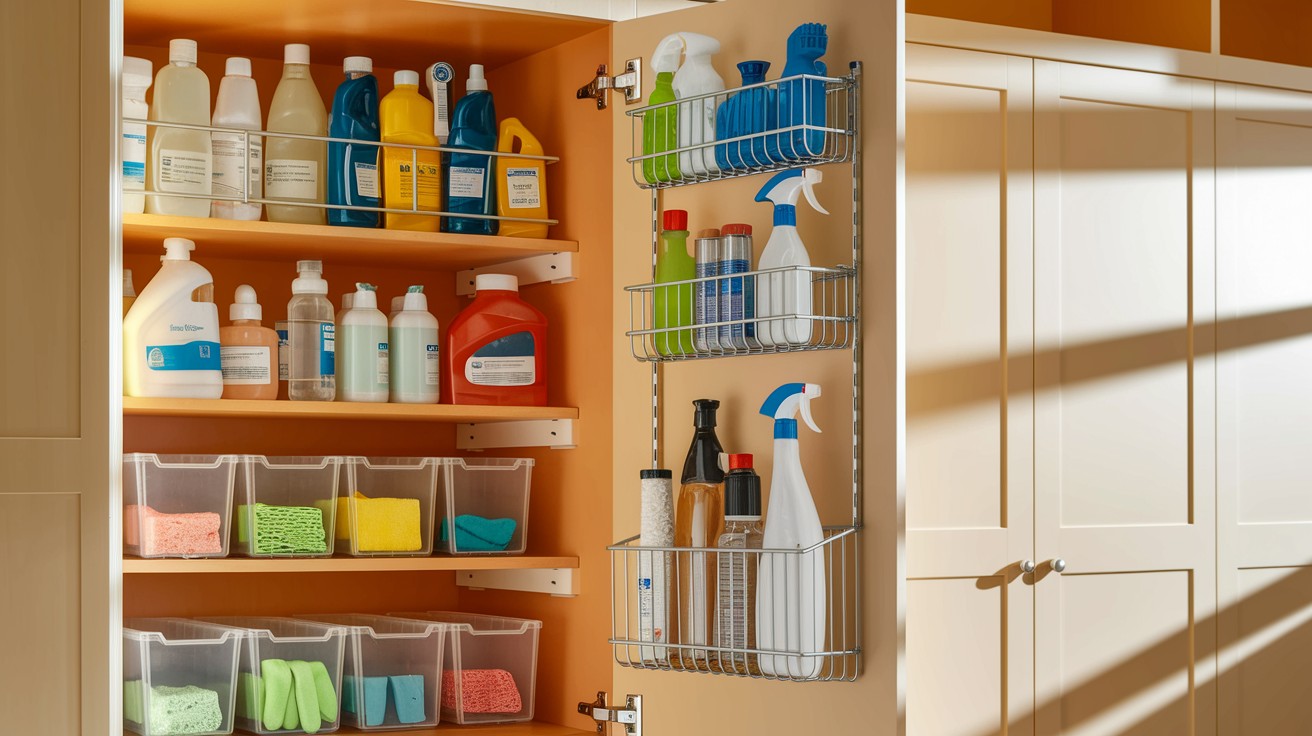
Use adjustable shelving units that accommodate products of varying sizes and allow future reorganization as needs change.
Store small supplies in clear plastic bins with labels to maintain visibility and prevent overbuying duplicates.
Install over-the-door organizers to transform unused door space into storage for spray bottles, sponges, and gloves.
These solutions keep essential supplies visible and accessible while freeing shelf space for larger items.
Choose systems that grow with your needs while maintaining easy access to frequently used products.
Bonus Tips for Maintaining Your Organized Cleaning Zone
Maintaining your newly organized cleaning system requires consistent effort and smart strategies to prevent it from reverting to chaos.
Clear labeling serves as the foundation of lasting organization, ensuring every family member knows exactly where items belong and can return them to their proper places.
Use waterproof labels on shelves, bins, and containers, writing in clear, legible text that’s easy to read quickly.
Consider using both words and simple symbols for frequently used areas, making the system accessible to all household members regardless of reading ability.
Schedule monthly supply checks to maintain optimal inventory levels and catch potential problems early.
During these reviews, examine products for expiration dates, check for leaks or damaged containers, and assess whether your current organization system still meets your needs.
Look for signs that certain products are being used more frequently than others, which might indicate a need to relocate them for better accessibility.
Use this time to wipe down shelves, clean storage containers, and refresh any labels that have become worn or difficult to read.
Establish a regular restocking routine for essential items to prevent running out during important cleaning tasks.
Keep a running list of supplies that are running low, and designate specific shopping trips for cleaning supplies to avoid impulse purchases.
Buy commonly used items like all-purpose cleaner, toilet paper, and microfiber cloths in reasonable quantities to maintain stock without creating storage problems.
Set reminders on your phone or calendar to check supply levels weekly, ensuring you never find yourself without necessary cleaning products when you need them most.
Conclusion
Organizing your cleaning supplies transforms routine maintenance from a frustrating chore into an efficient, manageable process.
With everything in its designated place, you’ll complete cleaning tasks faster, maintain safer storage practices, and experience significantly less stress when tackling household upkeep.
A well-structured system saves precious time by eliminating searches for misplaced products and creates a safer environment through proper chemical storage and clear labeling.
Don’t wait to implement these strategies – start organizing your cleaning supplies today. Choose one area to focus on first, then gradually expand your system throughout your home.
Small changes create lasting improvements in your daily routine.
We’d love to hear about your success! Share photos of your organized cleaning setup or your favorite organizational tips in the comments below.
Frequently Asked Questions
What’s the best location for storing cleaning supplies?
Choose a central, accessible area like an under-sink cabinet, laundry room, or utility closet with stable temperatures. Avoid high-heat areas like garages or spaces near boilers, as extreme temperatures can damage product effectiveness and safety.
How often should I check and replace my cleaning products?
Conduct monthly supply checks to examine expiration dates, assess inventory levels, and identify any damaged containers. Replace expired products immediately and restock essentials before they run out to maintain cleaning efficiency.
Is it safe to transfer cleaning products to different containers?
Always keep products in their original containers to maintain access to safety instructions and ingredient information. Original packaging is specifically designed for safe chemical storage and transferring products can create safety risks.
How can I prevent cross-contamination when cleaning different areas?
Implement a color-coding system for cleaning cloths: assign specific colors to different tasks like blue for bathrooms and yellow for kitchens. This prevents cloths used in toilets from accidentally being used on kitchen counters.
What should I include in a portable cleaning caddy?
Stock your caddy with essentials only: all-purpose cleaner, glass cleaner, microfiber cloths, and a scrub brush. Keep it lightweight by avoiding overloading, and consider creating separate caddies for specific areas like bathrooms and kitchens.