
In my years of helping homeowners with window treatments, I’ve seen how proper measuring can make or break a project.
Getting your curtain rod measurements right isn’t just about avoiding trips back to the store, it’s about creating windows that look professionally finished and function smoothly.
I’ve watched clients struggle with rods that are too short, leaving gaps that let light sneak through, or rods placed too low, making their ceilings appear shorter than they are.
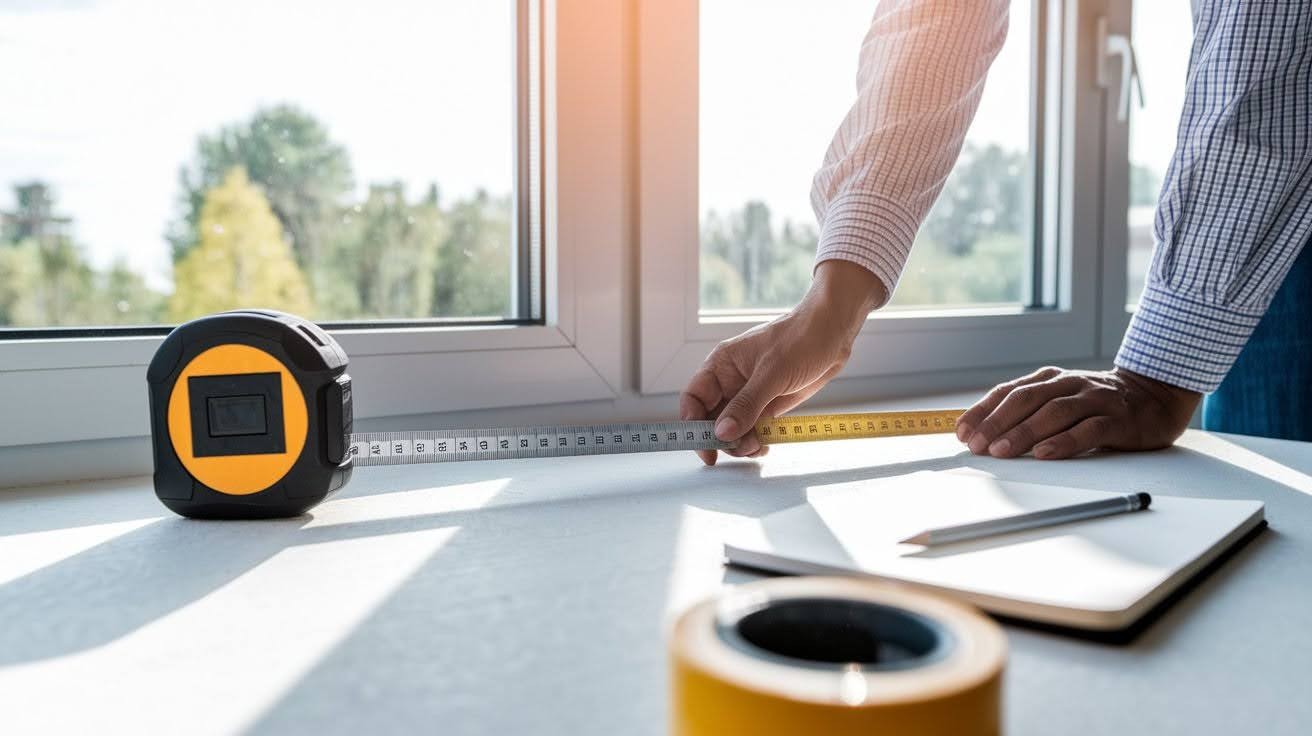
The good news? Measuring for curtain rods is straightforward when you follow the right steps. With a tape measure and a few minutes of your time, you can ensure your windows will look polished and work exactly as intended. Let me walk you through this simple process.
Tools You’ll Need Before You Start
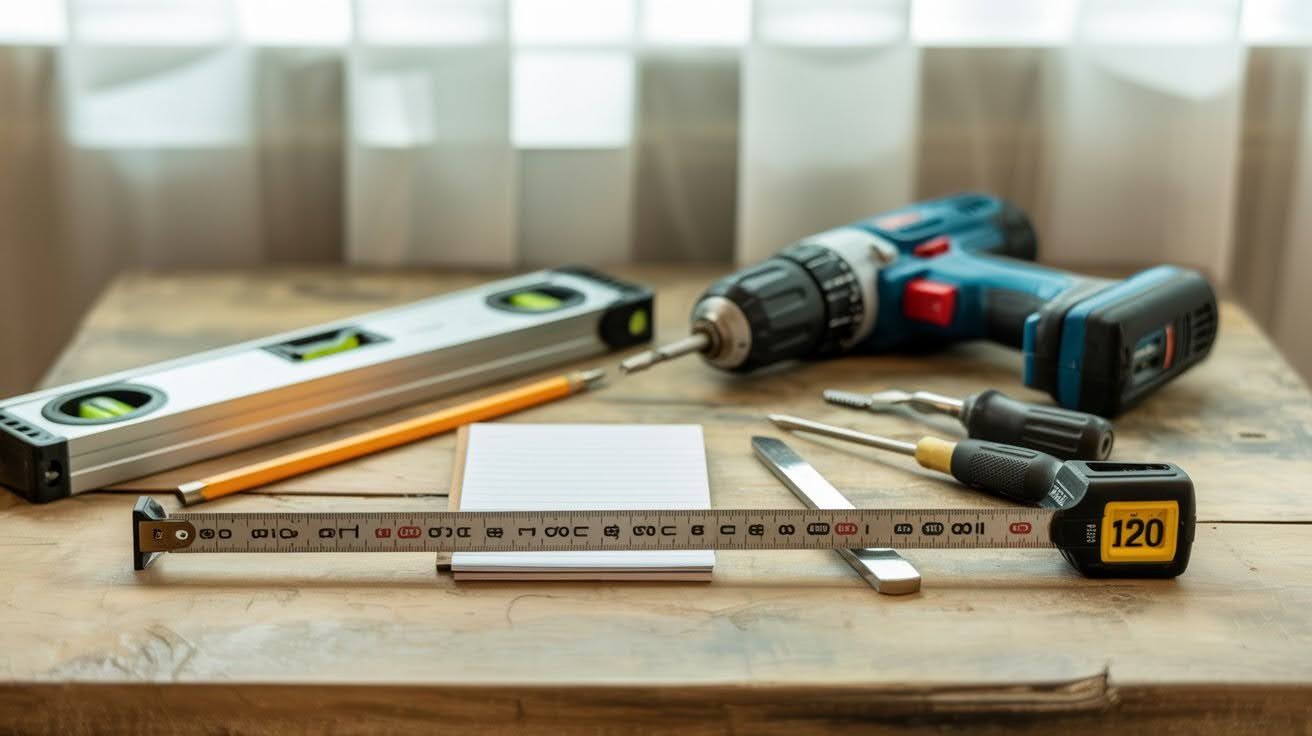
Measuring Tools
Grab a sturdy metal tape measure, those flimsy fabric ones tend to sag and give you inaccurate readings. Keep a pencil and paper handy to jot down your measurements as you go.
I always recommend writing everything down immediately because it’s surprisingly easy to forget numbers when you’re moving between windows.
Installation Tools
You’ll want a level to ensure your brackets sit perfectly straight, crooked rods are immediately noticeable and can cause curtains to slide to one side. Have your drill ready with appropriate bits for both wall studs and drywall anchors, since you might encounter both.
A screwdriver and saw complete your toolkit, though the saw is only needed if you’re cutting rods to size. Having everything assembled beforehand saves multiple trips to the toolbox.
Measure for Curtain Rods: A Simple Step-by-Step Guide
Step 1 – Choose Your Mount Type

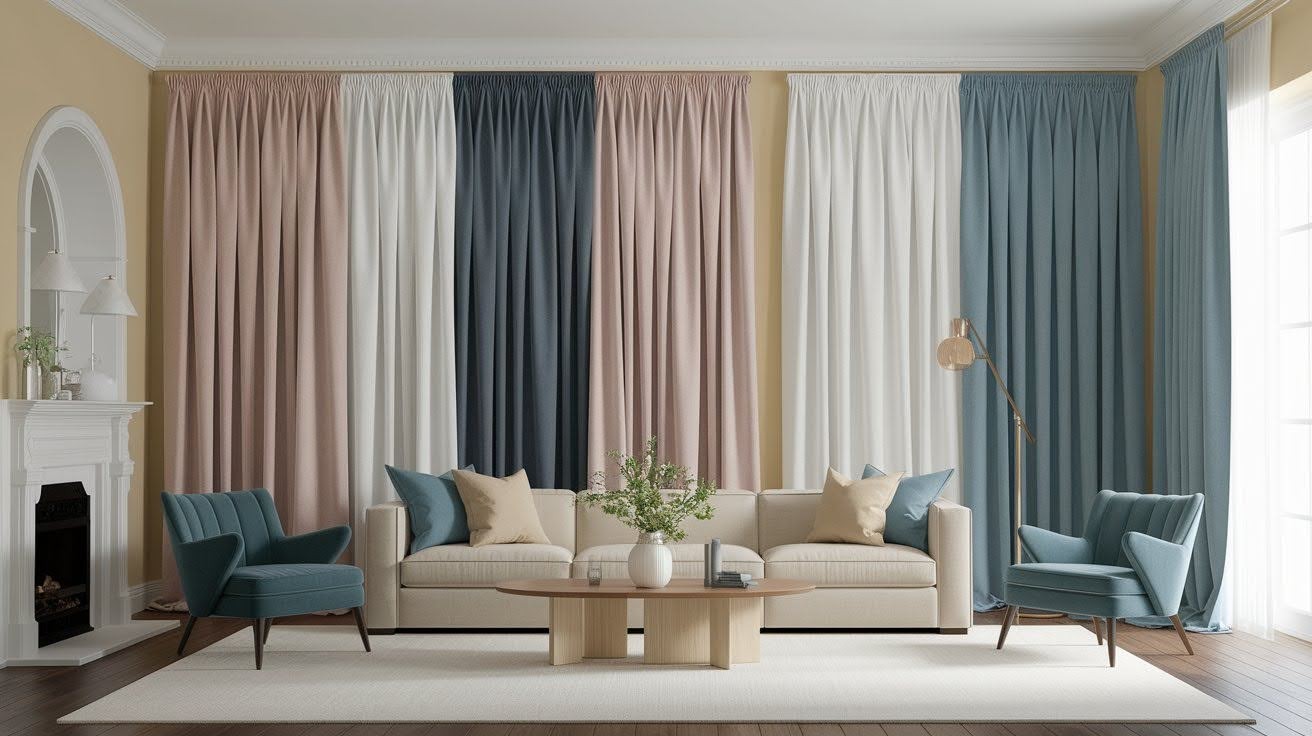
Inside mounts fit within the window frame for a streamlined look in casual spaces. Outside mounts extend beyond the trim, making windows appear larger and allowing more light-perfect for formal rooms.
The mounting style you choose affects both the visual impact and functional performance of your window treatment. Consider your room’s style and how much natural light you want when curtains are open.
Step 2 – Measure for Rod Width
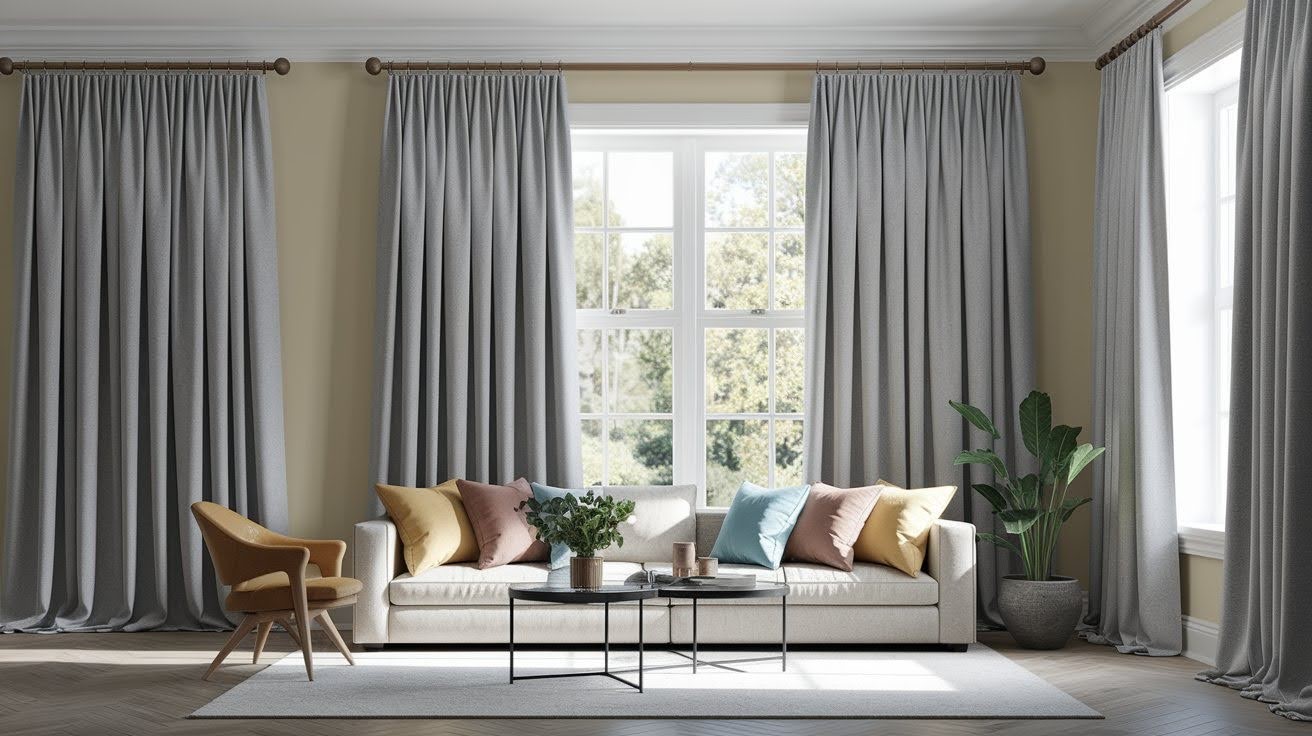
For inside mounts, measure trim edge to trim edge. For outside mounts, take your window width and add 16-20 inches total (8-10 inches per side) so curtains can clear the window when open.
Write down each measurement immediately to avoid confusion later. Remember that heavier fabrics need more stacking space when gathered to one side.
Step 3 – Determine Rod Diameter
Match rod thickness to curtain weight: ¾-inch for lightweight fabrics, 1-inch for medium weight, 1¼-inch or thicker for heavy drapes. Consider room proportions-larger spaces can handle thicker rods.
A rod that’s too thin will sag under heavy curtains, while one that’s too thick can overwhelm smaller windows. Quality rods in the right size will support your curtains for years without bowing.
Step 4 – Measure Curtain Length
Measure from your planned rod position to desired curtain endpoint. Account for rings or clips by subtracting their drop length (typically 1-2 inches) from your curtain measurement. Always measure from the actual rod position, not the top of the window frame.
Take measurements at multiple points across the window since floors and ceilings aren’t always perfectly level.
Step 5 – Decide on Curtain Break Style
Apron break ends at the sill for casual spaces. Hover length just touches the floor and works everywhere. Trouser break has a slight bend for sophistication. Puddle break pools dramatically but needs maintenance.
Your choice should match both your room’s formality level and your maintenance preferences. Floor-length styles create a more finished look but require precise measuring to avoid dragging on the ground.
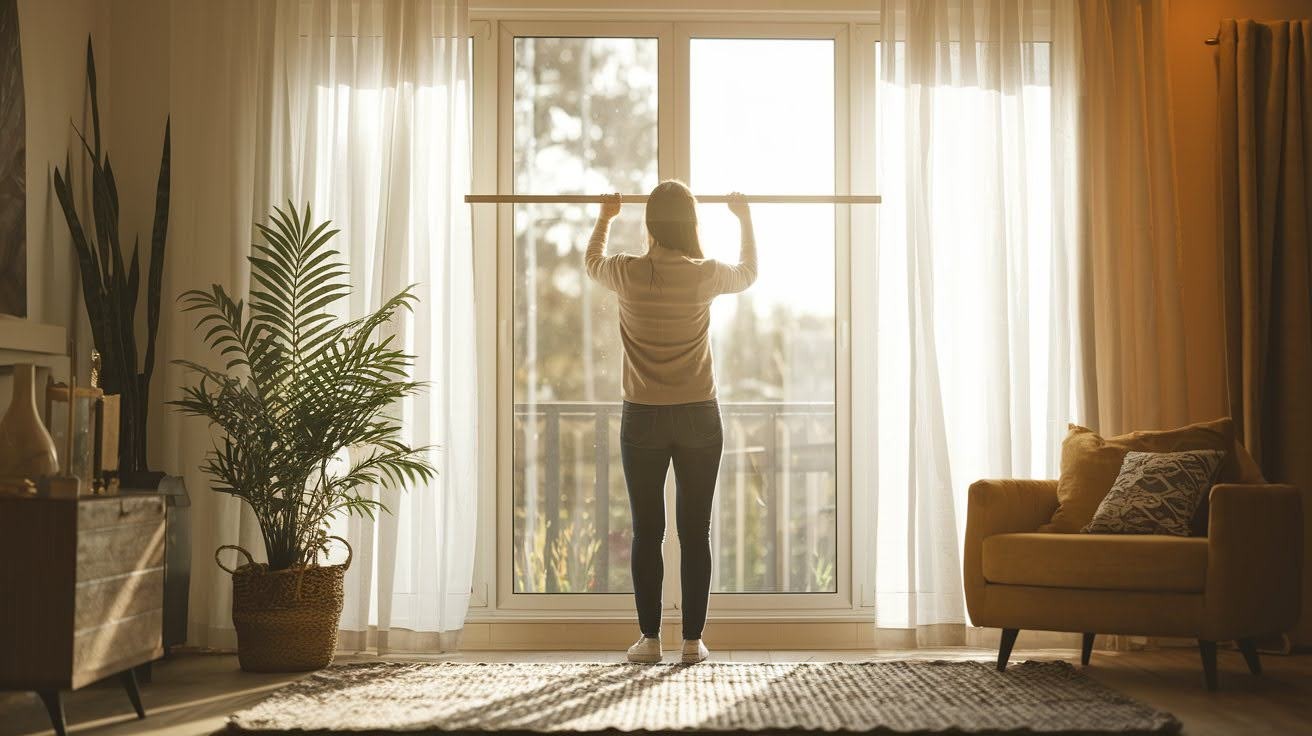
Step 6 – Mark, Drill, and Install Brackets
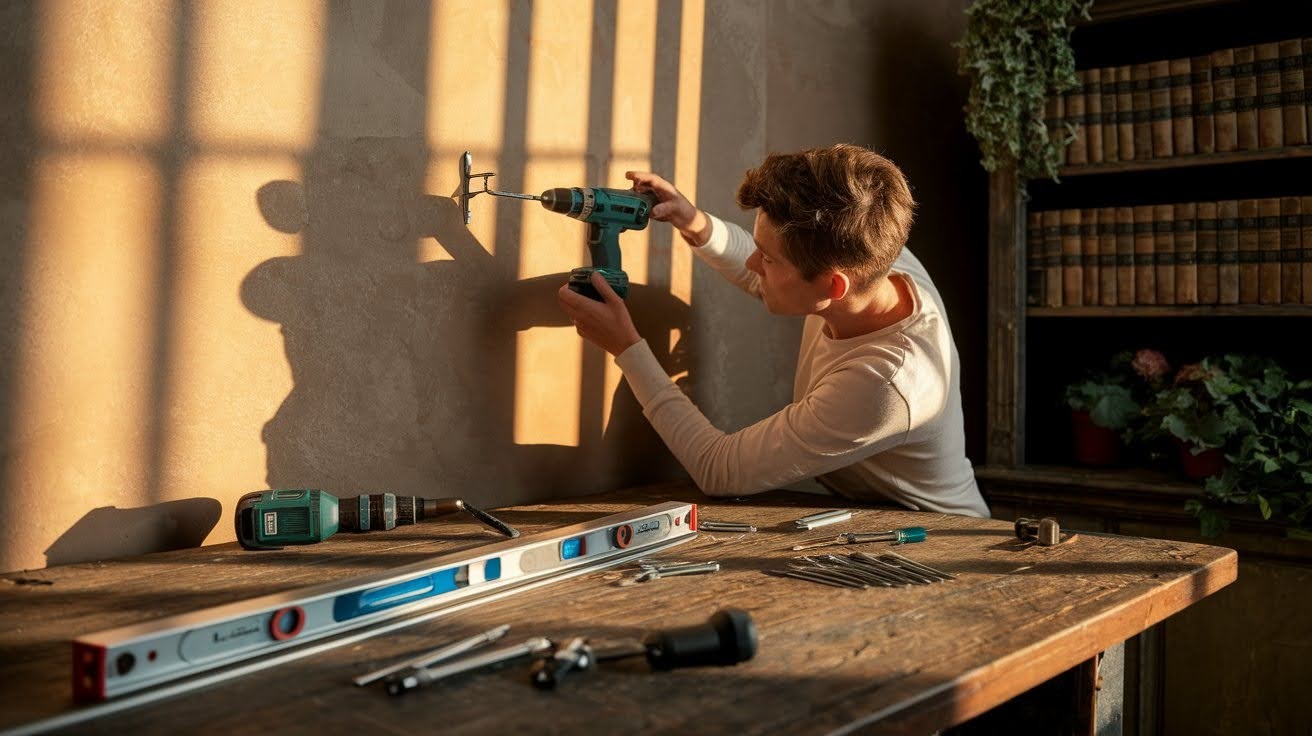
Mark bracket positions using your level and measurements. Use appropriate drill bits and anchors for your wall type.
Test-fit the rod before final tightening to ensure proper alignment. Wall studs provide the strongest support, so locate them with a stud finder when possible. Even with drywall anchors, proper installation techniques will keep your rods secure for years.
Step 7 – Cut and Prepare the Rod

Cut rods 1 inch longer than the bracket distance. Drill pilot holes for finials carefully-crooked end pieces are immediately noticeable and difficult to fix. Use a fine-tooth saw for clean cuts and sand any rough edges smooth.
Take your time with finial installation since these decorative elements are often the most visible part of your rod system.
Step 8 – Hang Curtains with Proper Fullness
Use 1.5x rod width for tailored looks or 2-3x for luxurious gathering. Space rings or clips evenly, starting at each end and working toward the center for balanced pleats. Step back frequently to check that the spacing looks even and adjust as needed.
Proper fullness not only looks better but also helps curtains hang naturally and operate smoothly when opening and closing.
Final Tips for a Professional Look
- Balance Proportion and Scale – Match rod thickness to your curtain weight and room size. Chunky rods suit large spaces with heavy fabrics, while slender rods work better in smaller rooms with lightweight materials.
- Double Rod Setups – Layer decorative panels on the front rod with functional sheers behind for versatile light control and added visual depth throughout the day.
- Choosing Decorative Finials – Select end pieces that reflect your style and complement your room’s design. Simple balls suit traditional spaces, while geometric shapes work in modern interiors.
Conclusion
After guiding countless clients through curtain rod installations, I can confidently say that taking your time with measurements is the secret to professional-looking results.
We’ve covered the essential steps-from choosing your mount type and measuring rod width to selecting the perfect break style and achieving proper fullness. Each measurement matters, so don’t rush this process.
Remember, your windows are a major focal point in any room, and the right rod installation can completely transform their appearance.
Take those extra few minutes to double-check your measurements, consider your room’s proportions, and choose hardware that reflects your style. The difference between a rushed job and a thoughtfully planned installation is immediately visible.
With these steps mastered, you’re ready to create window treatments that look professionally installed and perfectly suited to your home.
Frequently Asked Questions
How much wider should my curtain rod be than my window?
For outside mounts, add 16-20 inches to your window width (8-10 inches on each side). This extra space allows curtains to clear the window completely when opened, maximizing natural light.
What’s the difference between inside and outside mount installations?
Inside mounts fit within the window frame for a clean, streamlined look perfect for casual spaces. Outside mounts extend beyond the trim, making windows appear larger and work better for formal rooms.
How do I know what rod diameter I need?
Match rod thickness to curtain weight: ¾-inch for lightweight fabrics, 1-inch for medium-weight, and 1¼-inch or thicker for heavy drapes. Also consider room proportions-larger spaces can handle thicker rods without looking overwhelming.
Should my curtains touch the floor or hover above it?
Hover length (just touching the floor) is the most versatile choice that works in almost any room. Apron length (ending at the sill) suits casual spaces, while puddle breaks create drama but require more maintenance.
How much curtain fullness do I need for the best look?
Use 1.5 times your rod width for a tailored appearance or 2-3 times the width for luxurious gathering. More fullness creates beautiful folds and draping, but requires purchasing more fabric.