
Have you ever walked into a room and been instantly drawn to a wall with beautiful texture and depth or admired a piece of artwork with rich, tactile surfaces that seem to come alive.
Learning how to make textured paint is a game-changer for your home projects, allowing you to change ordinary surfaces into amazing focal points without breaking the bank.
Whether you’re looking to add character to walls, furniture, or art pieces, homemade textured paint gives you creative control while saving money compared to specialty store-bought options.
In this guide, I’ll walk you through simple methods to create your own textured paint using materials you might already have around the house.
You’ll explore how different additives create various effects, from subtle dimensions to bold statement textures.
By the end, you’ll have the knowledge to confidently tackle any project that could benefit from that extra touch of texture and personality.
Understanding Textured Paint
Textured paint adds bumps, ridges, or patterns to surfaces, making them more interesting to look at and touch.
Unlike regular flat paint, how to make textured paint involves adding special materials to create dimension. This simple change can hide wall flaws, make rooms feel cozier, or give furniture a unique look.
Many people think textured paint is only for professionals, but you can easily make it at home!
By adding everyday items like sand, joint compound, or even coffee grounds to regular paint, you can create custom textures for any project.
Textured paint works well on walls, ceilings, furniture, picture frames, and art projects. Whether you want subtle texture or bold patterns, learning how to make textured paint gives you endless creative options for your home and crafts.
Step-by-Step Guide- Make Textured Paint for Your Projects
Want to create beautiful textured surfaces? Learning how to make textured paint is easier than you might think. Follow these simple steps to create custom textures for walls, furniture, or art projects.
Step 1: Gather Your Materials
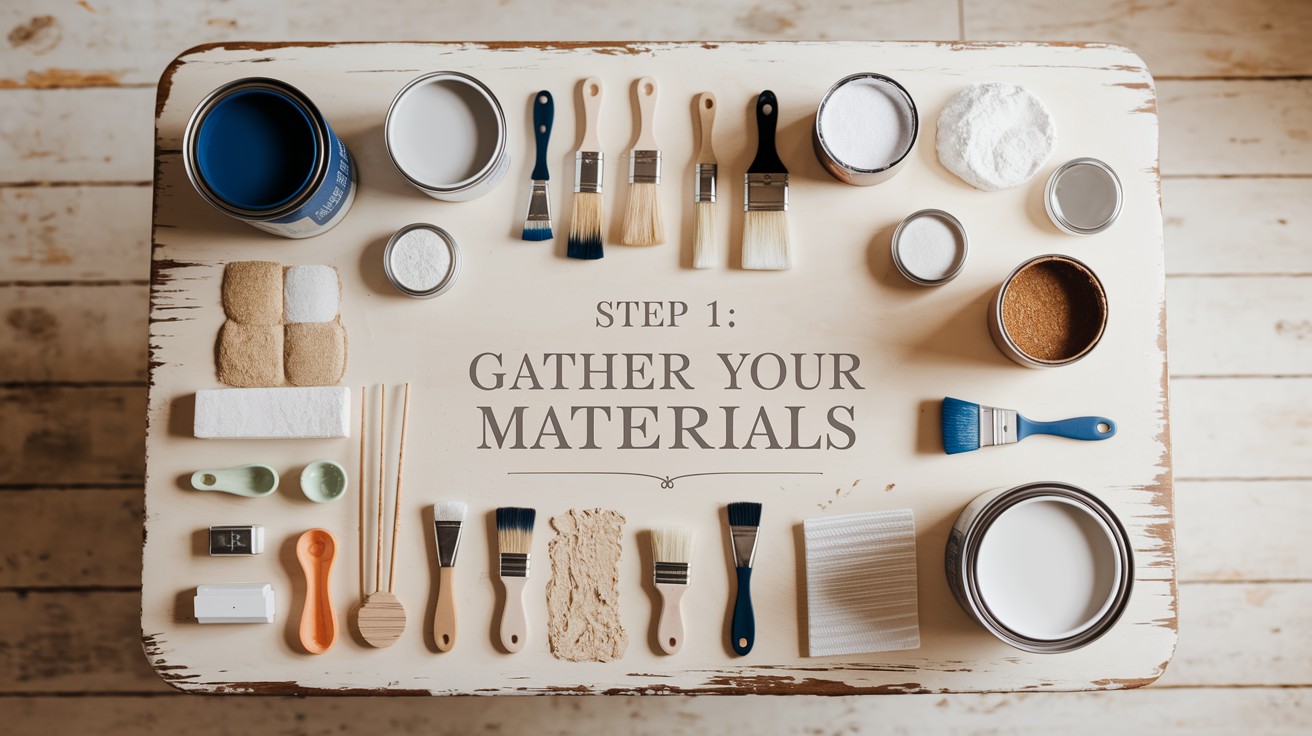
- Choose a base paint – latex or acrylic paint works best for most textured paint projects
- Select your texturing agents based on the effect you want (sand, joint compound, coffee grounds, etc.)
- Get a large mixing container that gives you plenty of room to stir
- Have measuring cups and stirring tools ready
- Don’t forget protective gear like gloves and old clothes
Step 2: Mix Your Base Paint

- Pour your base paint into the mixing container (start with 1-2 cups for small projects)
- Stir the paint well to make sure it has a smooth, even consistency
- Add a small amount of water if the paint seems too thick for mixing
- For better wall coverage when making textured paint, consider adding a primer to your base
- Let the paint sit for a few minutes before adding texturing materials
Step 3: Add Texturing Materials
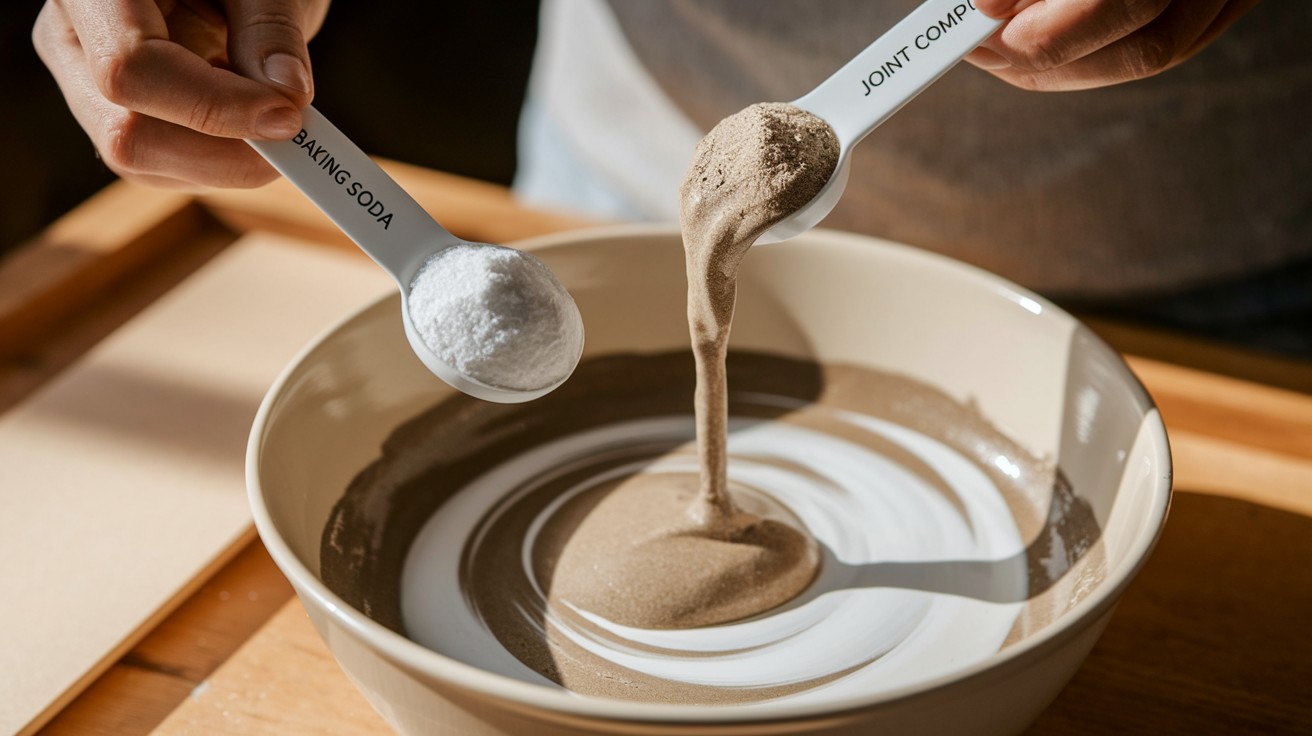
- For fine texture: slowly add fine sand, one tablespoon at a time
- For medium texture: mix in joint compound, starting with ¼ cup per gallon of paint
- For natural texture: try coffee grounds, sawdust, or even salt
- When learning how to make textured paint, remember to stir constantly while adding materials
- Test your mixture on a small piece of cardboard to check the texture
Step 4: Apply Your Textured Paint

- Use a roller with thick nap (¾ inch or more) for large wall areas
- Try special texture brushes or tools for decorative patterns
- Apply the textured paint in small sections, working from top to bottom
- For deeper texture, apply a second coat after the first is partially dry
- Let your project dry completely before touching or adding additional paint colors
Remember, making textured paint at home lets you create custom effects at a fraction of the cost of store-bought options!
Tips and Tricks for Best Results
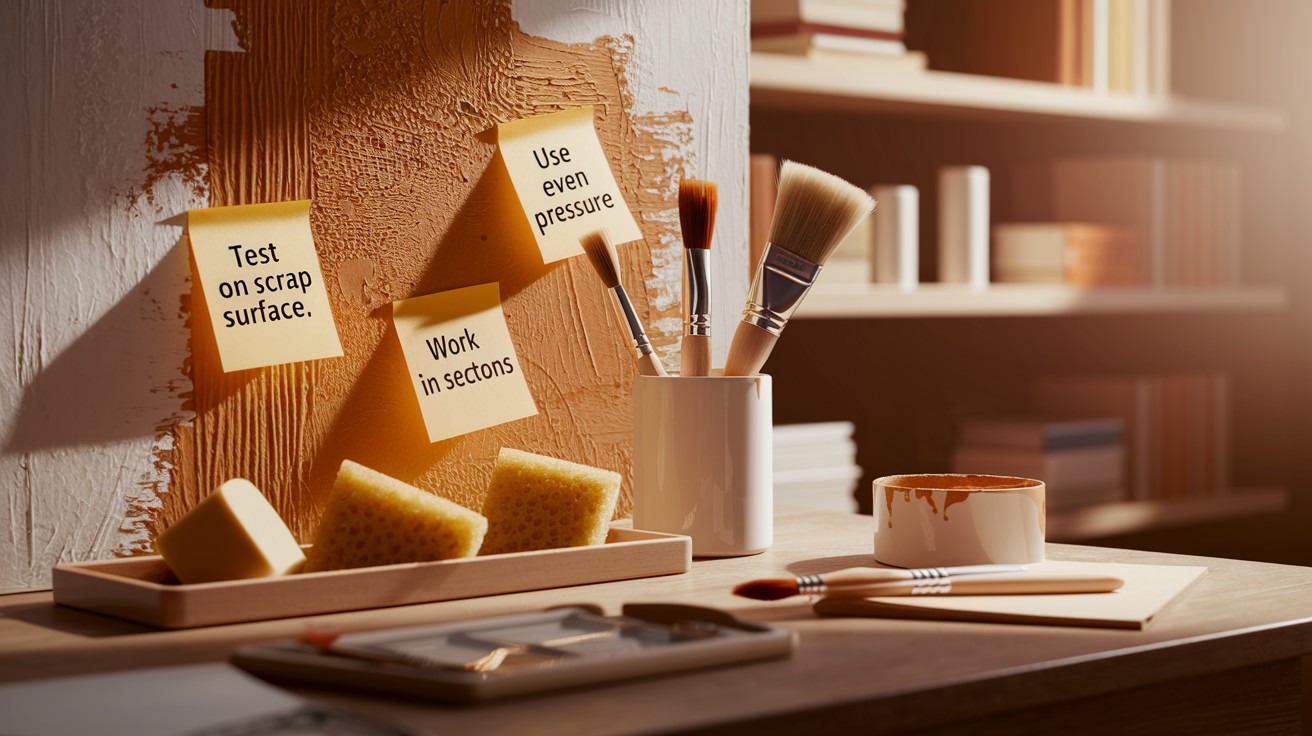
When working with textured paint, these simple tips will help you get professional-looking results.
Learning how to make textured paint is easy, but these pointers will take your projects to the next level:
- Always test your textured paint mixture on a small area or scrap material first.
- Add texturing materials slowly—you can always add more, but you can’t take it out.
- For smoother application, warm your paint to room temperature before mixing in texture.
- Clean your tools immediately after use before textured paint hardens on them.
- Wear gloves to protect your hands when working with how to make textured paint mixtures.
- For walls, use painter’s tape to protect trim and create clean edges.
- Mix enough textured paint for your entire project at once to maintain consistent texture.
- Allow each layer to dry completely before adding additional coats or colors.
- Use a hair dryer on low setting to speed up drying between layers.
Conclusion
Now that you know how to make textured paint at home, you’re ready to transform ordinary surfaces into extraordinary pieces with character and dimension.
We’ve covered everything from basic materials and mixing techniques to creative project ideas and professional tips for success.
By making your own textured paint, you’ll save money while gaining complete creative control over your home improvement and craft projects.
Whether you’re refreshing walls, upcycling furniture, or creating custom artwork, textured paint adds that special touch that makes your space uniquely yours. Don’t be afraid to experiment with different texturing agents to discover your favorite effects!
Have you tried making textured paint at home?
Share your projects and questions in the comments below, or subscribe for more DIY home improvement tutorials delivered straight to your inbox!
Frequently Asked Questions
Do I Need Special Tools to Apply Homemade Textured Paint?
Not at all! While texture rollers and brushes help, you can create great effects with common household items like sponges, plastic bags, or even crumpled paper.
How Long does Homemade Textured Paint take to Dry?
Textured paint typically takes longer than regular paint—usually 24-48 hours for a complete cure. Thicker applications need more drying time, so plan accordingly.
Can I make Textured Paint for Outdoor Projects?
Absolutely! Just start with exterior-grade paint as your base and seal your finished project with outdoor-rated clear coat for durability against weather.