
Is your slime hard, crumbly, or just not sticky anymore? I’ll show you exactly how to fix it today! As a slime enthusiast who’s rescued hundreds of batches, I know the frustration of dried-out slime.
In this guide, you’ll find:
- Why your slime lost its stickiness
- Step-by-step fixes for every slime type (white glue, clear, butter, and fluffy)
- Homemade solutions using items you already have
- Maintenance tips to keep future batches sticky longer

You won’t need to buy new ingredients or start from scratch. My simple methods have worked for thousands of slime lovers, from beginners to expert crafters.
Whether your slime is a day old or forgotten for weeks, these fixes will bring back that satisfying stretch and stick you love. Let’s revive your slime!
Why Slime Loses Its Stickiness

Before we fix your slime, let’s understand why it dried out in the first place:
- Exposure to air is the main culprit. When slime sits out uncovered, moisture evaporates.
- Playing with your slime too much can dry it out faster.
- Storing it in a warm place speeds up moisture loss.
- Some activators (like borax) continue to work over time, making slime firmer.
Understanding these factors will help you keep your next batch sticky longer!
How to Make Slime Sticky: Step-by-Step Fixes
The fix your slime needs depends on what type you’re working with. I’ve broken it down by slime variety for easy solutions.
a. Fixing Classic White Glue Slime
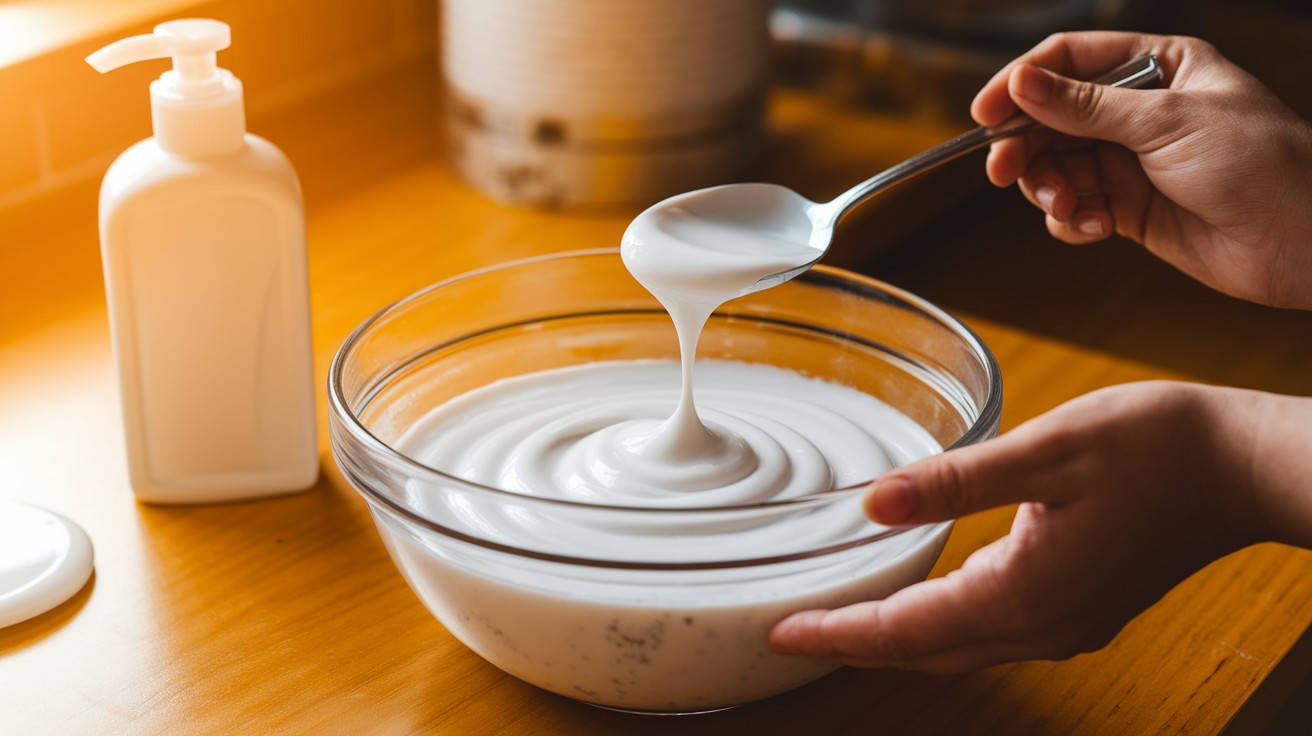
White glue slime is the most common type, and luckily, it’s the easiest to fix!
Add lotion or water:
- Place your stiff slime in a bowl.
- Add 1/2 teaspoon of hand lotion or a few drops of warm water.
- Mix it in with your fingertips.
- Start small, you can always add more if needed.
Knead thoroughly: The key to success is working the moisture in completely. Stretch and fold your slime for at least 2-3 minutes until the new ingredient is fully blended.
If it’s still not sticky enough, add a tiny bit more lotion and knead again. Your patience will pay off!
b. Fixing Clear Slime
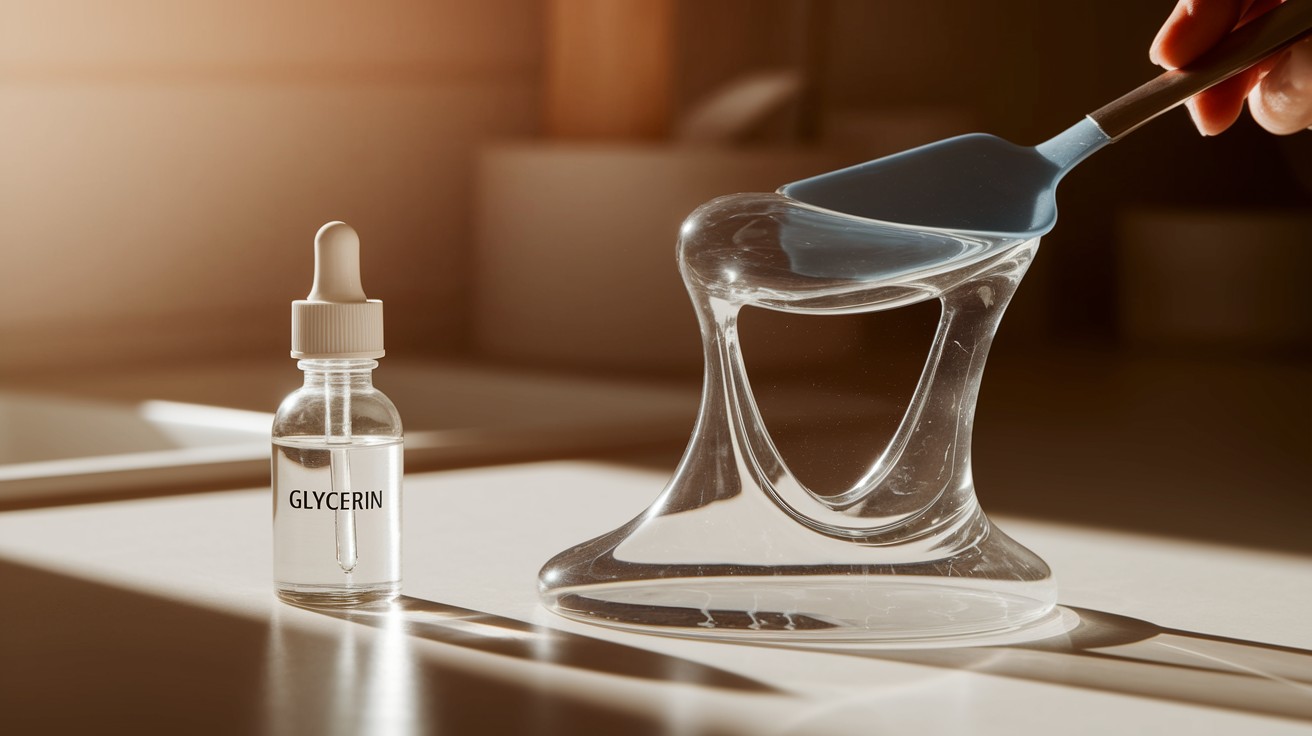
Clear slime needs special care to maintain its transparency while regaining stickiness.
Use glycerin or contact lens solution:
- Put your clear slime in a clean container.
- Add 2-3 drops of glycerin or saline solution.
- Gently fold it in, aggressive kneading can create air bubbles.
- Let it rest for 5 minutes before playing.
Clear slime is more delicate, so go slowly with additions. Too much liquid will make it runny instead of sticky.
c. Fixing Butter Slime
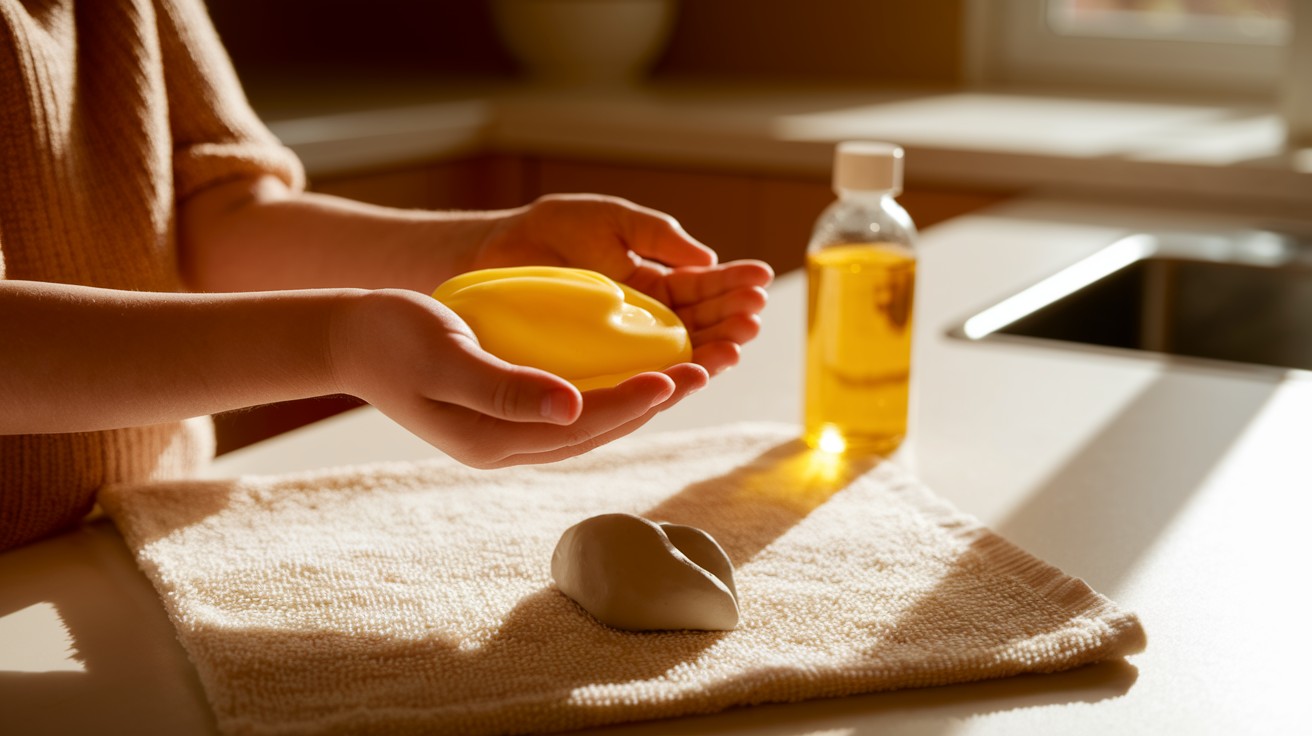
Butter slime has that smooth, spreadable texture we love. Here’s how to bring back its softness:
Mix in baby oil or soft clay:
- Warm the slime between your hands for 30 seconds.
- Add 1/4 teaspoon of baby oil OR a small piece of soft clay.
- Fold gently until absorbed.
- Press with your palm to check the consistency.
Butter slime should feel soft but hold its shape. The oil restores slip while the clay adds structure.
d. Fixing Fluffy Slime
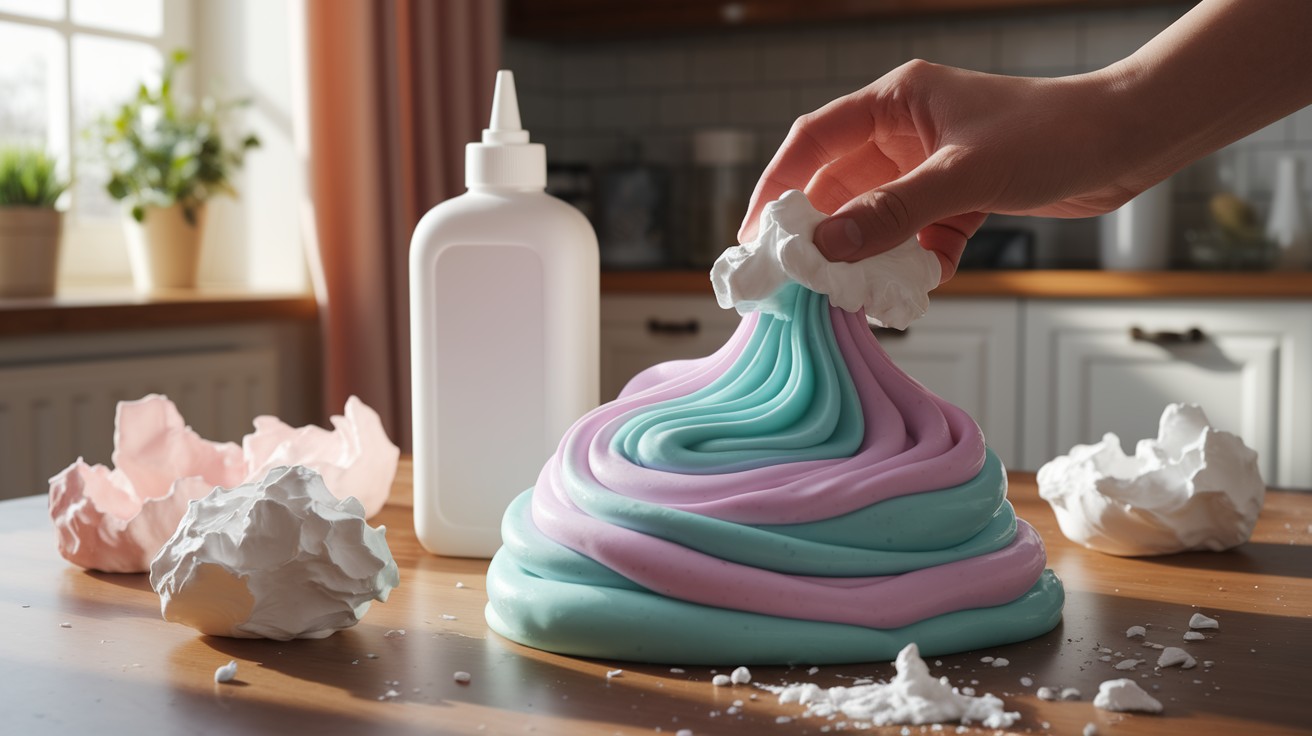
Fluffy slime is all about that cloud-like texture! When it deflates or stiffens:
Reintroduce shaving cream or glue:
- Break your slime into small pieces.
- Add 1 tablespoon of fresh shaving cream or 1 teaspoon of white glue.
- Fold it in gently – don’t squish the air bubbles!
- Let it rest for 10 minutes after mixing.
Fluffy slime needs air to maintain its texture. Your gentle touch will help preserve those tiny bubbles that make it so satisfying to squish.
Homemade Solutions to Revive Slime
Don’t have store-bought ingredients? No problem! Try these kitchen fixes:
- Warm water bath: Place sealed slime in a ziplock bag, then set in warm (not hot) water for 5 minutes.
- Microwave method: Heat for 5-10 seconds ONLY, then knead when cool enough to touch.
- Food-grade oils: A drop of vegetable or coconut oil works in a pinch.
I’ve found that the warm water bath is gentlest on your slime and gives consistent results.
What NOT to Do When Trying to Make Slime Sticky
I’ve made these mistakes so you don’t have to:
- Never add too much liquid at once. It’s easier to add more than to fix a runny mess.
- Don’t microwave slime for more than 10 seconds. It can actually cook the polymers!
- Avoid adding random household products like dish soap or vinegar, they can break down your slime completely.
- Don’t use hot water. It might seem like it would help, but it can actually ruin your slime’s chemical bonds.
When in doubt, test your fix on a small piece first before treating the whole batch.
Slime Maintenance Tips to Keep It Sticky Longer
Prevention is better than cure! Here’s how to keep your slime sticky from the start:
- Store in airtight containers, mason jars or well-sealed plastic containers work best.
- Keep away from heat and direct sunlight.
- Wash your hands before playing to prevent oils and dirt from affecting the slime.
- Add a drop of glycerin to new batches as a preventative measure.
- Don’t leave slime out when you’re not playing with it.
These simple habits will extend your slime’s lifespan by weeks or even months!
Final Thoughts
Don’t throw away that dried-out slime! With the right technique, you can bring any slime back to its sticky, stretchy glory. The key is starting small with your fixes. Add tiny amounts of your chosen ingredient, then knead thoroughly before adding more. This patience pays off with perfectly revived slime.
Remember that each slime type has different needs. White glue slime loves lotion, clear slime needs glycerin, butter slime wants oils, and fluffy slime craves shaving cream. I’ve saved countless batches using these methods, and you can too. Just store your newly-sticky creation properly this time!
Slime should be fun, not frustrating. With these tips, you’ll never have to start from scratch again when your slime loses its stretch and stick.
Frequently Asked Questions
How do I know if my slime needs more stickiness or more activator?
If your slime breaks when pulled, it needs more stickiness. If it sticks to everything and won’t hold shape, it needs more activators.
Can I use baby oil to make all types of slime sticky again?
Baby oil works best for butter slime and can make other slimes too runny. For clear and white glue slimes, stick to water-based solutions like glycerin or lotion.
Why does my slime get hard overnight even in an airtight container?
Your activator might be too strong and continue to work. Try adding a drop of glycerin to your container before sealing to prevent overnight hardening.
Is it possible to fix slime that’s been dry for months?
Yes! Break it into small pieces, soak in warm water for 10 minutes, drain excess water, then add lotion and knead. Even months-old slime can come back to life.
Can I use the same methods to make store-bought slime sticky?
Absolutely! Store-bought slimes respond well to these fixes, but start with half the recommended amount as commercial slimes often have different chemical balances.