
Limewash is a traditional wall coating made from limestone that has been burned and mixed with water to create a natural, breathable finish.
This ancient technique has been used for centuries to protect and beautify walls in homes around the world.
Choosing limewash over regular paint offers several distinct advantages.
Unlike synthetic paints, limewash allows walls to breathe naturally, preventing moisture buildup and mold growth.
The material also improves with age, developing a beautiful patina over time that adds character to any space.
The benefits of limewashing extend beyond aesthetics.
This eco-friendly option contains no harmful chemicals, making it safe for families and the environment.
Limewash also provides natural antimicrobial properties, helps regulate humidity, and creates a unique textured appearance that changes subtly with different lighting conditions throughout the day.
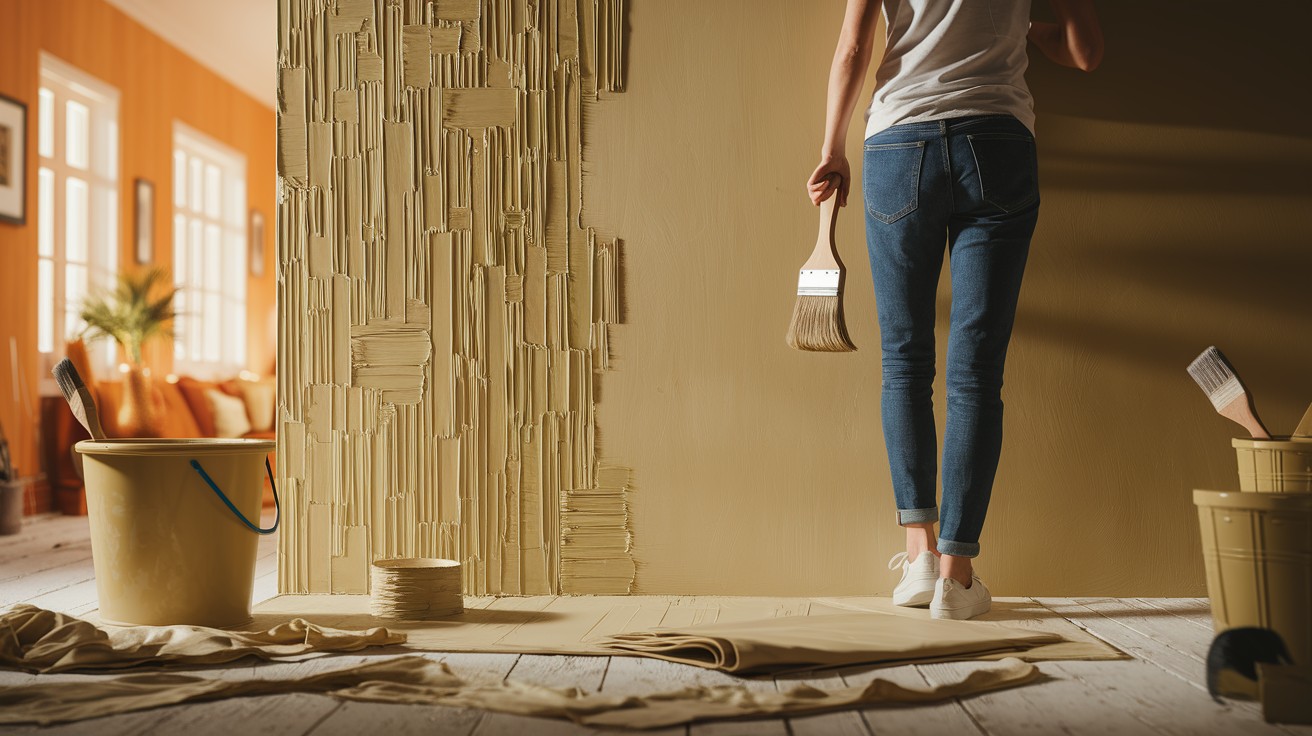
Materials and Tools You’ll Need
Before starting your limewashing project, gather all necessary supplies to ensure smooth application and professional results.
You’ll need painter’s tape to protect trim and edges, along with drop cloths or plastic sheeting to cover floors and furniture.
A water-based acrylic primer is essential for proper adhesion, applied with a quality nylon brush designed for primer application.
For the limewash application itself, have a paint roller and tray ready for primer work, plus your chosen limewash or lime paint product.
The most important tool is a large masonry brush, which creates the characteristic texture that makes limewash so appealing.
This specialized brush helps achieve the authentic look that regular paint brushes cannot replicate.
Consider getting a drill with whisk attachment for mixing, especially if working with powdered limewash that requires thorough blending with water.
Having all materials organized and within reach before beginning will make the entire process more efficient and help you achieve the best possible finish on your walls.
Step-by-Step Guide to Make Limewash Walls
Follow these detailed instructions to transform your walls with a beautiful, natural limewash finish that adds texture and character to any room.
Preparing Your Walls for Limewashing
Step 1: Room Preparation
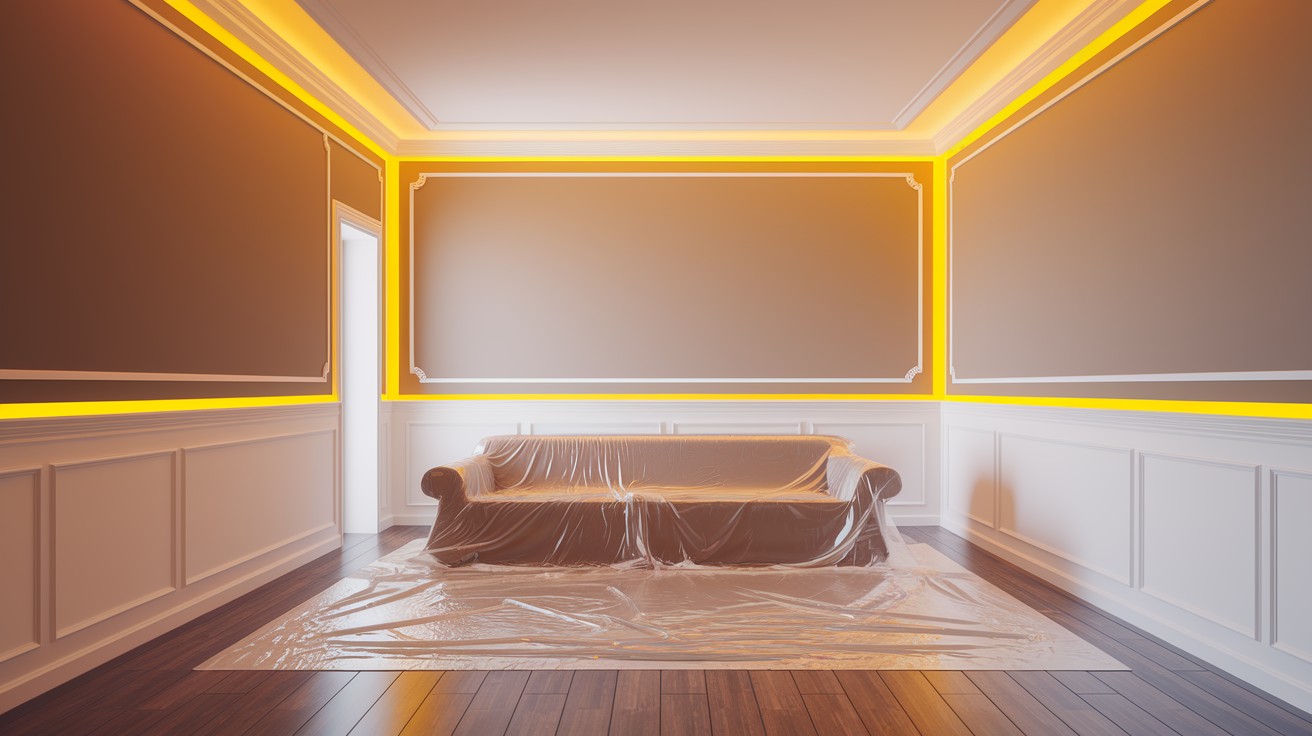
Start by applying painter’s tape along baseboards, trim, and ceiling edges to create clean lines.
Cover floors and furniture with drop cloths or plastic sheeting to protect from splashes and drips.
Clean your walls thoroughly with a damp cloth to remove dust, dirt, and any loose debris.
Inspect the surface for holes, cracks, or imperfections that need filling before you begin the limewashing process.
Step 2: Priming the Walls
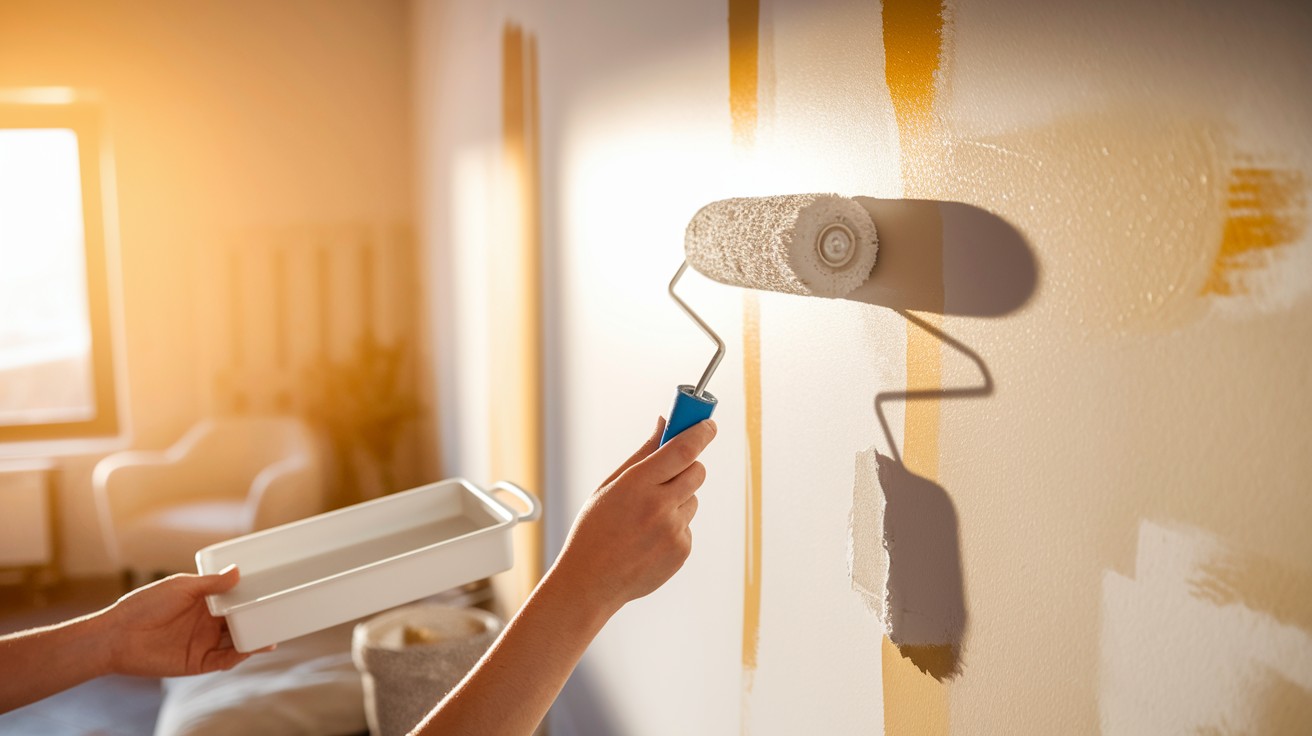
Select a high-quality water-based acrylic primer that bonds well with your wall surface.
Apply primer using a nylon brush or roller, working in manageable sections to maintain a wet edge.
Choose a primer color that contrasts with your final limewash shade – this contrast helps you see coverage clearly and creates depth in the finished appearance.
Allow the primer to dry completely according to manufacturer instructions before proceeding.
Applying Limewash to Your Walls
Step 3: Mixing Limewash Paint
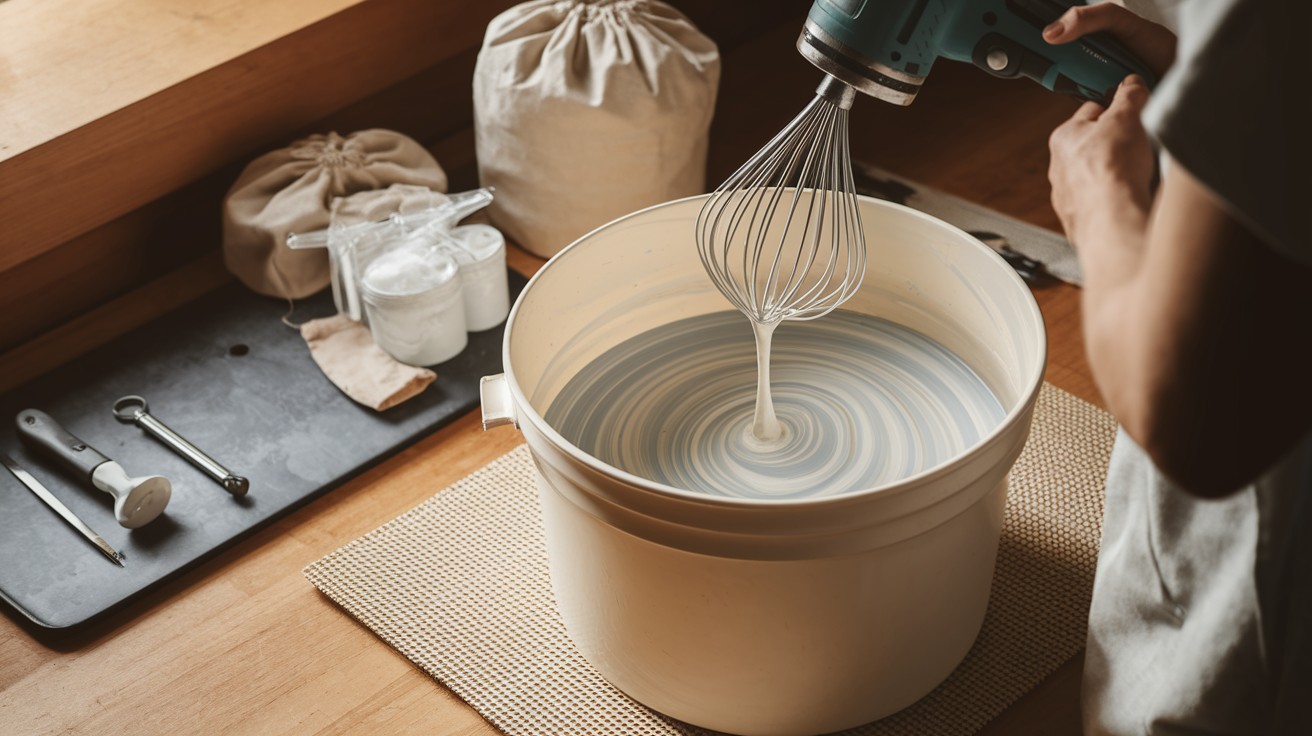
Thorough mixing is critical for consistent color and texture throughout your project.
Limewash separates naturally, so stir frequently during application.
Use a drill with whisk attachment for powdered products, or stir liquid limewash vigorously by hand.
Mix only what you can use within a reasonable timeframe, as limewash has a limited working period once prepared.
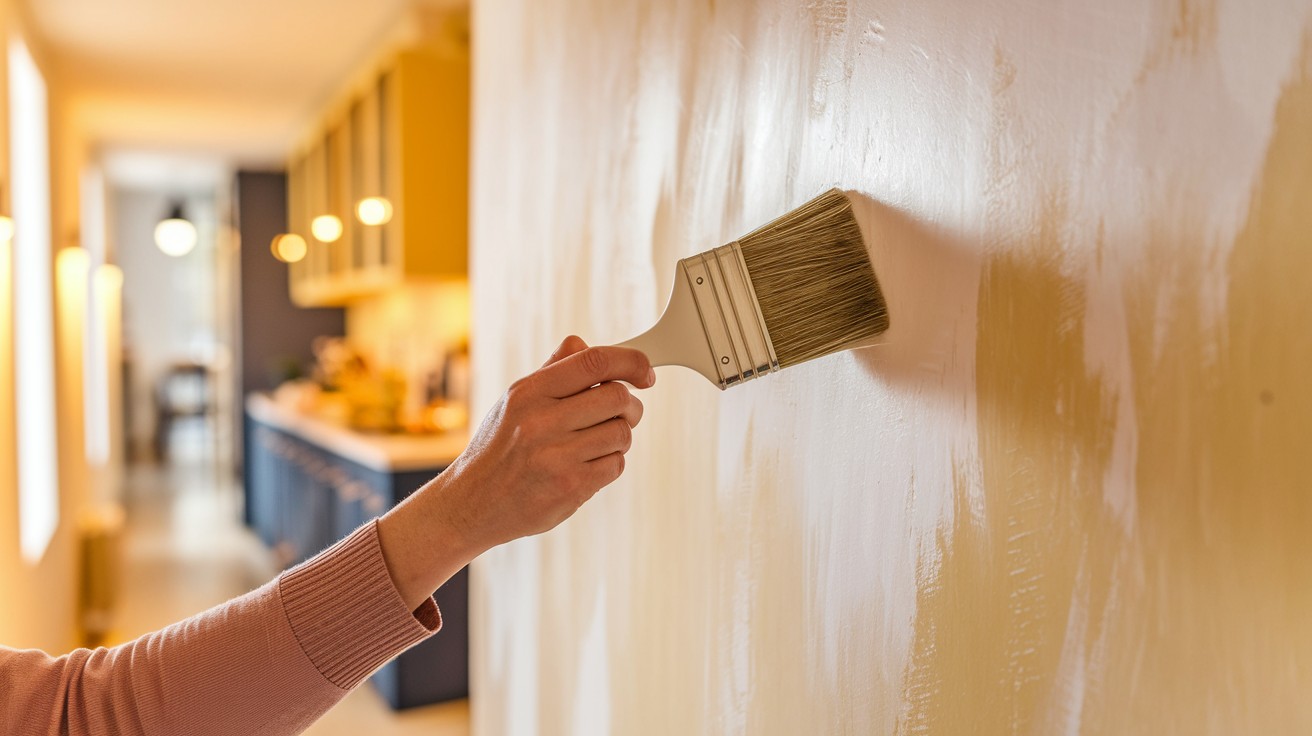
Step 4: Applying the First Coat
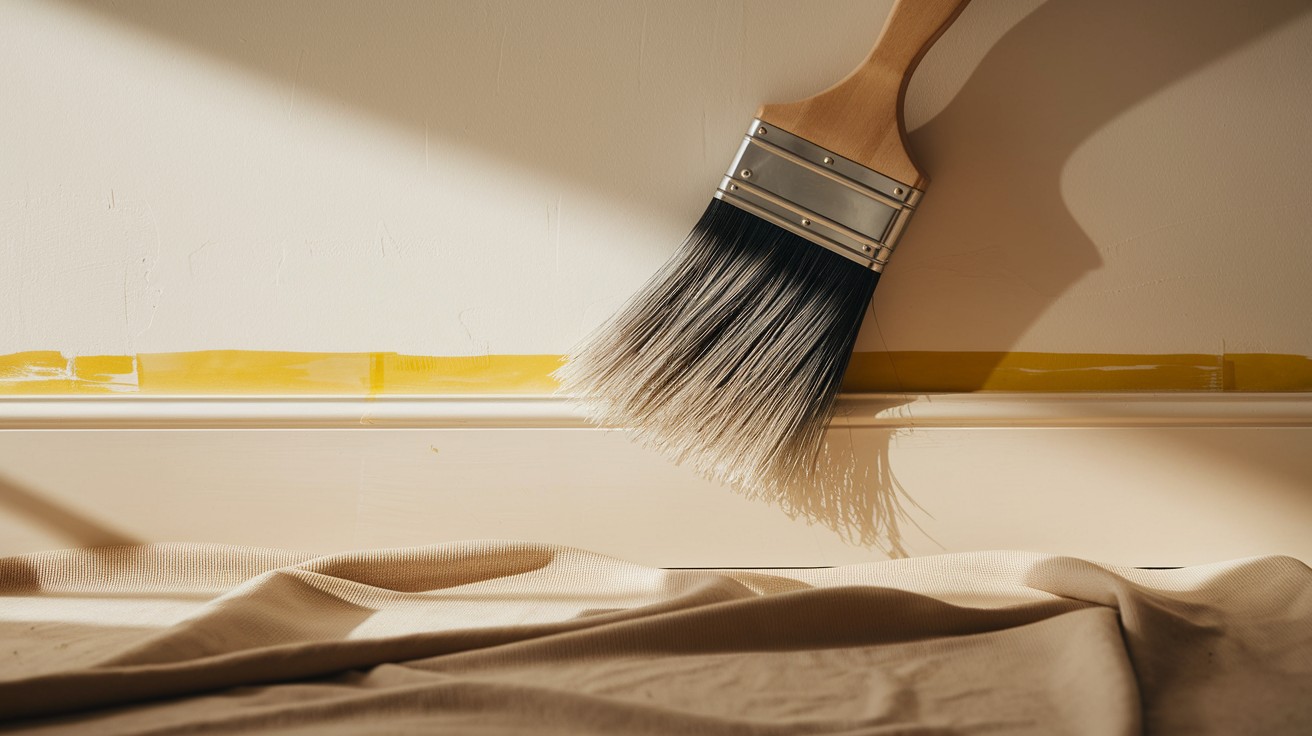
Load your masonry brush with a moderate amount of limewash – too much creates drips while too little leaves streaks.
Use a cross-hatch technique, applying strokes in different directions to create texture and avoid visible brush marks.
Work in small sections and blend edges while wet to prevent dark seams.
Keep this first coat thin and even, building up coverage gradually rather than trying to achieve full opacity immediately.
Step 5: Applying the Second Coat

Wait for the first coat to dry completely before applying the second layer, typically 12-24 hours depending on humidity and temperature.
The second coat builds color depth and texture while covering any thin spots from the initial application.
Most projects require two coats for optimal coverage, though some areas may benefit from a third thin coat for consistency.
Finishing Touches and Maintenance
Step 6: Optional Sealing
Consider sealing limewashed walls in high-traffic areas like hallways, kitchens, or bathrooms where moisture and wear occur frequently.
Use a breathable sealer specifically designed for lime-based finishes to maintain the material’s natural properties.
Apply sealer only after the limewash has fully cured, usually after several days.
Step 7: Touching Up and Repairing
Fix small mistakes by lightly dampening the area and gently brushing with matching limewash while the surface is still workable.
For older repairs, mix a small batch of matching limewash and apply using the same cross-hatch technique.
Regular maintenance involves gentle dusting with a soft brush to preserve the natural matte finish that makes limewash so appealing.
Common Mistakes to Avoid
One of the most frequent errors when applying limewash is using too thick a coat. Heavy application leads to uneven drying,
cracking, and an artificial appearance that defeats the purpose of this natural finish. Apply thin, even layers instead, building up coverage gradually through multiple coats.
This approach creates the authentic, weathered look that makes limewash so appealing while ensuring proper adhesion and durability.
Maintaining wet edges throughout the application process is crucial for achieving seamless results.
Work in manageable sections and always blend into areas that are still damp to avoid visible lap marks.
Plan your work pattern before starting, ensuring you can complete each section without interruption.
If you must take breaks, stop at natural breaking points like corners or architectural features.
Another critical mistake is failing to return to areas that have started drying for proper blending.
Limewash remains workable for a short time after application, allowing you to smooth out brush marks and create uniform texture.
Keep watching your work and go back over sections while they’re still slightly damp to blend any harsh lines or uneven spots.
This technique creates the smooth, organic appearance that characterizes professional limewash applications.
Conclusion
Limewash creates a distinctive texture that brings warmth and character to any space, making each wall truly one-of-a-kind.
The natural variations and subtle color shifts that develop over time are part of this finish’s authentic charm, so accept these qualities as features rather than flaws.
For the best results, take your time during each step and don’t rush the process.
Proper preparation, thin coats, and patience between applications will reward you with beautiful, long-lasting walls.
Remember to keep your brush loaded appropriately and maintain those wet edges for seamless blending.
Once you’ve mastered the basic technique on interior walls, consider experimenting with limewash on other surfaces like exterior walls, brick, or stone.
This versatile finish works wonderfully in various applications, opening up exciting possibilities for future home improvement projects.
Frequently Asked Questions
Can I apply limewash over existing paint?
Yes, you can apply limewash over most painted surfaces, but proper preparation is essential for good adhesion. Clean the walls thoroughly and apply a high-quality primer before starting the limewash application process.
How long does limewash take to dry completely?
Limewash typically dries to the touch within 2-4 hours, but full curing takes 24-48 hours depending on humidity and temperature. Wait at least 12 hours between coats to ensure proper adhesion and avoid disturbing the previous layer.
Is limewash suitable for high-moisture areas like bathrooms?
Limewash works well in bathrooms because it’s naturally breathable and resistant to mold and mildew growth. However, consider applying a breathable sealer in areas with direct water contact like shower surrounds for added protection.
How do I clean walls that have been treated with limewash?
Clean limewashed walls gently using a soft brush or cloth to remove dust and debris without damaging the finish. Avoid harsh chemicals or scrubbing, as these can remove the limewash coating and create uneven patches.
What’s the difference between limewash and regular lime paint?
Traditional limewash is made from pure lime putty and water, while lime paint often contains additional binders and additives. Both create similar appearances, but pure limewash offers superior breathability and develops a more authentic patina over time.