
Roof leaks where walls meet your roof cause expensive water damage. You need proper flashing to stop these leaks. I’ll teach you how to install roof flashing against a wall step by step. This guide solves your flashing problems with clear instructions that work.
You’ll learn what tools you need, safety tips that keep you safe, and the exact installation process. I’ll show you common mistakes that cause leaks and how to avoid them. I’ve helped hundreds of homeowners fix their flashing issues over the years. The methods in this guide work because I use them myself.
This article covers everything from measuring and cutting flashing to sealing edges and maintaining your work. By the end, you’ll know exactly how to install roof flashing that lasts for years.
Ready to protect your home from water damage?
What Is Roof Flashing Against a Wall?
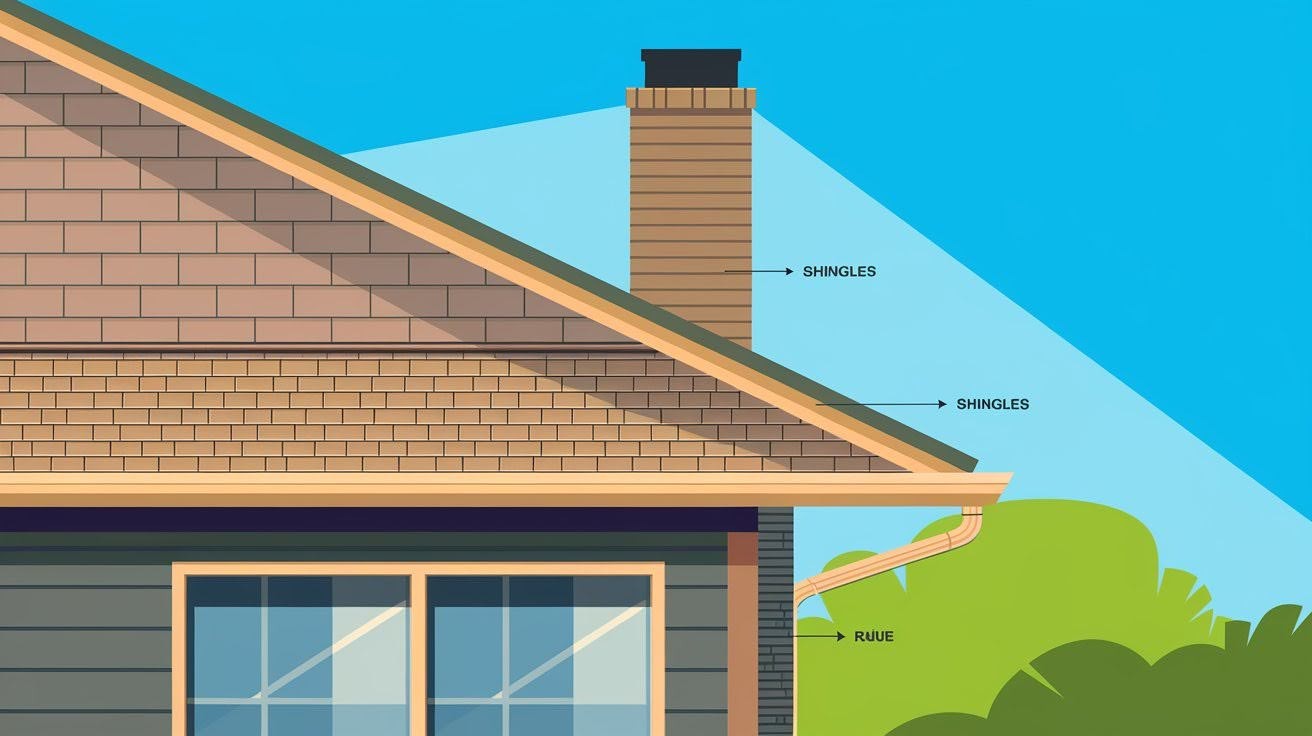
Roof flashing is a thin piece of metal that stops water from getting into your home. It goes where your roof connects to a wall. Think of it as a waterproof barrier. Flashing redirects rainwater away from the joint between your roof and wall. Without it, water seeps through cracks and causes serious damage.
Most flashing is made from:
- Aluminum
- Galvanized steel
- Copper
- Lead-coated copper
Step flashing is the most common type for wall installations. It consists of L-shaped pieces that layer with your shingles.
Tools & Materials Needed
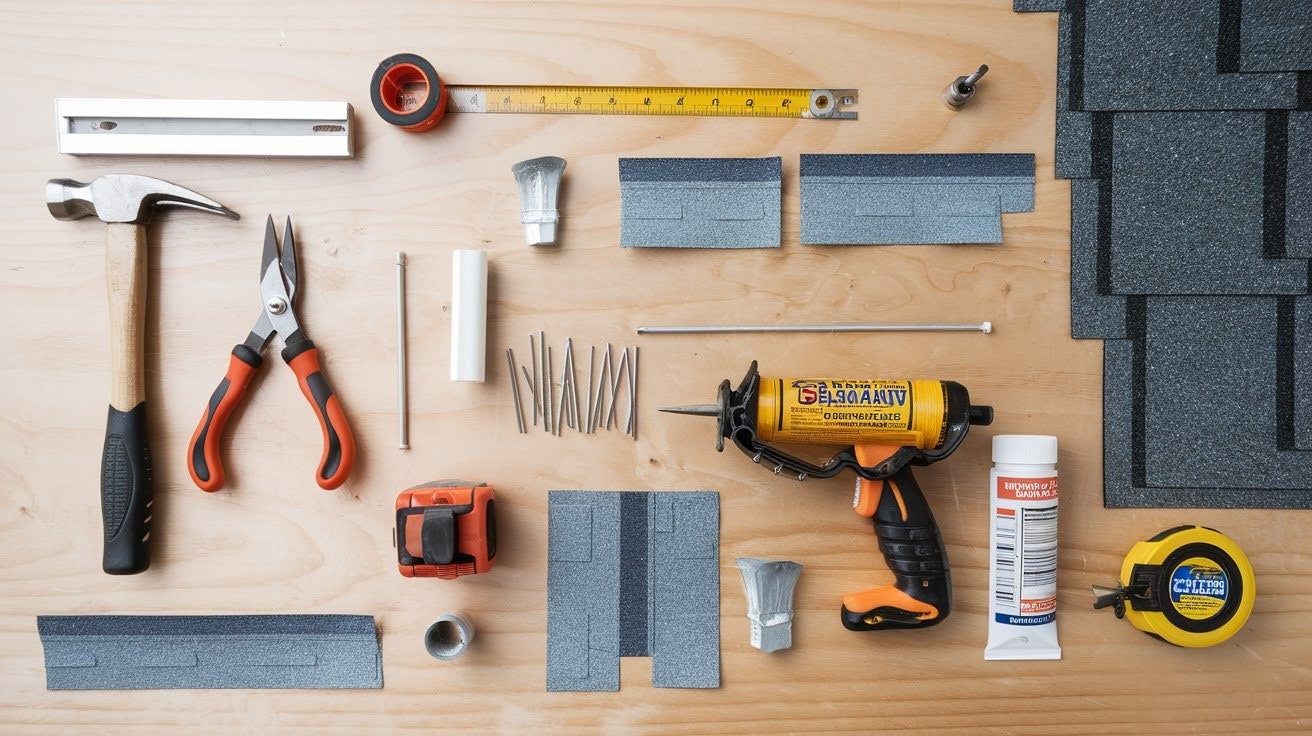
You’ll need the right tools before you start. Here’s what to gather:
Tools:
- Hammer
- Tin snips or metal shears
- Measuring tape
- Chalk line
- Utility knife
- Pry bar
- Caulk gun
Materials:
- Step flashing pieces (aluminum or galvanized steel)
- Roofing nails (1¼ inch)
- Roofing cement or polyurethane sealant
- Shingles (if replacing)
- Underlayment (if needed)
Most home improvement stores carry these items. Buy extra flashing pieces in case you make mistakes.
Safety First: What to Know Before You Start
Roof work is dangerous.
Falls cause serious injuries and deaths every year. Follow these safety rules:
- Never work alone
- Use a sturdy ladder with someone holding it
- Wear non-slip shoes with good grip
- Don’t work in wet or windy conditions
- Consider safety harnesses for steep roofs
Check your local building codes too. Some areas require permits for roofing work. If you’re not comfortable working on your roof, hire a professional. Your safety is worth more than saving money.
Step-by-Step Guide: How to Install Roof Flashing Against a Wall
Ready to get started? Follow these steps carefully.
Step 1: Inspect the Wall and Roof Surface
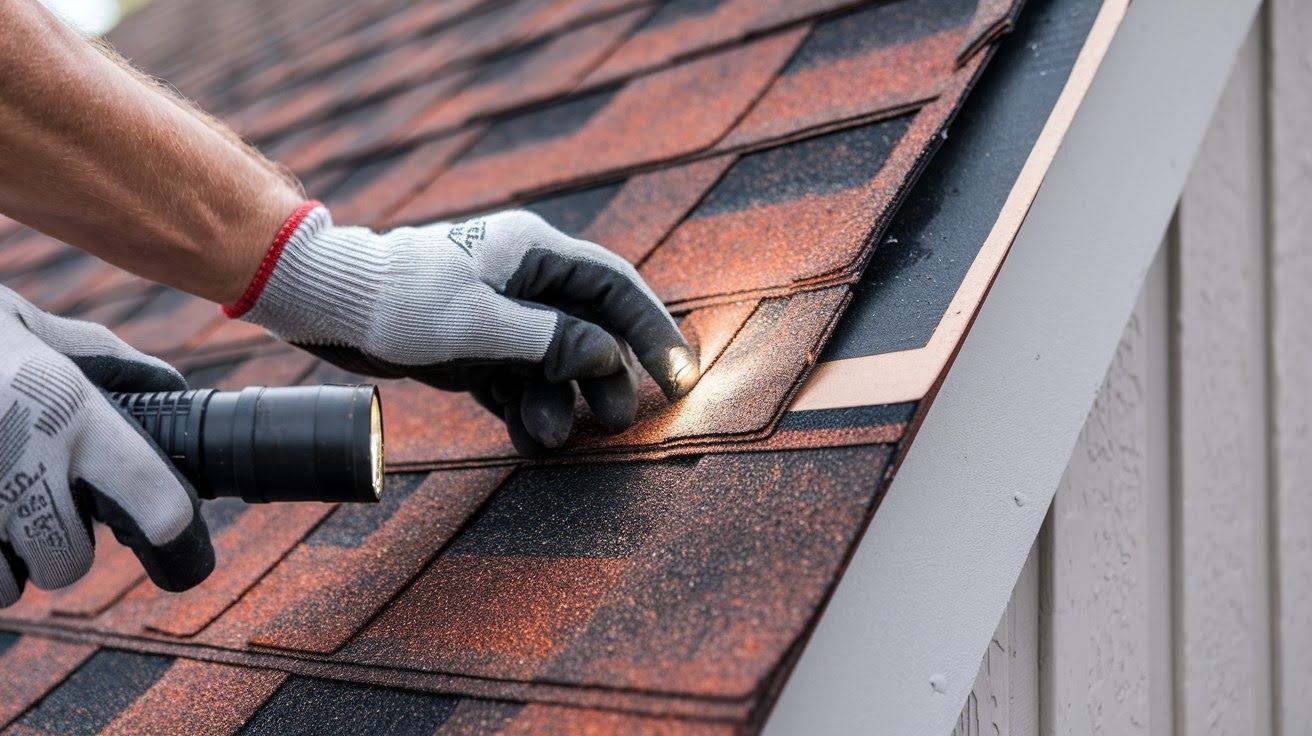
Start by checking the area where you’ll install flashing. Look for damaged or missing shingles, cracks in the wall, old caulk that’s peeling, and signs of water damage. Clean the surface with a stiff brush. Remove any debris, leaves, or loose material.
The wall should be straight and solid. If you find soft spots or damage, fix these problems first. Take photos before you start. This helps you remember how everything looked originally.
Step 2: Remove Old Flashing or Shingles (if replacing)
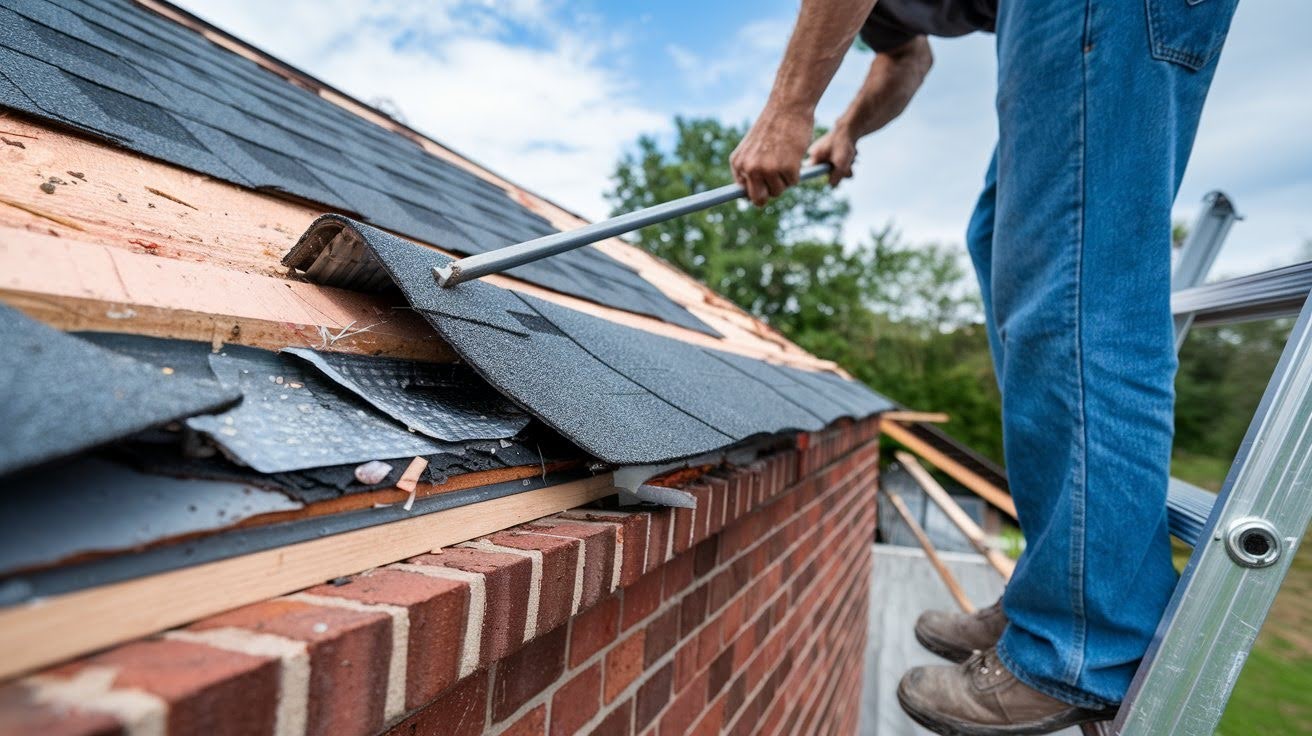
Carefully remove the old flashing if you’re replacing it. Use your pry bar to lift the flashing gently. Don’t damage the surrounding shingles. You might need to remove some shingles to access the flashing completely. Mark each shingle so you know where it goes back.
Save any shingles in good condition. You can reuse them later. Scrape off old roofing cement with a putty knife. The surface needs to be clean for the new flashing to stick properly.
Step 3: Measure and Cut the Flashing to Size
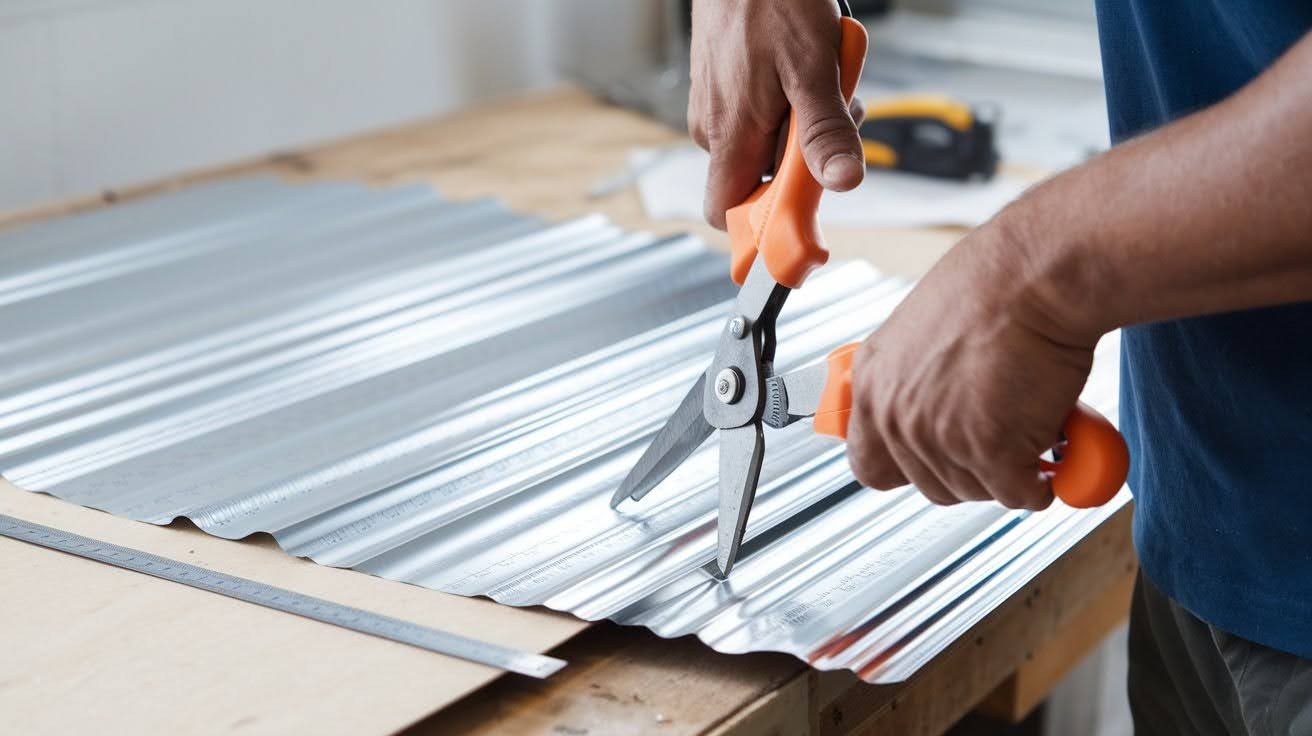
Measure the length of wall where you need flashing. Each piece of step flashing should be about 10 inches long. The width depends on your roof pitch, but 7-8 inches works for most roofs.
Here’s how to cut flashing:
- Mark your measurements with a pencil
- Use tin snips to cut along the lines
- Make clean, straight cuts
- File any sharp edges smooth
Cut a few extra pieces. It’s better to have too many than too few.
Step 4: Install Step Flashing (shingle-flashing-shingle pattern)
This is the most important step. Step flashing works in a specific pattern: shingle, then flashing, then shingle. This creates overlapping layers that shed water.
Start at the bottom of the wall:
- Install the first shingle normally
- Place the first piece of flashing over the shingle
- Install the next shingle over the flashing
- Add the next piece of flashing
- Repeat this pattern up the wall
Each piece of flashing should overlap the one below by at least 3 inches.
The flashing extends up the wall about 4-5 inches and down the roof about 4-5 inches.
Step 5: Secure Flashing with Roofing Nails

Use roofing nails to secure each piece of flashing.
Important: Only nail through the top edge that goes up the wall. Never nail through the part that lies on the roof.
Place nails about 1 inch from the top edge of the flashing. Use two nails per piece, spaced about 6 inches apart. Drive nails flush with the flashing. Don’t overdrive them or they’ll create holes.
The next shingle and flashing piece will cover these nails.
Step 6: Seal All Edges with Roofing Cement or Sealant
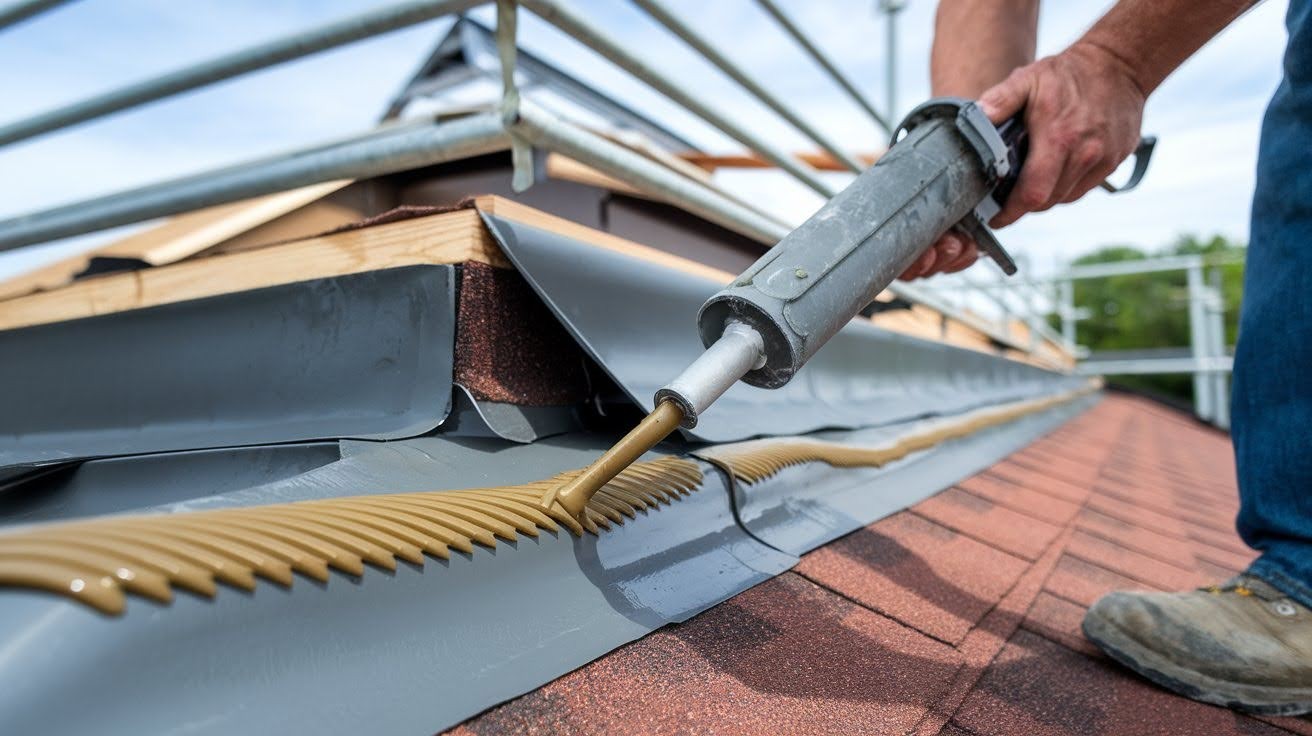
Apply a thin bead of roofing cement along the top edge of each flashing piece. This creates an extra water barrier where the flashing meets the wall. Don’t use too much sealant. A thin, even line works best. Too much sealant can actually trap water.
Use your finger or a putty knife to smooth the sealant. Make sure it bonds well to both the flashing and the wall. Let the sealant cure according to the manufacturer’s instructions.
Step 7: Reinstall or Layer Over with Shingles
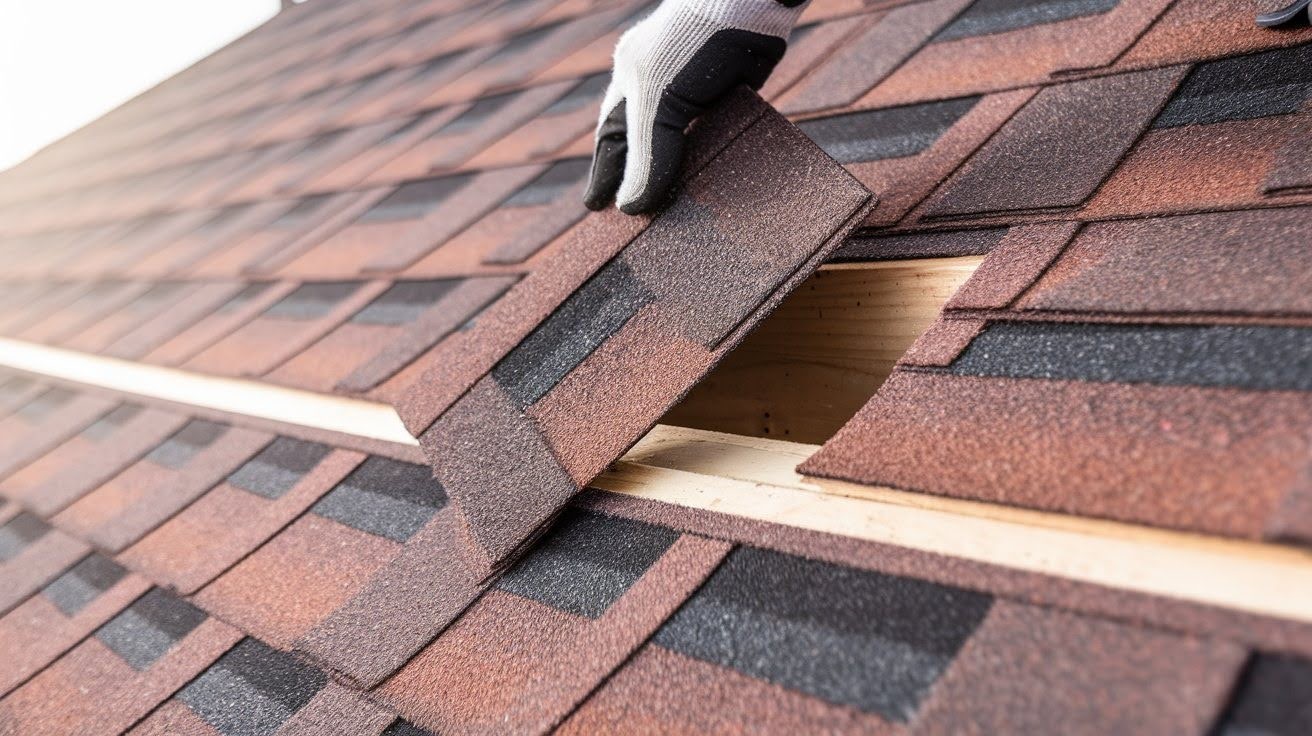
Now install the final layer of shingles over your flashing. These shingles complete the water-shedding system. They should cover the nail heads in your flashing.
Check the overlap on each shingle. They should extend at least 2 inches past the flashing edge. Install shingles according to the manufacturer’s directions. Use the proper number of nails for your area’s wind rating.
Take a step back and look at your work. The flashing should be mostly hidden under the shingles.
Common Mistakes to Avoid
I’ve seen these mistakes cause expensive water damage:
- Using the wrong nails. Always use galvanized roofing nails. Regular nails will rust and fail.
- Nailing through the wrong part. Never nail through the part of flashing that lies flat on the roof. This creates leak points.
- Skipping the overlap. Each piece must overlap the one below. No gaps allowed.
- Installing flashing backward. The upper piece always goes over the lower piece.
- Using too much sealant. This can trap water instead of shedding it.
- Working in bad weather. Wet or windy conditions make the job dangerous and less effective.
When to Call a Professional
Some situations require professional help:
- Steep roofs (over 6/12 pitch)
- Multi-story homes
- Complex roof designs with valleys or dormers
- Structural damage to the roof or wall
- You’re not comfortable working at heights
Professional roofers have the right tools, experience, and insurance. They can spot problems you might miss. Get quotes from at least three contractors. Check their licenses and references before hiring.
Maintenance Tips for Roof Flashing
Proper maintenance keeps your flashing working for years:
- Inspect twice a year. Check your flashing in spring and fall. Look for loose pieces, rust, or damage.
- Clean debris regularly. Remove leaves and branches that pile up against the flashing.
- Check the sealant. Reapply roofing cement if you see cracks or gaps.
- Watch for leaks inside. Stains on interior walls often mean flashing problems.
- Fix issues quickly. Small problems become expensive repairs if ignored.
- Most flashing lasts 15-20 years with proper maintenance. Replace it before it fails completely.
Conclusion
You now know how to install roof flashing against a wall properly. This knowledge protects your home from expensive water damage.
Remember the key steps: inspect first, follow the shingle-flashing-shingle pattern, and seal everything well. Take your time with each step. Rushing leads to leaks later.
Safety comes first always. If the job feels too dangerous or complex, hire a professional roofer. Your safety is worth more than saving money. Check your flashing twice a year and fix small problems quickly. Good maintenance makes your flashing last 15-20 years. Water damage costs thousands to repair. Proper flashing installation costs much less and prevents these problems.
Start your flashing project when the weather is dry and calm. Your home needs protection from roof leaks. This guide gives you the tools to do it right.
Frequently Asked Questions
How long does roof flashing last?
Most roof flashing lasts 15-20 years with proper maintenance. Aluminum and galvanized steel flashing typically outlasts copper, which can last 30+ years but costs more upfront.
Can I install roof flashing in winter?
Avoid installing flashing in freezing temperatures or when snow is present. Cold weather makes materials brittle and sealants won’t cure properly, leading to poor installation.
What happens if I skip the overlap between flashing pieces?
Skipping overlap creates gaps where water can enter your home. Each piece must overlap the one below by at least 3 inches to create a proper water barrier.
How much does professional flashing installation cost?
Professional installation typically costs $15-25 per linear foot depending on your location and roof complexity. DIY installation saves money but requires proper tools and safety equipment.
Should I use caulk or roofing cement for sealing?
Roofing cement works better than regular caulk for flashing applications. It stays flexible in temperature changes and bonds better to metal and roofing materials.