
Cement board, also known as cement backer board, serves as an essential underlayment for tile installations in areas prone to moisture.
This fiber-cement material provides a stable, waterproof foundation that prevents tile cracking and ensures long-lasting results.
The primary benefits of cement backer board include exceptional durability that withstands heavy foot traffic, superior moisture resistance that protects against water damage, and excellent tile stability that prevents shifting over time.
These qualities make it the preferred choice for bathroom floors, kitchen backsplashes, and other wet areas.
The installation process involves measuring and cutting the boards, securing them to the subfloor with screws, sealing joints with mesh tape and mortar, and preparing the surface for tile application.
This straightforward approach ensures professional-quality results.
Tools and Materials Needed for Installing Cement Board
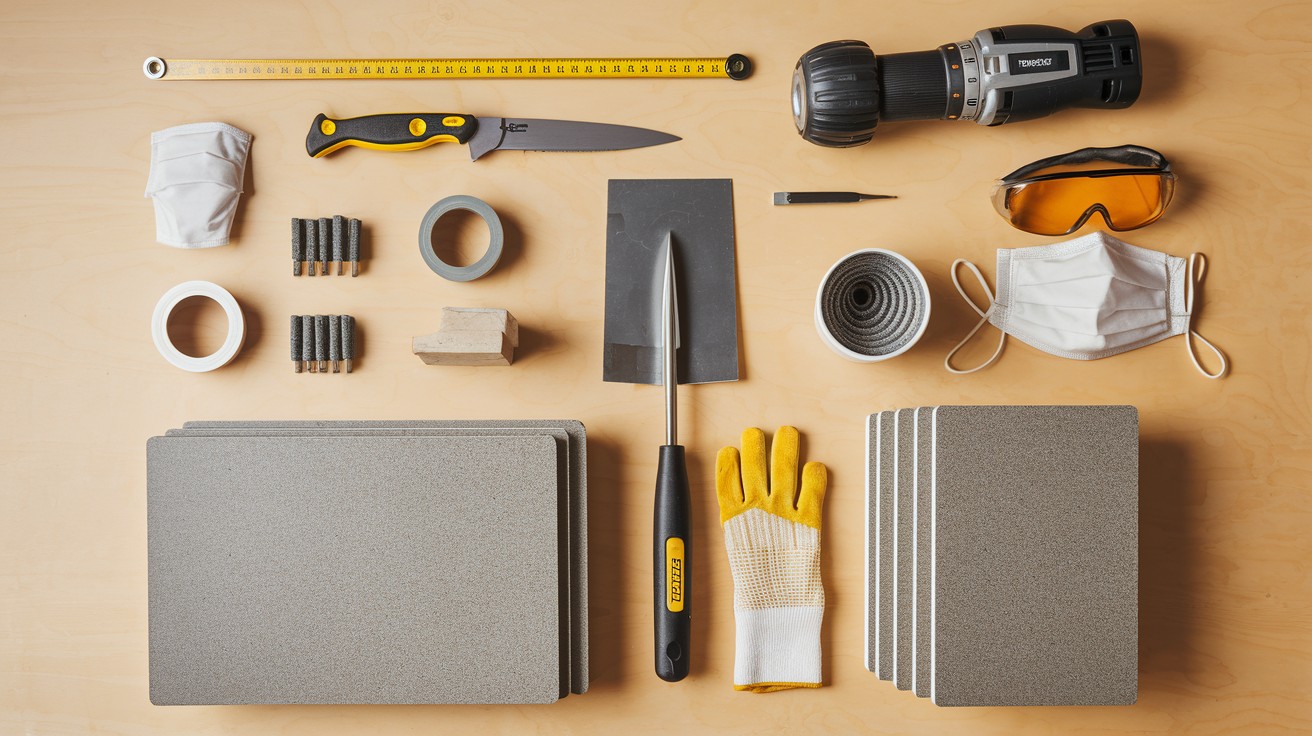
Before starting your cement board installation, gather all necessary tools and materials to ensure a smooth process. Having everything ready will save time and prevent interruptions during the project.
Essential Tools
The right tools make cement board installation more efficient and accurate.
You’ll need a measuring tape for precise measurements, a sharp utility knife for scoring cuts, and a power drill for securing the boards.
Additionally, gather cement board screws designed specifically for this application and a notched trowel for applying mortar evenly across surfaces.
Materials Required
- Cement backer board (Hardie Backer or similar products that meet industry standards)
- Modified thinset mortar for creating strong bonds between surfaces
- Fiberglass mesh tape for sealing joints and preventing cracks
- Tile screws that are epoxy-coated or corrosion-resistant for long-term durability
- Safety gear including dust mask, work gloves, and eye protection for complete protection during installation
Preparing the Subfloor for Cement Board Installation
Proper subfloor preparation forms the foundation of any successful cement board installation. Taking time to address potential issues at this stage prevents costly problems later and ensures your finished tile surface remains stable and crack-free.
Inspect and Clean the Subfloor
Start by thoroughly examining your existing subfloor for damage, loose fasteners, or structural concerns.
Remove all debris, old adhesive, and any protruding nails or screws that could create uneven spots.
Use a straightedge or level to check that the surface remains flat – any deviations exceeding 1/8 inch over a 10-foot span require correction with floor leveling compound.
Vacuum the entire area completely to eliminate dust and particles that might interfere with proper bonding.
Address Floor Stiffness
Test your subfloor’s structural integrity by walking across different areas and noting any flex, bounce, or movement.
Thin or flexible subflooring can compromise your entire installation, so consider adding an underlayer of 1/2-inch or 5/8-inch plywood if your existing surface feels inadequate.
This extra layer creates the rigid foundation necessary for cement board performance.
A rigid subfloor prevents tile cracking by eliminating movement that transfers through the cement board to your finished surface.
Any flexibility in the base structure will eventually cause grout lines to crack and tiles to loosen, requiring expensive repairs.
Investing in proper subfloor stiffness now saves significant time and money in future maintenance.
Step-by-Step Guide to Installing Cement Board
A complete guide showing how to properly install cement board step-by-step for successful tile flooring projects.
Step 1 – Apply Thinset to the Subfloor

Begin by mixing your modified thinset mortar according to manufacturer instructions until you achieve a smooth, lump-free consistency.
Using a large notched trowel, spread a thick, even layer of thinset across your prepared subfloor.
Work in manageable sections to prevent the mortar from drying before you place the cement board.
The thinset serves a crucial purpose by filling any small gaps and voids in the subfloor, creating a solid bond that eliminates air pockets that could weaken the installation.
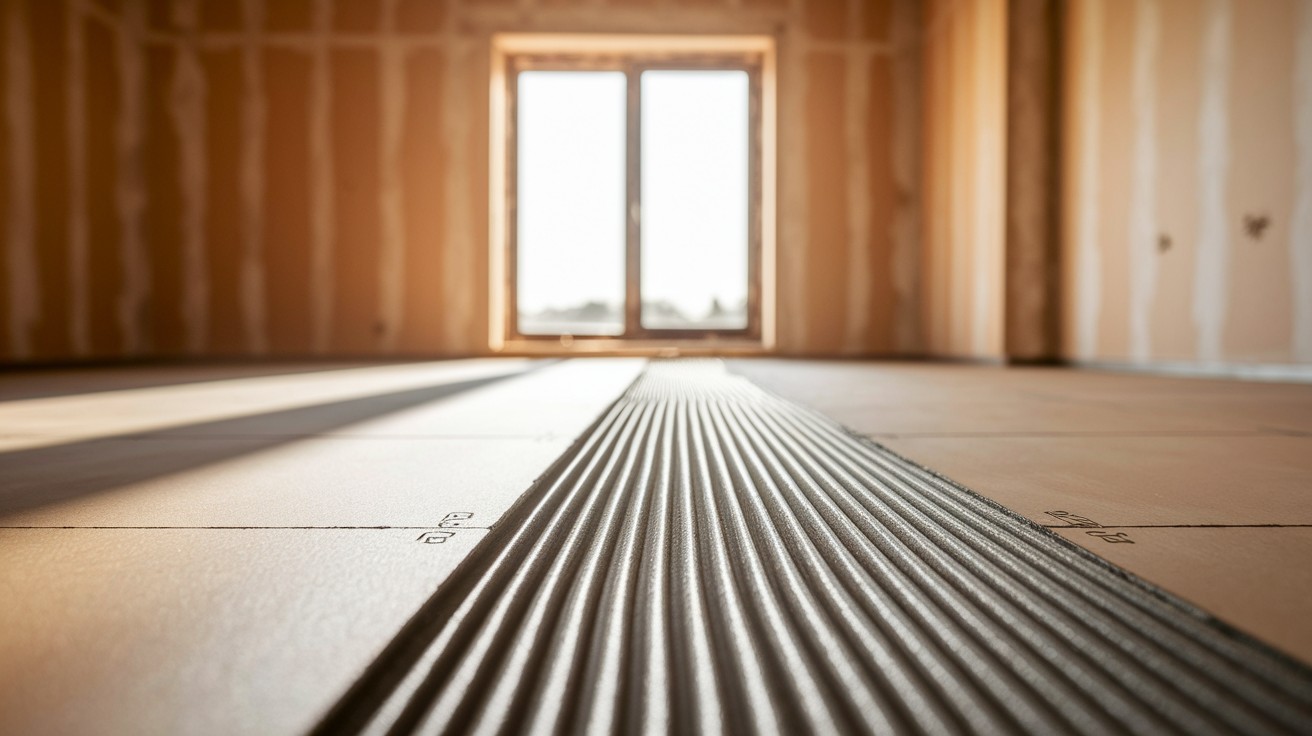
Step 2 – Lay Down the Cement Board
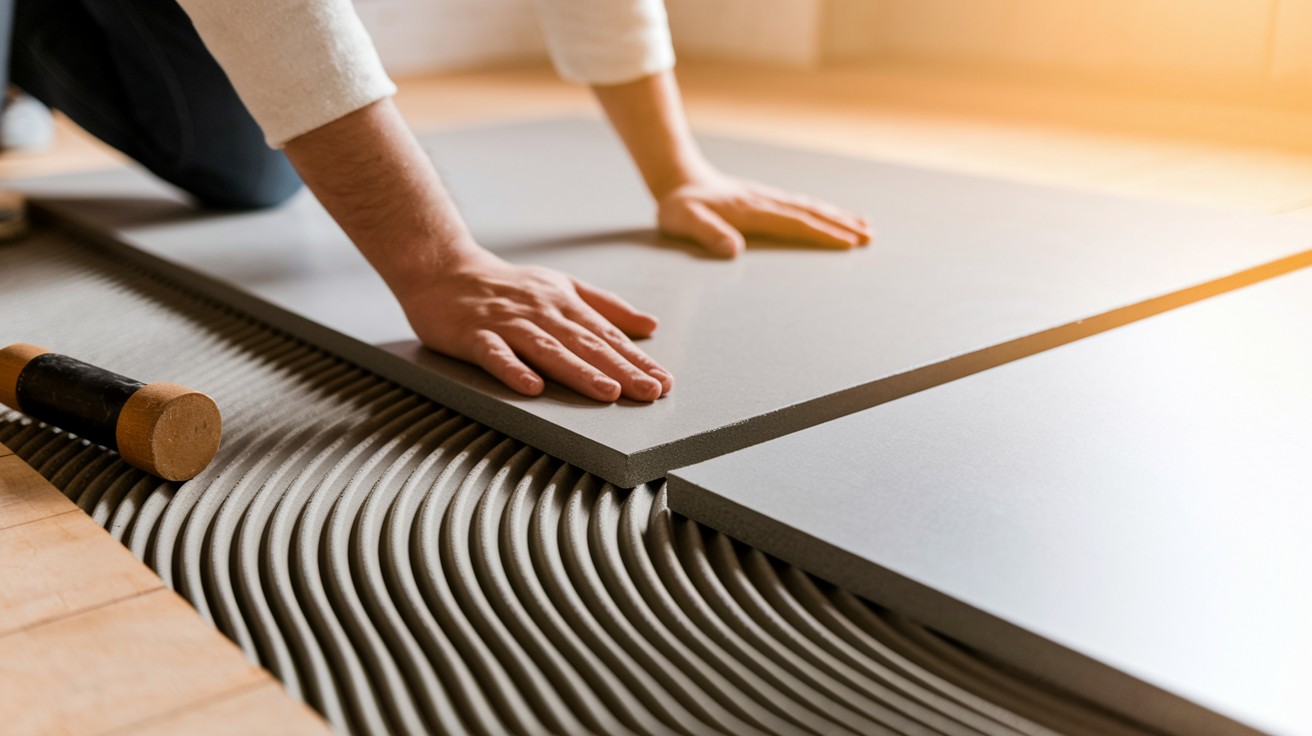
Carefully position each cement board panel onto the wet thinset, starting from your most visible corner and working systematically across the room.
Press the board firmly into the mortar using steady, even pressure to ensure complete contact without gaps or voids.
Walk across the board or use a rubber mallet to eliminate any high spots and achieve full adhesion.
Check that edges align properly with adjacent boards and maintain consistent spacing throughout the installation.
Step 3 – Secure the Cement Board
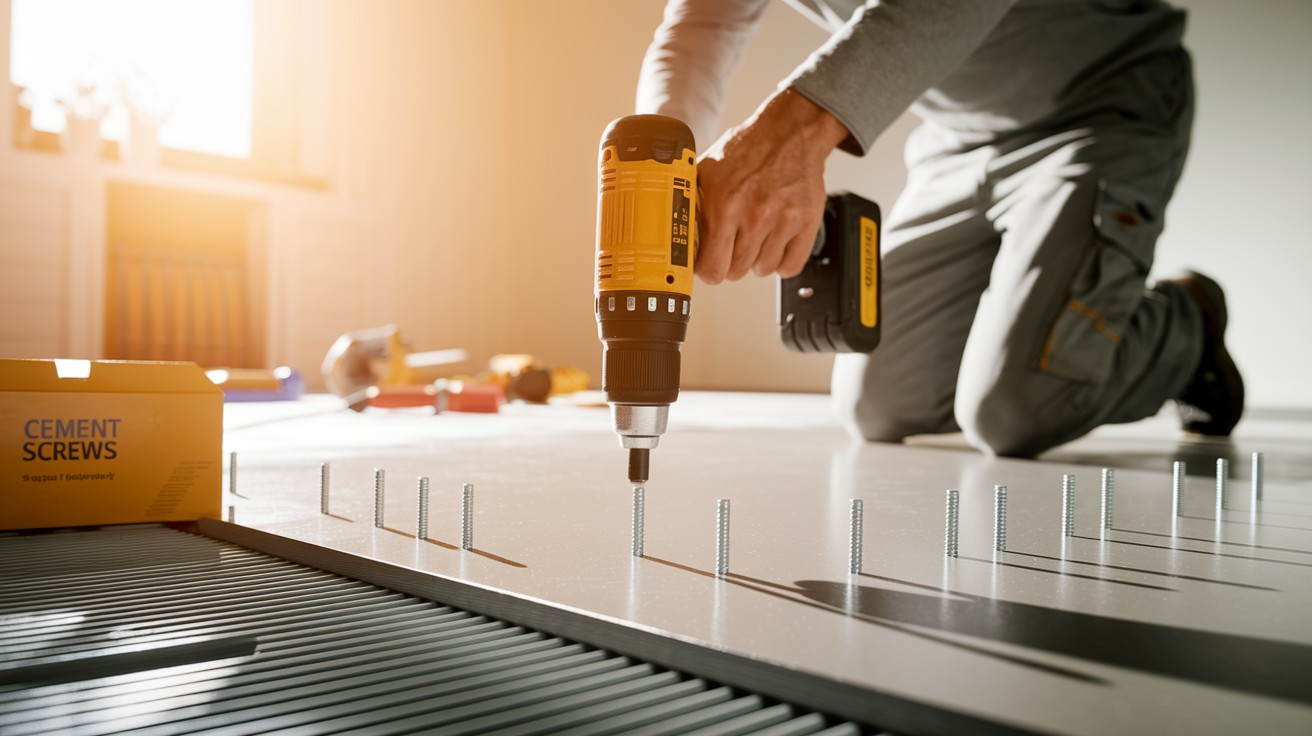
Once positioned correctly, secure each board using corrosion-resistant cement board screws specifically designed for this application.
Drive screws approximately 6-8 inches apart along the edges and every 8 inches in the field of the board.
Avoid screwing directly into floor joists when possible, as this rigid connection can create stress points that lead to cracking when the wood expands and contracts.
Instead, aim for the subfloor between joists to allow for natural movement while maintaining adequate holding power.
Step 4 – Tape and Seal the Seams
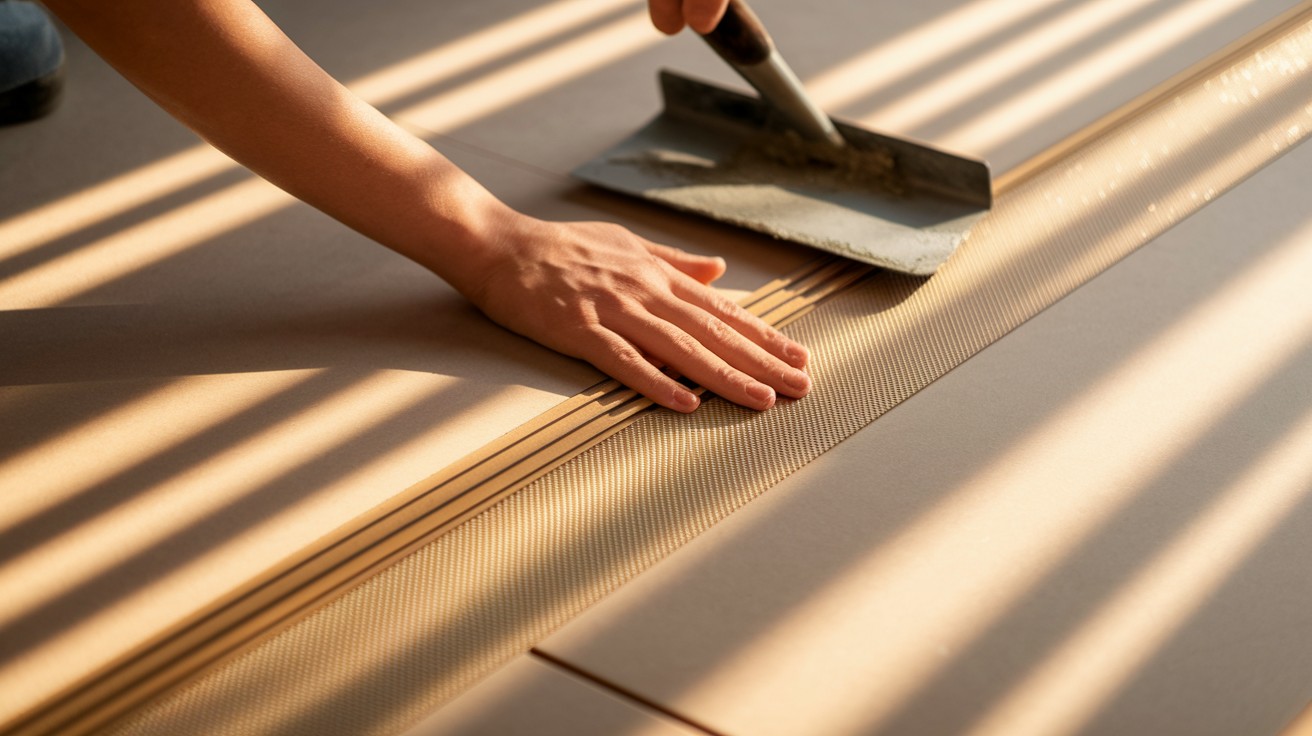
Apply alkali-resistant fiberglass mesh tape along all seams where cement board panels meet. Press the tape firmly into place, ensuring it lies flat without wrinkles or air bubbles.
Using your notched trowel, spread a thin layer of thinset mortar over the tape, feathering the edges to create a smooth transition.
This reinforced seam prevents cracks from developing at panel joints and creates a uniform surface for tile installation.
Step 5 – Let the Thinset Cure
Allow the thinset mortar to cure completely before proceeding with tile installation.
Most modified thinset products require 24-48 hours of curing time, though this can vary based on temperature, humidity, and product specifications.
Proper curing is critical for achieving maximum bond strength and stability.
Rushing this step by installing tiles too early can result in adhesion failure, loose tiles, and compromised structural integrity of your entire installation.
Common Questions and Tips for Cement Board Installation
Installing cement boards properly requires addressing several key considerations that affect long-term performance. First, never skip using thinset under the cement board, as this mortar layer serves multiple critical functions beyond simple adhesion.
Thinset acts as a leveling agent that fills minor imperfections and creates consistent contact between the subfloor and cement board, eliminating air gaps that create weak spots leading to cracking tiles and compromised structural integrity.
The thinset also significantly improves floor rigidity by creating a monolithic surface that distributes weight evenly, which is essential for tile longevity since any movement or flex in the substrate will eventually cause grout lines to crack and tiles to loosen over time.
When cutting cement board, prioritize safety due to silica dust production by using wet cutting methods with a circular saw equipped with a diamond blade and water attachment, or specialized cement board cutting tools that create score-and-snap cuts while reducing airborne particles.
Always wear appropriate safety gear including an N95 or P100 respirator mask, safety glasses, and work gloves, ensure adequate ventilation, and never use standard wood-cutting blades which create excessive dust and wear quickly.
Finally, if you anticipate needing to remove cement board later, prepare for a challenging process since properly installed boards bonded with thinset require aggressive demolition techniques using hammer drills and pry bars, often damaging the underlying subfloor, so consider documenting installation methods and material locations to help future contractors understand the construction details.
Conclusion
Proper cement board installation forms the cornerstone of any successful tile flooring project.
By following each step carefully – from preparing a clean, rigid subfloor to applying thinset mortar, securing boards with appropriate screws, and sealing seams with mesh tape – you create a foundation that will support your tiles for decades.
Remember that shortcuts during installation often lead to costly repairs later, including cracked grout lines, loose tiles, and potential water damage in moisture-prone areas.
Always allow adequate curing time for thinset mortar before proceeding with tile installation, as this patience ensures maximum bond strength and long-term stability.
For optimal results, carefully follow all manufacturer instructions regarding mixing ratios, application techniques, and drying times.
With proper preparation and attention to detail, your cement board installation will provide the durable, crack-free foundation necessary for beautiful, long-lasting tile floors.
Frequently Asked Questions
What tools do I need for cement board installation?
You’ll need a measuring tape, utility knife, power drill, notched trowel, and cement board screws. Safety equipment including dust mask, work gloves, and eye protection is also essential for protection during cutting and installation.
Can I install cement board directly on the subfloor without thinset?
No, thinset mortar is required under cement board to fill gaps and create proper adhesion. Skipping this step leads to weak spots, air pockets, and eventual tile failure due to inadequate support.
How long should I wait before installing tiles over cement board?
Allow 24-48 hours for complete thinset curing before tile installation. Proper curing time ensures maximum bond strength and prevents adhesion problems that can cause tiles to loosen or fail.
What’s the correct screw spacing for cement board installation?
Place screws 6-8 inches apart along board edges and every 8 inches in the field areas. Avoid screwing directly into floor joists to prevent stress concentration that can lead to cracking.
How do I cut cement boards safely?
Use wet cutting methods with a diamond blade or specialized scoring tools to minimize dust exposure. Always wear respiratory protection, safety glasses, and work in well-ventilated areas to avoid inhaling harmful particles.