
Rain chains offer homeowners an attractive alternative to standard downspouts while effectively managing water runoff from gutters.
These functional water features originated in Japan and have gained popularity for their ability to guide rainwater from roof to ground in a visually appealing manner.
Unlike conventional downspouts that hide water flow, rain chains create a soothing water display during rainfall while serving the same practical purpose.
Installing a rain chain requires basic tools and can be completed in under an hour with proper preparation.
The process involves creating a gutter outlet, securing the chain, and establishing appropriate ground drainage.
With various styles available and multiple installation options, rain chains can complement any home’s exterior while providing reliable water management for years to come.
What Is a Rain Chain?
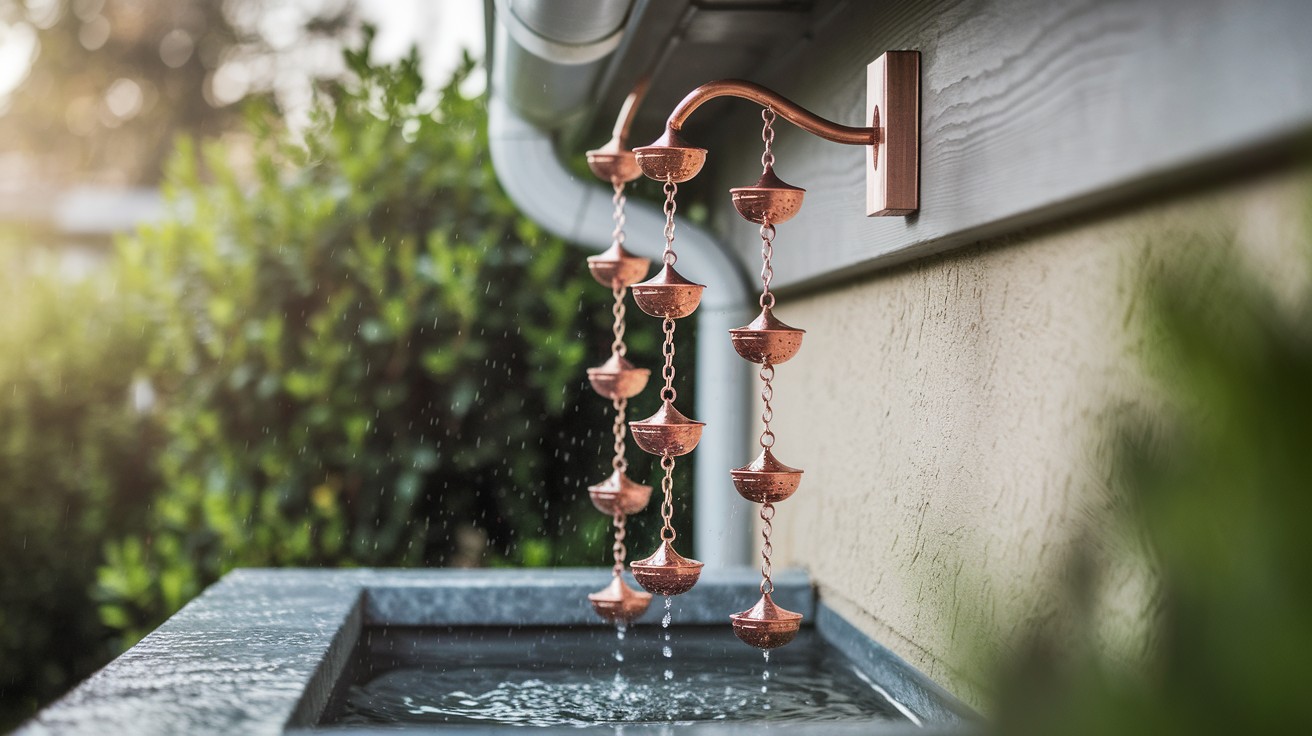
A rain chain serves as an attractive replacement for traditional downspouts, channeling water from your gutters to the ground through a series of connected links or cups.
These water features create a visible path for rainwater as it flows downward, turning an ordinary drainage system into a focal point for your home’s exterior.
A Decorative Downspout Alternative
Rain chains accomplish the same essential task as conventional downspouts but do so with considerably more visual appeal.
Instead of hiding water flow within enclosed metal tubing, rain chains allow you to observe the natural movement of water as it cascades from link to link.
This open design creates gentle sounds during rainfall while maintaining proper drainage away from your foundation.
The chains come in various materials including copper, aluminum, and steel, each offering different appearances as they age and weather over time.
Functional and Eye-Catching
Modern homeowners increasingly select rain chains because they combine practical water management with distinctive visual elements.
These installations add character to plain exterior walls while fulfilling the critical function of directing roof runoff safely away from the building.
Rain chains work particularly well in areas where you want to showcase water flow, such as near patios, garden areas, or entryways where the gentle sound of flowing water creates a pleasant atmosphere during storms.
Tools and Materials You’ll Need
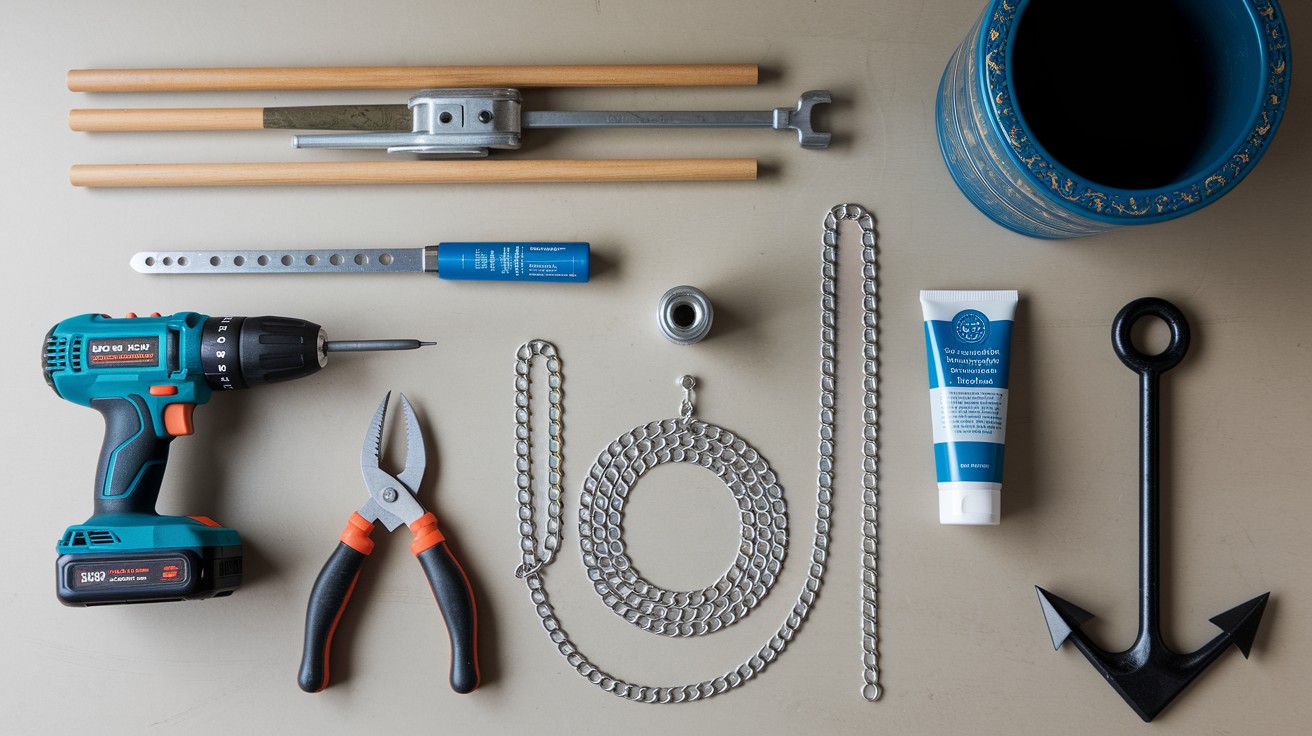
Before beginning your rain chain installation, gather all necessary tools and materials to ensure a smooth process. Having everything ready will help you complete the project efficiently and achieve professional results.
Essential Tools:
- Drill with sufficient power for cutting through gutter material
- 2″ or 2 1/4″ hole saw attachment (size depends on your specific outlet requirements)
- Metal snips for trimming chain length as needed
- Handsaw (if installing optional planter drainage system)
Required Materials:
- Rain chain in your preferred style and length
- Rain chain outlet kit designed for gutter installation
- Waterproof sealant to prevent leaks around the outlet
- Ground anchoring solution: either an anchor stake for direct ground installation or a decorative planter for a more ornamental approach
Step-by-Step Guide: How to Install a Rain Chain Like a Pro
Follow these detailed steps to install your rain chain correctly and achieve lasting results. Take your time with each phase to ensure proper water flow and secure attachment.
Step 1: Cut the Hole in the Gutter
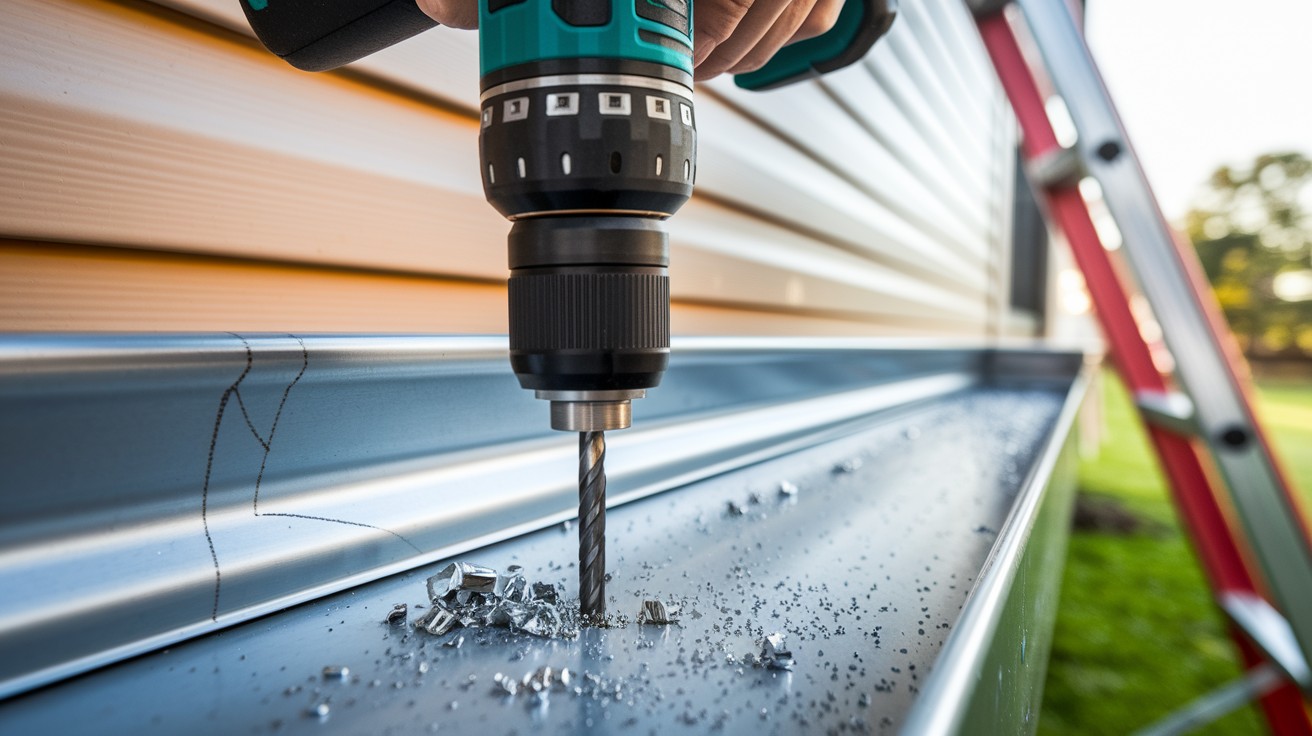
Position your drill at the end of the gutter section where you want the rain chain located.
Use the hole saw attachment to create a clean opening, typically 2″ to 2 1/4″ in diameter depending on your outlet kit specifications.
Before drilling, verify that the hole location aligns properly with your chosen ground drainage area below.
Mark the spot with a pencil to ensure accuracy, then drill steadily through the gutter material while clearing debris as you work.
Step 2: Insert the Outlet

Apply a generous amount of waterproof sealant around the rim of your outlet component. This prevents future leaks and ensures a weatherproof connection.
Carefully insert the outlet into the freshly cut hole, making sure the side attachment points remain visible and accessible.
Press firmly to create a tight seal with the sealant, then wipe away any excess material for a clean finish.
Step 3: Attach the Rain Chain
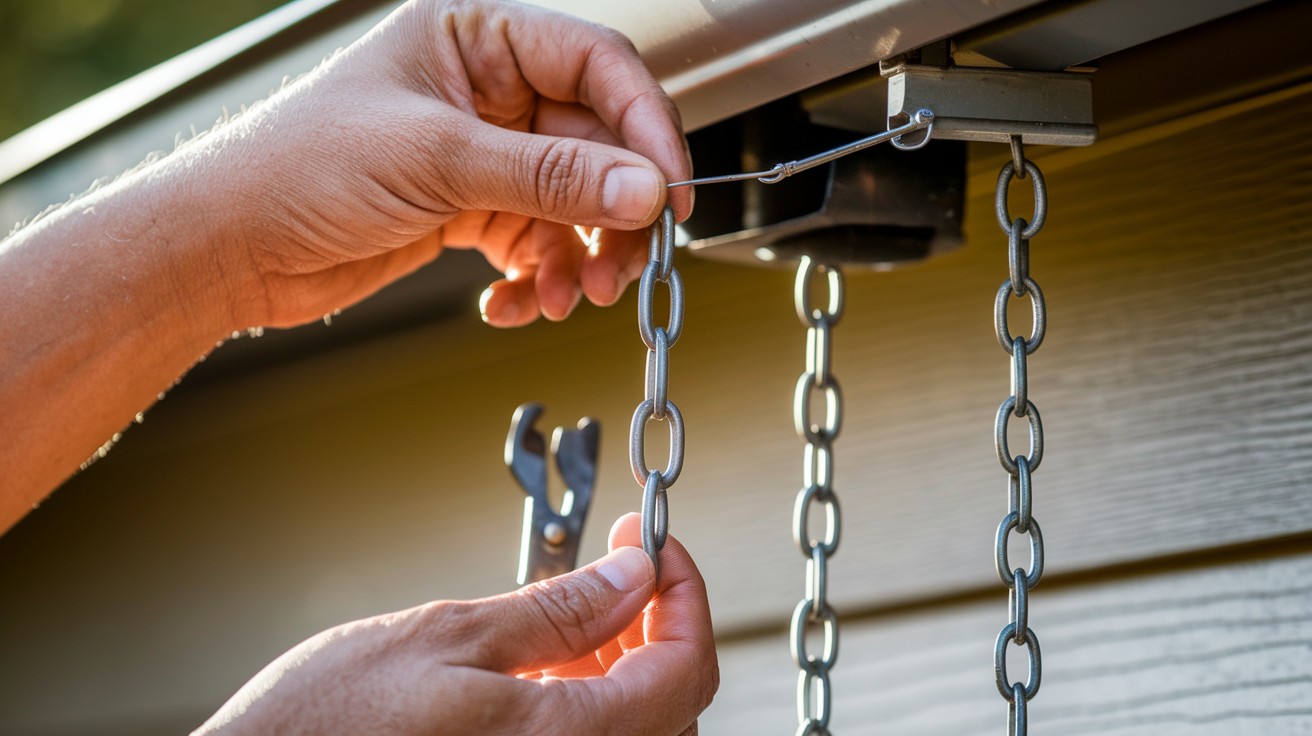
Thread the connecting pin through both the outlet’s side holes and the top link of your rain chain.
Secure this connection using the provided clasp or fastening hardware. Test the attachment by gently tugging the chain to confirm it’s properly connected.
If your chain extends too far below your desired endpoint, use metal snips to remove excess links and achieve the perfect length.
Step 4: Choose a Drainage Method
Select the drainage solution that best fits your landscape and water management needs.
Option A – Anchor Stake Method
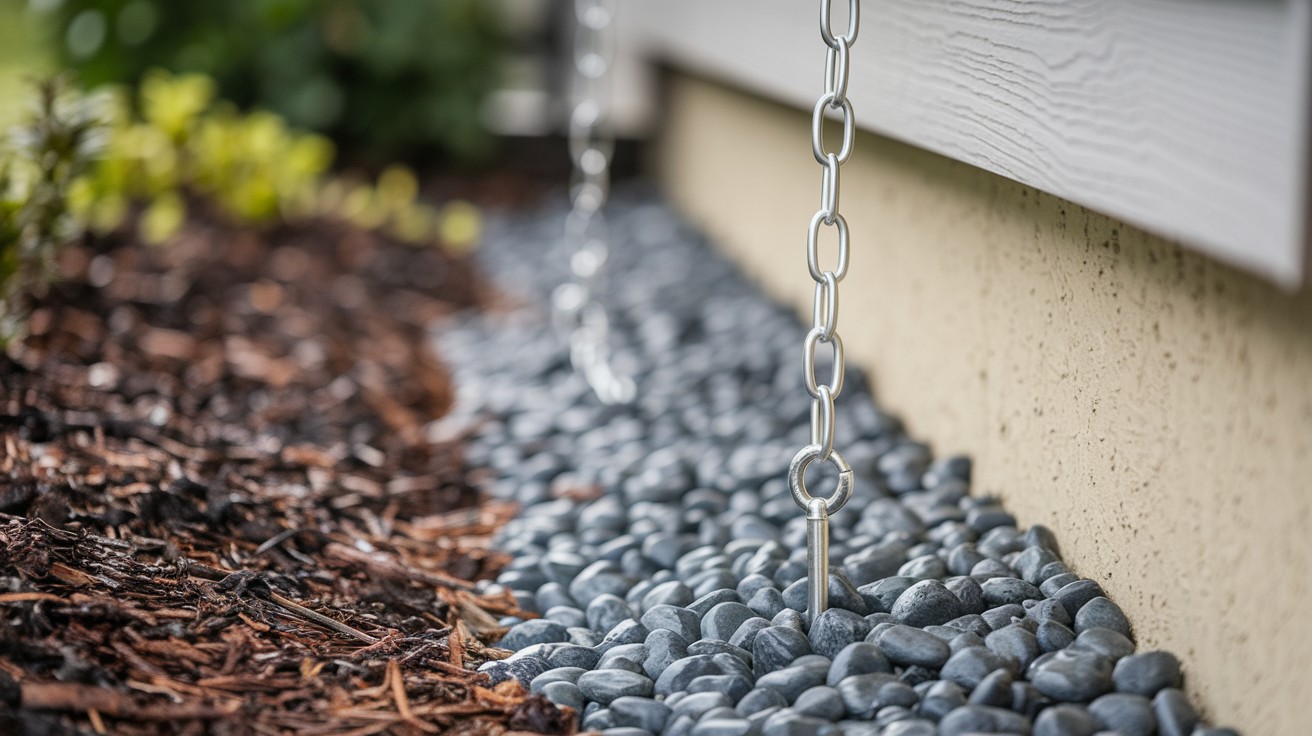
The anchor stake provides the simplest ground connection for your rain chain.
Push or twist the stake firmly into the soil directly below the chain’s endpoint.
Thread the bottom chain link through the stake’s ring attachment to prevent the chain from swaying in wind while allowing free water flow to the surrounding ground.
Option B – Decorative Planter with Drain
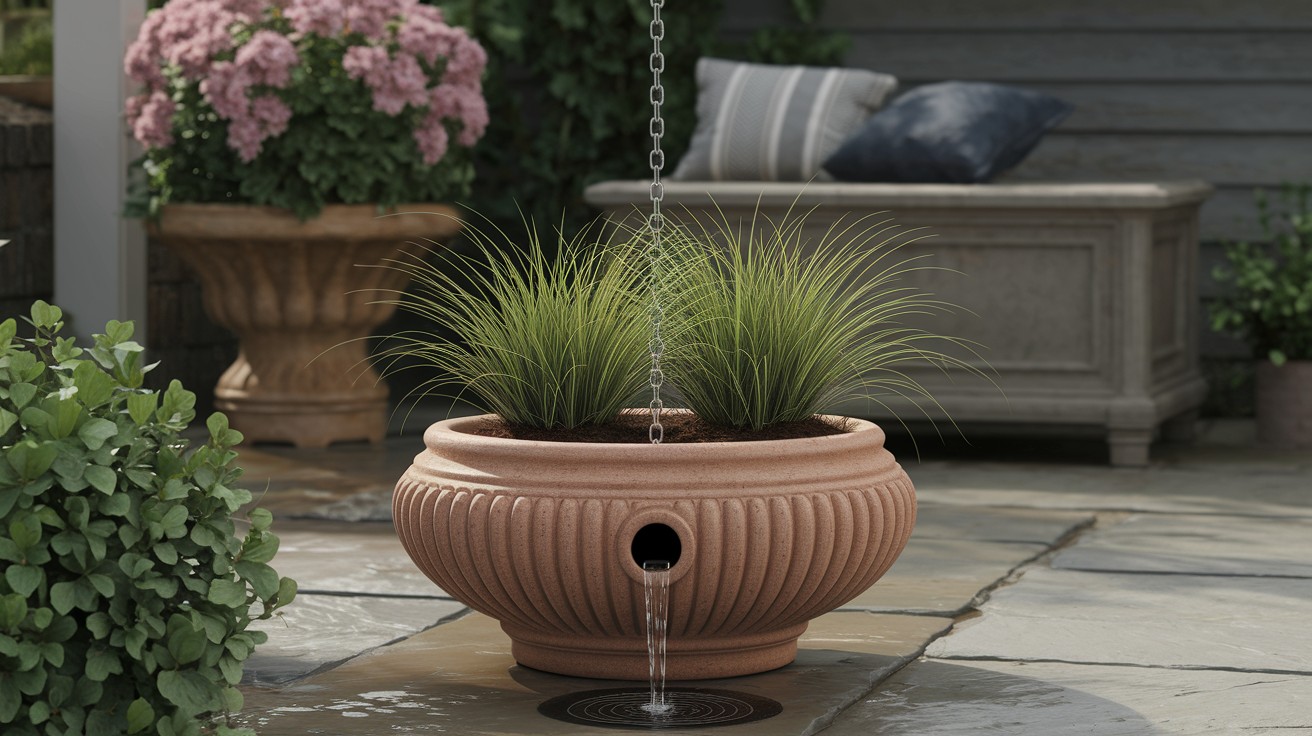
Create an attractive dual-purpose installation by directing your rain chain into a large decorative planter.
First, drill a drainage hole in the planter’s base to prevent water accumulation.
For improved drainage, install a short section of PVC pipe with an elbow fitting to direct overflow away from the planter area.
Fill the container with appropriate soil and select plants that can handle periodic water influx during storms.
Option C – Box Drain with Buried Pipe
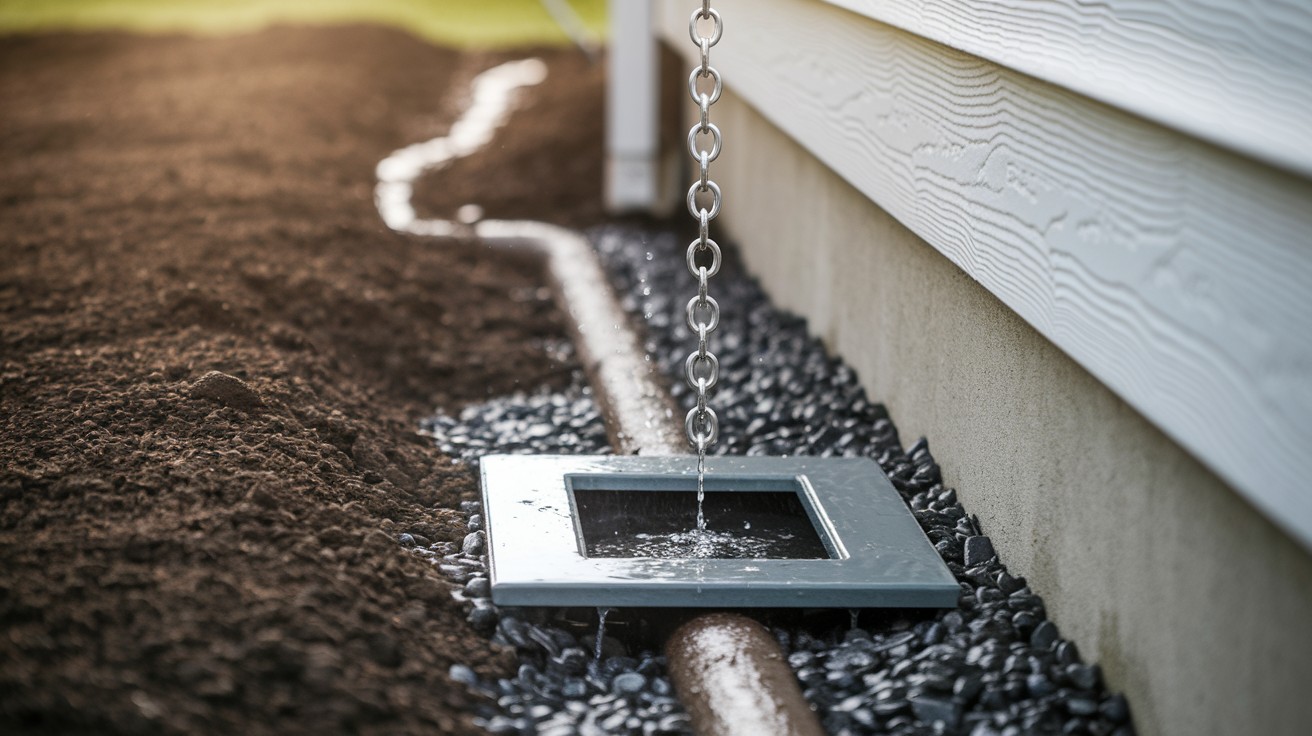
For areas with heavy rainfall or poor soil drainage, connect your rain chain to a box drain system.
This method channels collected water through underground pipes to a more suitable drainage location.
Install the drain box at ground level beneath the chain’s endpoint, then connect it to buried drainage pipes leading away from your foundation.
Tips for Success
These professional recommendations will help you avoid common installation mistakes and achieve optimal results with your rain chain project.
Adjust Hole Placement Based on Porch or Step Clearance
Before cutting your gutter hole, carefully measure the distance between your roofline and any porches, steps, or walkways below.
Rain chains need adequate clearance to hang straight without interference from architectural features.
Consider foot traffic patterns and ensure the chain won’t obstruct normal movement around your home’s entrance areas.
If necessary, position the outlet slightly further along the gutter to avoid conflicts with existing structures while maintaining effective water collection.
Use High-Quality Sealant to Prevent Leaks
Invest in premium waterproof sealant specifically designed for exterior applications and metal surfaces.
Cheap sealants often fail within the first year, leading to water damage around the gutter area.
Apply sealant generously around the outlet rim before installation, and allow proper curing time according to manufacturer instructions.
Check the seal periodically during the first few months and reapply if you notice any gaps or deterioration.
Match Chain Style with Your Home’s Exterior Design
Select a rain chain that complements your home’s architectural style and existing hardware finishes.
Copper chains develop an attractive patina over time and work well with traditional or rustic exteriors.
Aluminum options remain bright and suit contemporary designs, while decorative cup-style chains add visual interest to formal landscapes.
Consider the scale of your home when choosing chain thickness and link size to ensure proportional appearance from street view.
Conclusion
Installing a rain chain offers an excellent way to replace traditional downspouts while adding visual appeal to your home’s exterior.
This straightforward project requires only basic tools and can be completed in less than an hour with proper planning.
By following the step-by-step process of cutting the gutter hole, inserting the outlet, attaching the chain, and establishing proper ground drainage, you’ll create a functional water management system that performs reliably for years.
The key to success lies in careful preparation, quality materials, and attention to detail during installation.
With various style options and drainage methods available, rain chains can complement any architectural design while providing the practical benefits of effective water control.
Your new rain chain will serve as both a functional necessity and an attractive feature that adds character to your home.
Frequently Asked Questions
How long does it take to install a rain chain?
Most rain chain installations can be completed in 30 to 60 minutes with proper preparation. Having all tools and materials ready beforehand will help you work efficiently through each step.
Can I install a rain chain on any type of gutter?
Rain chains work with most standard gutter systems including aluminum, steel, and copper gutters. The key is selecting the correct outlet size and using appropriate sealant for your specific gutter material.
What happens to my rain chain during winter weather?
Rain chains continue to function in cold weather, though ice may form along the links during freezing conditions. Remove any ice buildup to maintain proper water flow and prevent damage to the chain.
How do I prevent my rain chain from making too much noise?
Position the chain so water flows smoothly from link to link without splashing onto hard surfaces below. Using a planter or soft ground cover at the base helps reduce noise during heavy rainfall.
Do rain chains work as well as traditional downspouts for water drainage?
Rain chains provide effective water management for most residential applications, directing roof runoff away from foundations. For areas with extremely heavy rainfall, consider pairing your rain chain with an underground drainage system.