
Frosted glass creates a translucent surface that obscures clear visibility while still allowing light to pass through.
This popular technique transforms ordinary glass into an attractive, functional material that serves multiple purposes in home design and decoration.
People choose to frost glass for several practical reasons.
Privacy concerns drive many homeowners to treat bathroom windows or office partitions, while others appreciate the soft, diffused lighting effect that frosted surfaces provide.
The process also adds visual interest and can complement various interior design styles.
This comprehensive guide will help you frost different types of glass projects, including residential windows for increased privacy, cabinet doors for kitchen upgrades, decorative glassware for special occasions, and room dividers that maintain openness while creating separation between spaces.
What Is Frosted Glass?
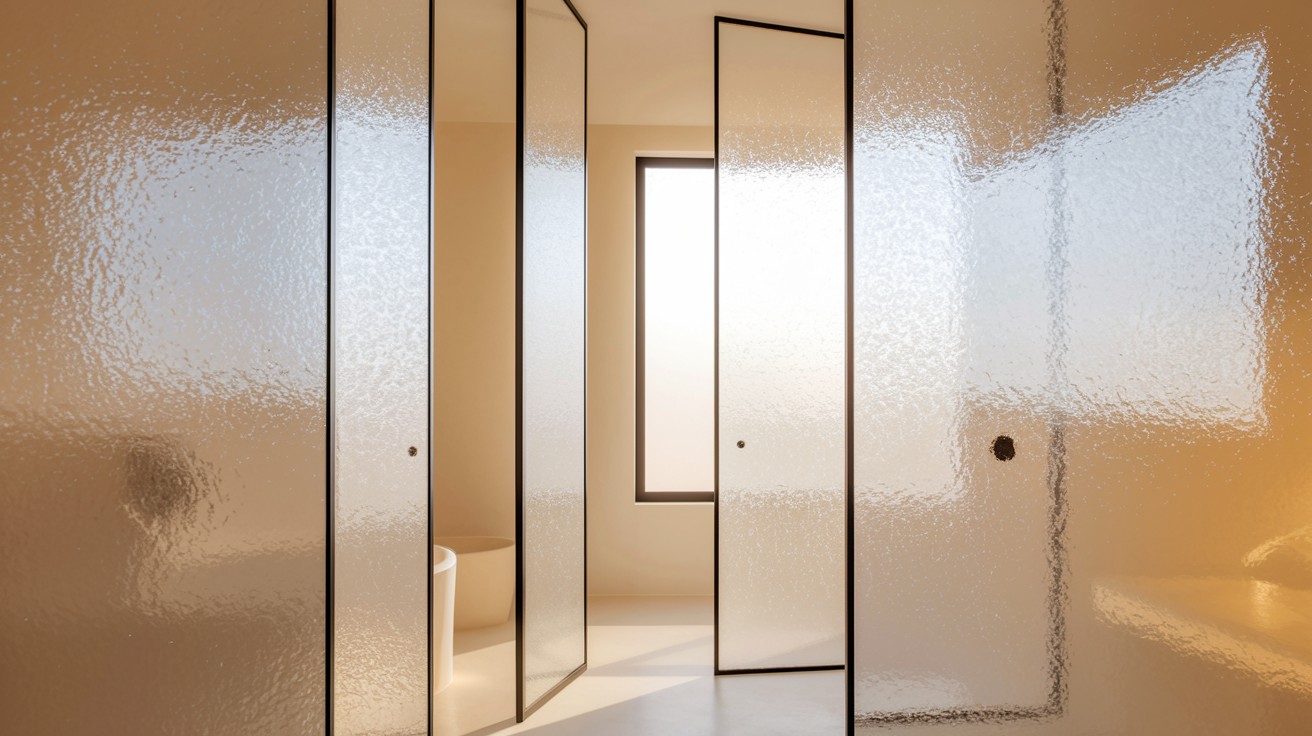
Frosted glass is a type of translucent glass that has been treated to create a smooth, opaque surface while maintaining its ability to transmit light.
The characteristic appearance features a uniform, cloudy texture that prevents clear vision through the material while creating an attractive, matte finish.
This process transforms regular transparent glass into a surface that provides both function and visual appeal.
Frosted glass offers several key advantages over clear or tinted alternatives. Unlike clear glass, it provides privacy without completely blocking natural light, making spaces feel open yet secure.
Compared to tinted glass, frosted varieties maintain neutral color schemes while diffusing harsh sunlight and reducing glare.
The material also helps create softer lighting conditions and can make smaller spaces appear larger by reflecting light more evenly throughout a room.
In residential settings, frosted glass commonly appears in bathroom windows, shower doors, and cabinet fronts where privacy is essential but natural light remains desirable.
Office environments frequently feature frosted glass in conference room partitions, executive office doors, and reception area windows.
The material is also popular for decorative applications such as room dividers, lamp shades, and artistic installations that require both beauty and functionality.
Tools and Materials Needed
- Glass cleaner
- Painter’s tape
- Frosting spray or film
- Gloves and mask (if using chemicals)
- Squeegee (for film)
Step-by-Step Guide: Frosting Glass with Spray
Frosting glass with spray is one of the quickest and most accessible methods for achieving a professional-looking frosted finish. This technique works well for windows, mirrors, and decorative glass pieces, providing even coverage with minimal equipment required.
Step 1: Clean the Glass
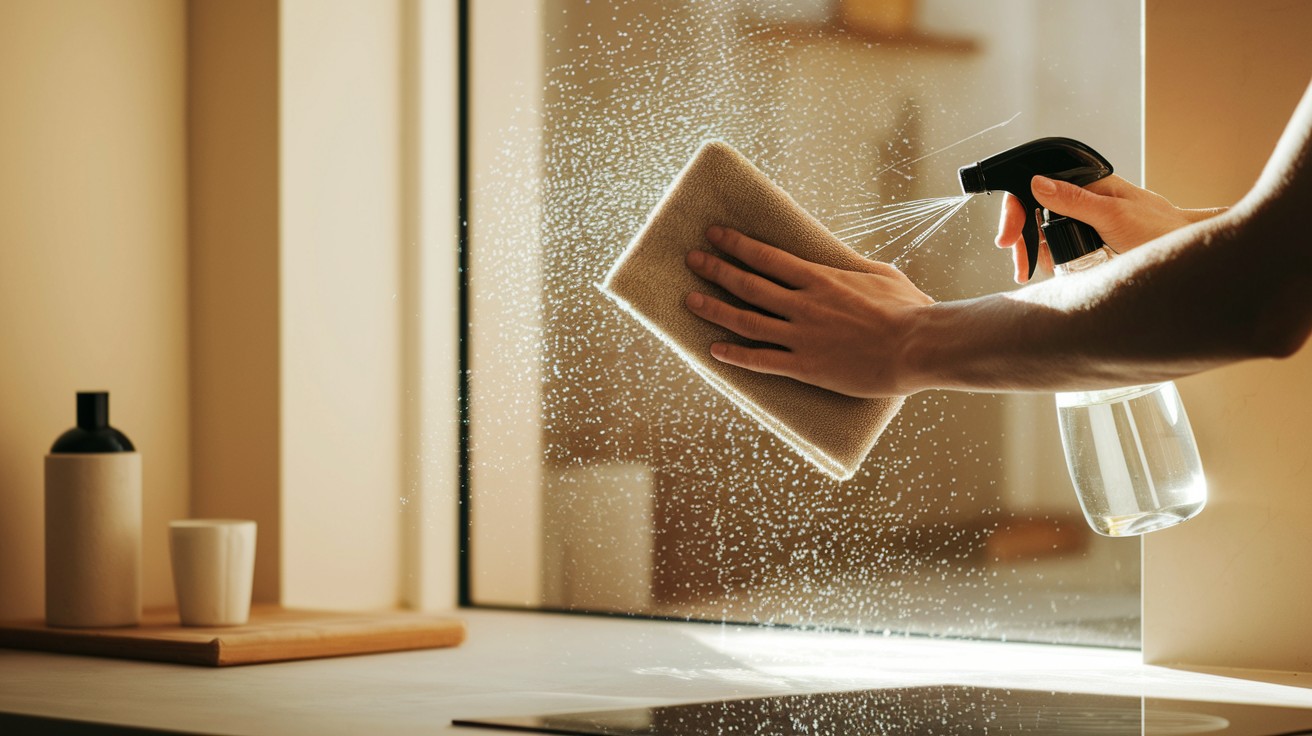
Start by thoroughly cleaning the glass surface with glass cleaner and a lint-free cloth.
Remove all dirt, fingerprints, soap residue, and any other contaminants that could prevent proper adhesion.
Allow the surface to dry completely before proceeding to the next step.
Step 2: Tape Off the Area

Use painter’s tape to mask off any areas you want to keep clear of frosting spray.
Press the tape edges down firmly to prevent spray from seeping underneath.
This step is crucial for creating clean, professional-looking borders and protecting surrounding surfaces.
Step 3: Shake and Spray Evenly
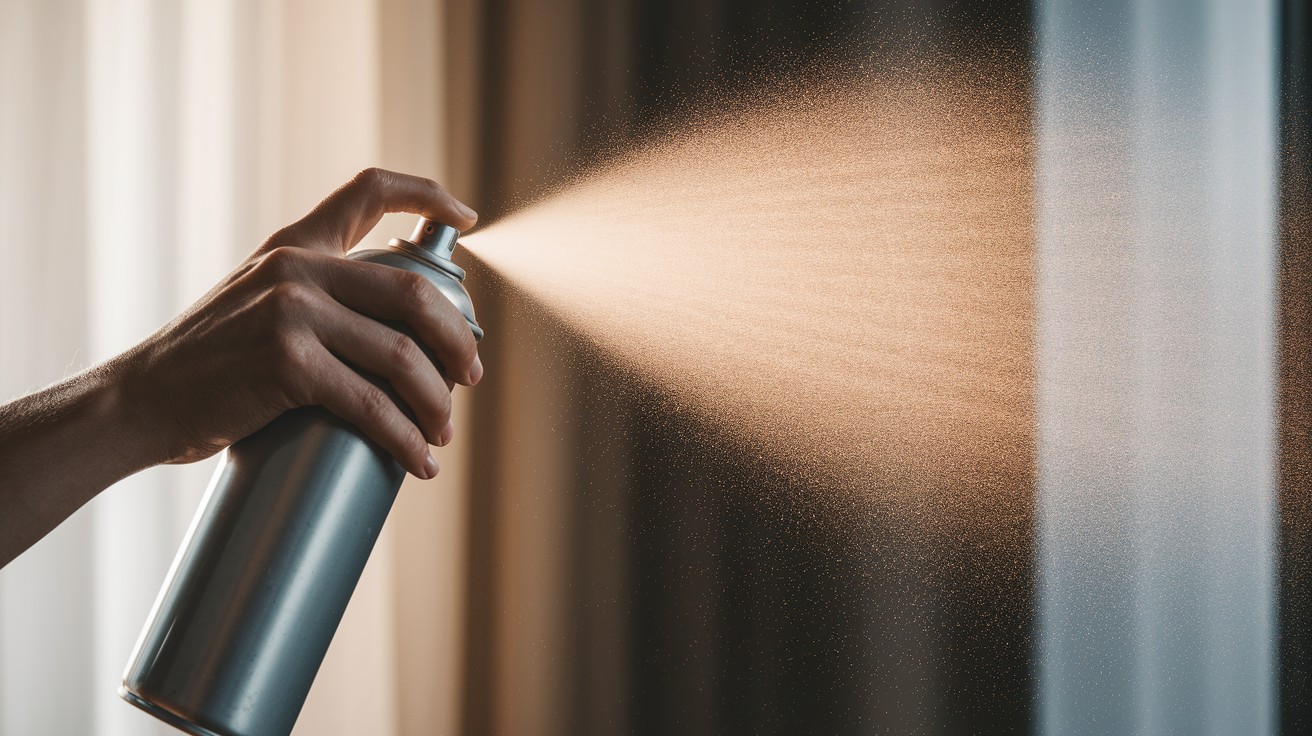
Shake the frosting spray can thoroughly according to manufacturer instructions.
Hold the can 6-8 inches from the glass surface and apply thin, even coats using steady, overlapping strokes.
Avoid heavy application that can cause drips or uneven coverage.
Step 4: Let It Dry

Allow the first coat to dry completely according to the product’s recommended drying time.
This usually takes 15-30 minutes depending on temperature and humidity conditions.
Avoid touching the surface during this time to prevent fingerprints or smudges.
Step 5: Apply Second Coat (if needed)
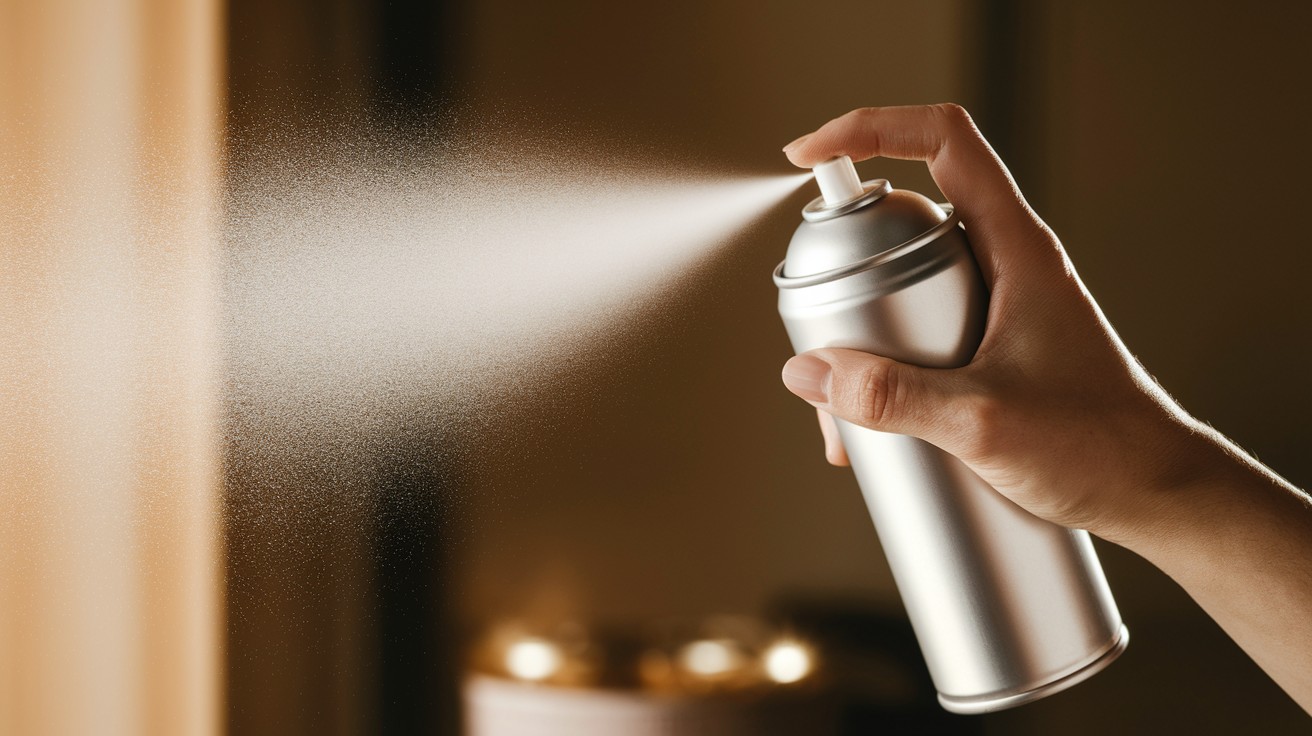
Examine the coverage and apply a second thin coat if you want a more opaque finish.
Multiple light coats produce better results than one heavy application.
Wait for complete drying between coats for optimal results.
Step 6: Remove Tape Carefully
Once the final coat is completely dry, slowly remove the painter’s tape at a 45-degree angle.
Pull the tape away from the frosted area to prevent peeling or damage to the new finish.
Clean up any minor imperfections with a razor blade if necessary.
More Methods to Frost Glass
Several techniques can create frosted glass effects, each with different benefits for various projects.
Frosted Glass Spray: Quick aerosol application that works for both temporary and permanent projects. Easy to use and provides even coverage for most DIY applications.
Etching Cream: Chemical treatment that permanently etches the glass surface. Creates professional results but requires careful handling due to strong chemicals.
Window Film: Removable adhesive film that’s perfect for renters. Offers precise placement and comes in various patterns and opacity levels.
Sandblasting (for professionals): Professional method using specialized equipment to create the most durable finish. Best for commercial projects requiring uniform results across large surfaces.
Tips for Maintenance
- Proper care keeps your frosted glass looking great for years. Clean regularly using gentle methods with soft cloths, mild soap, and warm water.
- Avoid harsh chemicals or ammonia-based cleaners that can damage frosting materials.
- For stubborn spots, use white vinegar mixed with water, then rinse thoroughly and dry completely with lint-free cloths.
- Protect the surface by avoiding sharp objects or abrasive cleaning tools that can scratch the finish.
- If using frosting film, press down any lifting edges immediately to prevent peeling.
- Keep cleaning tools soft and replace worn items.
- Regular gentle cleaning prevents dirt buildup that requires aggressive scrubbing.
Conclusion
Frosting glass offers numerous practical and stylish benefits that make it an excellent home improvement project.
This versatile technique provides increased privacy while maintaining natural light flow, creates attractive diffused lighting effects, and adds visual interest to any space.
The process is cost-effective compared to replacing entire glass panels and can be customized to fit your specific design needs.
We encourage you to experiment safely with different frosting methods to find what works best for your projects.
Remember to follow all safety guidelines, work in well-ventilated areas, and test techniques on small samples first.
Each method offers unique advantages depending on your skill level and desired results.
Ready for more creative home improvement projects? Check out our other DIY guides for additional inspiration and step-by-step instructions to transform your living space.
Frequently Asked Questions
How long does frosted glass spray last?
Frosted glass spray typically lasts 2-5 years depending on weather exposure and quality of application. Indoor applications generally last longer than outdoor surfaces exposed to rain and temperature changes.
Can I remove frosting from glass if I change my mind?
Yes, most frosting methods can be reversed with the right approach and materials. Spray frosting can often be removed with acetone or paint thinner, while film simply peels off cleanly.
Is it safe to frost glass myself at home?
Home frosting is generally safe when you follow proper ventilation and safety guidelines. Always wear gloves and masks when using chemical products, and work in well-ventilated areas to avoid fume exposure.
What type of glass works best for frosting projects?
Smooth, clean glass surfaces work best for all frosting methods and produce the most even results. Avoid textured or already treated glass, as these can interfere with proper adhesion and coverage.
How much does it cost to frost glass at home?
DIY frosting projects typically cost $10-30 depending on the method and surface area you’re covering. Spray cans and frosting film are the most budget-friendly options for small to medium projects.