
Have you ever finished a beautiful canvas painting only to wonder how to display it properly? You’re not alone. Framing your canvas can completely transform how your artwork looks and feels in any space.
While professional framing services can cost anywhere from $50 to $200 per piece, learning to frame your own canvas saves money and gives you complete creative control.
You have three main approaches to choose from: budget-friendly options using basic materials, standard framing with mid-range supplies, or achieving that gallery-quality professional finish.
Each method has its place depending on your artwork’s value and where you plan to hang it. Let’s walk through everything you need to know to give your canvas the perfect frame it deserves.
Understanding Canvas Framing
When you buy a canvas, it’s already stretched over wooden stretcher bars that keep the fabric tight and flat.
These bars create the backbone of your artwork, giving it structure and preventing sagging over time.
You’ll find two main types: deep-edge canvases that are typically 1.5 inches thick, and standard-edge ones that measure about 0.75 inches.
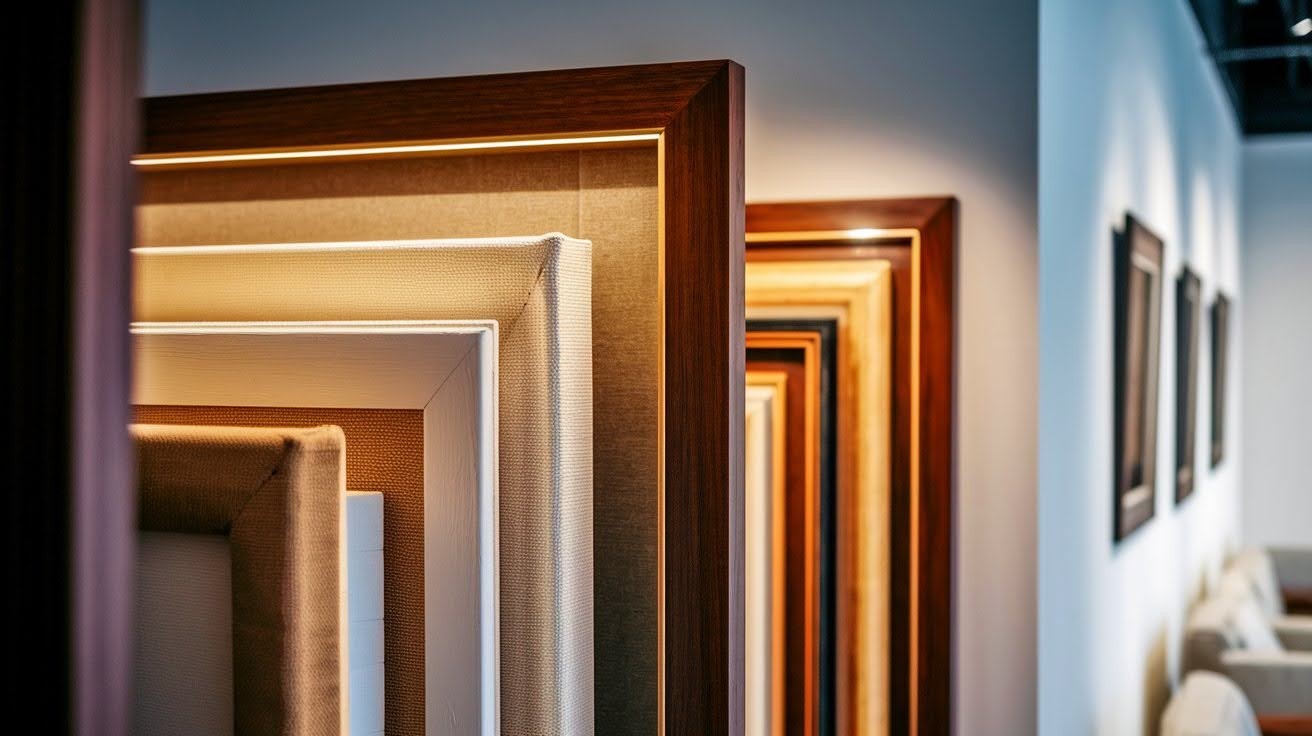
So why add another frame around your already-stretched canvas? Think of it as giving your artwork a finished, polished look.
A frame acts like a protective border that shields the canvas edges from accidental bumps and damage.
It also helps your painting blend seamlessly with your room’s style and coordinate with other framed pieces on your walls.
The right frame can make a $20 canvas look like an expensive gallery piece, while the wrong choice might make even professional artwork appear cheap.
Materials and Tools You’ll Need
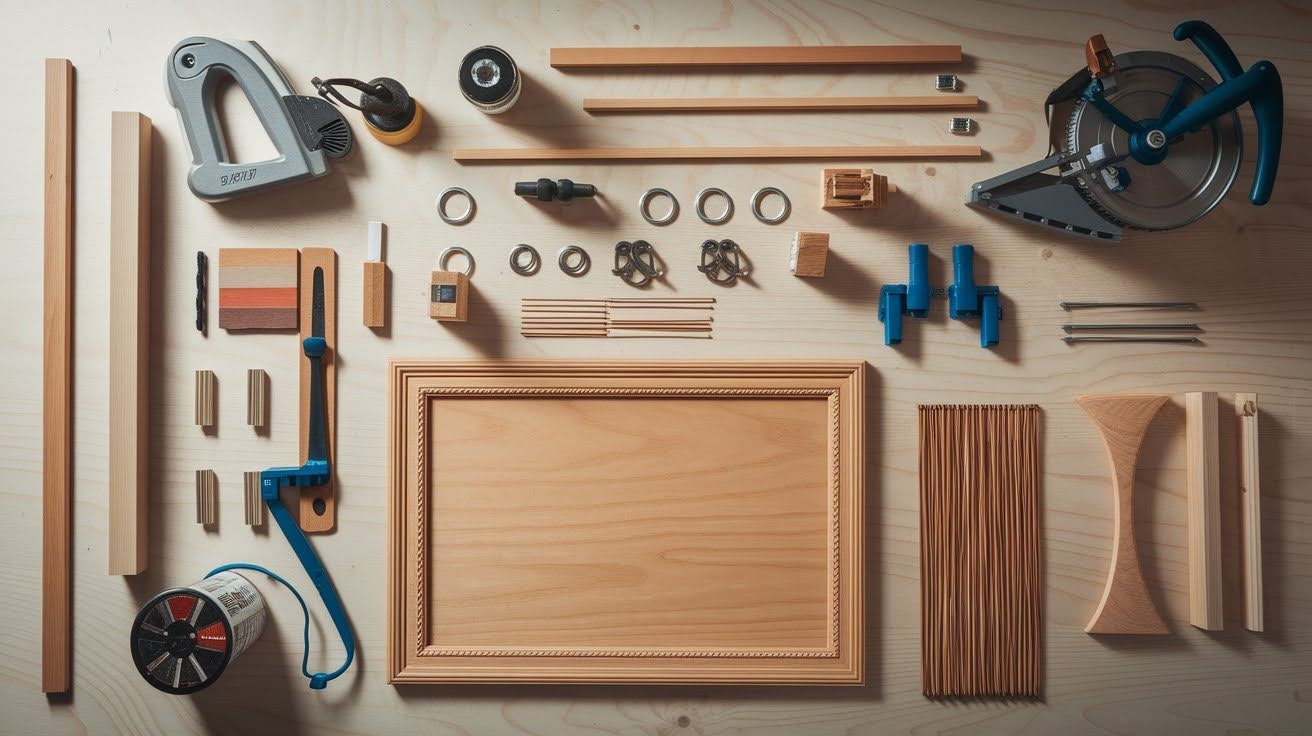
- Wood materials: Timber molding, poplar boards, or picture framing stock from your local hardware store. Most home improvement centers carry these pre-cut or will size them for you.
- Cutting tool: A miter saw gives precise 45-degree angles, but a hand saw with miter box works fine for budget projects and still creates clean, professional-looking cuts.
- Fasteners: Choose nails, screws, or V-nails based on your tools and skill level. V-nails create the strongest joints, while finishing nails work great for beginners.
- Wood glue and finishing supplies: Standard wood adhesive holds corners together permanently. Add sandpaper for smooth edges and clamps to keep pieces steady while glue dries.
- Hanging gear: D-rings and picture wire distribute weight evenly and make positioning easier than single nails. Wire lets you adjust the frame after mounting.
- Custom finishes: Spray paint or wood stain helps match your room’s colors. A simple coat transforms basic pine into something that looks coordinated and expensive.
Step-by-Step: How to Frame a Canvas
Lets get that framing done:
Step 1: Measure and Plan
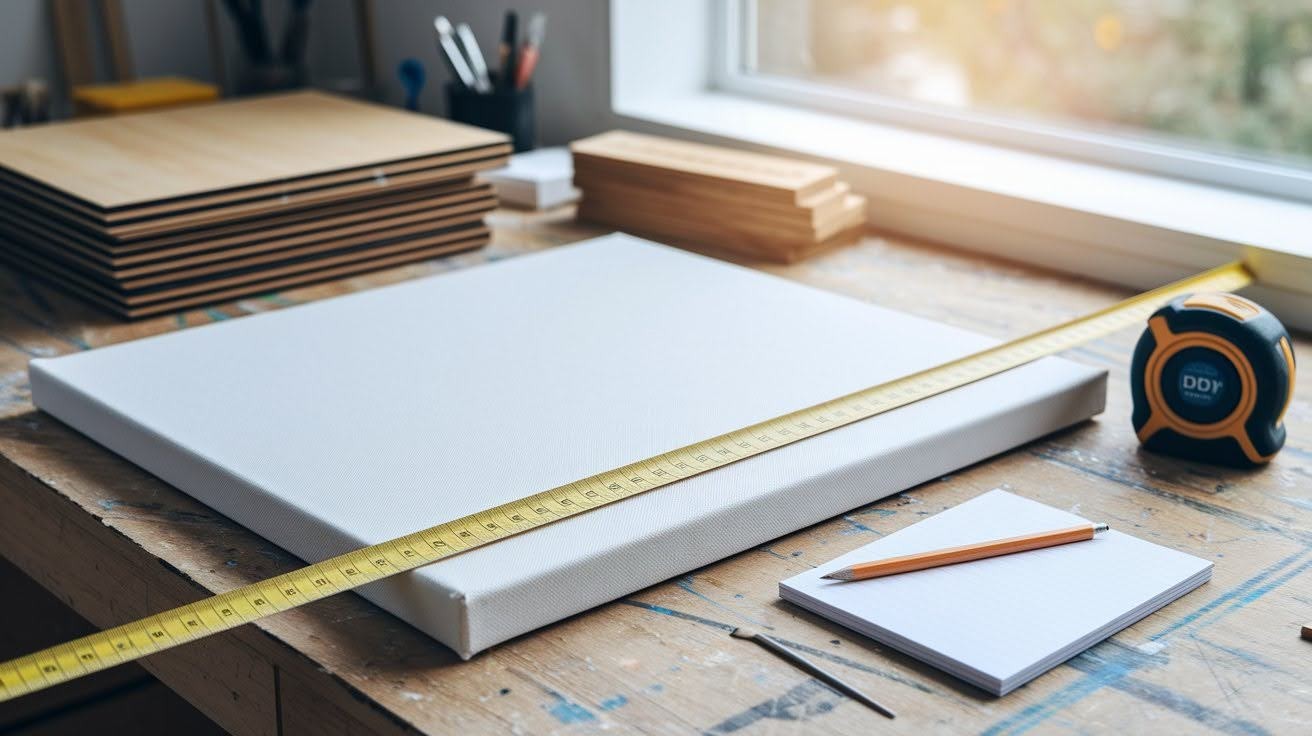
Start by measuring your canvas carefully, including the folded edges at each corner. If you want a small gap between the canvas and frame (called a shadow gap), add an extra quarter-inch to each measurement.
Calculate how much wood you need and buy 10% extra to account for cutting mistakes and waste.
Step 2: Cut the Frame Pieces
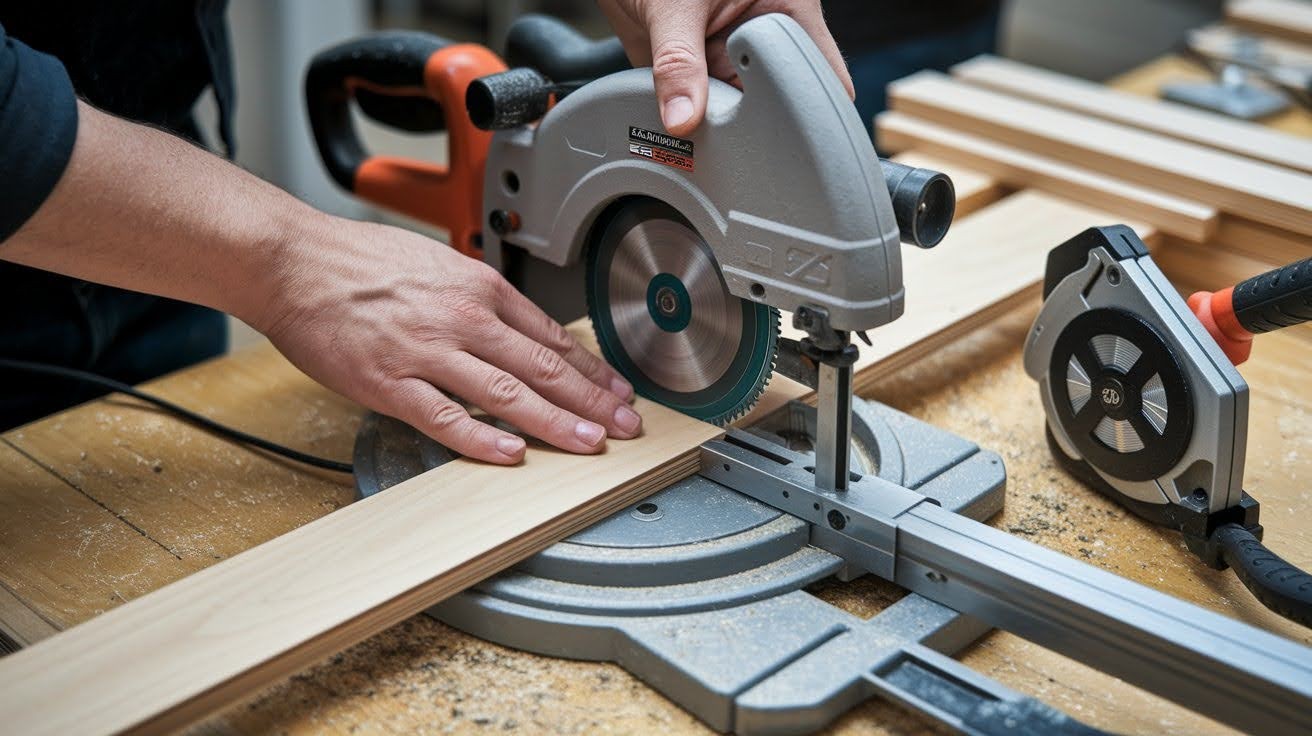
Pick straight boards or molding pieces without warps or knots. Cut each piece at 45-degree angles for clean, professional corners that fit together perfectly.
If angled cuts feel too challenging, straight butt joints work fine for casual projects. Sand all cut edges smooth so pieces fit together without gaps.
Step 3: Assemble the Frame
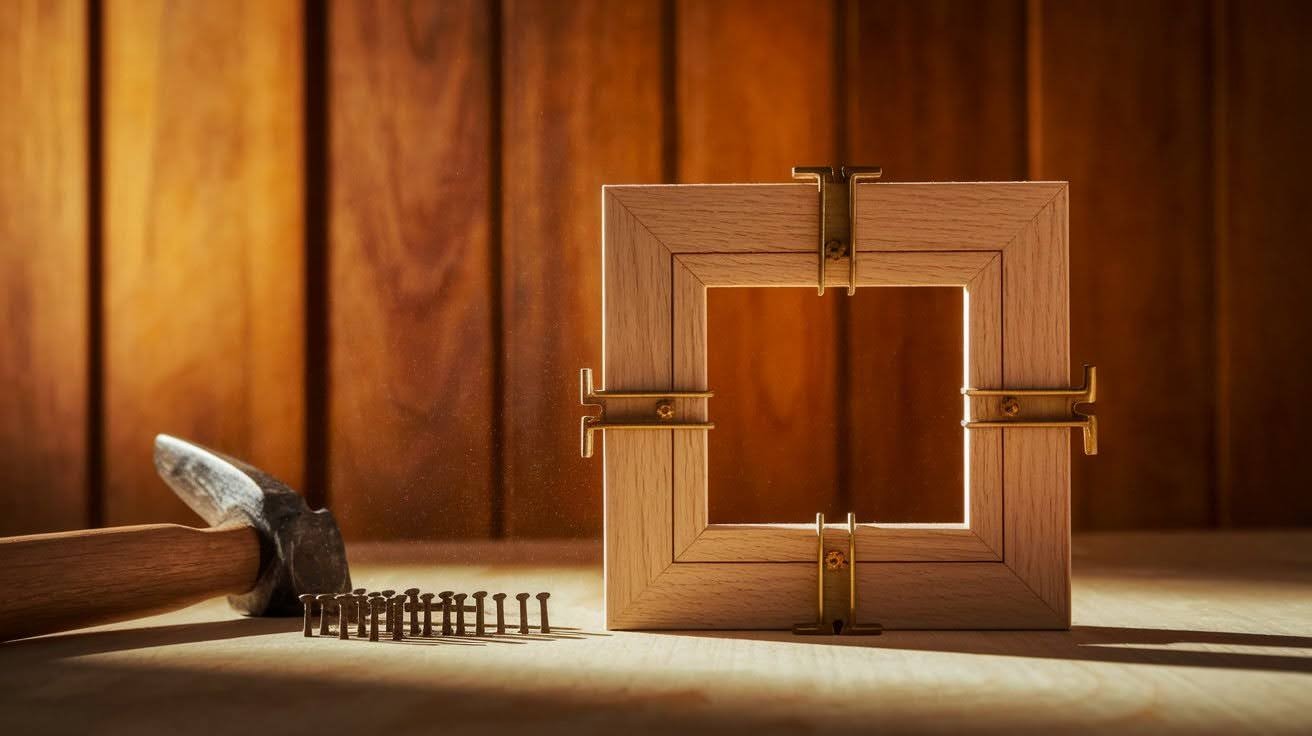
Apply a thin line of wood glue to each joint before connecting the pieces. Hold corners steady with clamps or painter’s tape while the glue starts to set.
Add nails, screws, or V-nails for extra strength, then let everything dry completely before moving to the next step.
Step 4: Finish the Frame
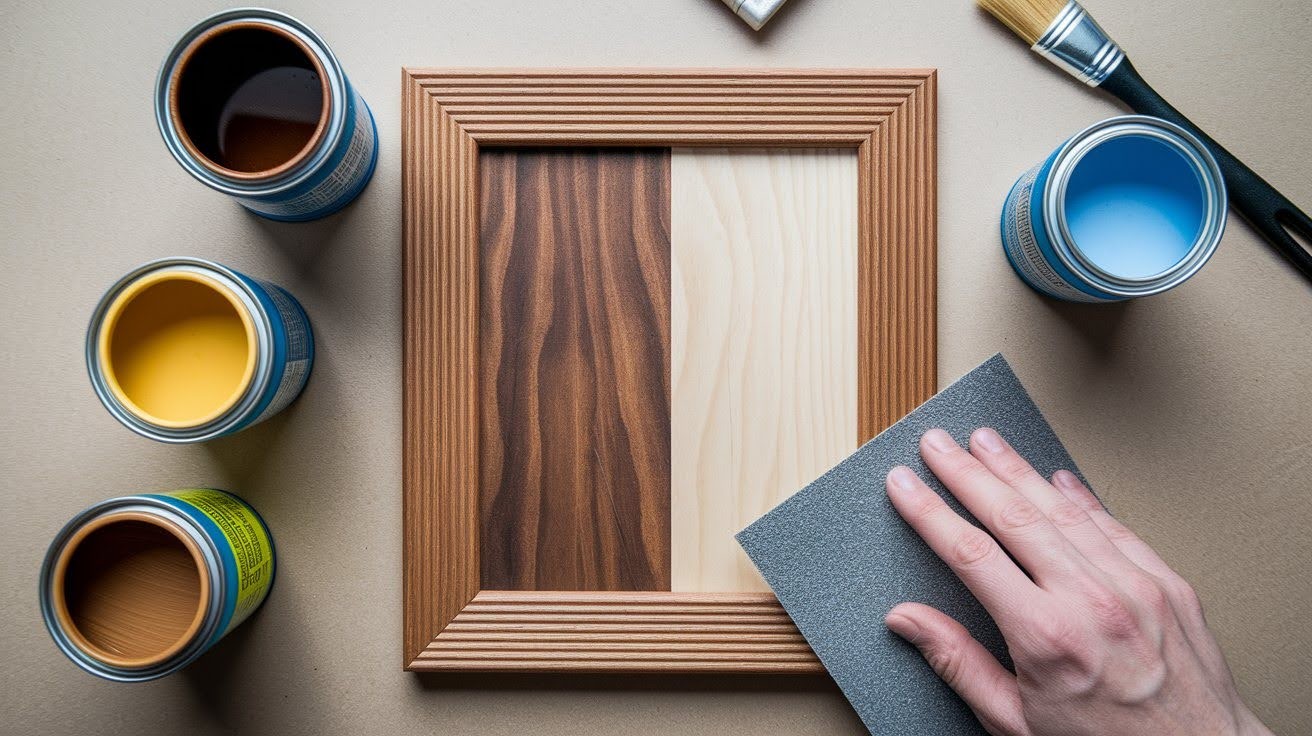
Sand the entire frame to remove rough spots and soften sharp corners. Apply your chosen finish – varnish, stain, or spray paint all work well.
Natural wood gives a clean gallery look, while painted frames can provide nice contrast with your artwork’s colors.
Step 5: Attach the Canvas
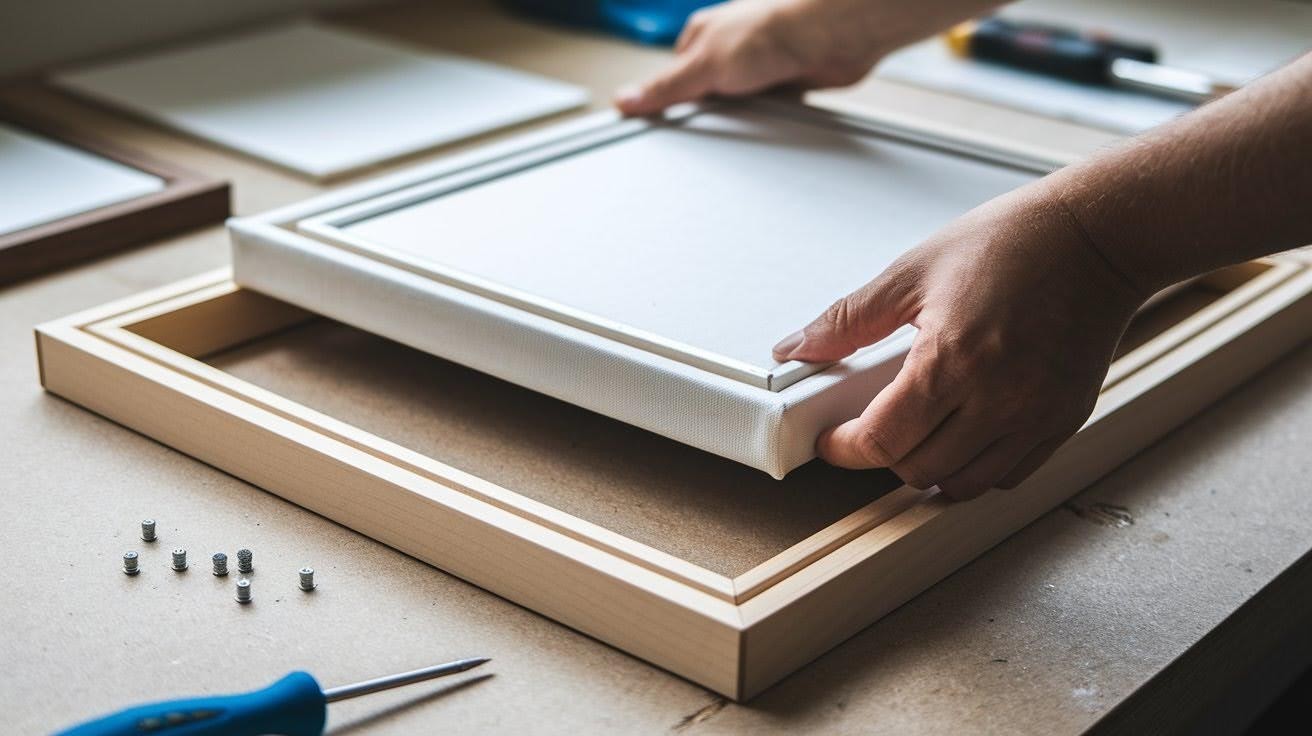
Place your canvas inside the frame with equal spacing on all sides. Secure it with small nails, screws, or corner brackets, being careful that fasteners don’t go through the canvas surface.
Check that your artwork sits straight and flush against the frame.
Step 6: Add Hanging Hardware
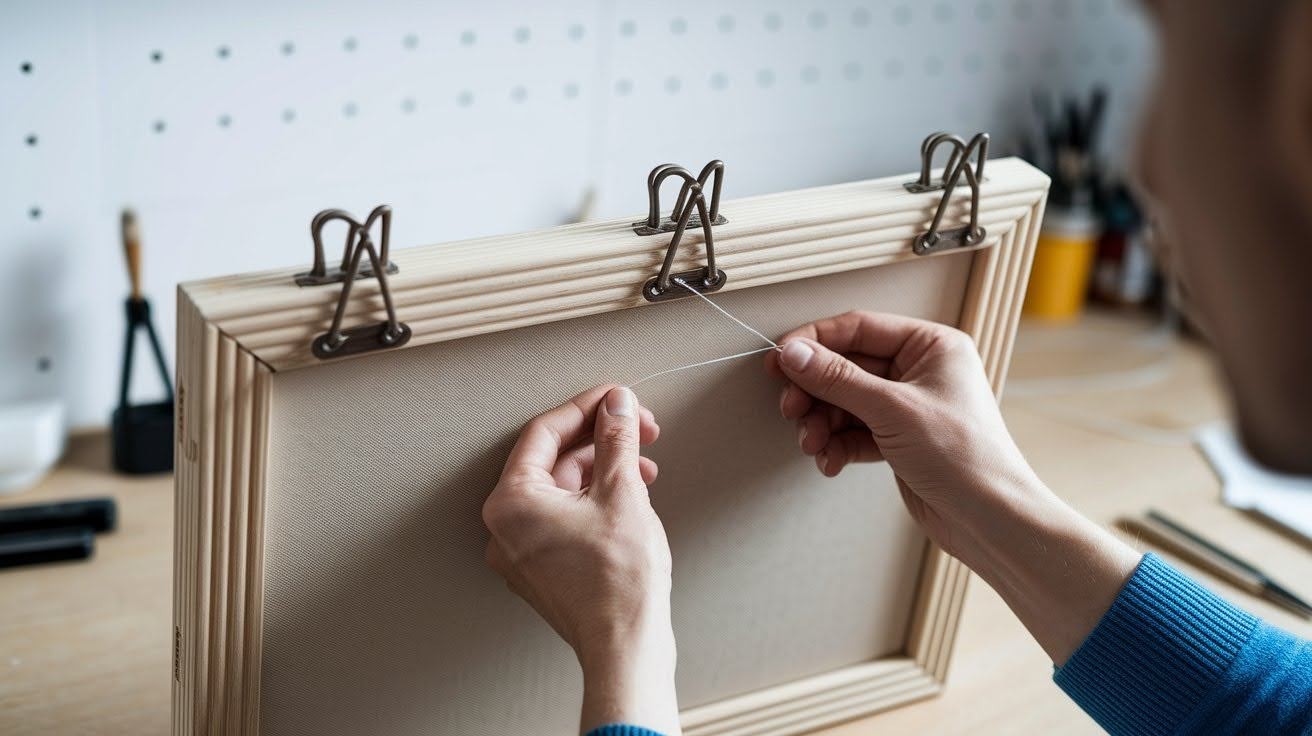
Attach D-rings to the back of your frame about one-third down from the top. String picture wire between them, leaving some slack for easy hanging. Your framed canvas is now ready to display on any wall.
Tips & Tricks for Success
- Start with the longest pieces: Cut your longest frame pieces first, then work down to shorter ones. If you mess up a long piece, you can still use it for a shorter side.
- Clean glue immediately: Wipe excess wood glue while wet with a damp cloth. Dried glue won’t accept stain or paint and leaves visible marks.
- Test fit at the store: Bring a canvas sample when buying molding to check that your canvas thickness fits properly in the groove.
- Use clamps for tight corners: Good clamps hold pieces exactly in place while glue dries, preventing gaps and keeping corners perfectly square.
- Mark your measurements clearly: Double-check all measurements and mark cut lines clearly with a pencil. Measure twice, cut onc,e saves time and prevents costly material waste.
Conclusion
After years of hanging artwork in my own home and helping friends transform their spaces, I’ve learned that framing truly transforms how we perceive and value our art.
The difference between a hastily hung poster and a thoughtfully framed piece is remarkable.
Whether you’re working with a tight budget using simple clip frames or investing in custom matting and professional mounting, the key is matching your approach to your personal style and available resources.
I’ve seen amazing gallery walls created with thrift store finds and equally impressive displays using high-end materials.
The magic happens when you take time to consider your space, gather the right tools, and commit to doing it properly. Your walls will thank you.
Frequently Asked Questions
Do I need to frame a canvas painting?
Canvas paintings don’t require framing for protection, unlike paper artwork. However, framing can enhance the presentation and help the piece blend better with your room’s decor style.
What type of frame works best for canvas art?
Floating frames work exceptionally well because they create space between the canvas edge and frame. Traditional frames with rabbet depths of at least 3/4 inch also accommodate most standard canvas thicknesses perfectly.
Can I frame a canvas painting at home myself?
Yes, framing canvas is quite manageable as a DIY project with basic tools. You’ll need a frame slightly larger than your canvas, corner brackets or screws, and hanging hardware for wall mounting.
How much space should I leave between canvas and frame?
For floating frames, leave about 1/8 to 1/4 inch gap around all edges. This creates the signature floating effect while ensuring the canvas fits comfortably without forcing or cramming it into place.
Should I remove the canvas from its wooden stretcher bars?
Keep the canvas on its stretcher bars as they provide necessary support and maintain proper tension. Removing them can cause sagging, wrinkles, or damage to your artwork over time.