
That annoying hollow clicking sound under your feet needs to stop. I get it. Loose floor tiles are frustrating and embarrassing when guests visit.
In this guide, I’ll show you why your tiles came loose in the first place, what tools and materials you need, my step-by-step repair process that works, and how to prevent this problem from happening again.
I’ve fixed dozens of loose tiles in my own home over the years. This method works because I’ll show you the professional techniques contractors use.
You don’t need special skills or expensive tools. Just follow my proven system and your tiles will stay put for years to come.
Let’s solve this problem once and for all.
Why Do Floor Tiles Become Loose?
Before we grab our tools, let’s figure out what went wrong in the first place.
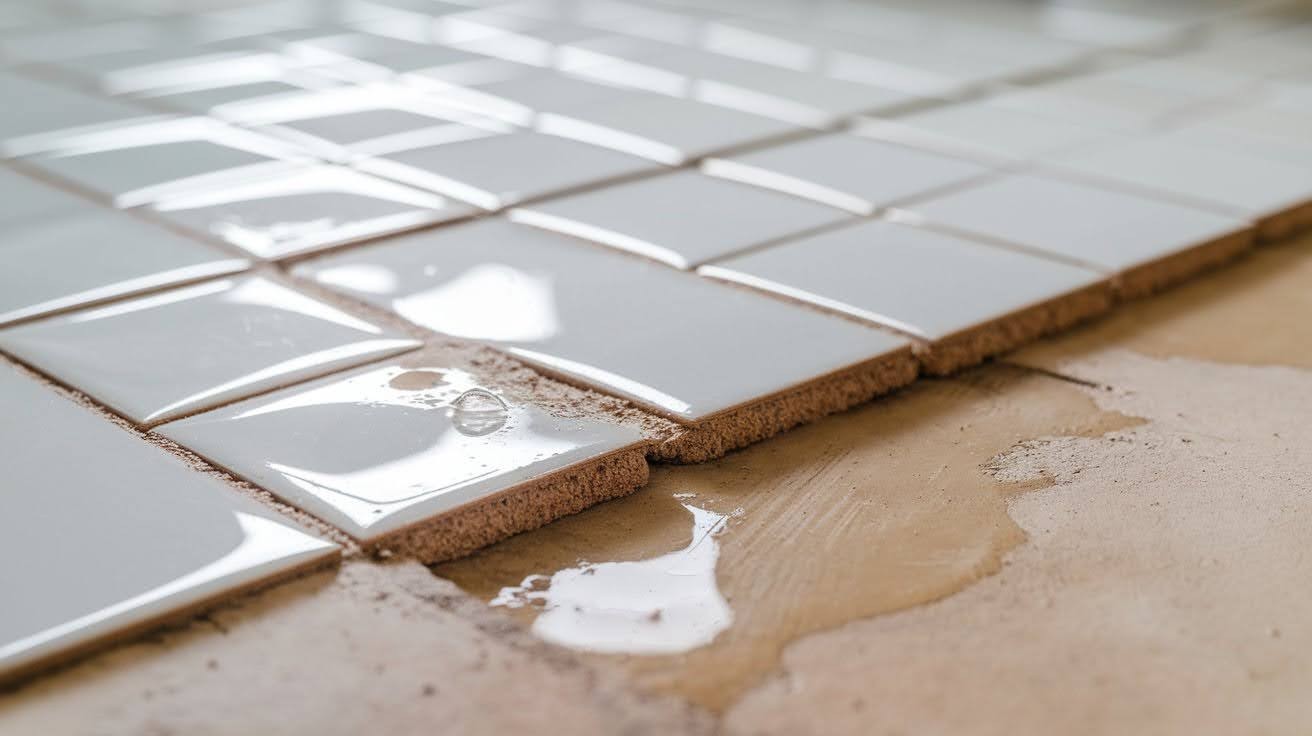
Water damage is the biggest culprit. When water seeps under your tiles, it weakens the adhesive. Your bathroom and kitchen tiles get hit the hardest.
Age plays a role too. Even the best adhesive breaks down over time. If your tiles are 10+ years old, they’re more likely to pop loose.
Poor installation can cause problems years later. Maybe the original installer didn’t use enough adhesive. Or they didn’t prepare the subfloor properly.
Foundation settling creates tiny shifts in your floor. These movements can break the bond between tile and subfloor.
Here’s something I learned the hard way: temperature changes can loosen tiles too. Your floor expands and contracts with the seasons.
Tools & Materials You’ll Need to Fix Loose Floor Tiles
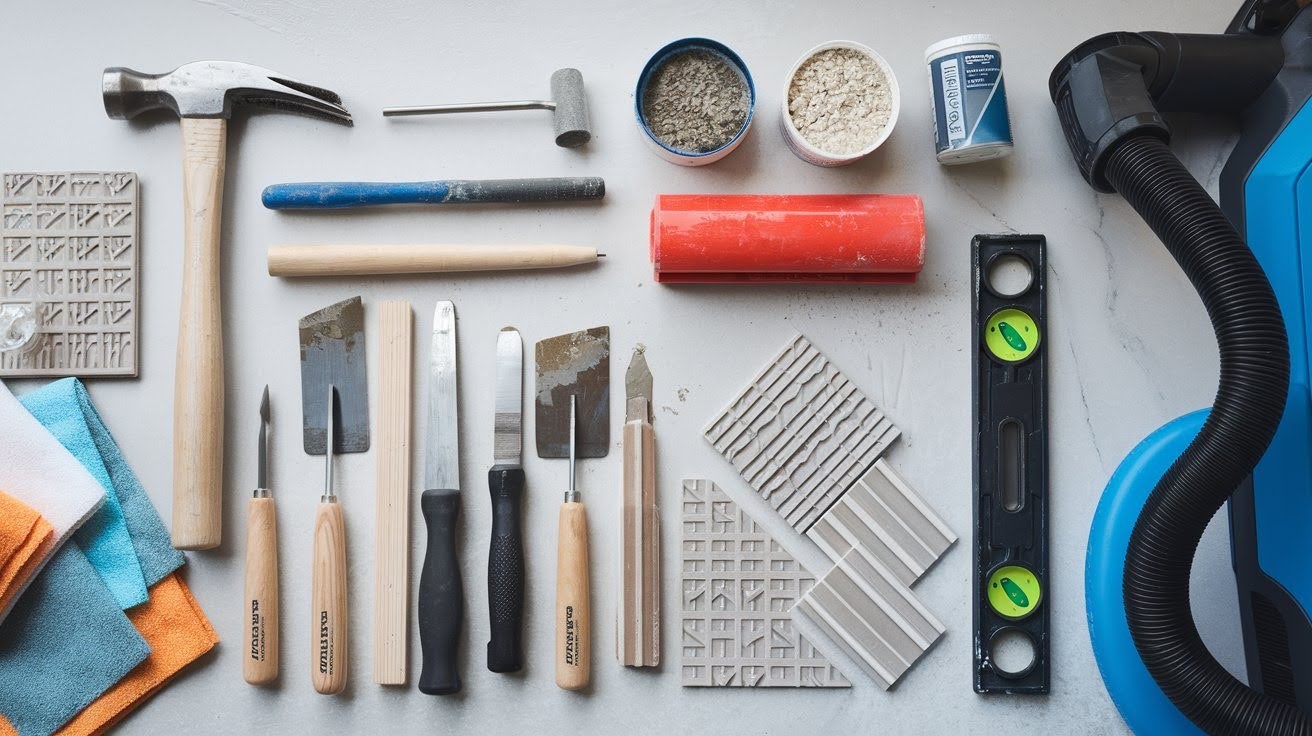
Let me save you a trip to the hardware store. Here’s everything you need:
Tools:
- Hammer and chisel (or oscillating tool)
- Putty knife
- Notched trowel
- Rubber mallet
- Level
- Vacuum cleaner
- Clean rags
Materials:
- Tile adhesive (match your original type)
- Grout
- Grout sealer
- Replacement tile (keep extras handy)
I always take a photo of my loose tile before removing it. You’ll thank me later when you’re trying to match the pattern.
Step-by-Step Guide: How to Fix Loose Floor Tiles
Ready to get your hands dirty? Let’s do this.
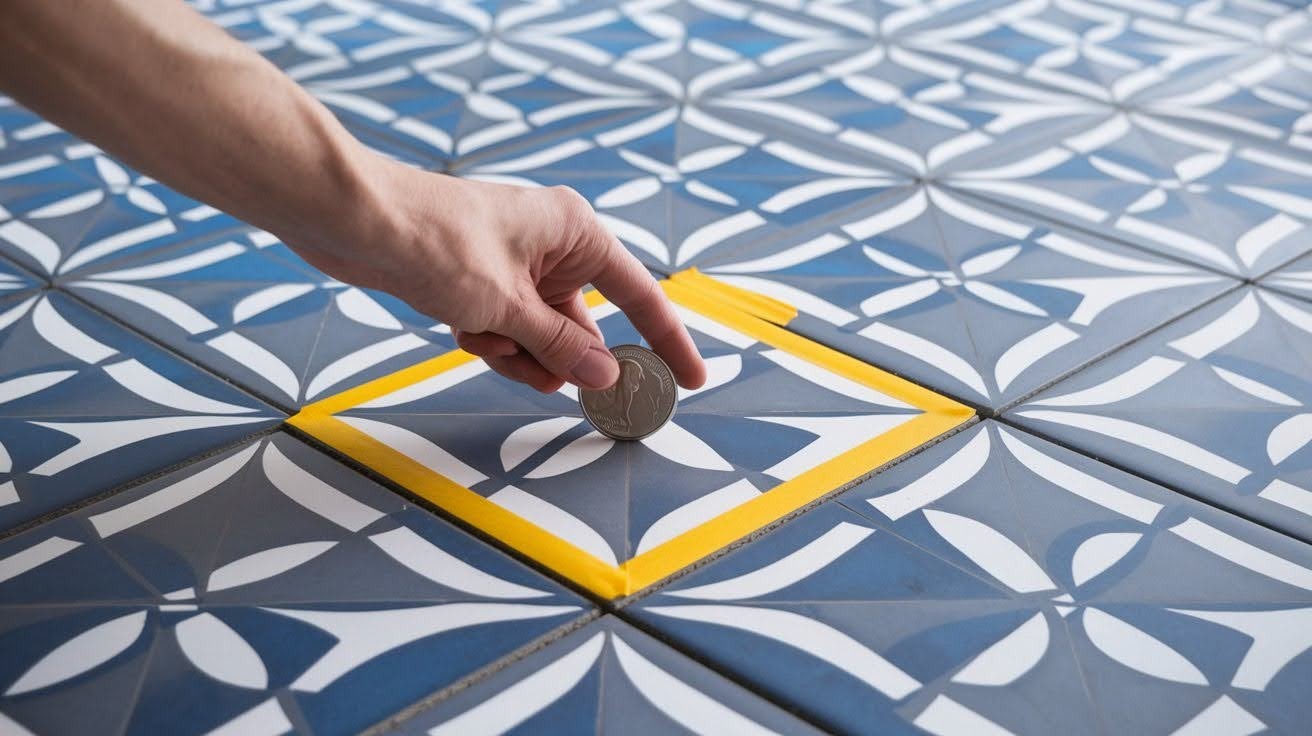
Step 1: Identify the Loose Tile
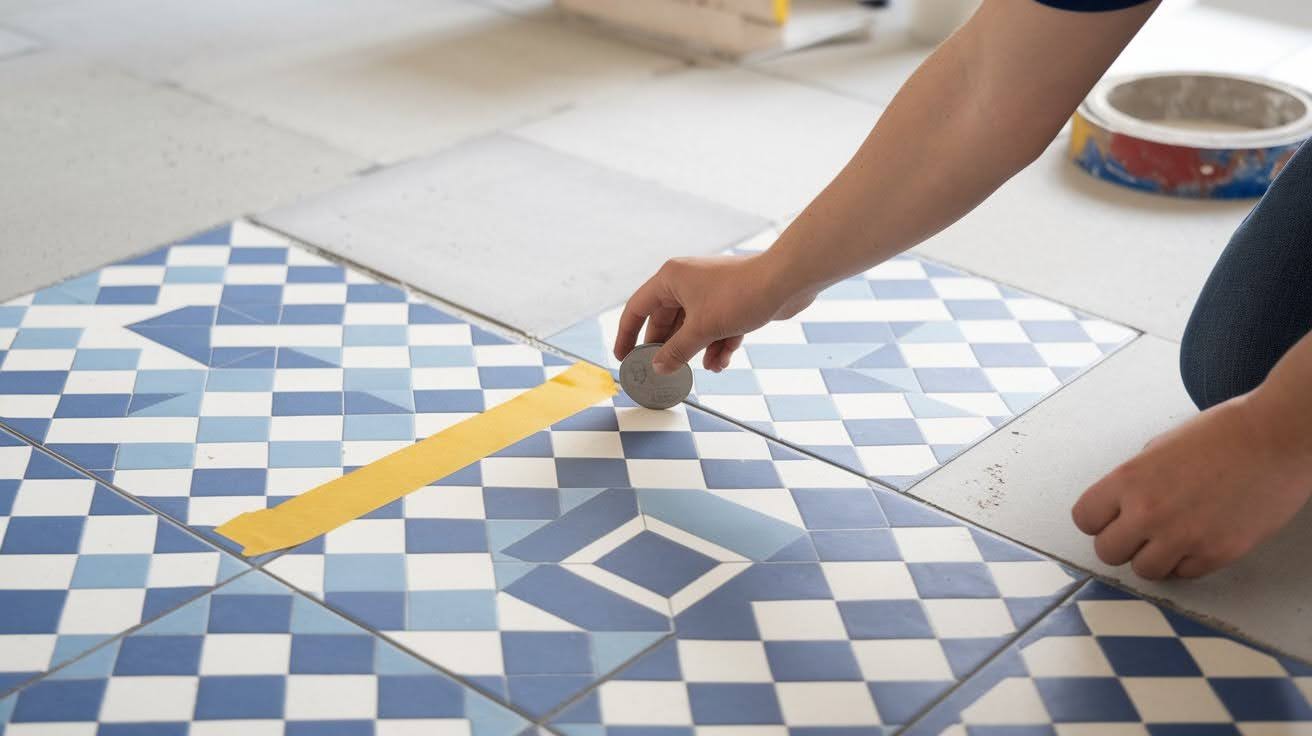
Walk around your floor and tap each tile with a coin or your knuckle.
- Solid tiles sound firm and dull
- Loose tiles sound hollow or make a clicking noise
Mark the loose ones with painter’s tape. Check the surrounding tiles too since problems often spread.
Step 2: Remove the Loose Tile Safely
This is where patience pays off. Start with grout removal using your oscillating tool. Clear out all the grout around the loose tile. Take your time here since rushing can crack adjacent tiles.
For the tile removal:
- If barely hanging on, pry up with a putty knife
- For stubborn tiles, use hammer and chisel at 45-degree angle
- Save the tile if it’s not cracked
Clean off old adhesive from the back with your putty knife.
Step 3: Clean the Area & Prepare the Surface
This step determines if your repair lasts 6 months or 6 years.
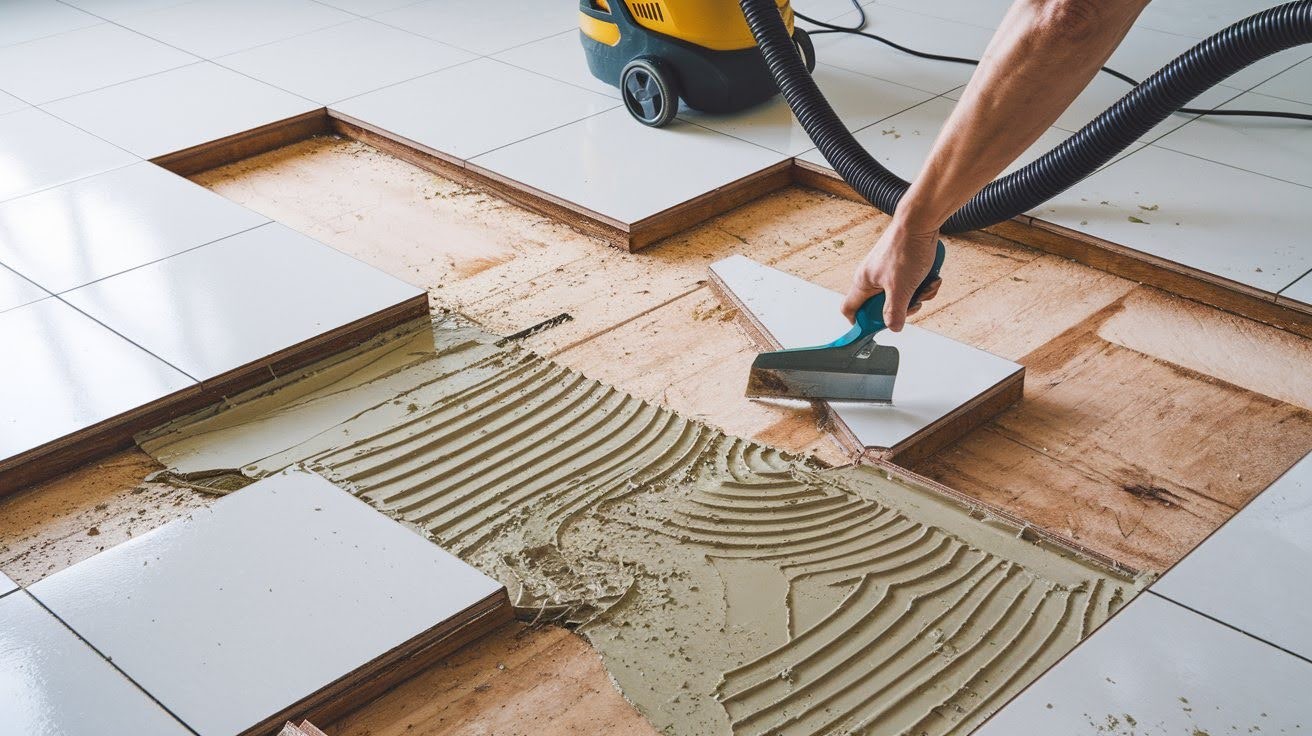
- Vacuum out all debris, dust, and grout chunks
- Scrape the subfloor clean with putty knife
- Check for soft spots, water stains, or cracks
- Wipe down with damp cloth and let dry completely
Step 4: Reapply Adhesive & Reset the Tile
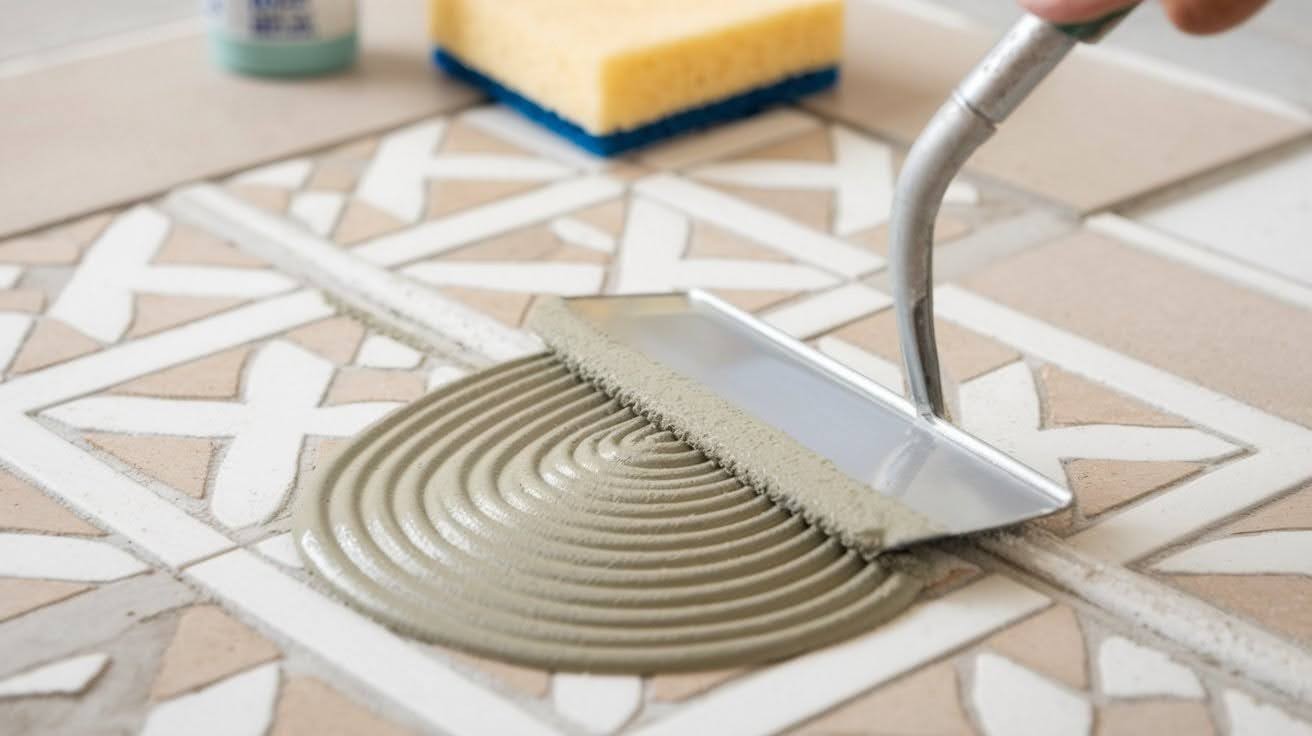
Apply adhesive evenly with your notched trowel. Don’t glob it on thick.
Key steps:
- Work in small sections since adhesive skins over quickly
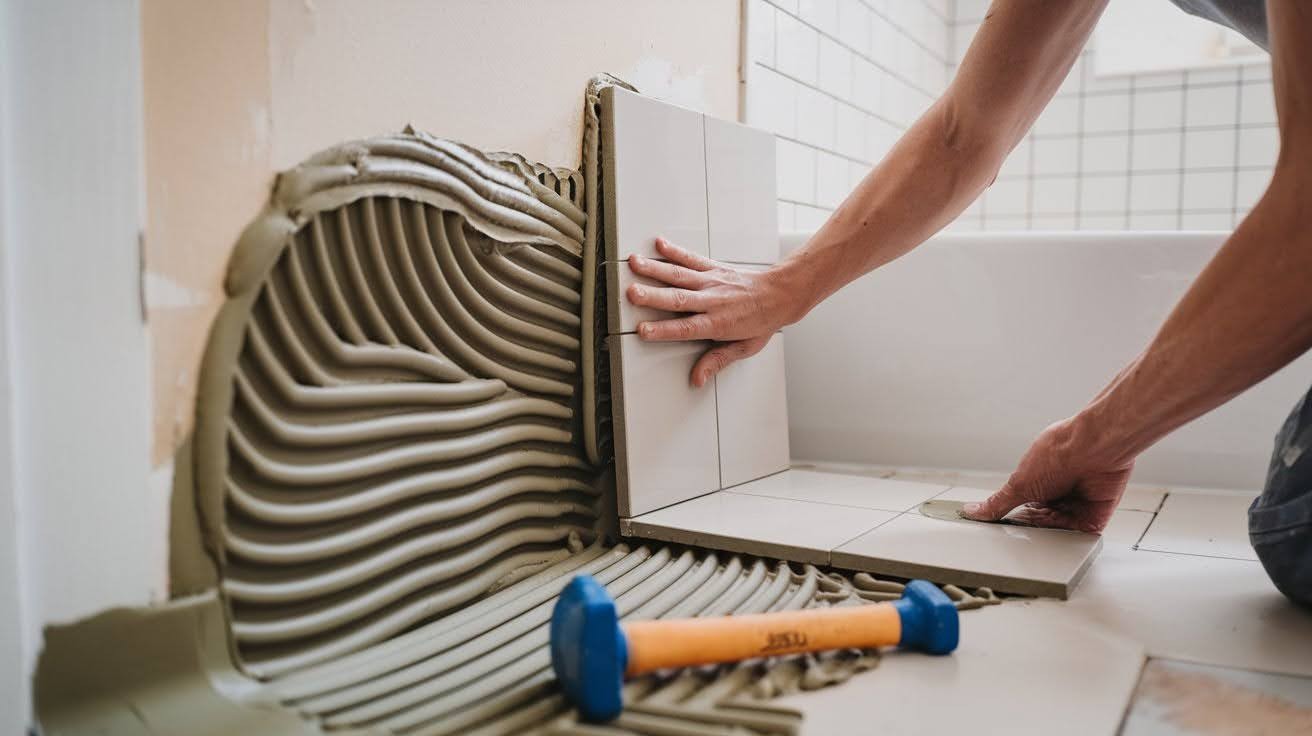
- Place tile carefully (you get one shot at positioning)
- Press down firmly and give a gentle twist
- Use rubber mallet to tap level with surrounding tiles
- Clean excess adhesive immediately
Step 5: Re-grout and Seal the Tile
Wait 24 hours before grouting. I know it’s tempting to rush, but don’t.
Final steps:
- Mix grout according to package directions
- Apply with diagonal strokes, pressing firmly
- Clean excess grout with damp sponge
- Let cure 24-48 hours before applying sealer
Quick Fixes vs Permanent Solutions
Sometimes you need a temporary solution while you plan a bigger repair.
| Quick Fixes Work When | Permanent Repairs Needed When |
| Only one tile is slightly loose | Multiple tiles are loose |
| No water damage is present | You see water damage |
| You’re planning a full renovation soon | The subfloor has issues |
| Tiles keep coming loose after repair |
Don’t use construction adhesive as a permanent fix. It might hold short-term, but it won’t last.
Preventing Tiles from Coming Loose Again
An ounce of prevention beats a pound of cure. Keep water away from tile edges. Caulk around tubs, showers, and sinks regularly.
Maintain your grout. Seal it annually in wet areas like bathrooms. Fix small problems quickly. That tiny crack in your grout can become a big expensive problem.
Use quality materials for any future tile work. Cheap adhesive costs more in the long run. Control humidity in your home. Use exhaust fans and maintain good ventilation.
When to Call a Professional Tiler
I’m all for DIY repairs, but sometimes you need backup.
Call a pro if:
- Multiple tiles are loose across a large area
- Your subfloor is damaged or soft
- You find mold or extensive water damage
- The tiles keep coming loose after repair
- You’re not comfortable with power tools
Also consider professionals for:
- Expensive natural stone tiles
- Complex patterns or layouts
- Areas with radiant floor heating
A good contractor will fix the root cause, not just the symptoms.
Conclusion
I’ve walked you through every step to fix your loose floor tiles permanently. This isn’t just theory. I’ve used this exact process in my own home dozens of times.
The key is taking your time with each step. Rush the prep work and you’ll be back here in six months. Do it right and your repair will outlast most jobs.
You have everything you need to solve this problem today. Start with identifying all your loose tiles using the coin-tapping method I showed you.
Don’t let those clicking tiles drive you crazy anymore. Your guests will notice the difference and you’ll feel satisfied every time you walk across that solid floor.
Grab your tools and start fixing those tiles right now.
Frequently Asked Questions
How long does it take to fix a loose floor tile?
A single tile takes about 2-3 hours of active work. However, you’ll need to wait 24 hours between applying adhesive and grouting, then another day before sealing.
Can I walk on the repaired tile right away?
No, wait at least 24 hours before walking on it. The adhesive needs time to fully cure, or you’ll risk loosening the tile again.
What happens if I ignore loose tiles?
Water will seep underneath and damage your subfloor. This turns a simple $20 repair into a costly subfloor replacement that can cost hundreds of dollars.
Do I need to replace the tile or can I reuse it?
You can usually reuse the original tile if it’s not cracked. Just scrape off the old adhesive from the back and clean it thoroughly before reinstalling.
How do I know if my subfloor is damaged?
Press on the exposed area after removing the tile. If it feels soft, spongy, or you see dark stains, you have water damage that needs professional attention.