
I know how to finish concrete floors can feel overwhelming at first. I’ve been there too, staring at raw concrete and wondering where to start.
But here’s the thing: finishing concrete floors isn’t as complicated as it seems.
In this guide, I’ll walk you through every step, from preparing the surface to choosing the right finish for your space.
You’ll learn about polished concrete, stains, epoxy coatings, and sealants. I’ll also share which finishes work best for basements, garages, and living areas.
By the end, you’ll have a clear plan to create durable, beautiful floors that last for years.
Why Finish Concrete Floors?

Finishing concrete floors strengthens the surface and makes it last longer. Finished floors are easier to clean because dirt and spills don’t sink into the concrete. They resist stains, moisture, and daily wear far better than raw concrete.
A good finish adds style and personality to any space. It can completely change how basements, garages, and home offices feel. Finished concrete floors also increase property value since buyers appreciate durable, low-maintenance surfaces.
Sealed or coated concrete resists damage from foot traffic, furniture, and spills. This means fewer repairs and lower costs over time.
Step-by-Step Guide to Finishing Concrete Floors
Follow these steps to create a durable, professional-looking concrete floor finish.
Step 1: Safety Precautions
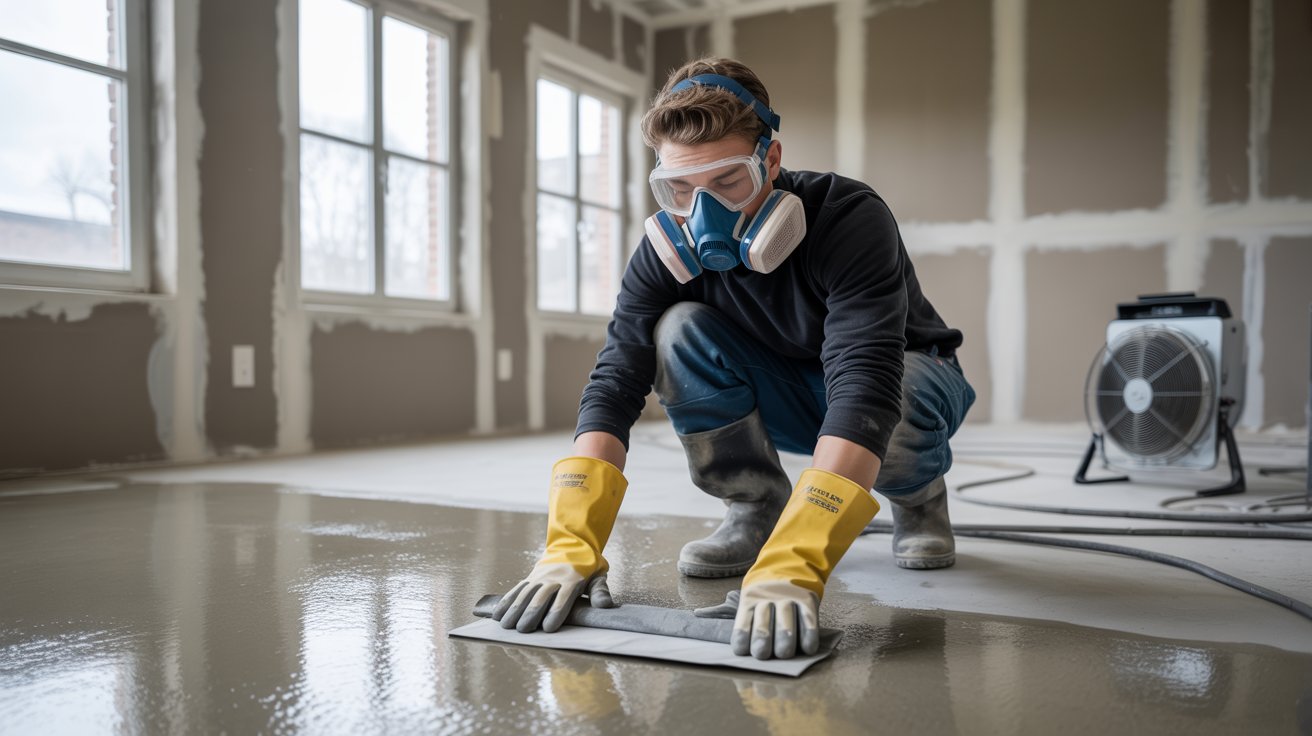
Always wear thick gloves, safety goggles, and a respirator mask when working with concrete finishes. The fumes from stains, epoxy, and sealants can be strong and harmful.
Ensure good airflow by opening windows and doors. Use fans if needed. Fresh air helps clear harmful vapors and keeps you safe while working.
Step 2: Prepare the Surface

Clean the concrete thoroughly by sweeping, vacuuming, and scrubbing with a pH-neutral cleaner. Rinse well and let it dry completely.
Remove old paint or coatings using chemical strippers or a grinder. Get down to bare concrete for best results.
Fill cracks and holes with concrete patching compound. Smooth it out and let it cure. A level, solid base is essential for any finish.
Step 3: Test and Level the Concrete

Check the floor for uneven spots or rough patches. Run your hand across the surface to feel for high and low areas.
Grind down high spots and fill low areas with self-leveling compounds. The goal is a smooth, even surface that prevents problems later.
Step 4: Choose the Right Finish
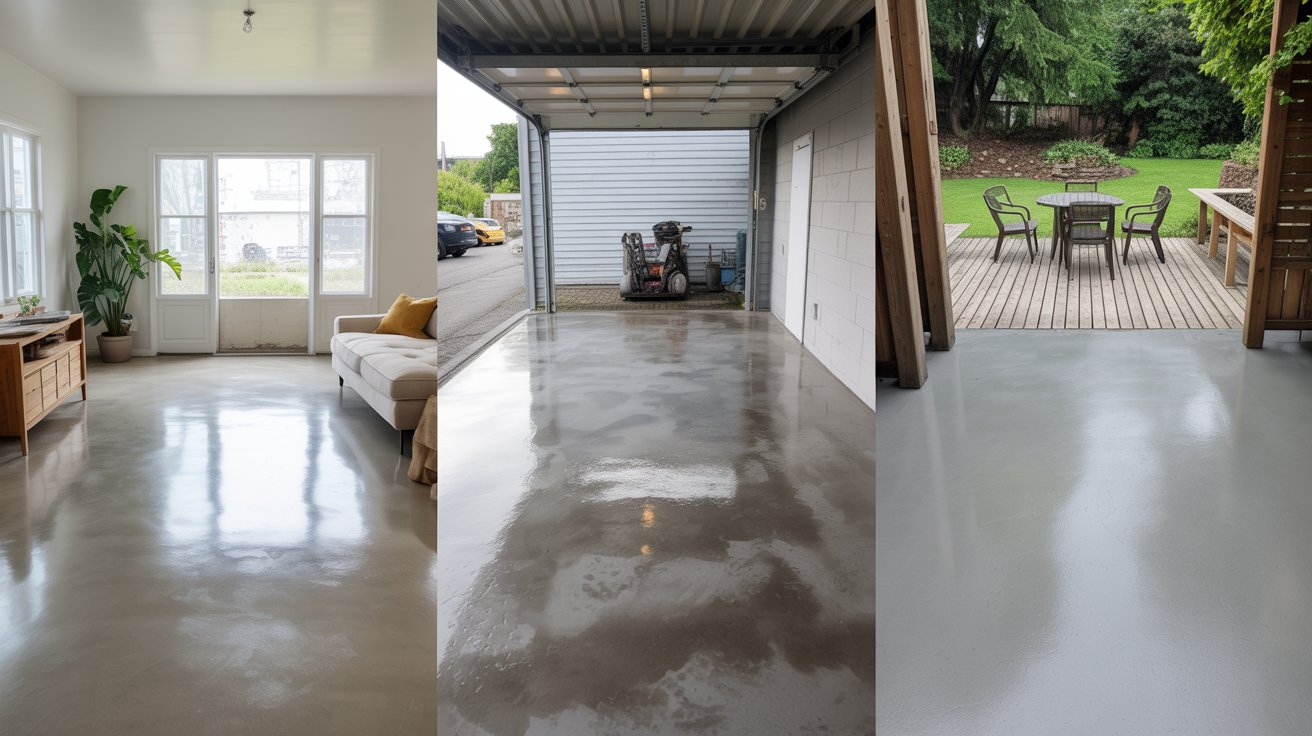
Think about how you’ll use the space. Garages need durable, chemical-resistant finishes. Living rooms benefit from polished or decorative options. High-traffic areas require tougher finishes.
Consider outdoor versus indoor needs. Outdoor concrete needs UV and weather protection. Slip resistance matters for wet areas like patios or pool decks.
Step 5: Apply Primer (If Needed)

Stains and epoxy usually need concrete-specific primers to help the finish bond properly. Polished floors typically skip this step.
Read your product instructions carefully. If primer is required, apply it evenly with a roller or brush and let it dry completely before adding the finish coat.
Step 6: Apply the Finish

For stains: Use a sprayer or roller to apply evenly. Work in sections and use multiple thin coats. Let each layer dry before adding the next.
For epoxy or polyurea: Pour the mixture onto the floor and spread with a squeegee or roller in a criss-cross pattern. Work quickly as these products set fast.
For polishing: Start with coarse abrasive pads on a floor grinder. Gradually move to finer grits until you reach your desired gloss level.
Step 7: Cure and Seal

Let your finish cure properly. Some products need 24 hours, others need several days. Don’t walk on the floor until it’s fully set.
Apply sealant to protect against stains, moisture, and wear. Choose matte, satin, or high-gloss based on your preference. Use thin, even coats with a roller.
Step 8: Maintenance Tips

Sweep or vacuum regularly to remove dirt and grit. Damp mop weekly with a pH-neutral cleaner. Avoid harsh chemicals that break down the sealant.
Reseal every 2 to 3 years. Watch for dull spots or water that doesn’t bead up anymore. Fix scratches, chips, or stains right away to prevent bigger problems.
11 Best Concrete Floor Finishes
Choosing the right finish can completely change how your concrete floor looks and performs.
1. Polished Concrete
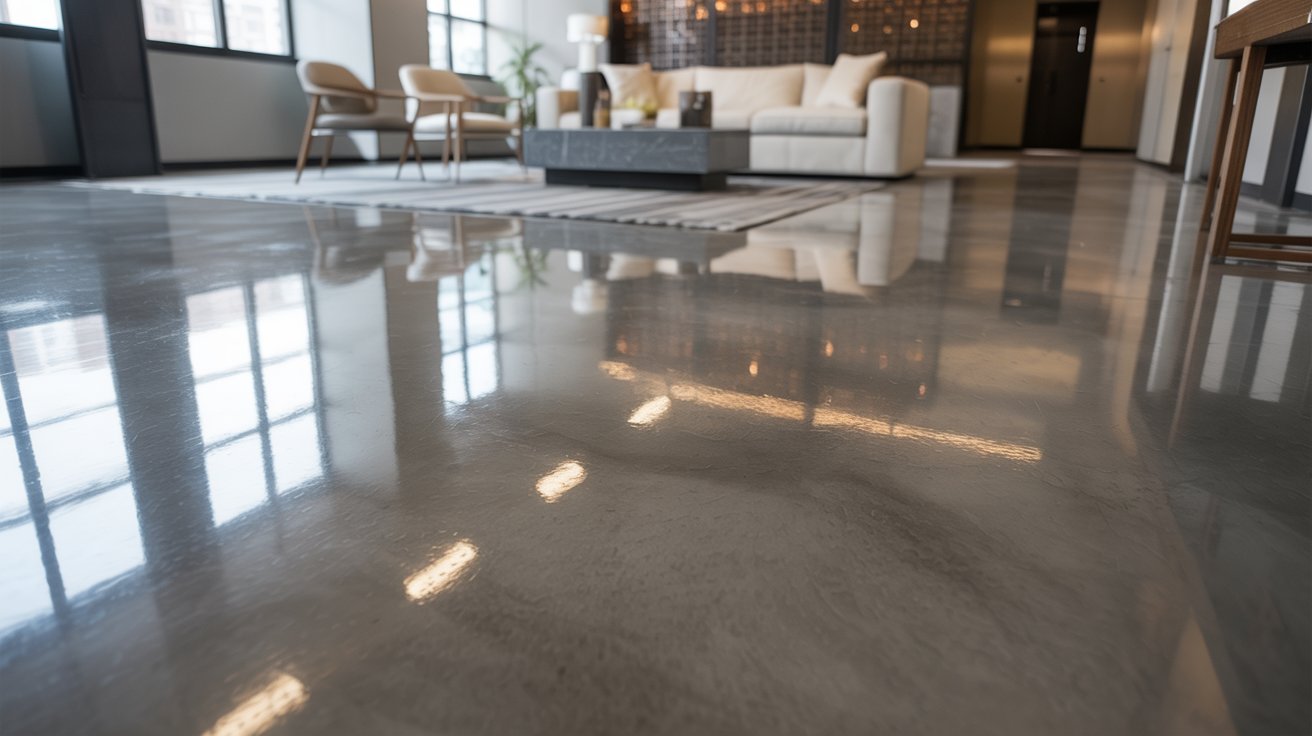
Polished concrete creates a smooth, reflective surface through grinding with progressively finer pads. It’s extremely durable, easy to maintain, and works well in homes and commercial spaces. The natural concrete color shows through with attractive aggregate patterns.
2. Acid-Stained Concrete

Acid stain reacts with concrete minerals to create rich, variegated colors. No two floors look the same. The mottled, organic appearance adds natural depth with colors ranging from earth tones to greens and blues.
3. Water-Based Stained Concrete

Water-based stains provide uniform color coverage without chemical reactions. They offer predictable results in a wide variety of shades. This finish penetrates the surface, won’t peel or chip, and is safer to apply than acid stain.
4. Epoxy-Coated Concrete

Epoxy creates a thick, glossy coating that’s extremely durable and chemical-resistant. Perfect for garages and workshops. You can add decorative flakes or metallic pigments. The surface cleans easily and stands up to heavy use.
5. Faux Wood Concrete

This finish mimics hardwood floors using stamps or stains to create wood-grain patterns. You get the warmth of wood without warping, rotting, or refinishing needs. Perfect for basements and areas where real wood isn’t practical.
6. Concrete Floor Stamping

Stamping presses patterns into wet concrete to mimic stone, brick, tile, or pavers. Design options are nearly unlimited. This finish combines durability with custom design at a lower cost than real materials.
7. Concrete Floor Stenciling

Stenciling adds intricate designs using paints, metallic finishes, or dyes. Create borders, medallions, or repeating patterns over existing or freshly sealed concrete. A great way to personalize your floor with geometric or artistic elements.
8. Microtopping Overlay

Microtopping is a thin cement layer applied over existing concrete. It covers stains, minor damage, or outdated finishes. Once applied, you can stain, polish, or seal it. This refreshes old floors without replacement costs.
9. Painted Concrete

Concrete floor paint is the most affordable finish option. It comes in countless colors and applies with standard tools. Paint provides a fresh look but may need touch-ups over time, especially in high-traffic areas.
10. Polyurethane Coating

Polyurethane creates a hard, glossy finish that resists scratches, water, and UV rays. It’s tougher than standard sealers and works well over stained or painted concrete. The clear finish won’t yellow over time.
11. Brushed or Textured Concrete

Brushing or texturing creates a slip-resistant surface. Practical for outdoor areas, pool decks, and ramps. The texture adds an industrial or rustic look while combining safety with style.
DIY vs. Professional Finishing
Doing it yourself saves money and lets you work at your own pace. Basic finishes like staining or painting are manageable with the right tools and careful attention to detail.
Hiring professionals costs more but ensures quality results. They have specialized equipment and experience to handle problems quickly. Complex finishes like epoxy or polished concrete often need professional expertise.
Consider your skill level and the project scope. Simple finishes work well for DIY. Large areas or complicated techniques may justify the extra cost of hiring experts.
Conclusion
I’ve walked you through every step of finishing concrete floors, from prep work to final sealing. Now you know how to choose the right finish for your space and keep it looking great for years.
The process takes effort, but the results are worth it. I finished my own garage floor last year, and it still looks fantastic. Take your time with the prep work and don’t rush the curing process.
Your concrete floors will reward you with durability and beauty. Got questions or tips to share? Drop a comment below.
Frequently Asked Questions
How long does it take to finish a concrete floor?
Most projects take 3 to 7 days including prep, application, and curing. Simple staining finishes faster while epoxy needs more curing time.
Can I finish concrete floors myself?
Yes, basic finishes like staining, painting, or sealing are DIY-friendly. Complex options like epoxy or polishing work better with professional help.
How often should I reseal concrete floors?
Reseal every 2 to 3 years for most spaces. High-traffic areas need it more often while low-use rooms can wait longer.
What’s the most durable concrete floor finish?
Polished concrete and epoxy coatings are the most durable. Both resist heavy traffic, stains, and moisture extremely well.
Can finished concrete floors be repaired if damaged?
Yes, most finishes can be repaired. Small scratches buff out easily while larger damage needs patching and spot refinishing.