
Ever stared at an old wooden box or furniture piece and wondered how to give it new life?
You’re not alone.
I’ve been decoupaging wood for over eight years. Started with a simple picture frame and never looked back. In this guide, you’ll learn exactly how to decoupage on wood from start to finish. I’ll walk you through every supply you need, each preparation step, and the complete application process.
Here’s what we’ll cover:
- Essential supplies and paper types
- Proper wood preparation techniques
- Step-by-step decoupage instructions
- Common mistakes and how to avoid them
- Creative project ideas for beginners
I’ve made every possible mistake so you don’t have to. Trust me – I once ruined three projects in one weekend because I rushed the drying process. This isn’t theory. These are tested methods that actually work.
By the end, you’ll have the confidence to change any wooden surface into something beautiful. Ready to get started?
What Is Decoupage? (And Why Wood Is Perfect for It)
Decoupage is the art of decorating surfaces with cut-out paper designs. You glue them down, then seal everything with multiple coats of finish. The French invented this technique centuries ago. They called it “découper” – which means “to cut out.”
Why does wood work so well for decoupage?
Wood has a natural texture. Paper bonds beautifully to its surface. Plus, wood can handle the moisture from glue without warping like cardboard might. Think of it as giving your wood a permanent paper makeover.
Supplies You’ll Need for Decoupaging on Wood
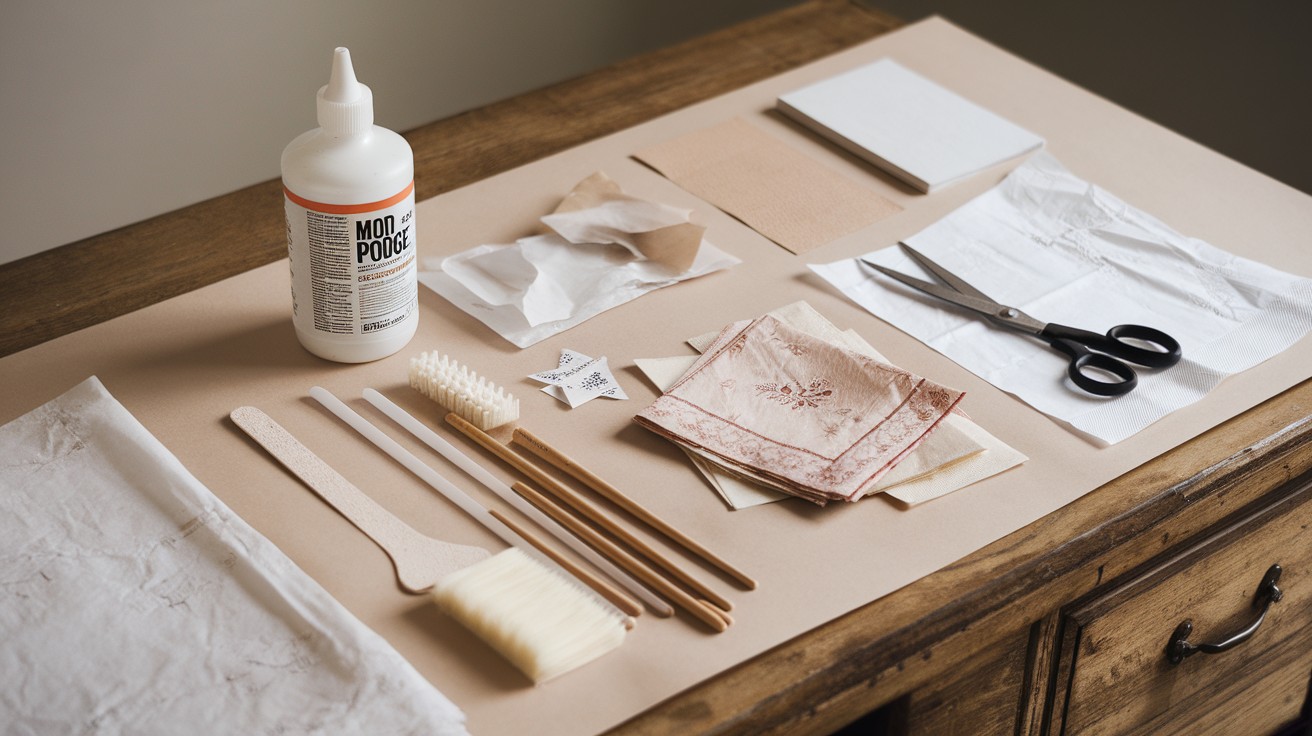
Here’s what I keep in my decoupage toolkit:
Essential Items:
- Mod Podge or decoupage medium
- Foam brushes (2-3 different sizes)
- Small scissors
- Craft knife
- Sandpaper (220 grit)
- Clean cloth or paper towels
Paper Options:
- Decorative napkins
- Scrapbook paper
- Magazine cutouts
- Tissue paper
- Rice paper
Optional But Helpful:
- Brayer or rolling tool
- Tweezers for tiny pieces
- Water-based sealer
Don’t buy everything at once. Start with the basics and build your collection as you go.
How to Prepare Your Wood Surface for Decoupage
Skip this step and you’ll regret it later.
Start with clean wood. Remove any dirt, grease, or old finish. Use a damp cloth and let it dry completely. Got rough spots? Sand them smooth with 220-grit sandpaper. Always sand with the grain, never against it.
Wipe away all dust with a tack cloth.
If your wood has knots or dark stains, apply a coat of primer. This prevents bleed-through that can ruin your design.
Pro tip: Test your paper on a hidden area first. Some papers become transparent when wet.
How to Decoupage on Wood: Step-by-Step Instructions
Ready to transform your wood? Let’s do this.
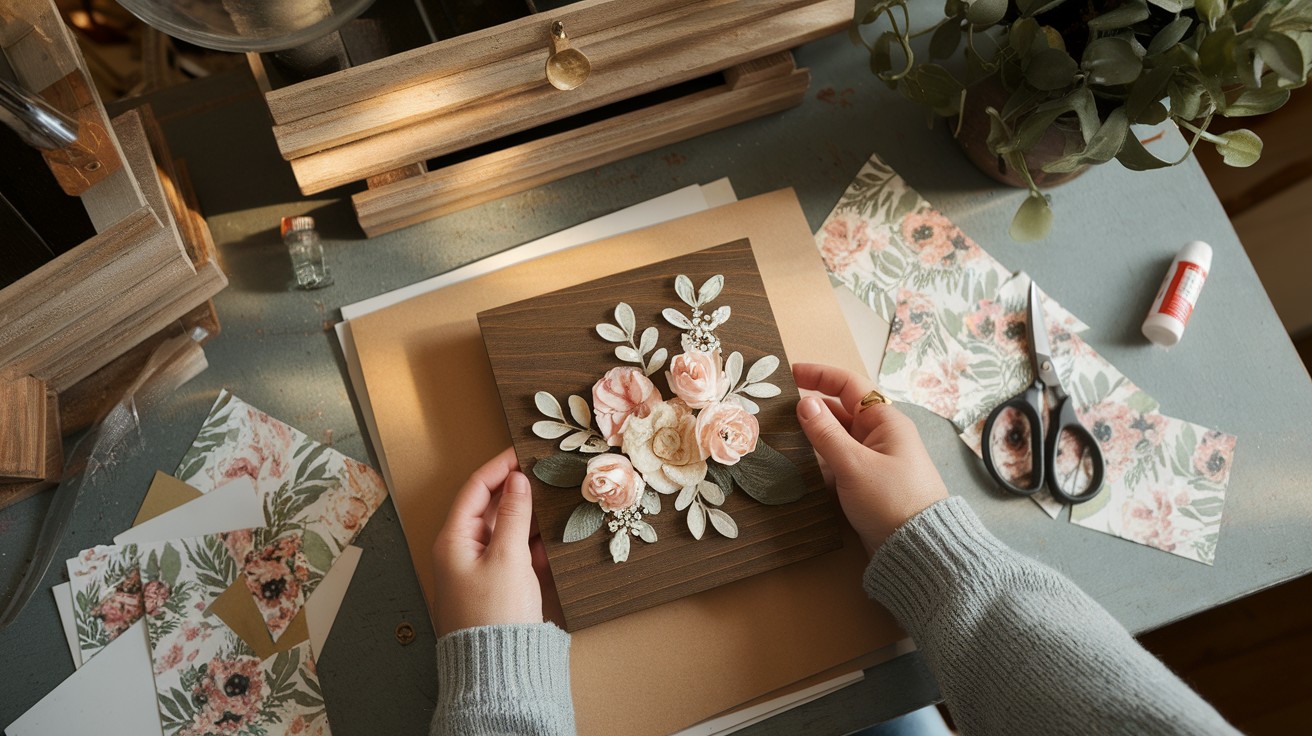
Step 1: Plan Your Design
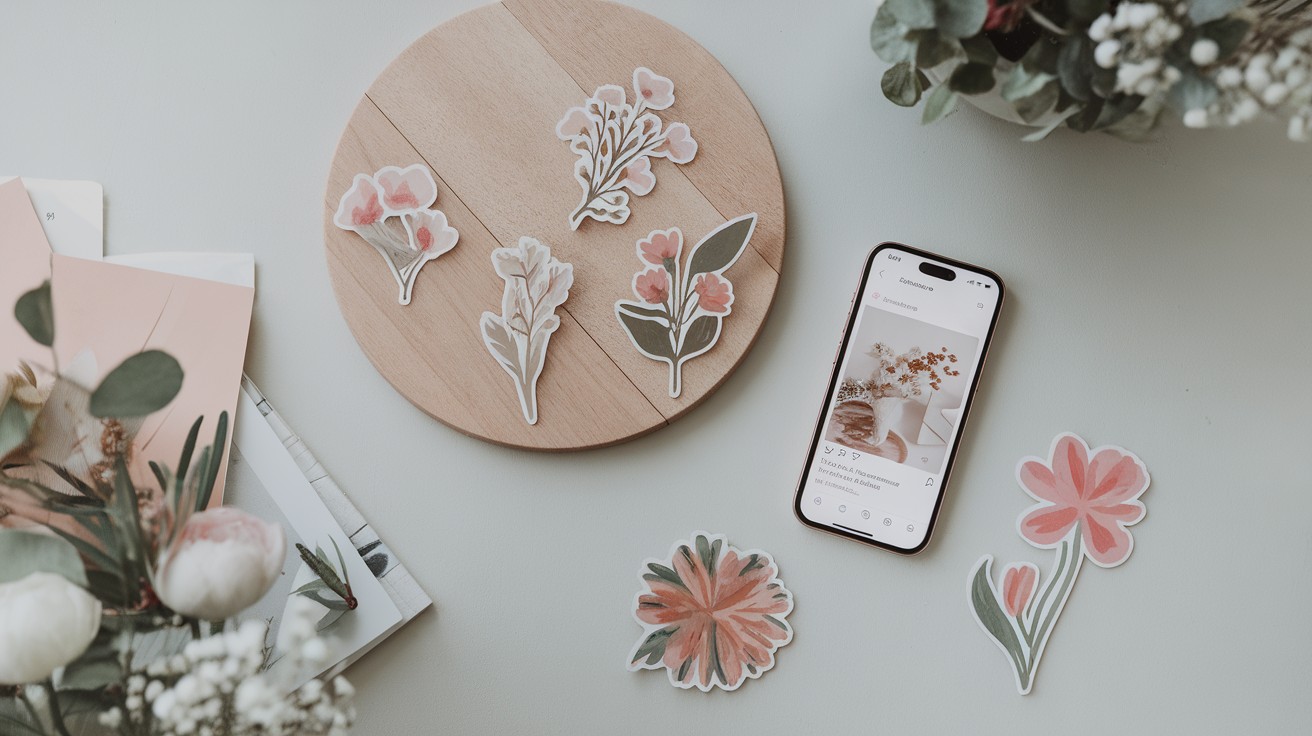
Lay out your paper pieces before gluing anything. Take a photo so you remember the arrangement.
This step saves you from mistakes later when everything’s wet and sticky. Consider how colors and patterns will flow together across your wood surface.
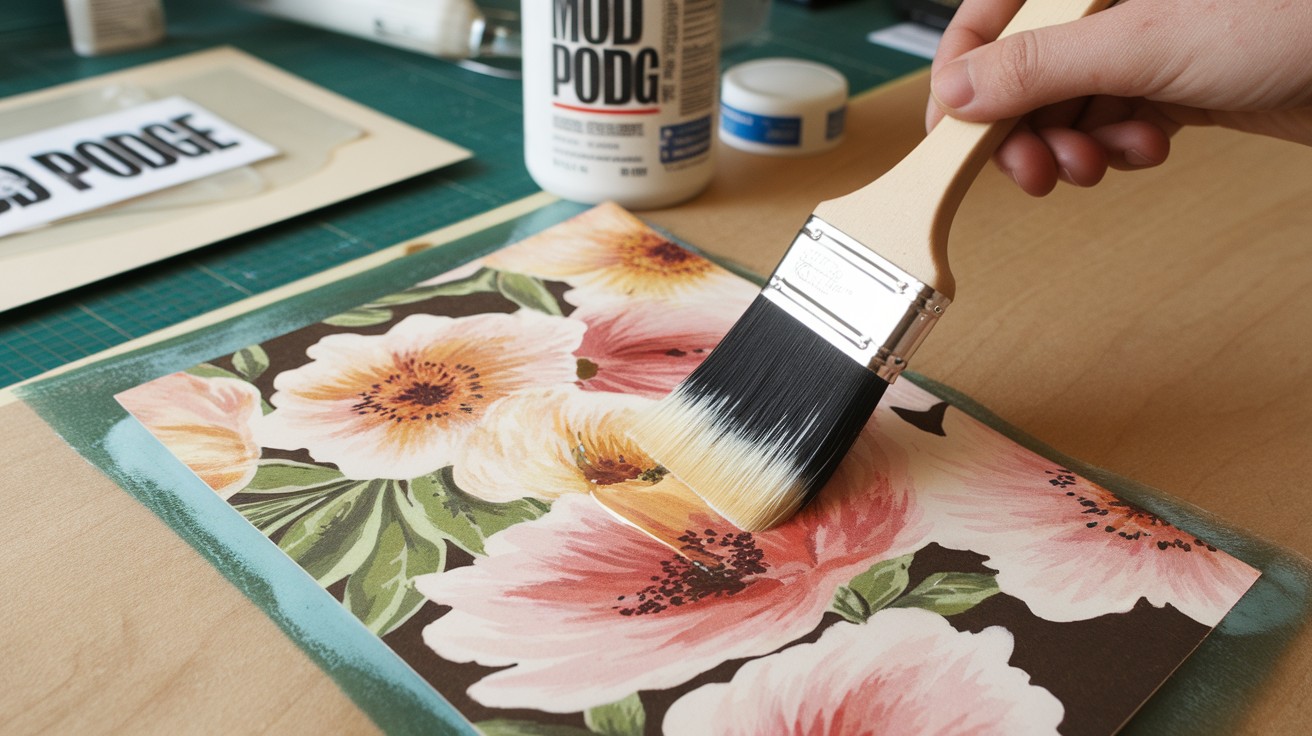
Step 2: Apply Base Coat
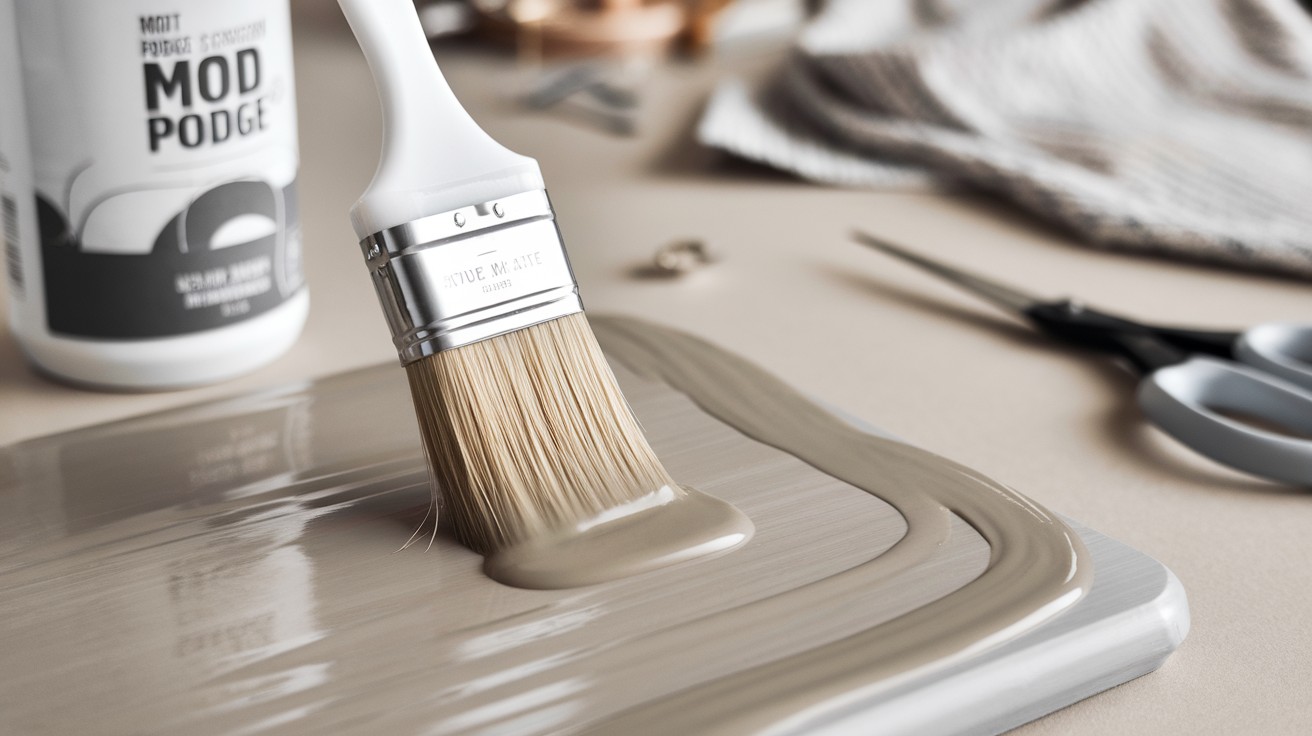
Brush a thin layer of Mod Podge onto your wood surface. Work in sections if the piece is large. The glue should be wet but not pooling anywhere on the surface.
Use smooth, even strokes to avoid brush marks that show through thin paper.
Step 3: Position Your Paper
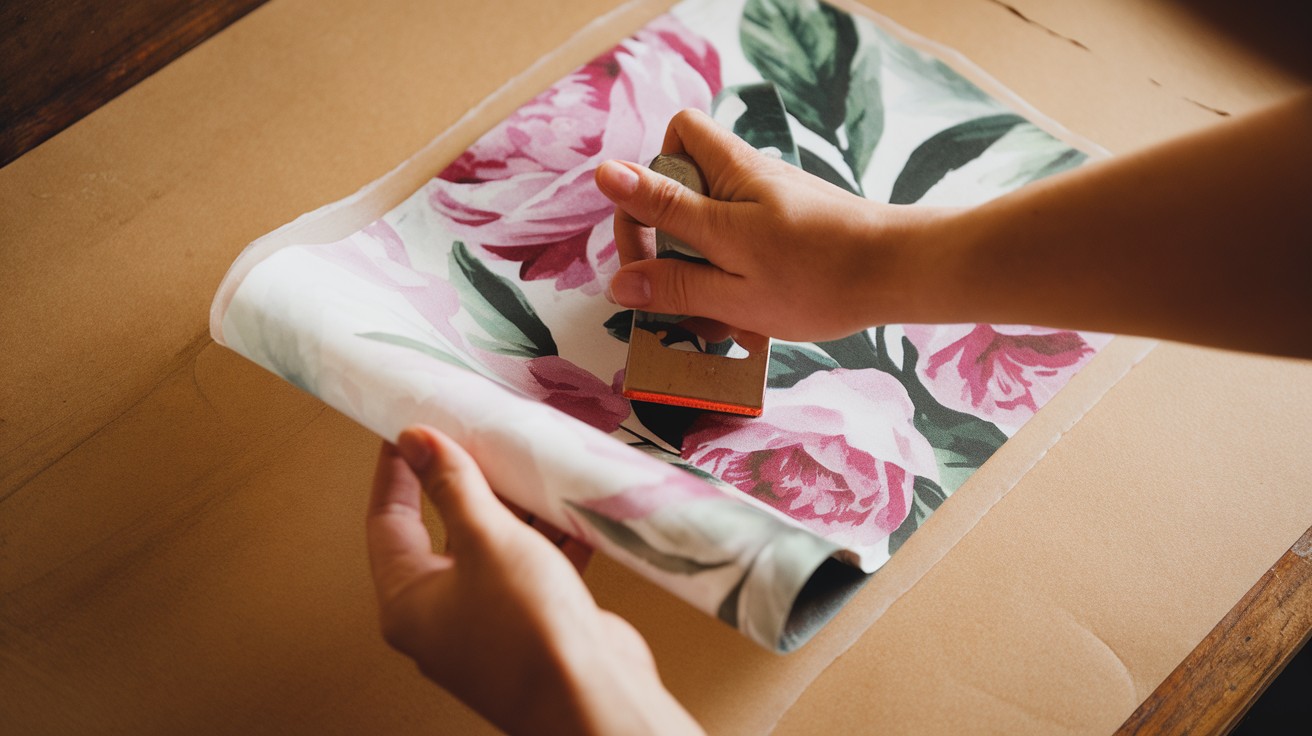
Place your first piece of paper onto the wet Mod Podge. Start from one edge and smooth out air bubbles as you go. Use your fingers or a brayer, working from center outward.
Don’t press too hard or you might tear delicate papers like tissue or napkins.
Step 4: Add More Pieces
Overlap edges slightly. The glue will make them blend together. Don’t worry about perfect alignment – slight imperfections add character.
If pieces don’t line up perfectly, the overlapping creates natural-looking layers. Work quickly before the first coat starts to get tacky.
Step 5: Seal the Surface
Once everything is positioned, brush another coat of Mod Podge over the entire surface. Let it dry for 15-20 minutes between coats. This first seal coat protects your paper arrangement from shifting during later applications. Pay extra attention to paper edges so they don’t lift over time.
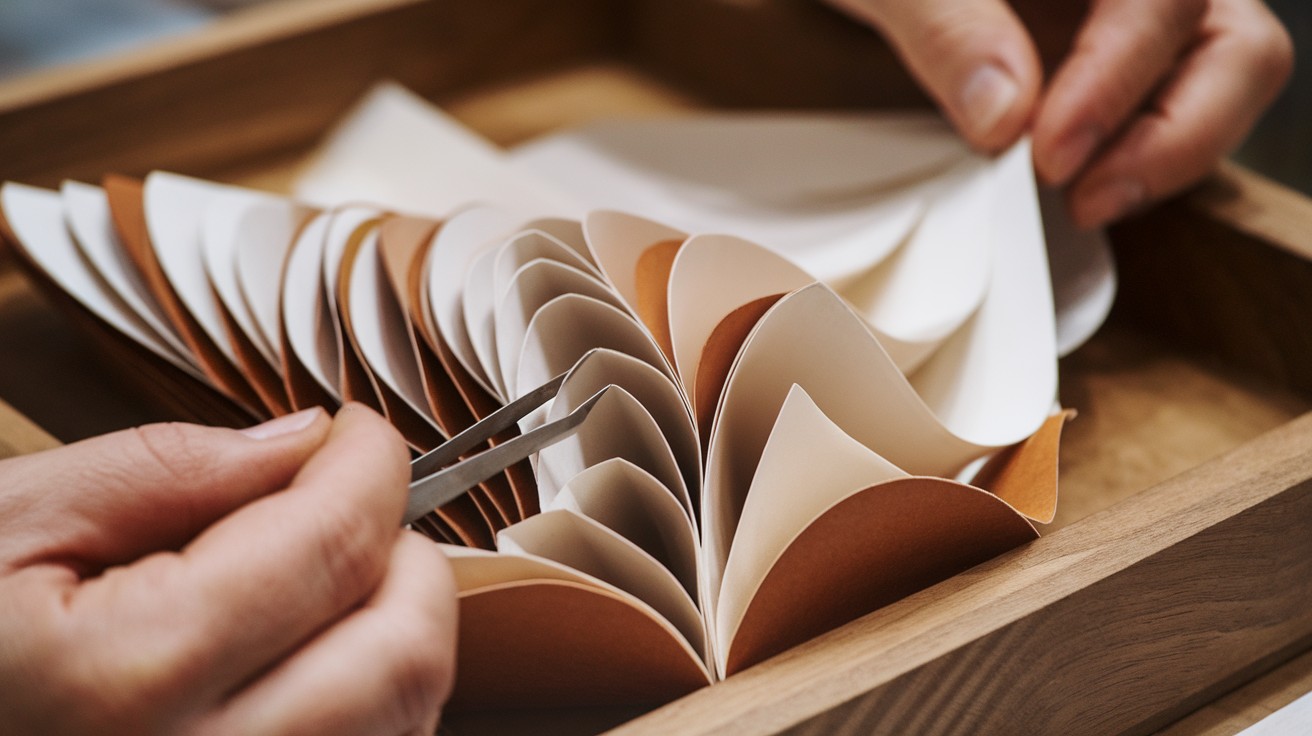
Best Types of Paper for Decoupaging on Wood
Not all paper works the same way.
Thin papers work best:
- Tissue paper
- Napkins (remove extra layers)
- Rice paper
- Lightweight scrapbook paper
Medium-weight options:
- Magazine pages
- Wrapping paper
- Book pages
- Sheet music
Avoid these:
- Thick cardstock
- Coated papers
- Photographs (unless specifically made for crafting)
Why does thin paper win? It conforms to wood grain better. Thick paper creates ridges and bubbles.
Common Mistakes to Avoid (And How to Fix Them)
I’ve made every mistake in the book. Learn from my errors.
Mistake #1: Rushing the drying process Fix: Wait the full drying time between coats. Patience pays off.
Mistake #2: Using too much glue Fix: Thin, even coats work better than thick globs.
Mistake #3: Not smoothing out bubbles Fix: Work bubbles toward the nearest edge while the glue is still wet.
Mistake #4: Forgetting to seal edges Fix: Always brush sealer over paper edges. Unsealed edges will lift over time.
Mistake #5: Choosing the wrong paper Fix: Test a small piece first. Some papers dissolve or become see-through.
Creative Decoupage on Wood Project Ideas
Let your imagination run wild with these projects:
Start with beginner-friendly pieces if you’re new to decoupage. Picture frames make perfect first projects because they’re small and forgiving. Small jewelry boxes let you practice working around corners and edges.
Wooden coasters are ideal for experimenting with different papers since mistakes won’t ruin expensive materials. Wooden letters spell out your creativity while building confidence with curved surfaces.
Move to intermediate projects once you’ve mastered the basics. Serving trays teach you to work on larger flat surfaces without bubbles or wrinkles. Storage boxes challenge you with multiple sides and lid fitting.
Cabinet doors give you experience with vertical surfaces and precise edge work. Table tops require patience and perfect sealing since they’ll see daily use.
Take on advanced challenges when you’re ready to transform entire pieces. Furniture makeovers demand planning, patience, and advanced sealing techniques. Wall art panels let you create custom artwork for specific spaces.
Room dividers become functional art pieces that divide and beautify simultaneously. Headboards turn your bedroom into a personalized sanctuary.
Choose themes that speak to you for more meaningful projects. Vintage maps create wanderlust-worthy pieces perfect for travel lovers. Sheet music transforms into elegant decor that musicians and music lovers adore.
Botanical prints bring nature indoors with timeless appeal that works in any room. Comic book pages add pop culture flair that showcases your personality.
Start small and master the technique on simple pieces before tackling furniture. Each project teaches new skills that prepare you for bigger challenges.
Sealing and Finishing Tips for Long-Lasting Results
Your final finish determines how long your project lasts.
For Light Use Items: 3-4 coats of Mod Podge work fine.
For Heavy Use Pieces: Apply Mod Podge, then finish with polyurethane sealer.
Water-resistant finish: Use marine-grade polyurethane for bathroom or kitchen items.
Application tips:
- Use long, smooth strokes
- Don’t go back over wet finish
- Sand lightly between final coats with 400-grit paper
- Apply thin coats rather than thick ones
Let cure for 24-48 hours before heavy use.
Final Thoughts
You now have everything you need to start decoupaging on wood today. The supplies are simple. The technique is forgiving. And the results are always rewarding. The good methods and the costly mistakes. Use this knowledge to skip the learning curve I went through.
Start small. Pick that old picture frame or wooden box sitting in your closet.
Here’s what happens next:
- Gather your supplies
- Prepare your wood surface
- Follow the step-by-step instructions
- Apply multiple seal coats
Your first project won’t be perfect. Mine wasn’t either. But it will be uniquely yours. The best part? Each project gets easier and more beautiful. Change that plain wood into something extraordinary. You’ve got this.
Frequently Asked Questions
Can I use regular white glue instead of Mod Podge?
Regular glue works but doesn’t create a smooth finish like Mod Podge. You’ll also need a separate sealer since white glue isn’t designed for topcoats.
What happens if I get wrinkles in my paper?
Small wrinkles add character and often look intentional once sealed. For large wrinkles, gently lift the paper while wet and reposition it.
How thick should each coat of sealer be?
Apply thin, even coats rather than thick ones. Thick coats take forever to dry and often leave brush marks or bubbles.
Can I decoupage outdoor furniture?
Yes, but you must use marine-grade polyurethane as your final sealer. Regular Mod Podge will peel off in weather.
Do I need to sand between every coat?
Only sand between the final two coats with fine 400-grit paper. This creates an ultra-smooth professional finish