
Want to give your wood furniture a rich, deep color? You’re in the right place.
I’ll show you exactly how to darken wood using proven methods that actually work. No guesswork. No wasted materials.
In this guide, you’ll learn:
- Which darkening method works best for your wood type
- Step-by-step techniques from basic staining to advanced methods
- Common mistakes that ruin projects (and how to avoid them)
- Professional tips I’ve learned from 15+ years of woodworking
If you’re refinishing an old table or updating kitchen cabinets, darkening wood can completely change your project. I’ve helped thousands of DIYers achieve professional-looking results on their first try. The techniques I share here are the same ones I use in my own workshop.
Here’s the truth: Most darkening failures happen because people skip crucial prep steps or choose the wrong method for their wood.
I’ll solve that problem for you today. Let’s get started.
Understanding Wood Types and How They Accept Darkening
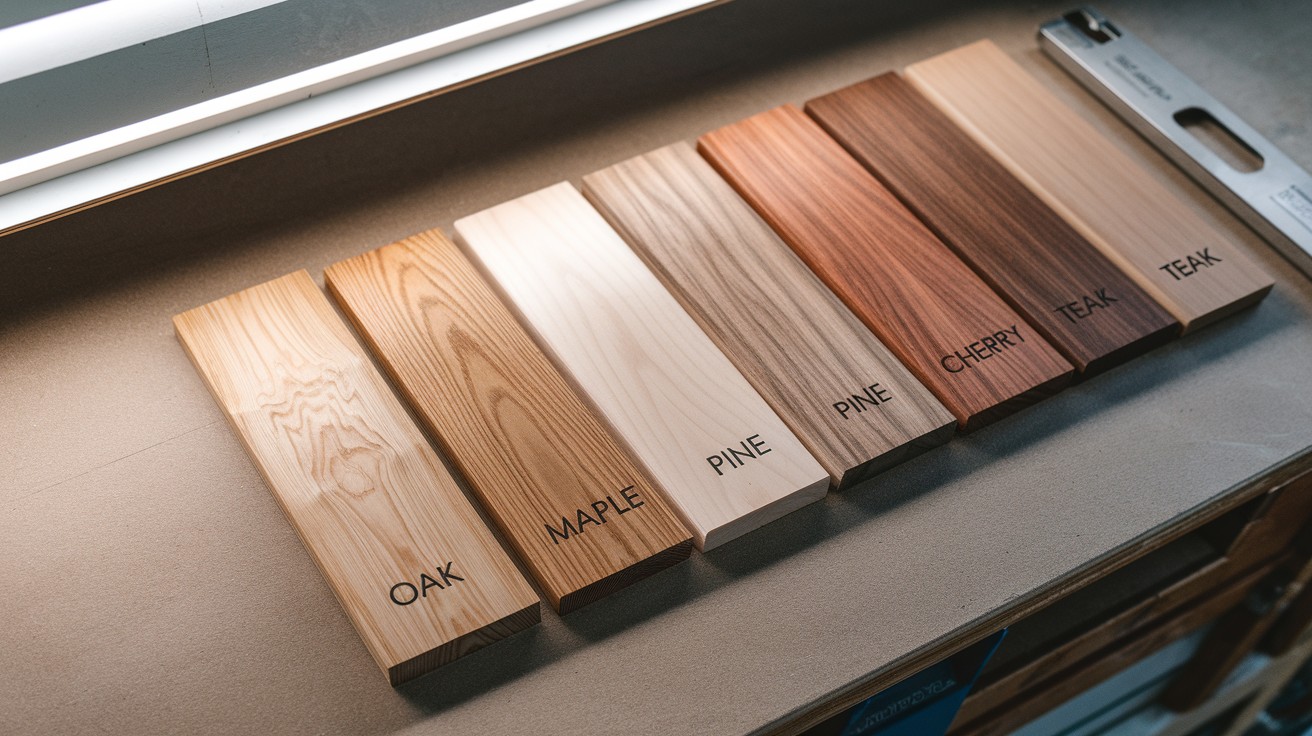
Not all wood darkens the same way. Hardwoods like oak, maple, and cherry absorb stain differently than softwoods like pine or fir.
Here’s what you need to know:
Dense Woods (Oak, Maple, Ash)
- Take longer to absorb stain
- Need more prep work
- Give even, consistent results
Soft Woods (Pine, Cedar, Poplar)
- Absorb stain quickly
- Can look blotchy without pre-treatment
- Often need wood conditioner first
Exotic Woods (Teak, Rosewood)
- Already have natural oils
- May resist staining
- Often need special techniques
Pro tip: Test your darkening method on a hidden area first. You’ll save yourself headaches later.
Essential Prep: Sanding and Cleaning Before You Darken
Skip this step and your results will disappoint you. Proper prep work makes the difference between amateur and professional results.
Start with the Right Grit
Begin with 120-grit sandpaper for rough surfaces. Move to 150-grit for smoothing. Finish with 220-grit for the final pass.
Never skip grits. Going from 120 straight to 220 leaves scratches that show through your finish.
Clean Between Each Step
Use a tack cloth to remove all dust.
Any leftover particles will create bumps in your finish.
Remove Old Finish Completely
Old varnish, paint, or wax blocks stain penetration. Use chemical strippers for thick coatings.
Sand bare wood until you see fresh, clean grain.
Warning: Work in a well-ventilated area when using chemical strippers. Wear gloves and eye protection.
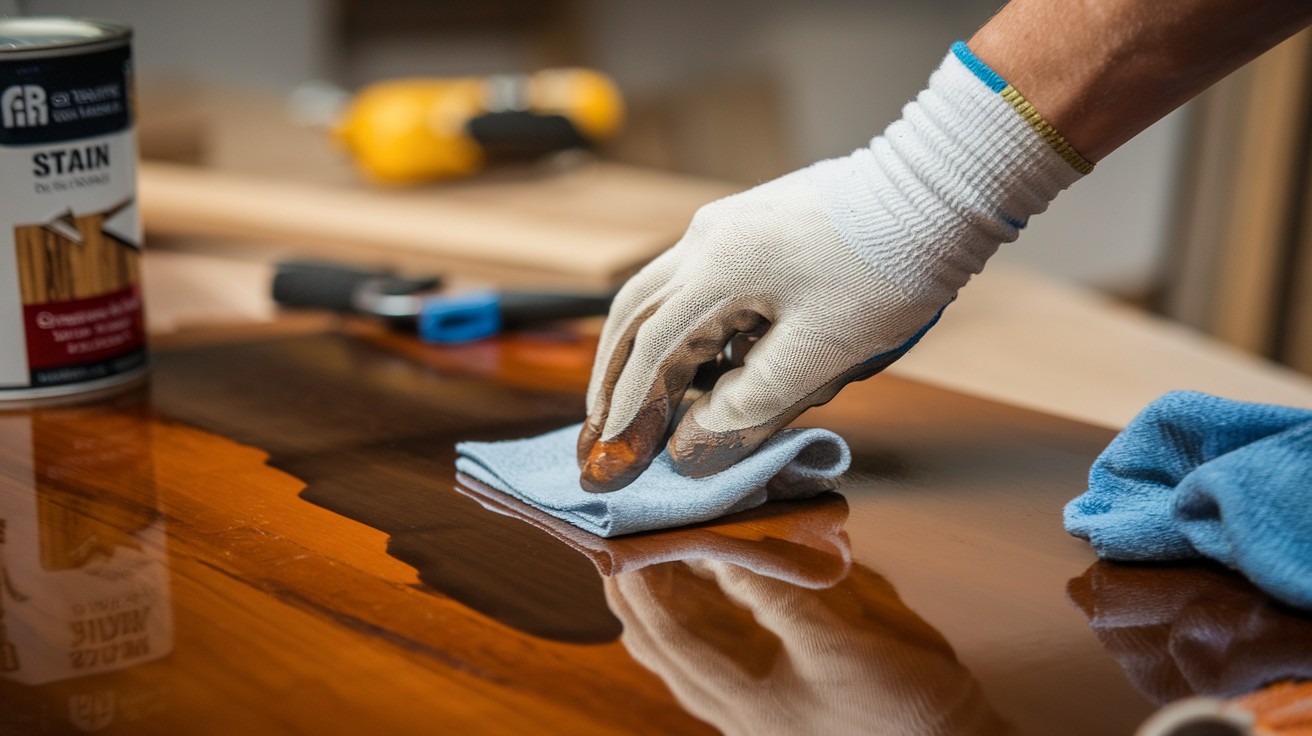
How to Darken Wood with Stain (Oil, Gel, Water-Based)
Staining is the most popular way to darken wood. But which type should you choose?
Oil-Based Stains
Best for: Deep penetration and rich color
Pros:
- Long working time
- Self-leveling
- Forgiving for beginners
Cons:
- Strong odor
- Long drying time
- Requires mineral spirits for cleanup
Gel Stains
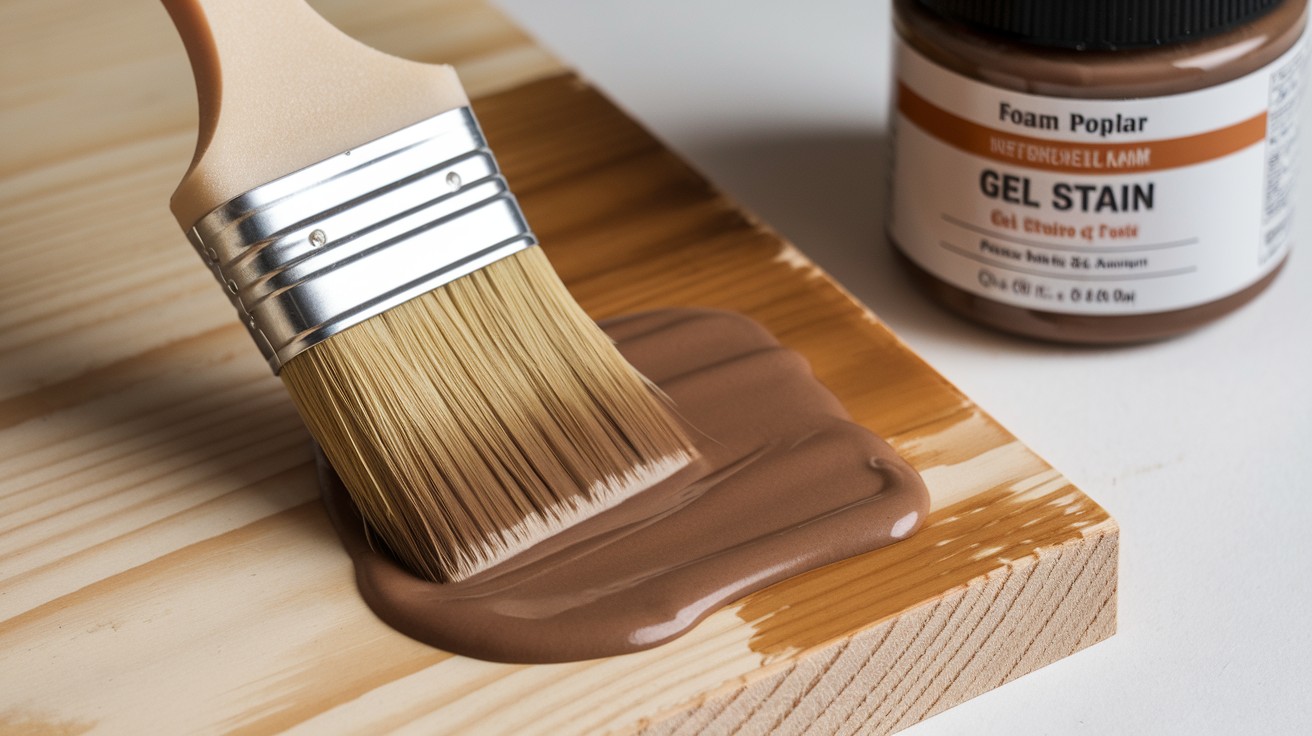
Best for: Preventing blotching on soft woods
Pros:
- Won’t drip or run
- Even coverage on all wood types
- Easy to control
Cons:
- More expensive
- Can hide wood grain
- Shorter working time
Water-Based Stains
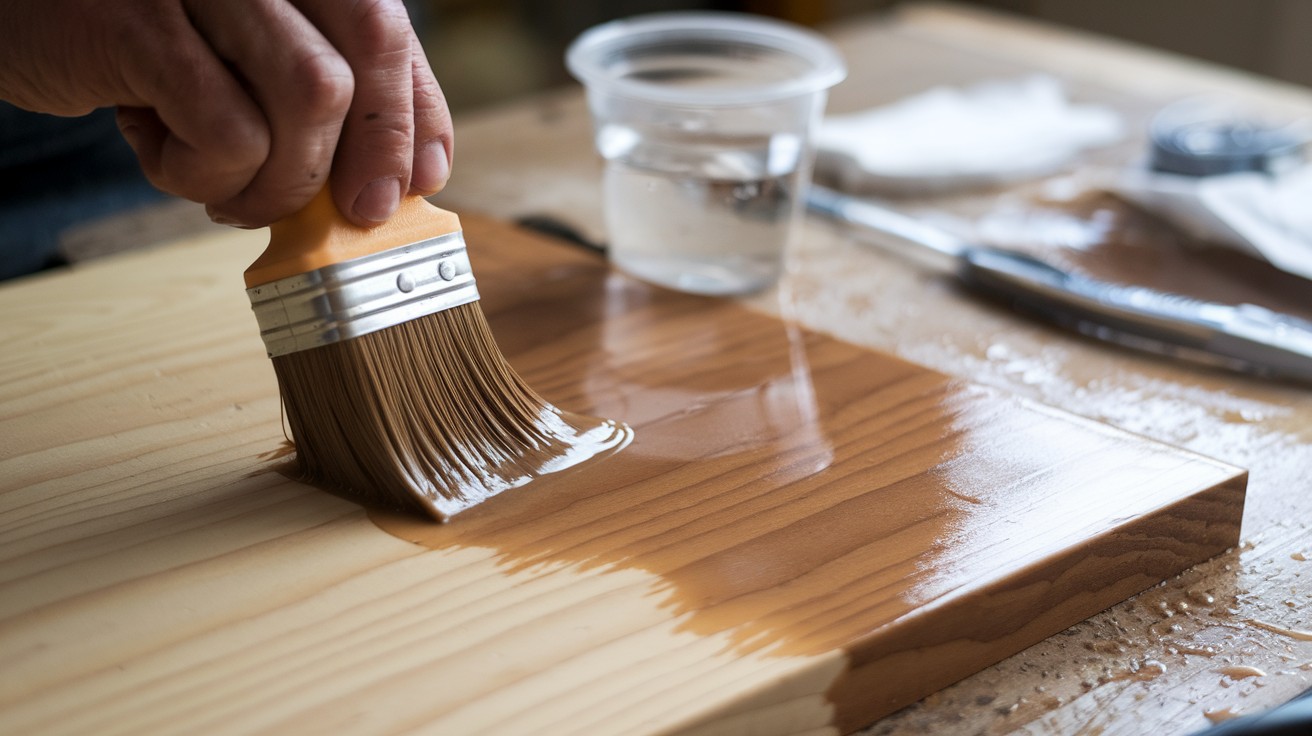
Best for: Quick projects and low odor
Pros:
- Fast drying
- Easy cleanup
- Less toxic fumes
Cons:
- Raises wood grain
- Shorter working time
- May look less rich
Application Steps
- Apply with the grain using a brush or rag
- Work in manageable sections (2-3 square feet at a time)
- Wipe off excess after 5-15 minutes
- Check coverage and apply second coat if needed
Key point: The longer you leave stain on before wiping, the darker it gets.
How to Darken Wood Without Stain
Sometimes stain isn’t the answer. Here are effective alternatives:
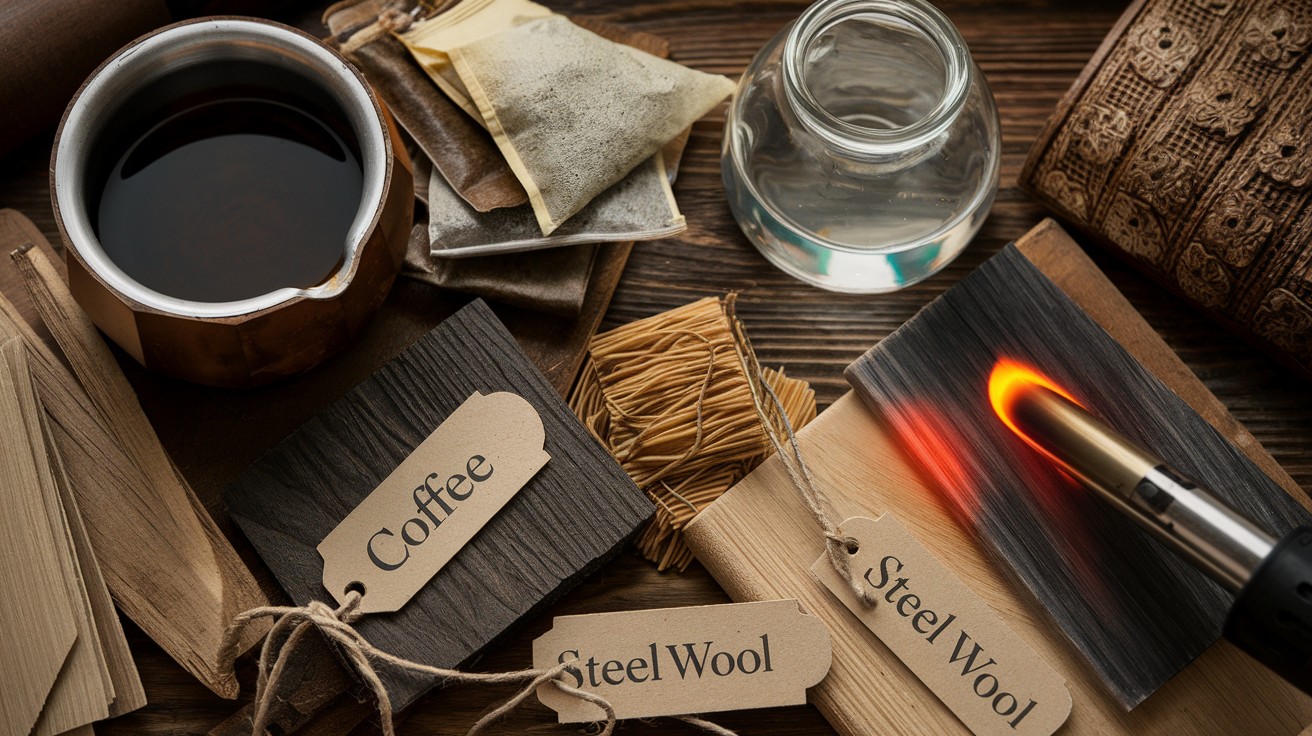
Coffee or Tea Treatment
Brew strong black coffee or tea. Apply multiple coats with a brush. Let each coat dry completely.
This method works best on light woods like pine or birch.
Vinegar and Steel Wool Solution
Put steel wool in white vinegar. Let it sit for 24-48 hours. The mixture creates iron acetate.
Apply to wood containing tannins (like oak) for instant darkening.
Caution: This creates a chemical reaction. Test first on scrap wood.
Torch or Heat Treatment
Carefully char the wood surface with a torch. Brush off loose char with a wire brush. This creates dramatic contrast and texture.
Safety first: Keep a fire extinguisher nearby and work outdoors.
Using Wood Dye for Deep, Even Penetration
Wood dye penetrates deeper than stain. It gives more uniform color across different wood types.
When to Choose Dye Over Stain
- You want intense, vibrant colors
- Working with mixed wood species
- Need to color very dense woods
- Want to maintain sharp grain definition
Application Tips
Dye works fast. Really fast. Mix with water or alcohol according to package directions. Apply quickly with a spray bottle or foam brush. Work in thin, even coats.
Pro technique: Wet the wood first with plain water. This slows absorption and prevents streaking.
Burnishing or Fuming: Advanced Wood Darkening Techniques
Ready for professional-level results? These techniques take skill but create stunning effects.
Burnishing
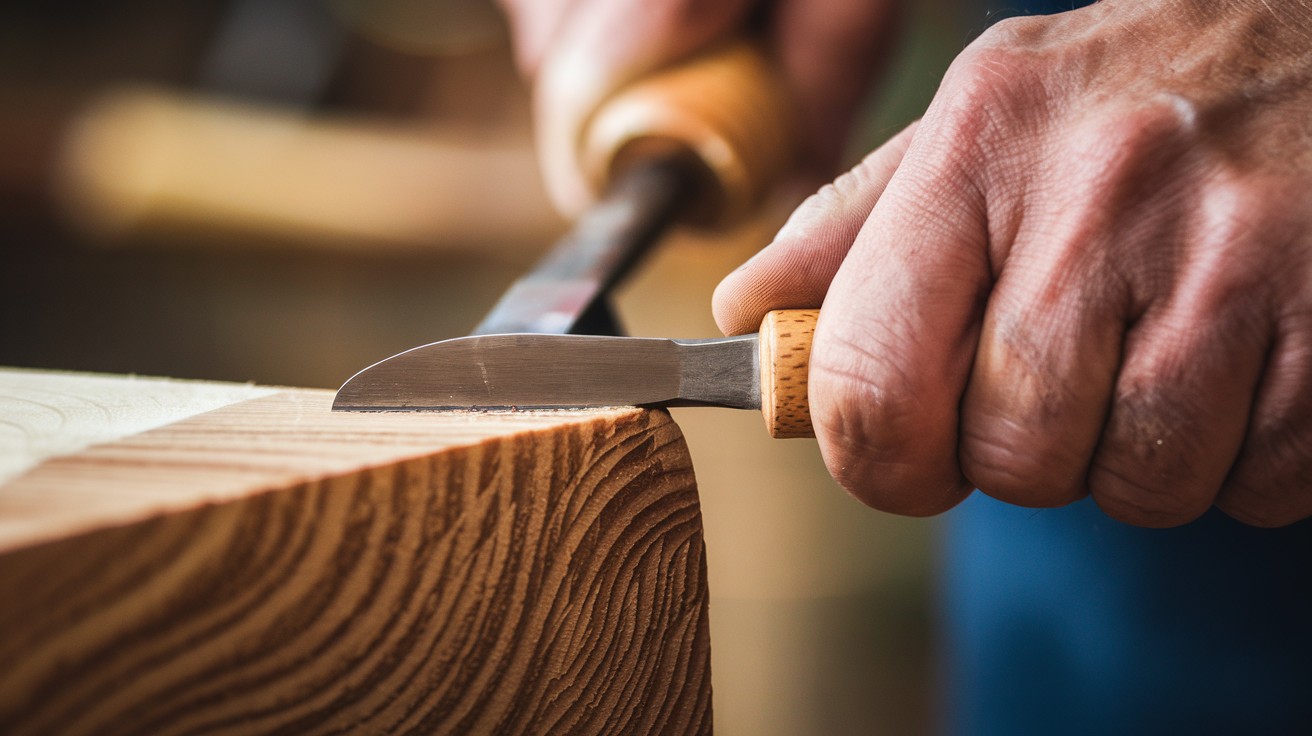
Rub the wood surface with a hard tool. This compresses the fibers and creates natural darkening.
Use the back of a chisel or burnishing tool. Work with consistent pressure and overlapping strokes.
Ammonia Fuming
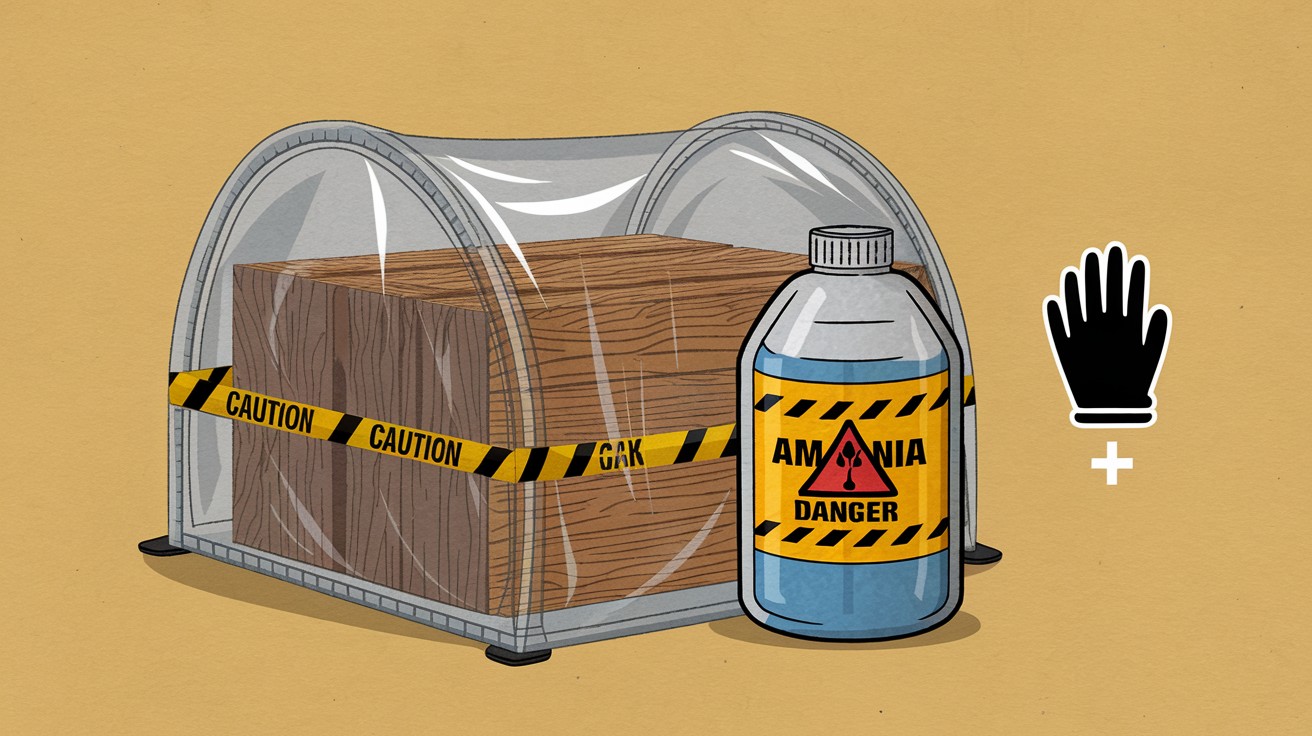
For oak and other high-tannin woods only. Place wood in an enclosed space with ammonia. The fumes react with tannins to create rich brown tones.
Danger: Ammonia fumes are toxic. Use proper ventilation and safety equipment.
This method requires a sealed container or tent. Leave for 12-48 hours depending on desired darkness.
Sealing and Finishing for Lasting Darkness
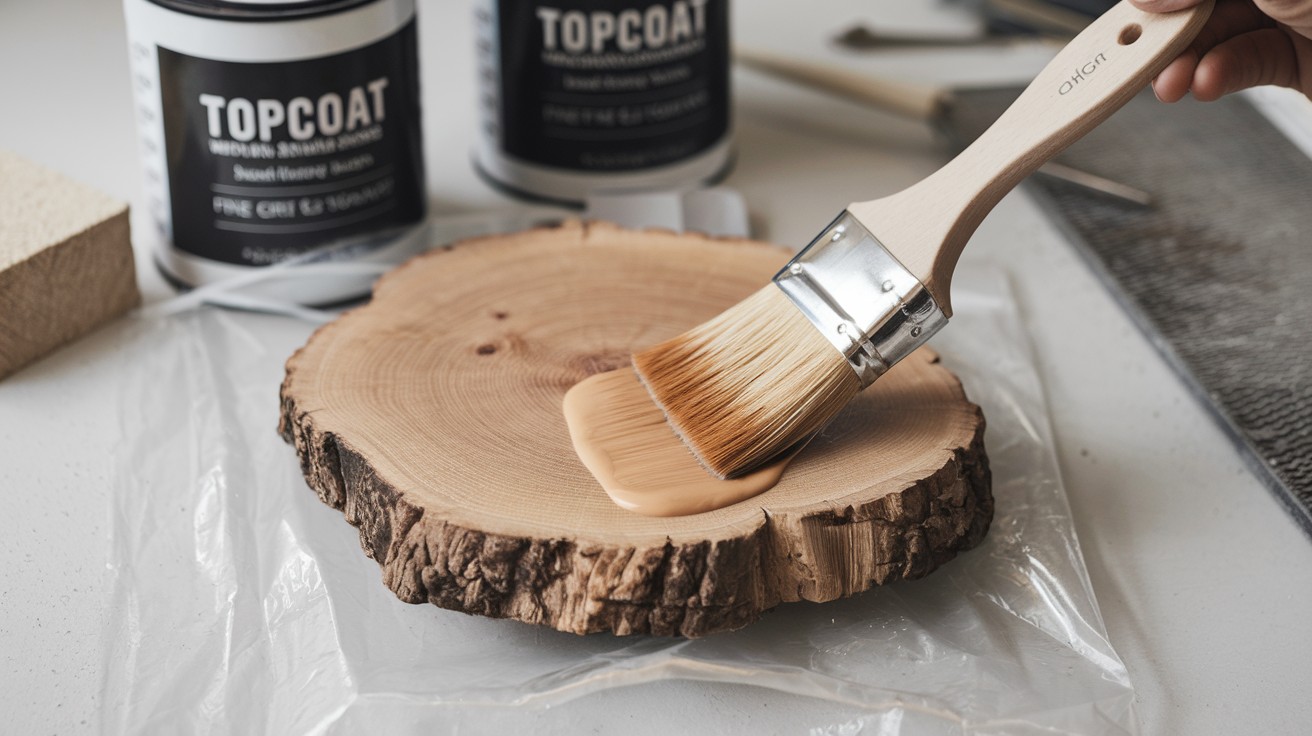
Your darkening work means nothing without proper protection.
Choose Your Topcoat
- Polyurethane: Durable, water-resistant, available in different sheens
- Lacquer: Fast-drying, professional look, requires spray equipment
- Shellac: Traditional finish, easy to repair, adds warmth
- Oil finish: Natural look, easy application, requires regular maintenance
Application Rules
- Wait for complete drying between stain and topcoat
- Apply thin, even coats
- Sand lightly between coats with 320-grit paper
- Remove all dust before next coat
Most important rule: Follow manufacturer’s drying times. Rushing leads to problems.
Common Mistakes to Avoid When Darkening Wood
I’ve seen these errors countless times. Don’t let them ruin your project.
Mistake #1: Skipping the Test Piece
Every wood sample reacts differently. Always test on scrap wood first.
Match the wood species and grain direction of your project.
Mistake #2: Applying Stain Too Thick
More isn’t better with stain.
Thick application causes:
- Uneven color
- Poor adhesion
- Sticky finish
Fix: Apply multiple thin coats instead.
Mistake #3: Not Stirring Stain Properly
Pigments settle to the bottom. Stir thoroughly before use.
Stir again every 10-15 minutes during application.
Mistake #4: Working in Bad Conditions
Temperature and humidity affect results.
Ideal conditions:
- 65-75°F temperature
- 40-60% humidity
- Good ventilation
- No direct sunlight
Choosing the Right Method for Your Project
Still unsure which method to use? Here’s my decision framework:
For Furniture Projects
- Choose: Oil-based stain + polyurethane finish
- Why: Best durability and appearance
For Interior Trim
- Choose: Water-based stain + water-based poly
- Why: Low odor, fast drying
For Outdoor Projects
- Choose: Penetrating oil stain + exterior finish
- Why: Weather resistance
For Artistic Effects
- Choose: Dye or chemical treatments
- Why: Unique colors and patterns
Budget Considerations
- Most affordable: DIY stain and brush application
- Mid-range: Gel stains and quality brushes
- Premium: Professional spray equipment and high-end finishes
Conclusion
You now know how to darken wood like a pro. The techniques I’ve shared will transform your projects from ordinary to extraordinary. No more guessing or wasted materials.
Here’s what matters most:
- Match your method to your wood type
- Never skip the prep work
- Always test on scrap pieces first
- Take your time with each step
Start with basic staining if you’re new to this. Master the fundamentals first. Advanced techniques come later. I’ve given you the same methods I use in my workshop every day. The ones that deliver consistent, professional results.
Your next project will look amazing.But remember – great results take patience. Rush the process and you’ll be disappointed. Take it step by step. Follow my guide. You’ve got this.
Now grab your supplies and start creating something beautiful.
Frequently Asked Questions
Can I darken wood without removing the old finish?
No, you must remove the existing finish first. Stain won’t penetrate through sealed surfaces like polyurethane or lacquer.
What’s the darkest I can make pine wood?
Pine can get quite dark with gel stain or multiple coats of oil-based stain. Use a pre-stain conditioner to prevent blotching on this soft wood.
How long before I can use furniture after darkening?
Wait 24-48 hours after your final topcoat before light use. Full cure takes 7-10 days for maximum durability.
Will coffee staining fade over time?
Yes, coffee and tea stains fade with UV exposure and aren’t permanent. Use commercial wood stains for lasting color that won’t fade.
Can I mix different stain colors together?
Absolutely, but only mix stains of the same type (oil with oil, water with water). Test your custom blend on scrap wood first.