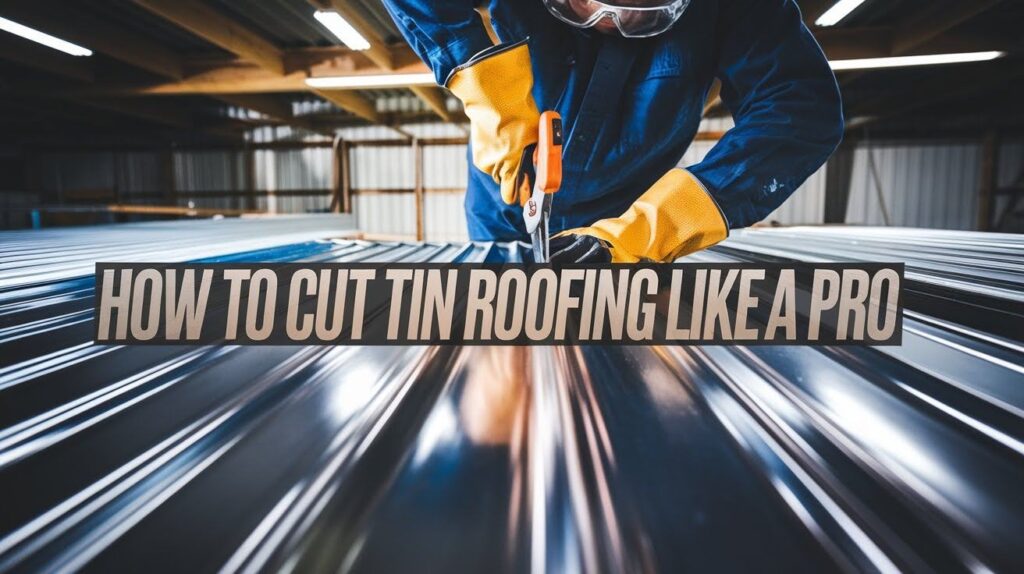
Need to cut tin roofing but worried about making mistakes? You’re not alone. Many homeowners feel nervous about cutting metal. The good news? This guide will solve that problem. From corrugated sheets to standing seam panels. I’ve made every mistake in the book so you don’t have to.
This article shows you exactly how to cut tin roofing safely and accurately. You’ll learn which tools work best for different cuts, step-by-step cutting methods, and tips that save time and money.
No guesswork. No wasted materials. No injuries. We’ll cover the tools you need, safety gear that protects you, and finishing techniques that make your cuts look good. Plus common mistakes that cost beginners time and materials.
By the end, you’ll cut tin roofing like someone who’s done it before.
What You’ll Need: Tools & Safety Gear
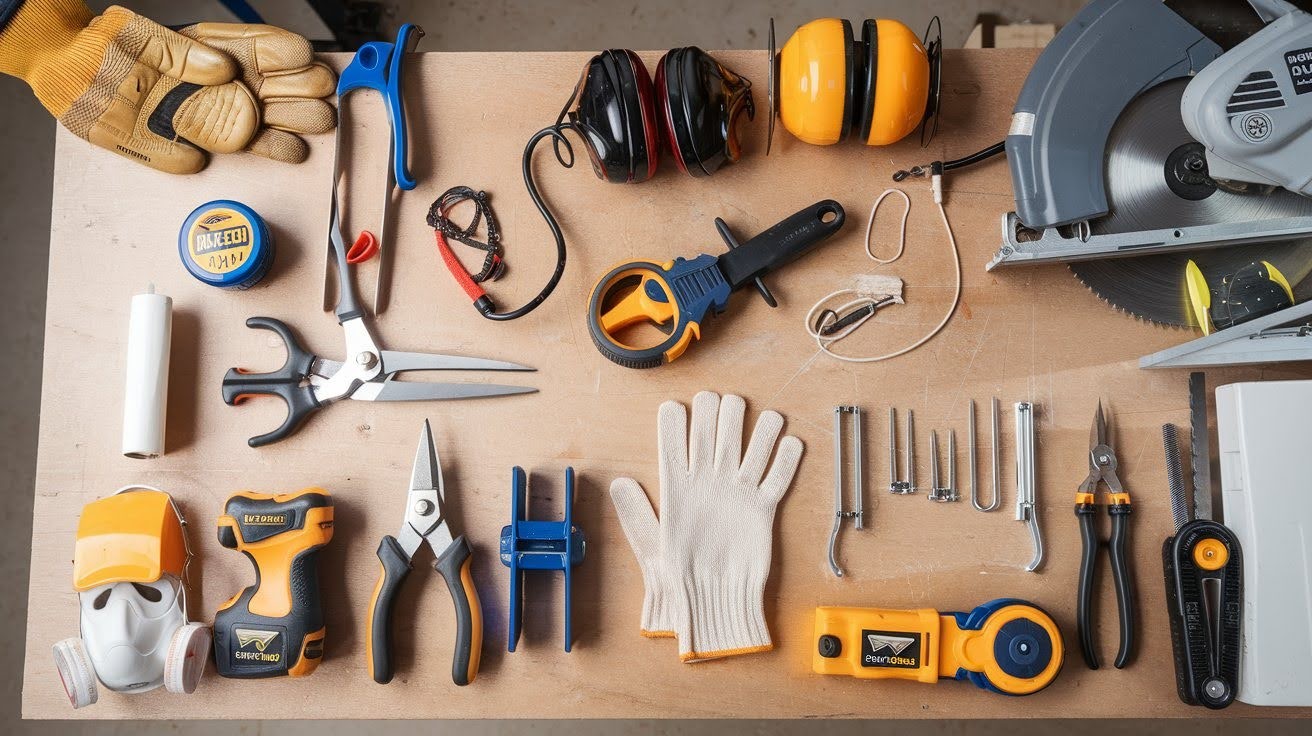
Before we start cutting, let’s gather your supplies.
Tools for cutting:
- Tin snips (straight-cut and curved)
- Electric metal shears
- Circular saw with metal-cutting blade
- Angle grinder with cutting disc
- Jigsaw with metal blade
Safety equipment:
- Safety glasses (you need these)
- Work gloves (cut-resistant ones work better)
- Ear protection
- Dust mask
- Steel-toed boots
Other supplies:
- Measuring tape
- Straight edge or ruler
- Marker or chalk
- Clamps
- File or sandpaper
Don’t skip the safety gear. Metal edges are sharp. Sparks fly during cutting.
Choosing the Right Tool for the Job
Not all cutting tools work the same way.
Tin snips work best for straight cuts up to 24 inches, curved cuts and detailed work, and thin gauge metal from 26 to 29 gauge. These hand tools give you complete control over small sections.
Electric metal shears work well for long straight cuts, thick metal sheets, and big projects. They cut faster than hand snips but need electrical power.
Circular saws handle very long straight cuts, multiple sheets at once, and heavy jobs. These power tools make quick work of large cutting projects.
Angle grinders cut through any thickness, work in tight spaces, and handle quick fixes. They’re loud and create lots of sparks but cut almost anything.
Jigsaws manage curved cuts, interior cutouts, and detailed patterns. They move slower than other power tools but give you precision control.
Match your tool to your project. Using the wrong tool makes everything harder.
Step-by-Step Guide: How to Cut Tin Roofing Safely and Accurately
Time to get cutting. Follow these steps exactly.
A. Preparation
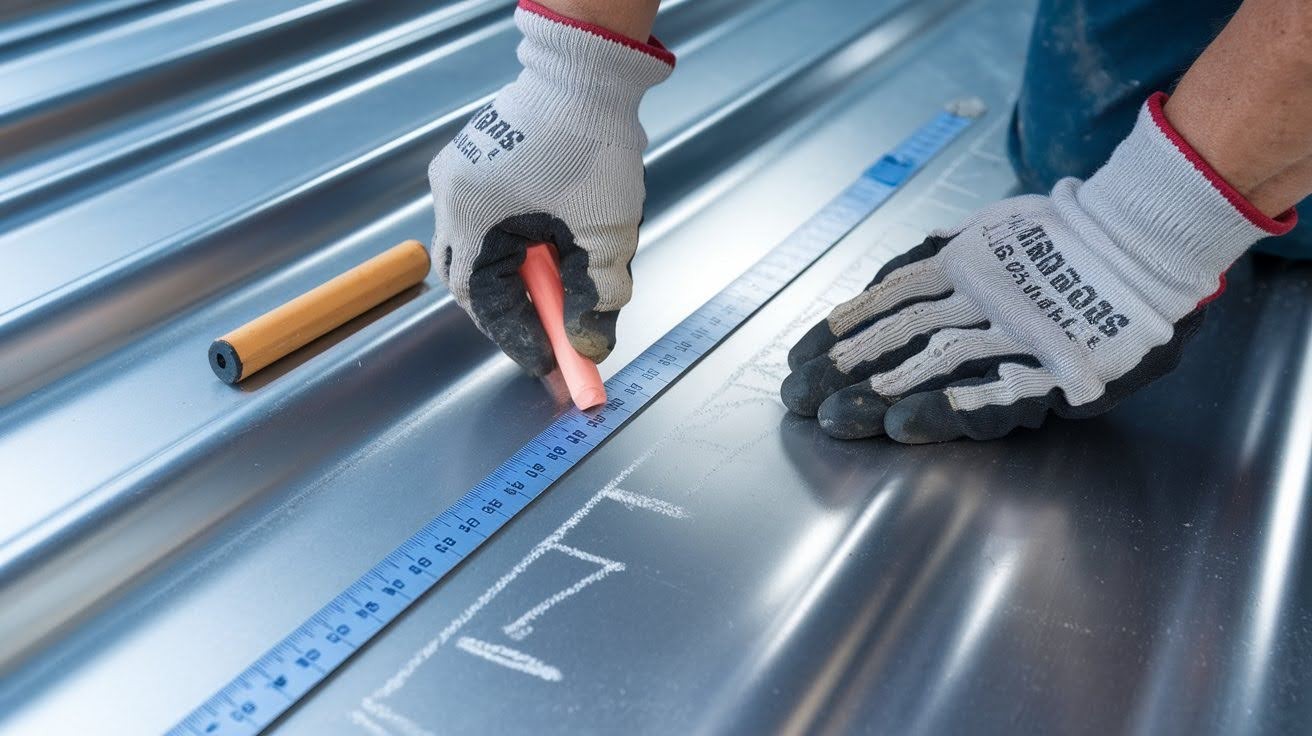
Step 1: Measure Twice
Mark your cutting line clearly. Use a straight edge for accuracy. Double-check your measurements. Metal doesn’t forgive mistakes.
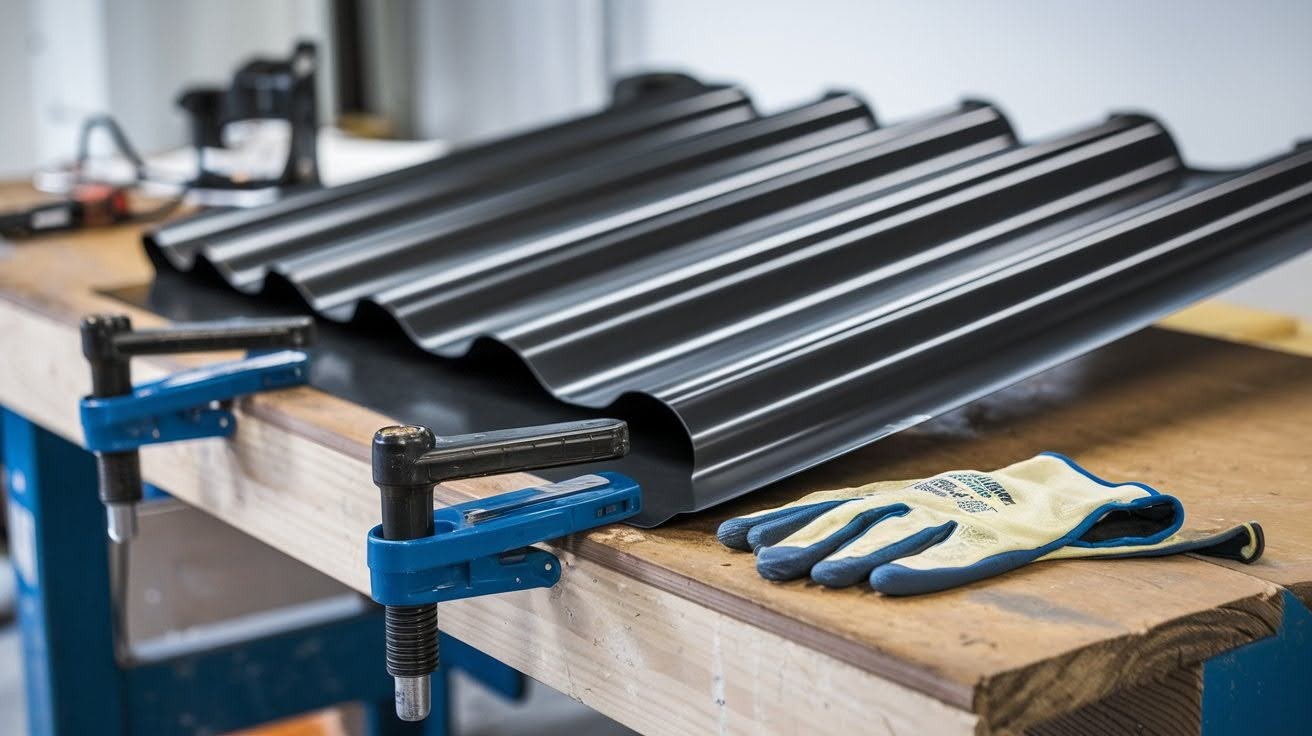
Step 2: Secure Your Material
Clamp the tin roofing to your work surface. This prevents vibration and ensures clean cuts. Position clamps away from your cutting line.
Step 3: Choose Your Cutting Side
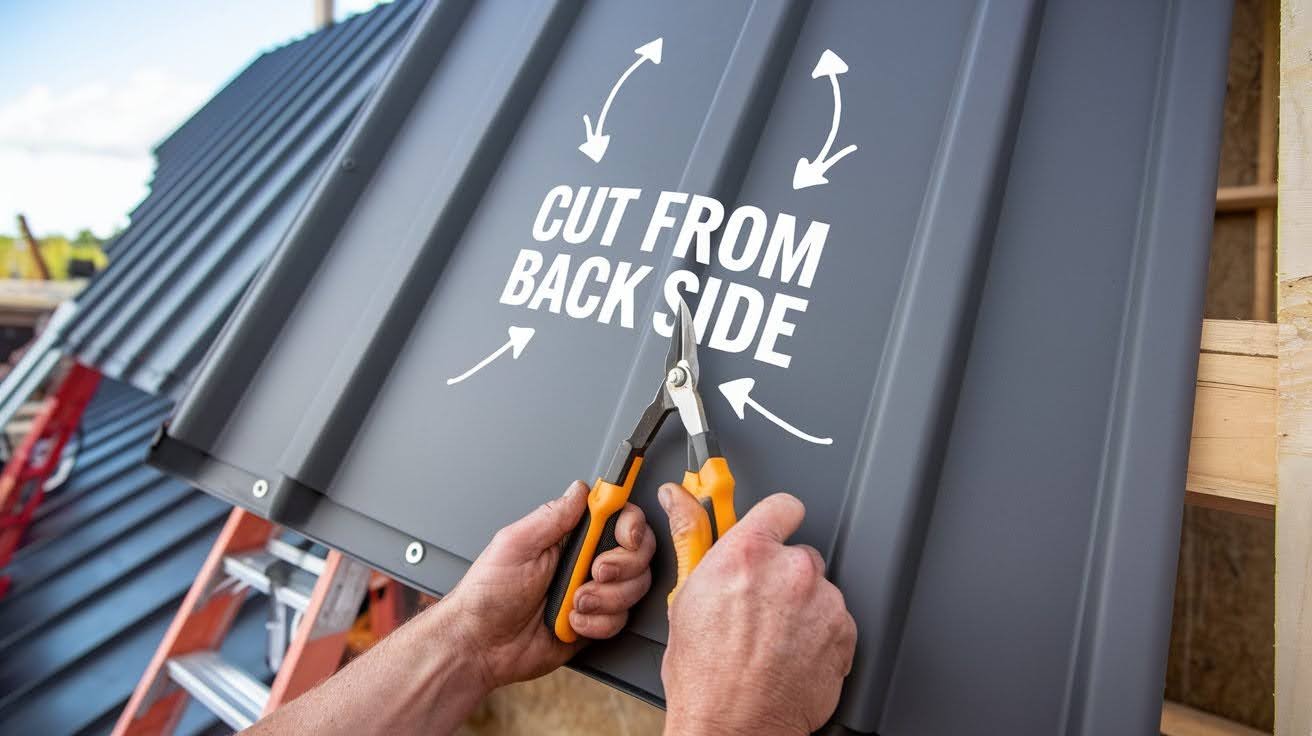
Always cut from the back side of the roofing. This keeps the visible surface scratch-free. Support both sides of the cut to prevent bending.
B. Cutting Methods by Tool
Using Tin Snips:
Start your cut at the edge of the sheet. Don’t try to cut from the middle. Keep the snips perpendicular to the metal. Angle cuts look jagged. Make smooth, continuous cuts. Stop-and-start cutting creates rough edges.
Using Electric Shears:
Set the metal flat on your work surface. Let the tool do the work. Move at a steady pace. Too fast creates rough cuts. Too slow overheats the metal.
Using a Circular Saw:
Install a metal-cutting blade with fine teeth. Carbide-tipped blades last longer. Set the blade depth just deeper than the metal thickness. Cut slowly and steadily. Let the blade cool between long cuts.
Using an Angle Grinder:
Use a thin cutting disc designed for metal. Thick discs create wide cuts. Keep the grinder moving. Staying in one spot burns through the metal. Work in short sections. This tool heats up quickly.
Using a Jigsaw:
Choose a fine-tooth metal blade. Coarse blades tear the metal. Start the cut before the blade touches the metal. This prevents grabbing. Use light pressure. The blade cuts on the upstroke.
Tips for Clean, Precise Cuts
Want good results? These tips make all the difference.
- Keep Blades Sharp. Dull blades tear metal instead of cutting it cleanly. Replace them often.
- Control Your Speed. Slow, steady cuts always beat fast, rough ones. Patience pays off.
- Support the Waste Piece. Hold both sides of your cut line. This prevents the metal from bending and binding your tool.
- Use Cutting Oil. A drop of cutting oil on your blade reduces friction and heat buildup.
- Mark the Waste Side. Draw an X on the piece you’re throwing away. This prevents costly mistakes.
Common Mistakes to Avoid
I’ve seen these errors countless times. Don’t repeat them.
Mistake 1: Forcing the Cut
Let your tools work at their own pace. Forcing creates rough edges and dangerous kickback.
Mistake 2: Cutting Without Support
Unsupported metal bends and creates uneven cuts. Always use a solid work surface.
Mistake 3: Wrong Blade Choice
Wood blades on metal create sparks and danger. Use the right blade for the job.
Mistake 4: Ignoring Safety Gear
Metal shards fly everywhere during cutting. Protect your eyes and hands.
Mistake 5: Measuring Once
That old saying exists for a reason. Always double-check your measurements.
Finishing Touches After Cutting
Your work isn’t done when the cutting stops.
File Sharp Edges. Fresh-cut metal has razor-sharp edges. File them smooth to prevent cuts. Work from the back side to avoid scratching the finish.
Clean Metal Shavings. Sweep up all metal debris. These tiny pieces cause flat tires and injuries. Use a magnet to pick up small shavings.
Check Cut Quality. Look for rough spots or incomplete cuts. Fix them now before installation. Apply Touch-Up Paint
Exposed metal edges rust quickly. Paint them with matching touch-up paint. Store Properly Keep cut pieces flat and dry until installation. Moisture causes rust spots.
Remember, practice makes perfect. Start with scrap pieces before cutting your final roofing material. These techniques work for corrugated metal, standing seam, and most tin roofing materials. The key is choosing the right tool and taking your time.
Now you know how to cut tin roofing like someone who’s done it before. Stay safe out there.
Conclusion
You now have everything needed to cut tin roofing safely and accurately. The right tools make all the difference. Safety gear protects you from injury. Good technique creates clean cuts. Start with small practice cuts on scrap metal. This builds your confidence before working on actual roofing materials.
Remember these key points: measure twice, cut once, and never rush the process. Sharp tools work better than dull ones. Support your material properly to prevent bending.
Take your time and follow each step carefully. Good results come from patience and practice. Most importantly, always prioritize safety over speed. Your fingers are worth more than saving a few minutes.
Now grab your tools and start cutting. You’ve got this.
Frequently Asked Questions
Can I use regular scissors to cut thin tin roofing?
Regular scissors won’t work on metal roofing, even thin sheets. You need proper tin snips or metal shears that can handle the material’s strength and thickness.
What’s the thickest tin roofing I can cut with hand tools?
Hand tin snips work best on 26-29 gauge metal roofing. For anything thicker than 24 gauge, switch to electric shears or power tools for easier, cleaner cuts.
How do I prevent the metal from bending while cutting?
Support both sides of your cut line with clamps or sawhorses. Keep the metal flat against your work surface and never let cut pieces hang unsupported.
Is it safe to cut tin roofing indoors?
Cutting metal indoors creates sparks and metal shavings that are fire hazards. Always work outside or in a well-ventilated garage with concrete floors.
Why do my cuts look jagged and torn?
Jagged cuts usually mean your blade is dull or you’re cutting too fast. Replace worn blades and maintain steady, moderate cutting speed for smooth results.

