
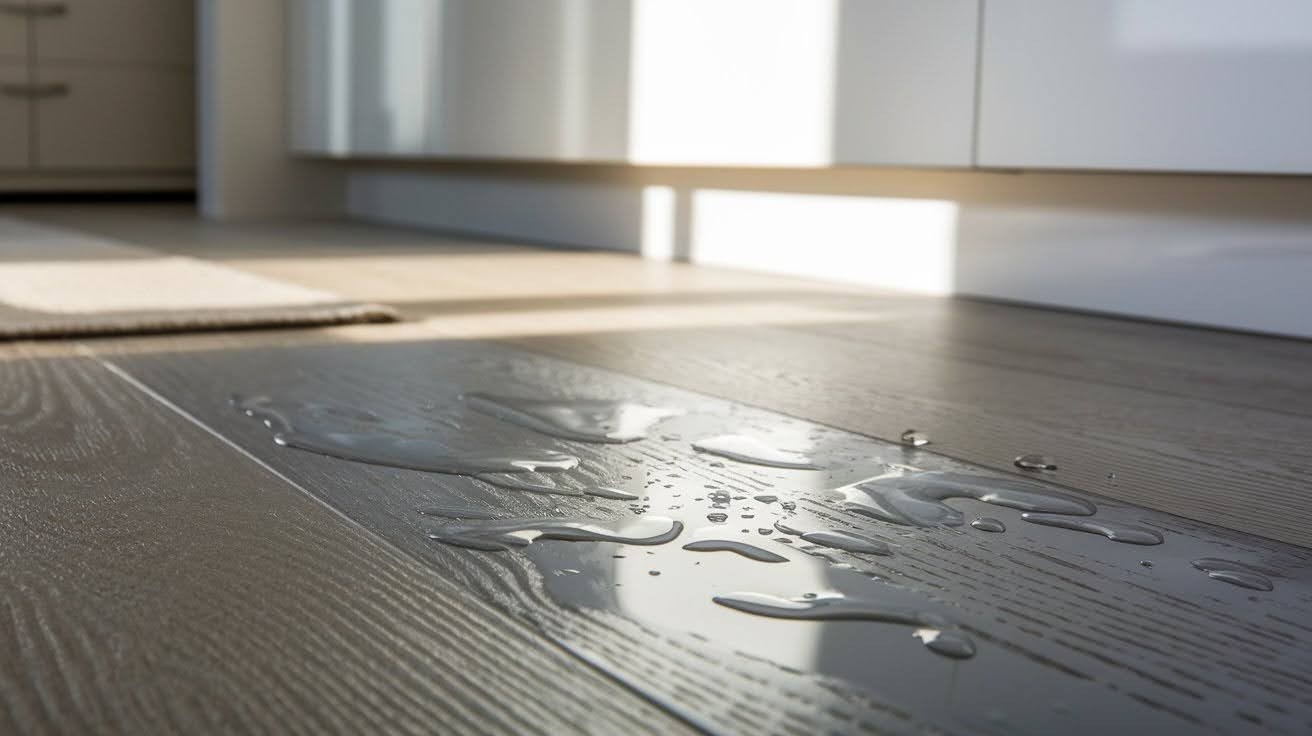
Your waterproof vinyl plank floor is starting to look dull. I get it.
I’ve been there too. After ruining my first vinyl floor with wrong cleaning methods, I spent months learning the right way.
Here’s what you’ll learn: proper cleaning steps, maintenance tips, and troubleshooting solutions. I’ll show you exactly how to keep your floors looking fresh without expensive products or complicated routines.
Trust me on this. I’ve tested dozens of methods over five years. Some worked great. Others were disasters. You want floors that shine and last. This guide delivers both. No more guessing what works. No more streaky messes.
Let’s solve your cleaning problems once and for all.
Why Waterproof Vinyl Plank Flooring Needs Special Care
Here’s what I wish someone had told me from day one.
Waterproof vinyl isn’t just regular vinyl. It has a special protective layer that keeps water out. This layer is tough, but it can get damaged if you use the wrong cleaning products.
Most people think waterproof means indestructible. Wrong.
The surface can still get scratched, dulled, or stained if you’re not careful. I learned this when I used a steam mop on mine. Never again.
The good news? Once you know the right way to clean it, maintenance becomes easy.
Pre-Cleaning Preparation
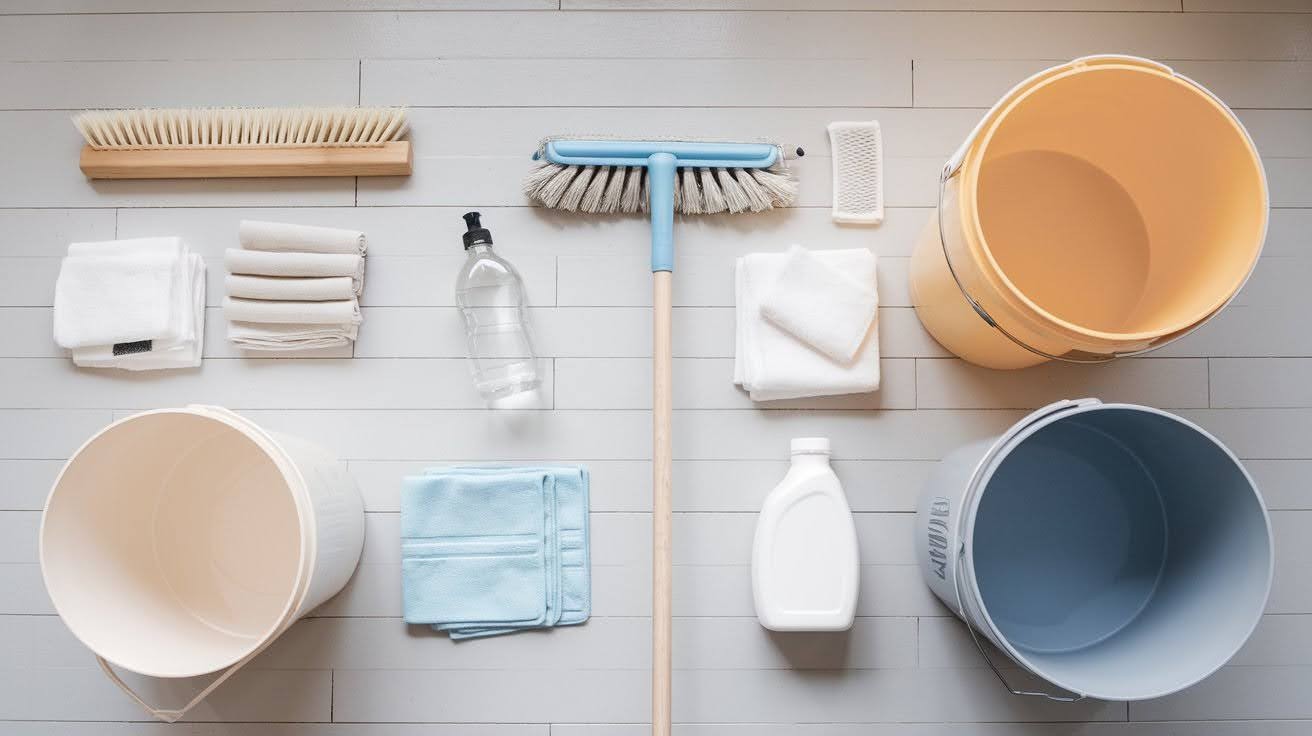
Before you start cleaning, you need to set yourself up for success.
Gather these supplies:
- Soft-bristled broom or vacuum
- Microfiber mop
- Two buckets (one for cleaning solution, one for rinsing)
- White vinegar
- Dish soap (mild, no harsh chemicals)
- Clean microfiber cloths
- Warm water
Here’s a tip I found: always sweep or vacuum first.
Skipping this step means you’ll just push dirt around when you mop. Not fun. Remove all furniture you can move. For heavy pieces, slide furniture pads underneath to protect your floor.
How to Clean Waterproof Vinyl Plank Flooring: Step-by-Step
Let me walk you through my method. I use this every single week.
Step 1: Dry Cleaning (Dust and Debris Removal)
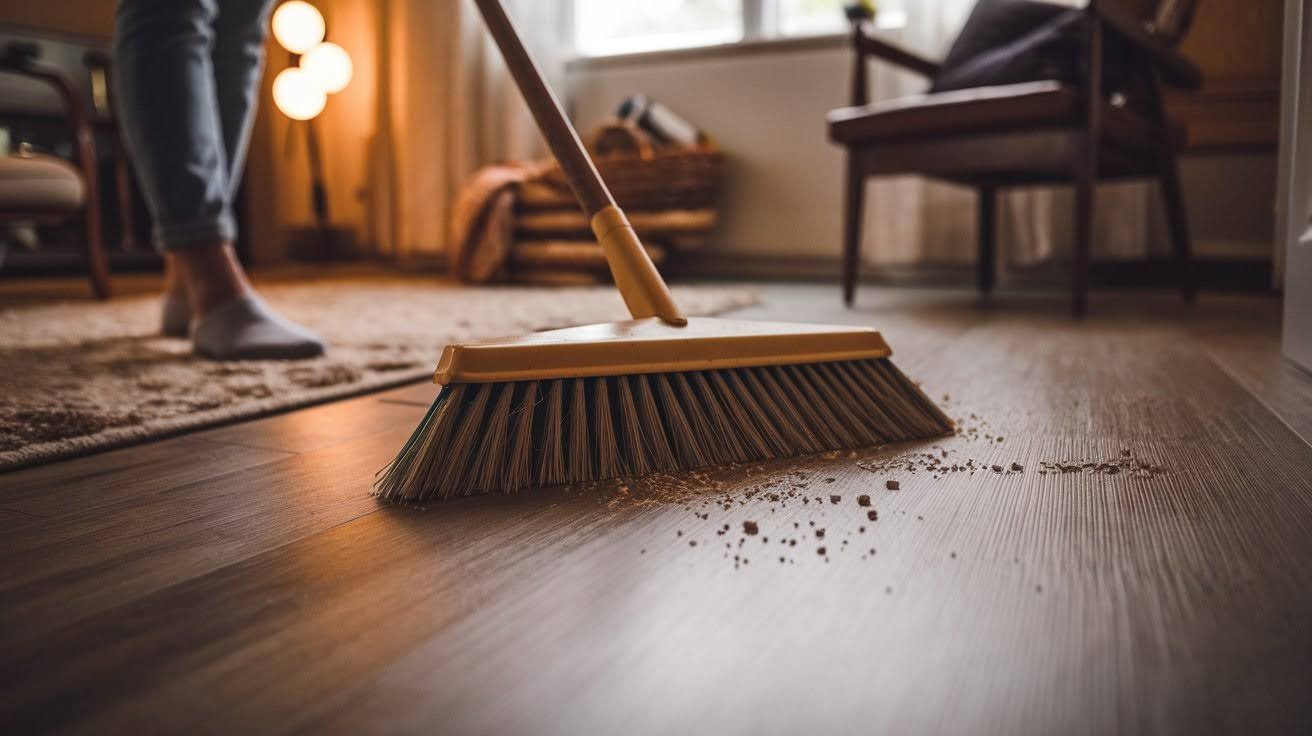
Start with a thorough sweep or vacuum.
Use a soft-bristled broom. Hard bristles can scratch the surface. I made this mistake once and had to live with tiny scratches for months.
If you’re using a vacuum, make sure it’s set for hard floors. The beater bar should be turned off. Work from the far corner toward your exit. This way, you won’t walk over areas you’ve already cleaned.
Quick tip: Pay extra attention to corners and under furniture edges. Dirt loves to hide there.
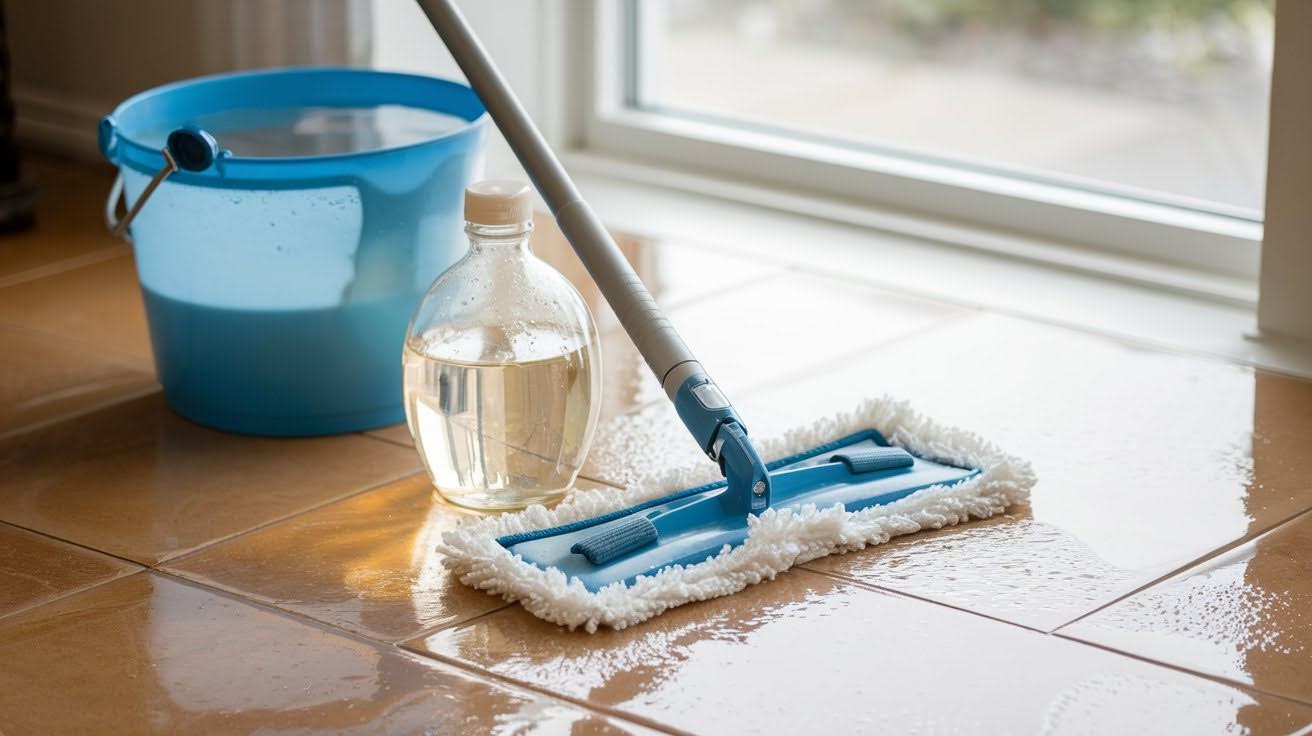
Step 2: Damp Mopping
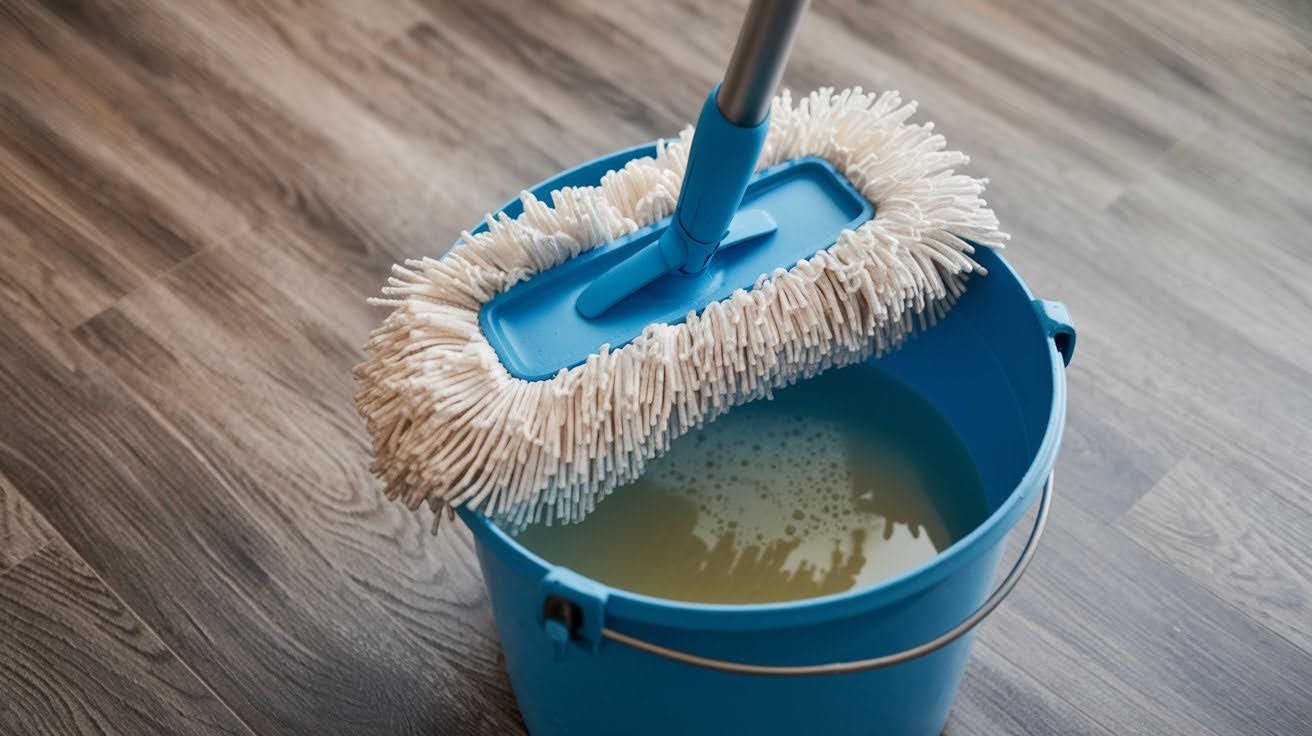
This is where most people go wrong. They either use too much water or the wrong cleaning solution.
Mix your cleaning solution: 1 cup of white vinegar, 1 gallon of warm water, and 2-3 drops of mild dish soap.
That’s it. Simple and effective.
Dip your microfiber mop in the solution and wring it out well. The mop should be damp, not soaking wet. Excess water can seep into seams and cause problems.
Mop in sections, about 4×4 feet at a time. Always mop in the direction of the planks. This prevents water from getting into the seams and gives you better results.
Rinse your mop frequently in clean water. A dirty mop just spreads grime around.
Step 3: Spot Cleaning Spills and Stains
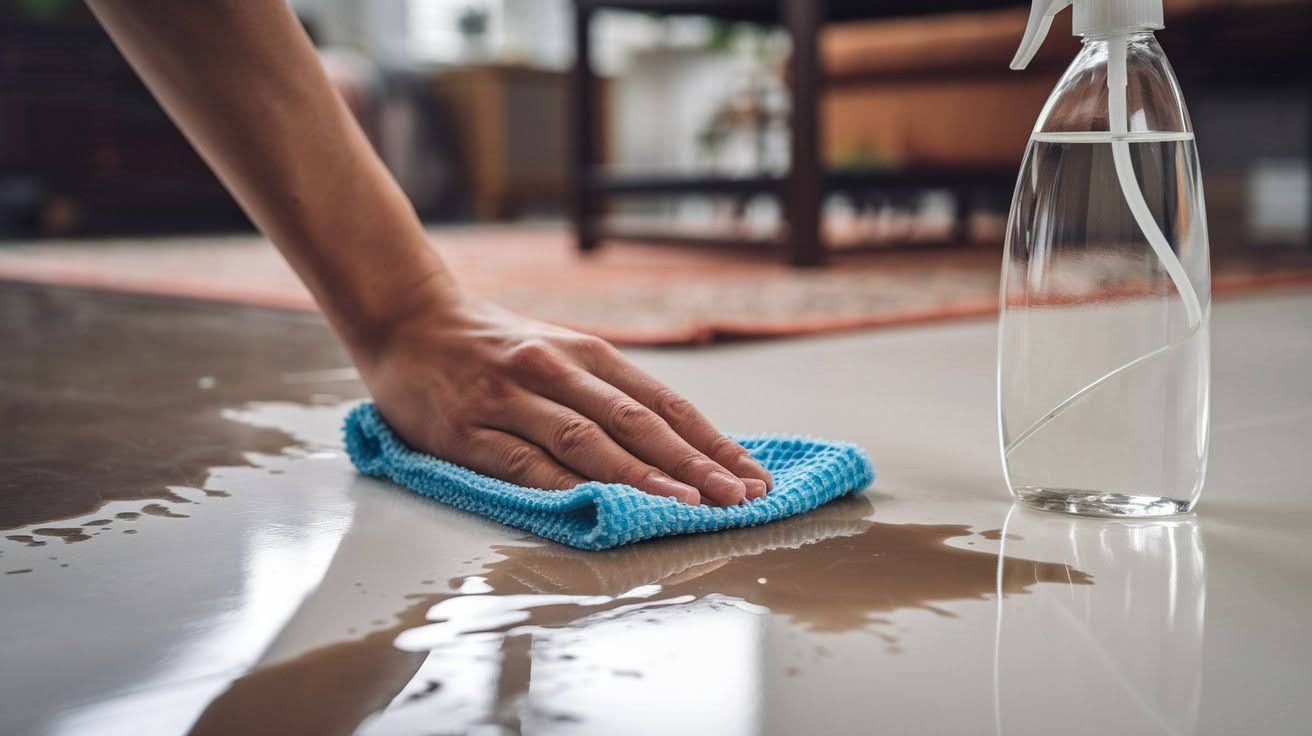
Accidents happen. Here’s how I handle them:
For fresh spills: Clean immediately with a damp microfiber cloth. Don’t let spills sit, even on waterproof flooring.
For sticky residue: Mix equal parts white vinegar and warm water. Apply with a cloth and let it sit for 2-3 minutes. Wipe clean.
For tough stains: Make a paste with baking soda and water. Apply gently, let sit for 5 minutes, then wipe away with a damp cloth.
Never use abrasive cleaners, bleach, or ammonia-based products. They’ll damage the protective layer.
Step 4: Deep Cleaning (Once a Month)
Monthly deep cleaning keeps your floors looking new.
Here’s my process:
Create a stronger cleaning solution: 1/2 cup white vinegar, 1 gallon warm water, and 1 tablespoon mild dish soap.
Follow the same mopping process, but work more slowly. Spend extra time on high-traffic areas. After mopping, go over the entire floor with clean water to remove any soap residue.
Dry immediately with a clean microfiber cloth or let air dry completely.
How to Maintain Waterproof Vinyl Plank Flooring for the Long Term
| Frequency | Task | What I Do |
| Daily | Quick cleanup | Sweep up crumbs and debris, wipe spills immediately |
| Daily | Entrance protection | Use doormats at all entrances |
| Weekly | Regular cleaning | Vacuum or sweep thoroughly, damp mop with vinegar solution |
| Monthly | Deep clean | Follow Step 4 cleaning process, check for damage or loose planks |
| Ongoing | Floor protection | Use furniture pads under chairs and tables, trim pet nails regularly |
| As needed | Heavy items | Avoid dragging furniture, use sliders or lift instead |
Troubleshooting Common Cleaning Problems
Let me help you solve the most common issues I see.
Problem: Streaky floors after mopping
Solution: You’re using too much cleaning solution or not rinsing properly. Use less soap and always do a final rinse with clean water.
Problem: Dull, cloudy appearance
Solution: Product buildup from using the wrong cleaners. Strip the floor with a vinegar solution (1 cup vinegar to 1 gallon water) and start fresh.
Problem: Water spots
Solution: Your water is hard. Add a bit more vinegar to your cleaning solution, or use distilled water for the final rinse.
Problem: Scratches appearing
Solution: You’re using abrasive tools. Switch to microfiber everything and add more furniture pads.
Tips for a Streak-Free Shine
Here are my go-to methods for perfect results:
- Use warm water, not hot – hot water can damage your floor
- Work in small 4×4 sections so solution doesn’t dry too fast
- Keep two buckets – one for cleaning, one for rinsing your mop
- Always do a final rinse with clean water only
- Open windows or run a fan for good air flow while drying
Final Thoughts
I’ve given you everything I learned the hard way. Five years of mistakes so you don’t have to repeat them.
Your waterproof vinyl floors can look amazing with the right care. Simple ingredients work best. Vinegar, warm water, and microfiber cloths beat expensive products every time.
Remember the key points: sweep first, use minimal water, mop with the grain, and clean spills immediately. Monthly deep cleaning keeps everything fresh.
I want to hear your success stories. Try these methods for two weeks and see the difference. Your floors will thank you with years of shine.
Ready to fix your floors? Grab your supplies and start with Step 1. You’ve got this.
Frequently Asked Questions
Can I use a steam mop on waterproof vinyl plank flooring?
No, never use a steam mop on vinyl plank flooring. The high heat can damage the protective layer and cause the planks to warp or separate.
How often should I clean my waterproof vinyl floors?
Sweep or vacuum daily and damp mop weekly for regular maintenance. Deep clean once a month to keep your floors looking their best.
What’s the biggest mistake people make when cleaning vinyl planks?
Using too much water is the most common error I see. Even though it’s waterproof, excess water can seep into seams and cause long-term damage.
Can I use bleach or harsh chemicals on waterproof vinyl flooring?
Avoid bleach, ammonia, and abrasive cleaners completely. These products will strip the protective coating and leave your floors vulnerable to damage and staining.
Why do my vinyl floors look cloudy after cleaning?
Cloudy floors usually mean product buildup from using the wrong cleaners. Strip them with a vinegar solution and stick to mild, pH-neutral products going forward.